
Places: Babcock State Park, West Virginia
**Please note that we will add more images from this show as time permits.


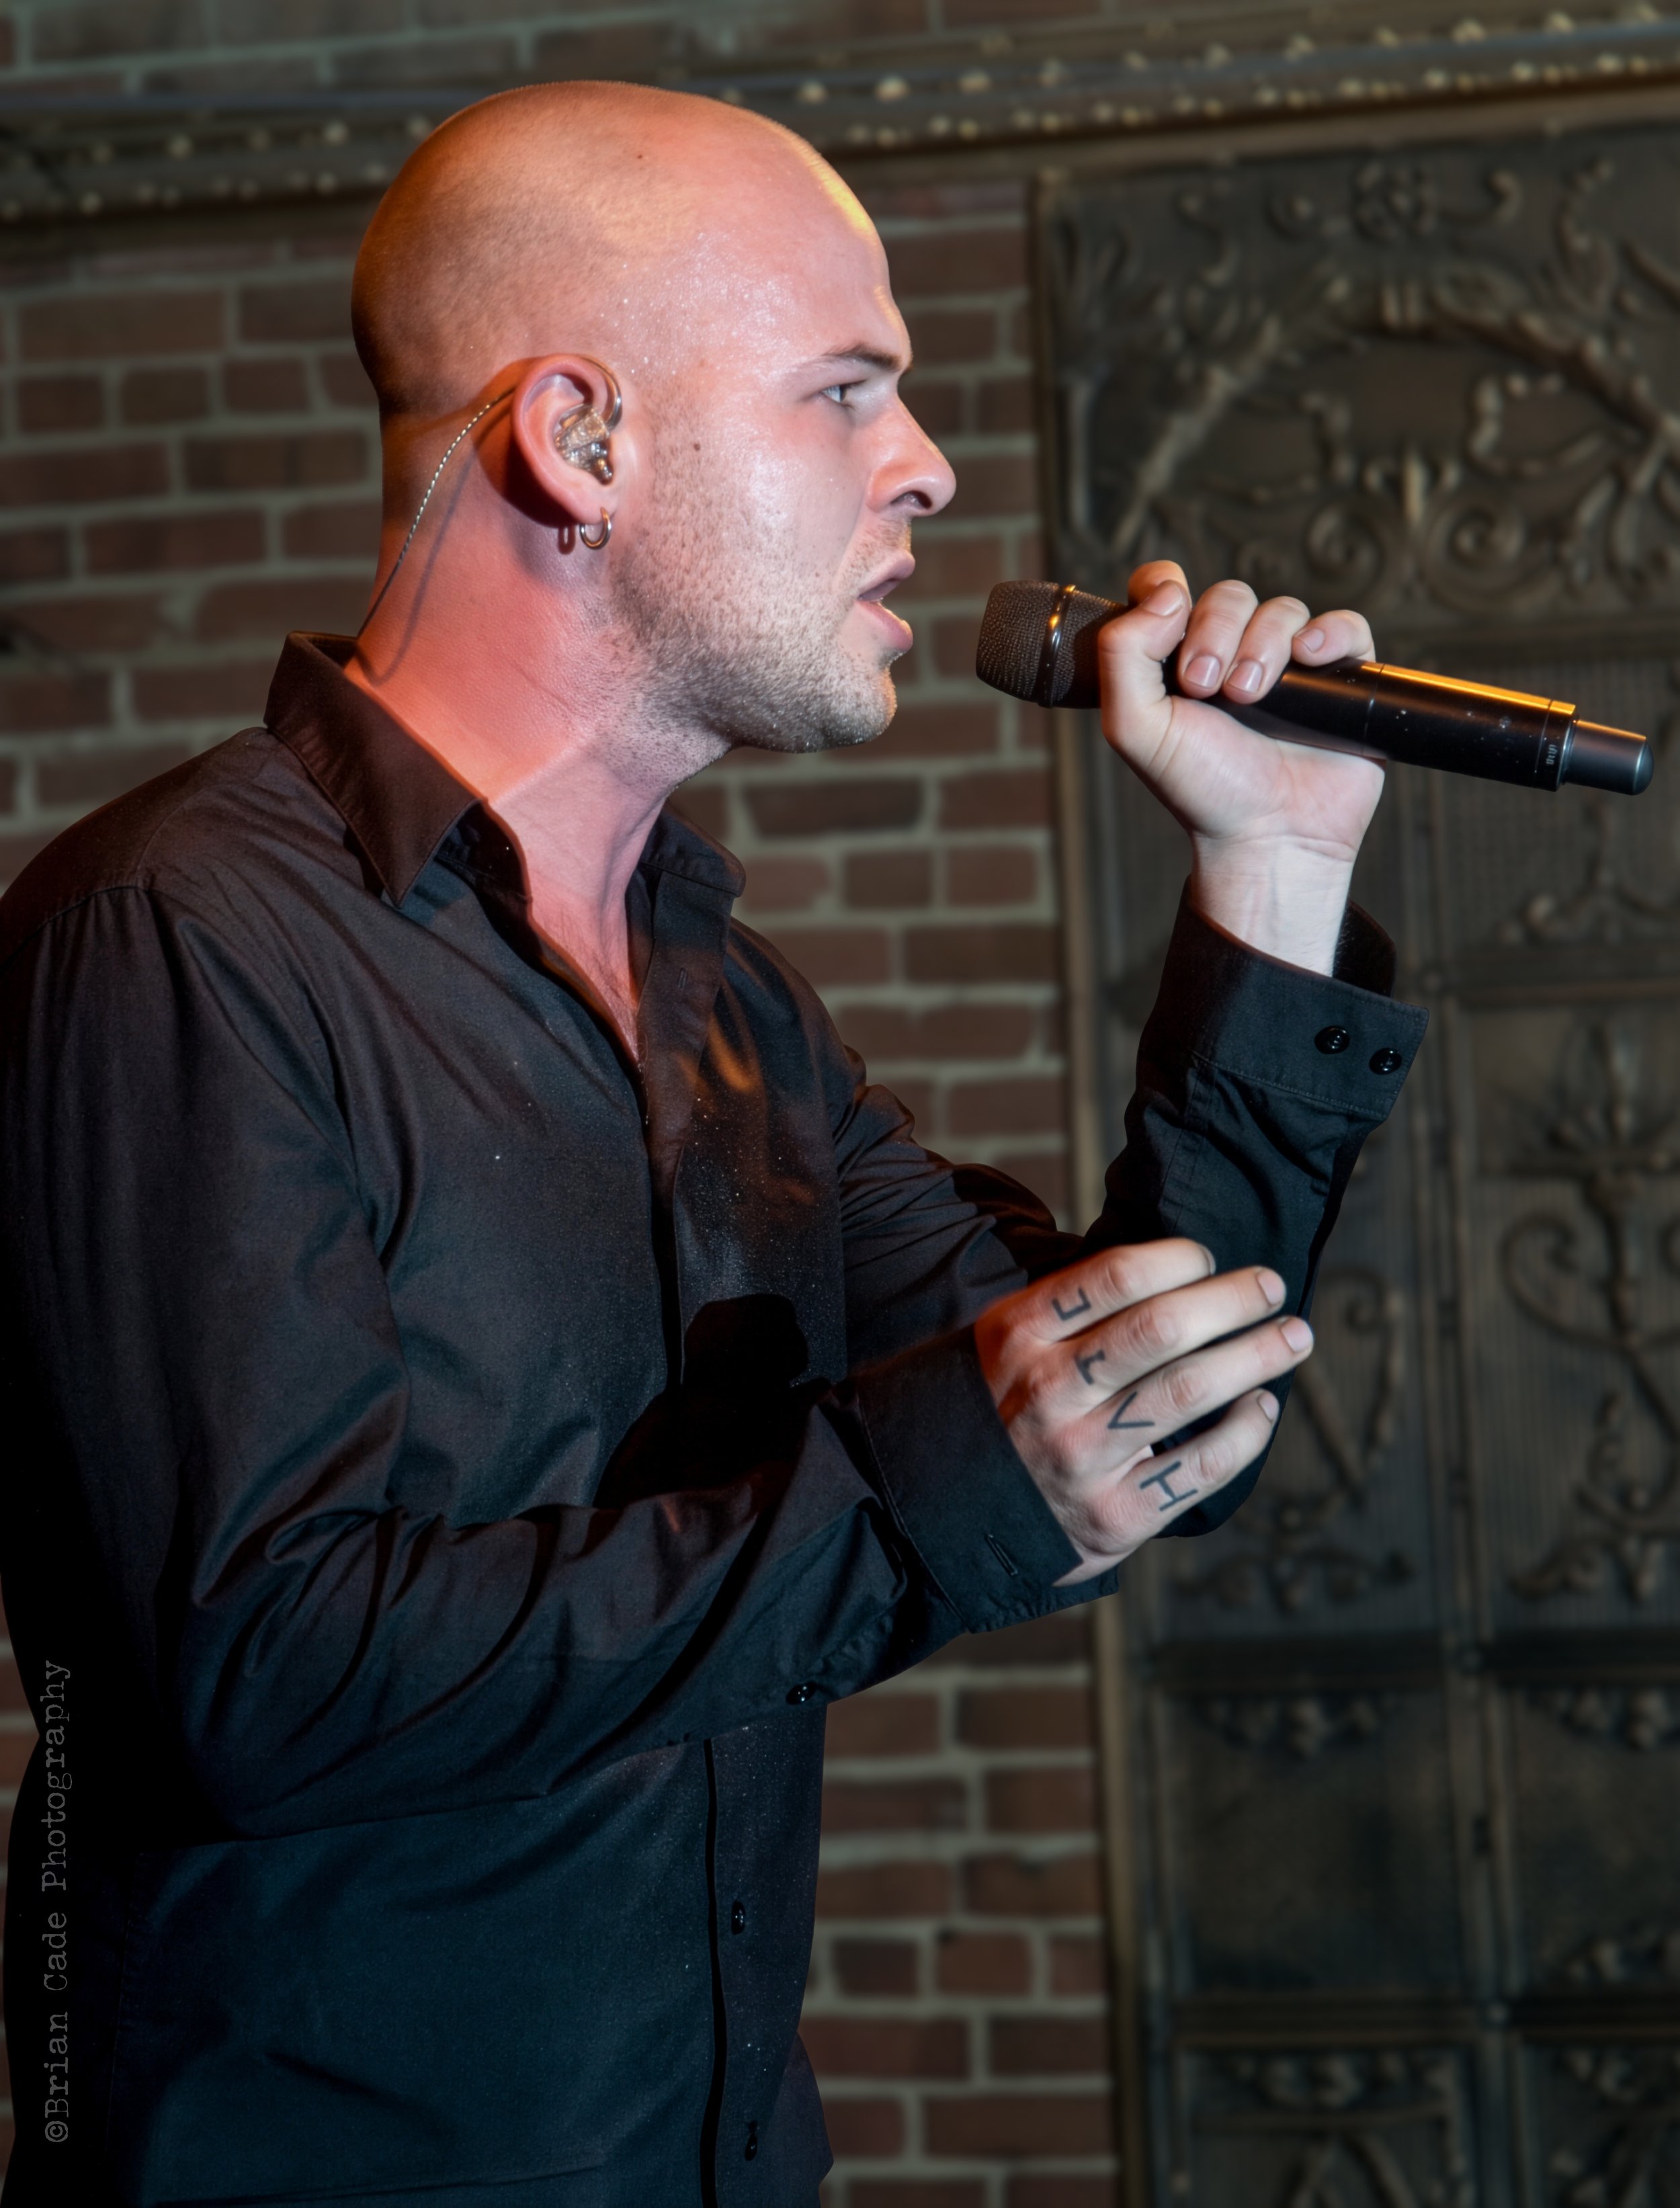
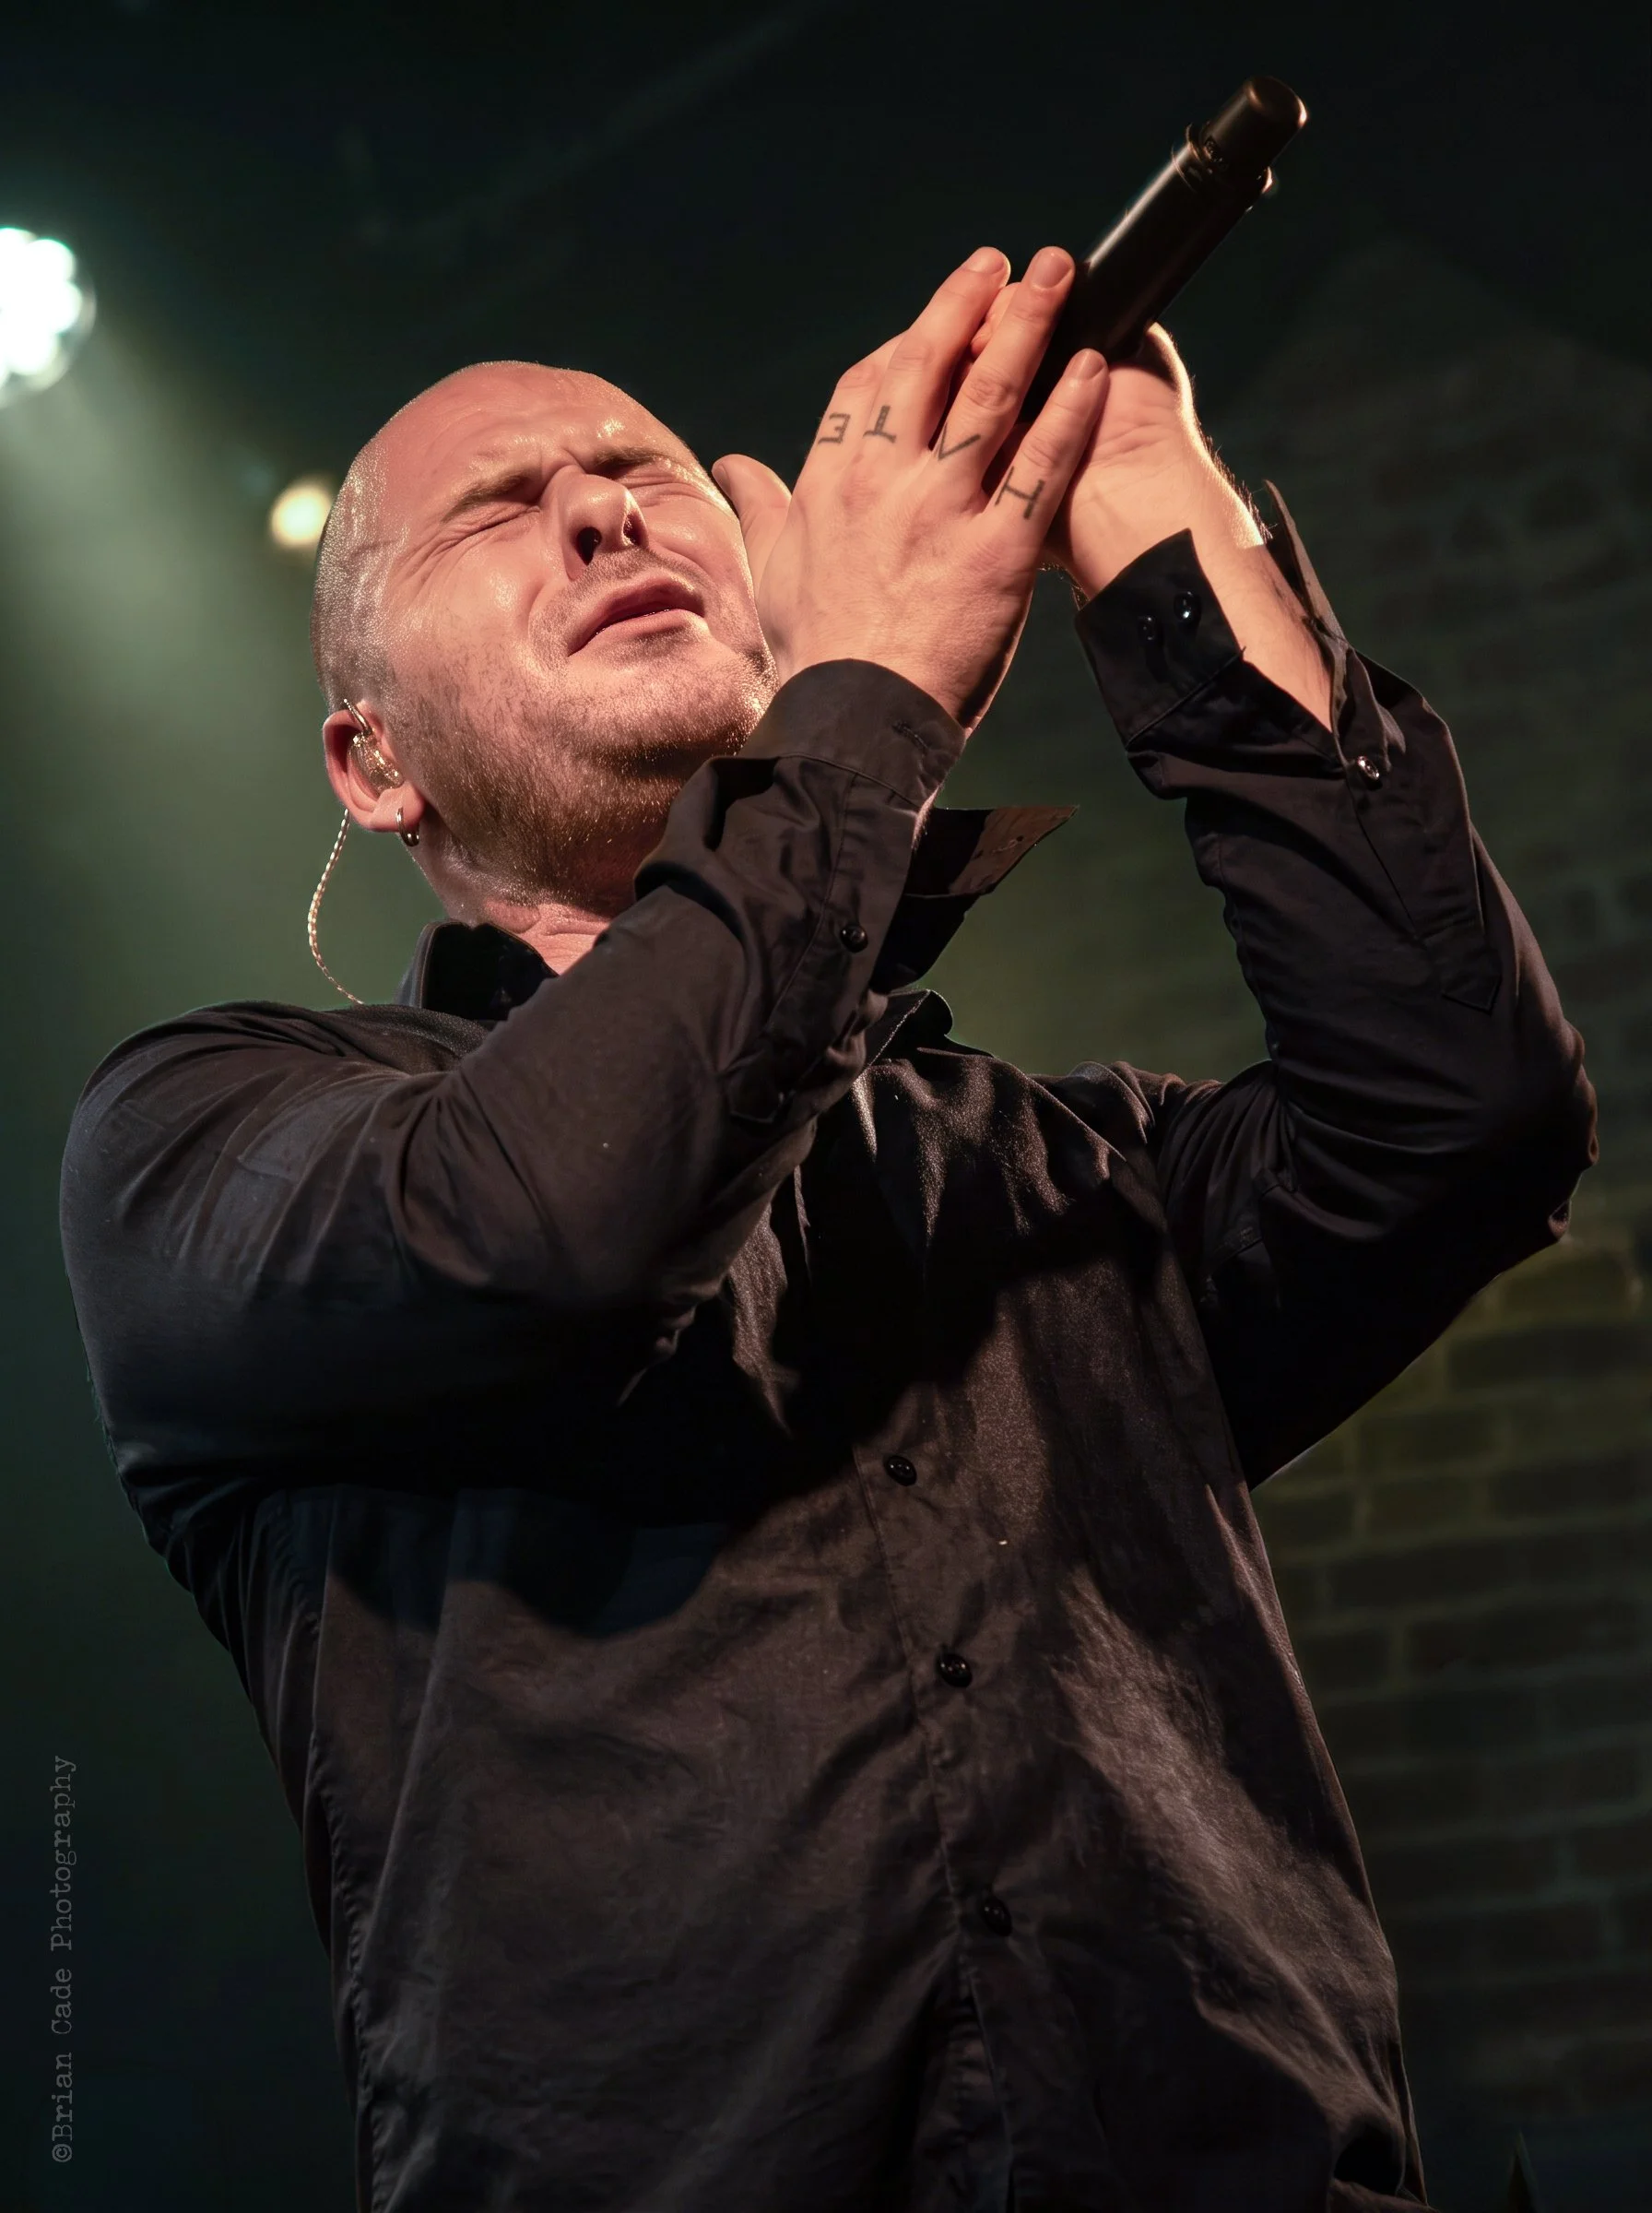
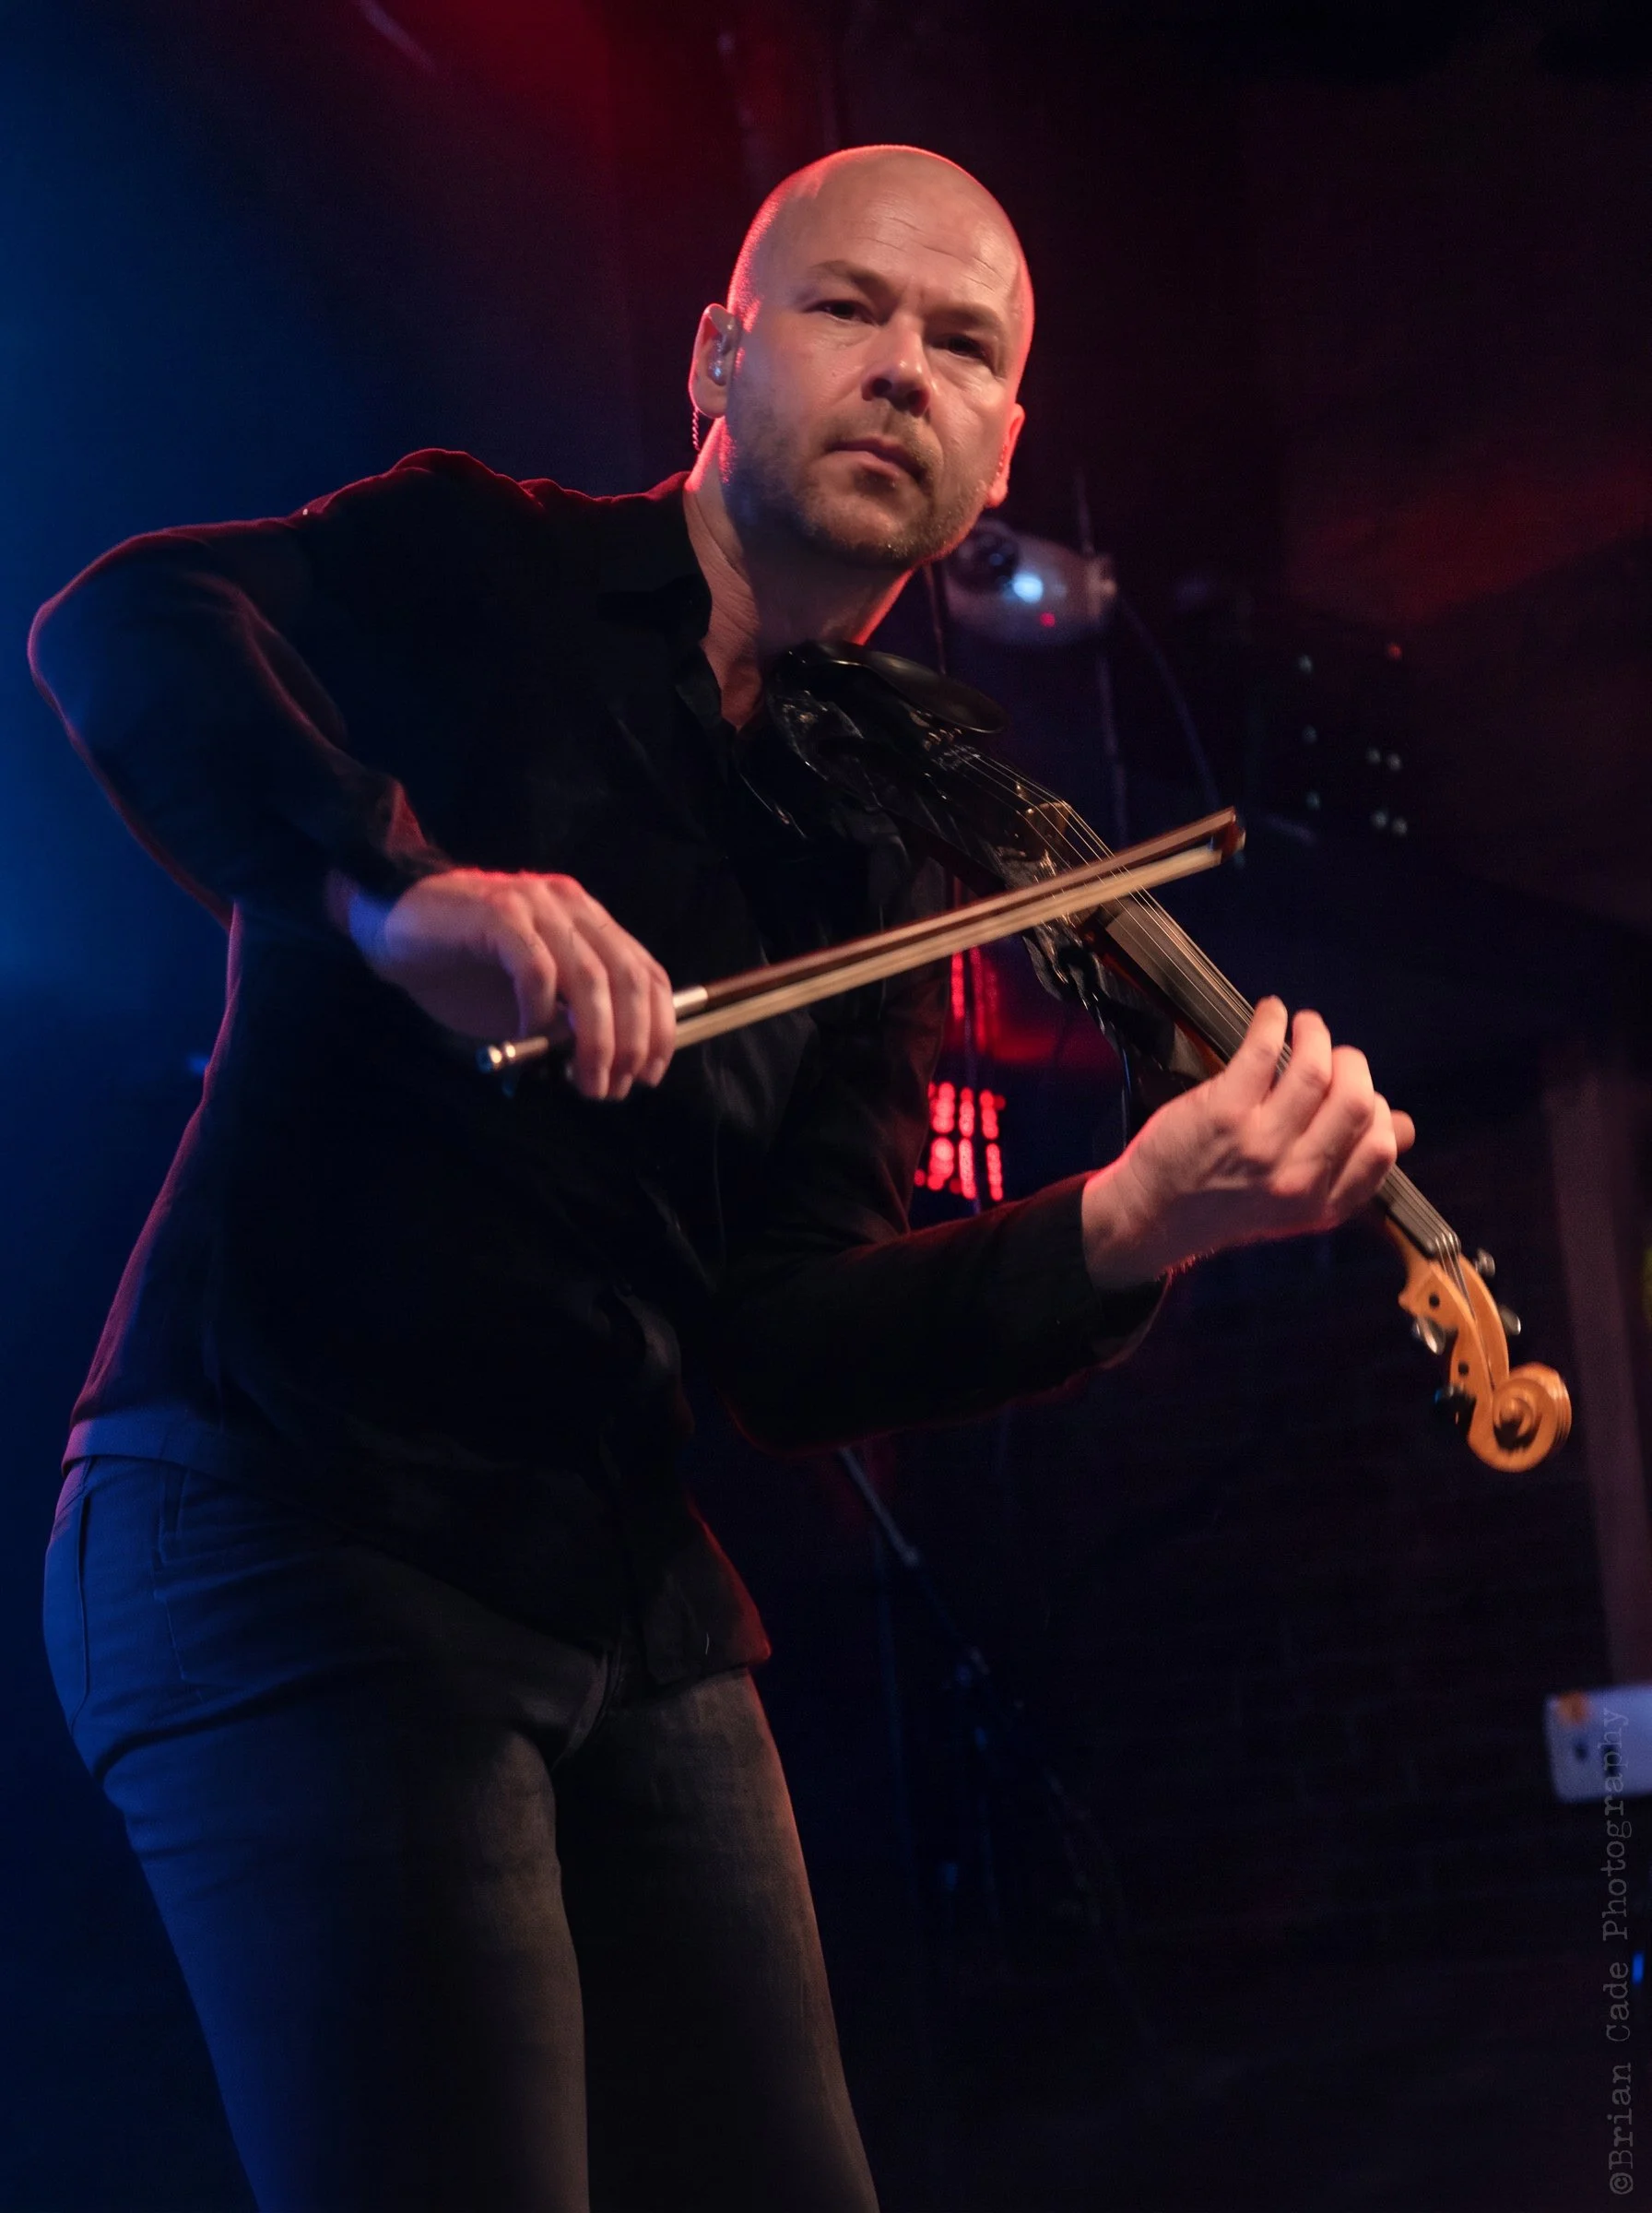
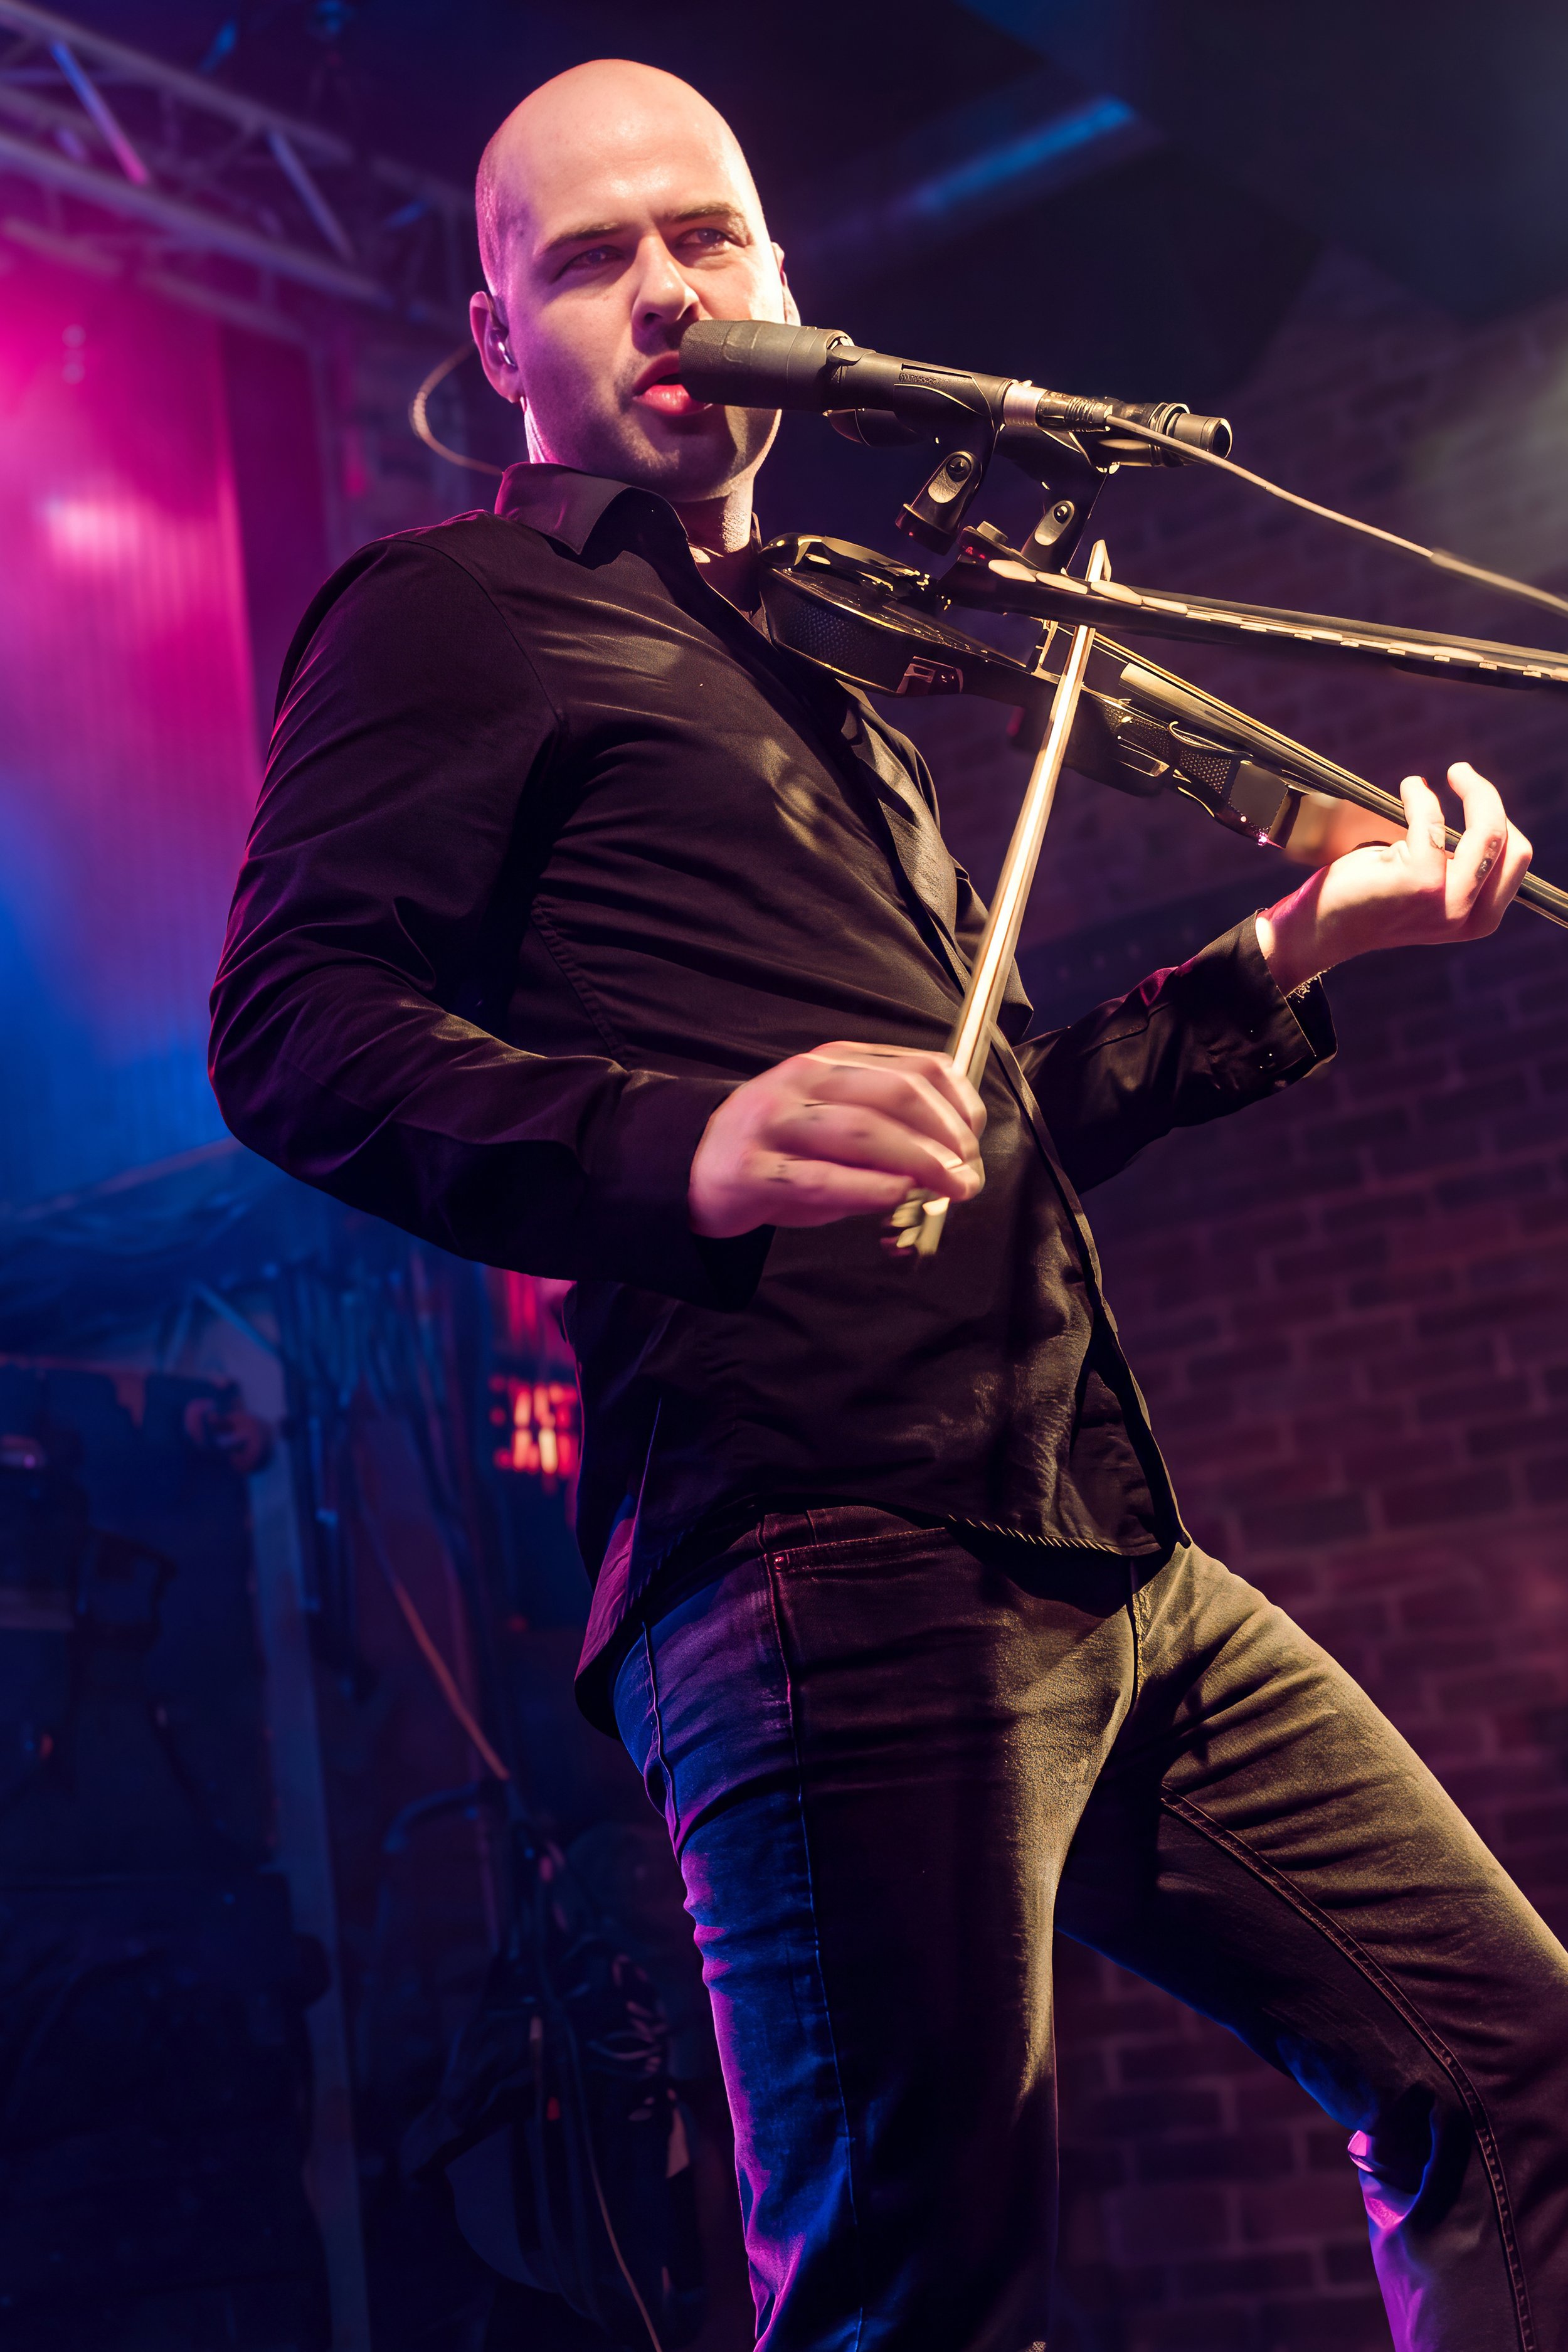
HURT
**Please note that we will add more images from this show as time permits.
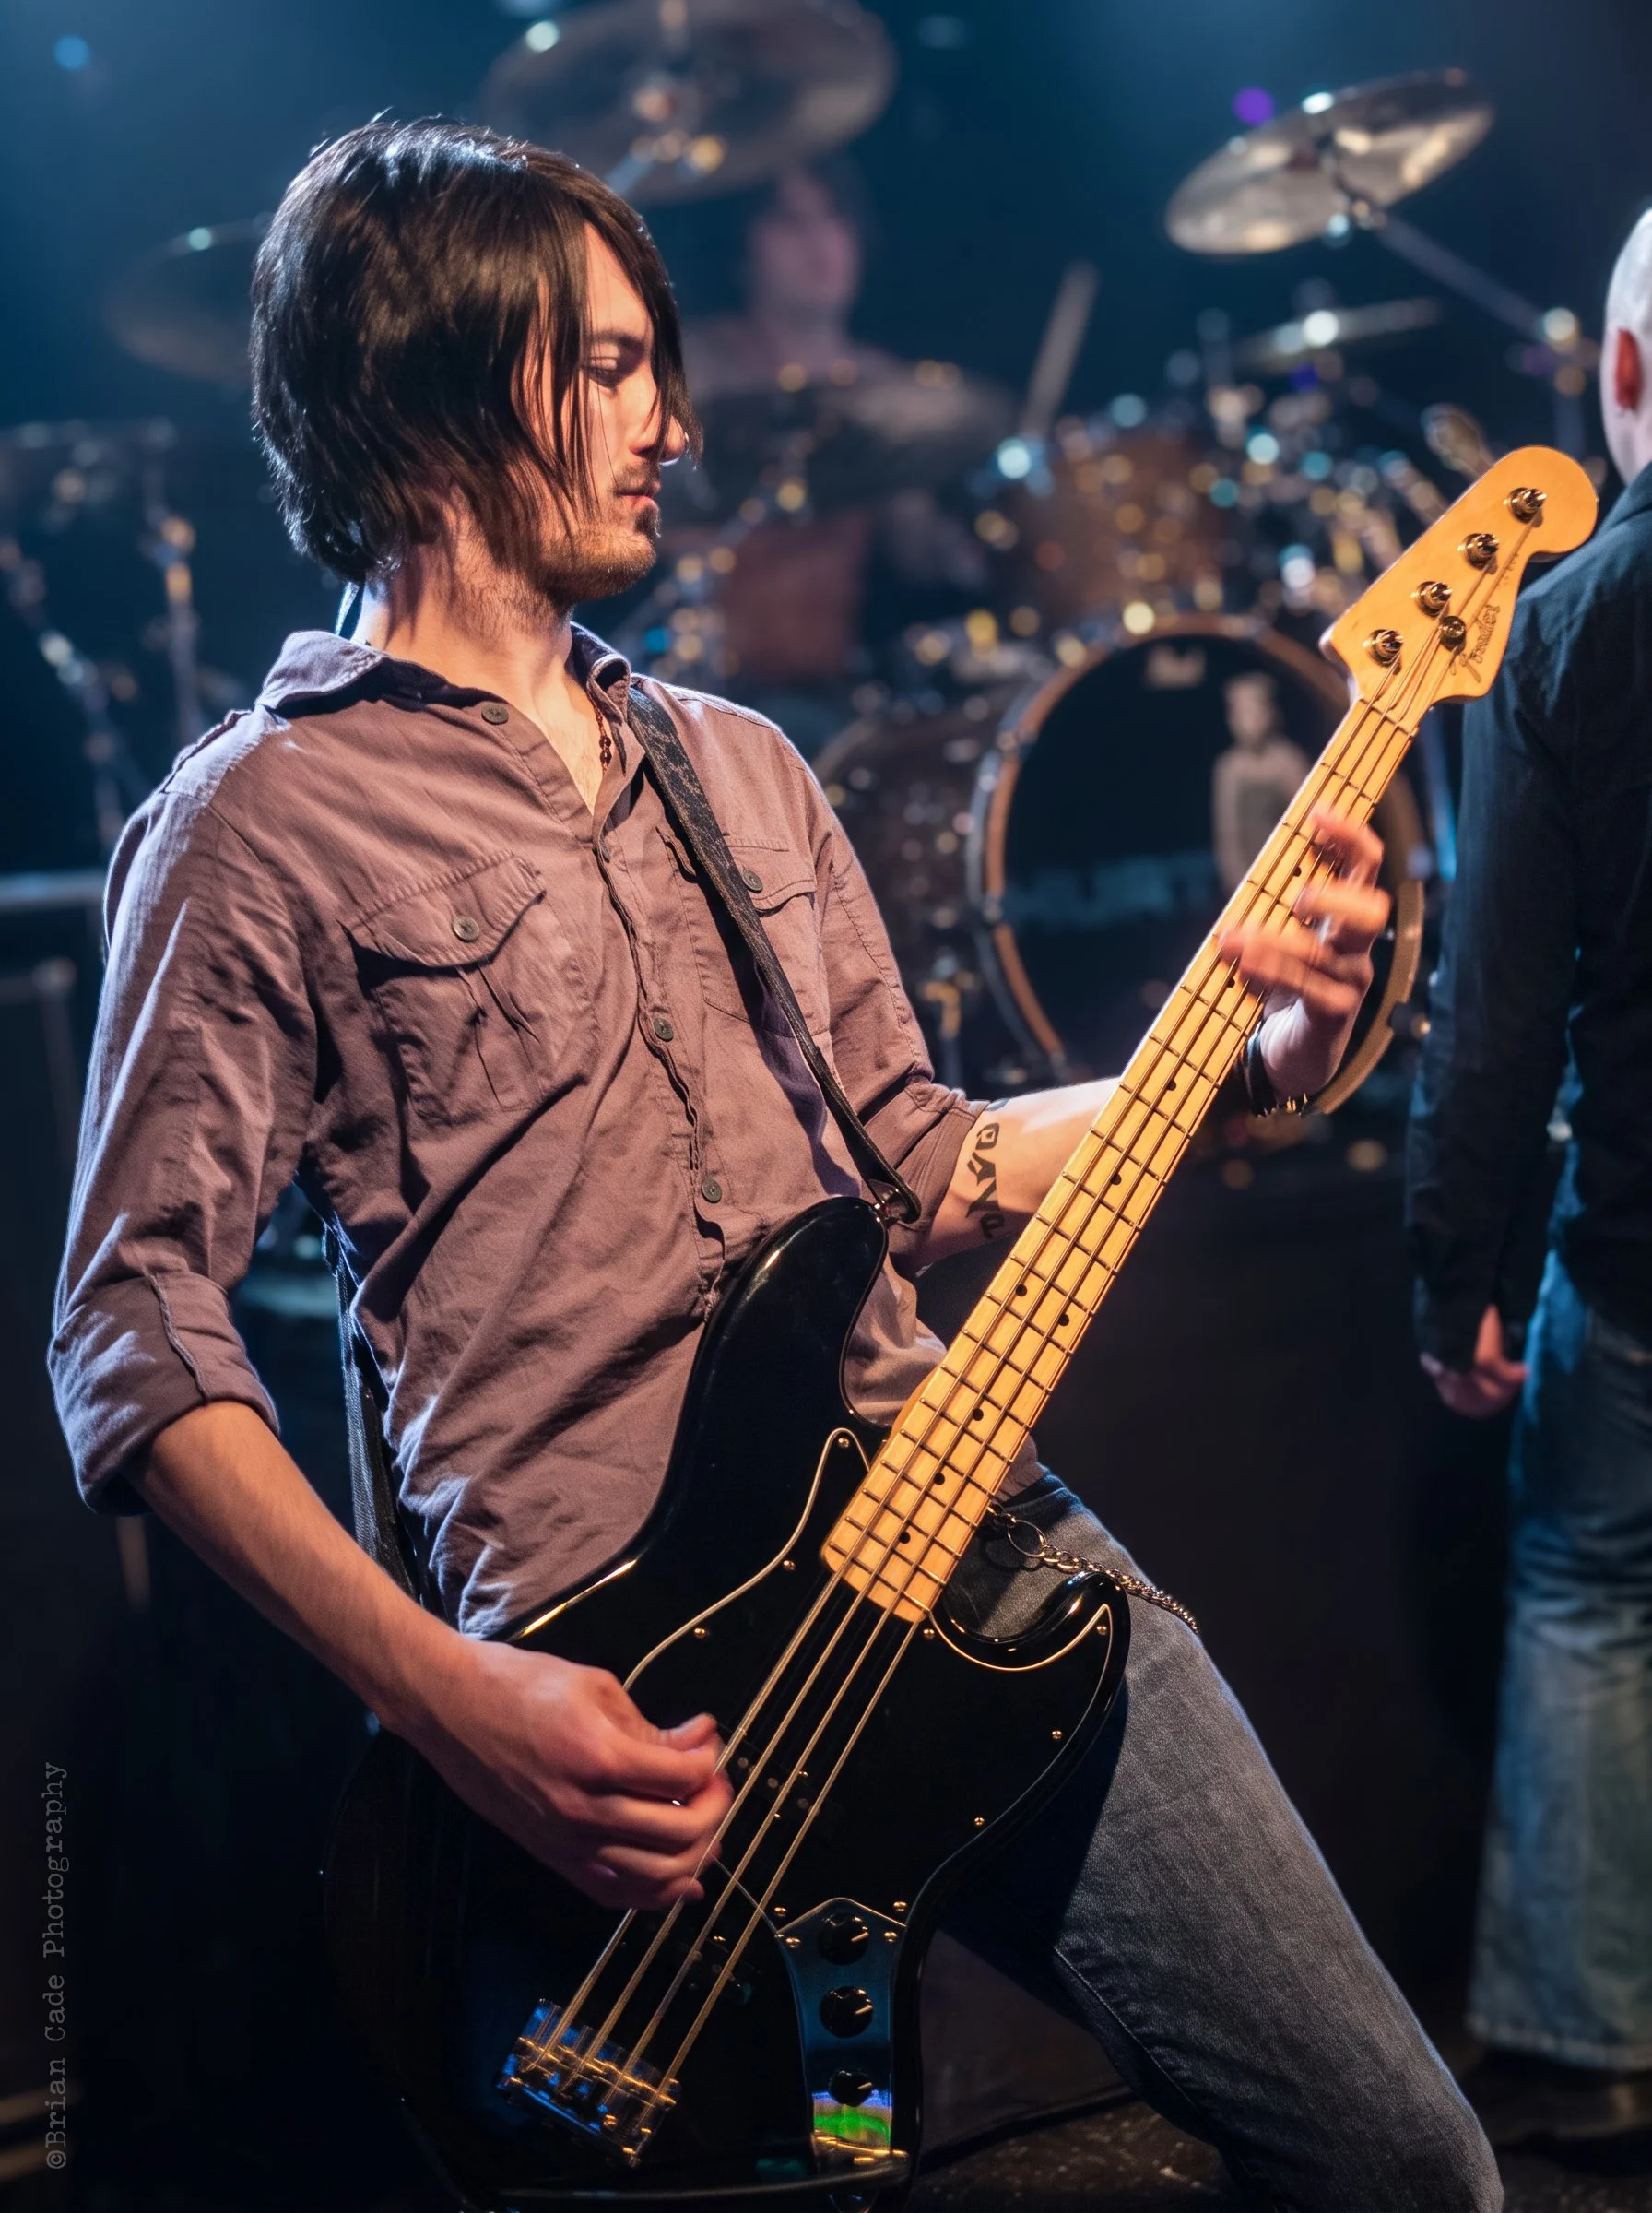
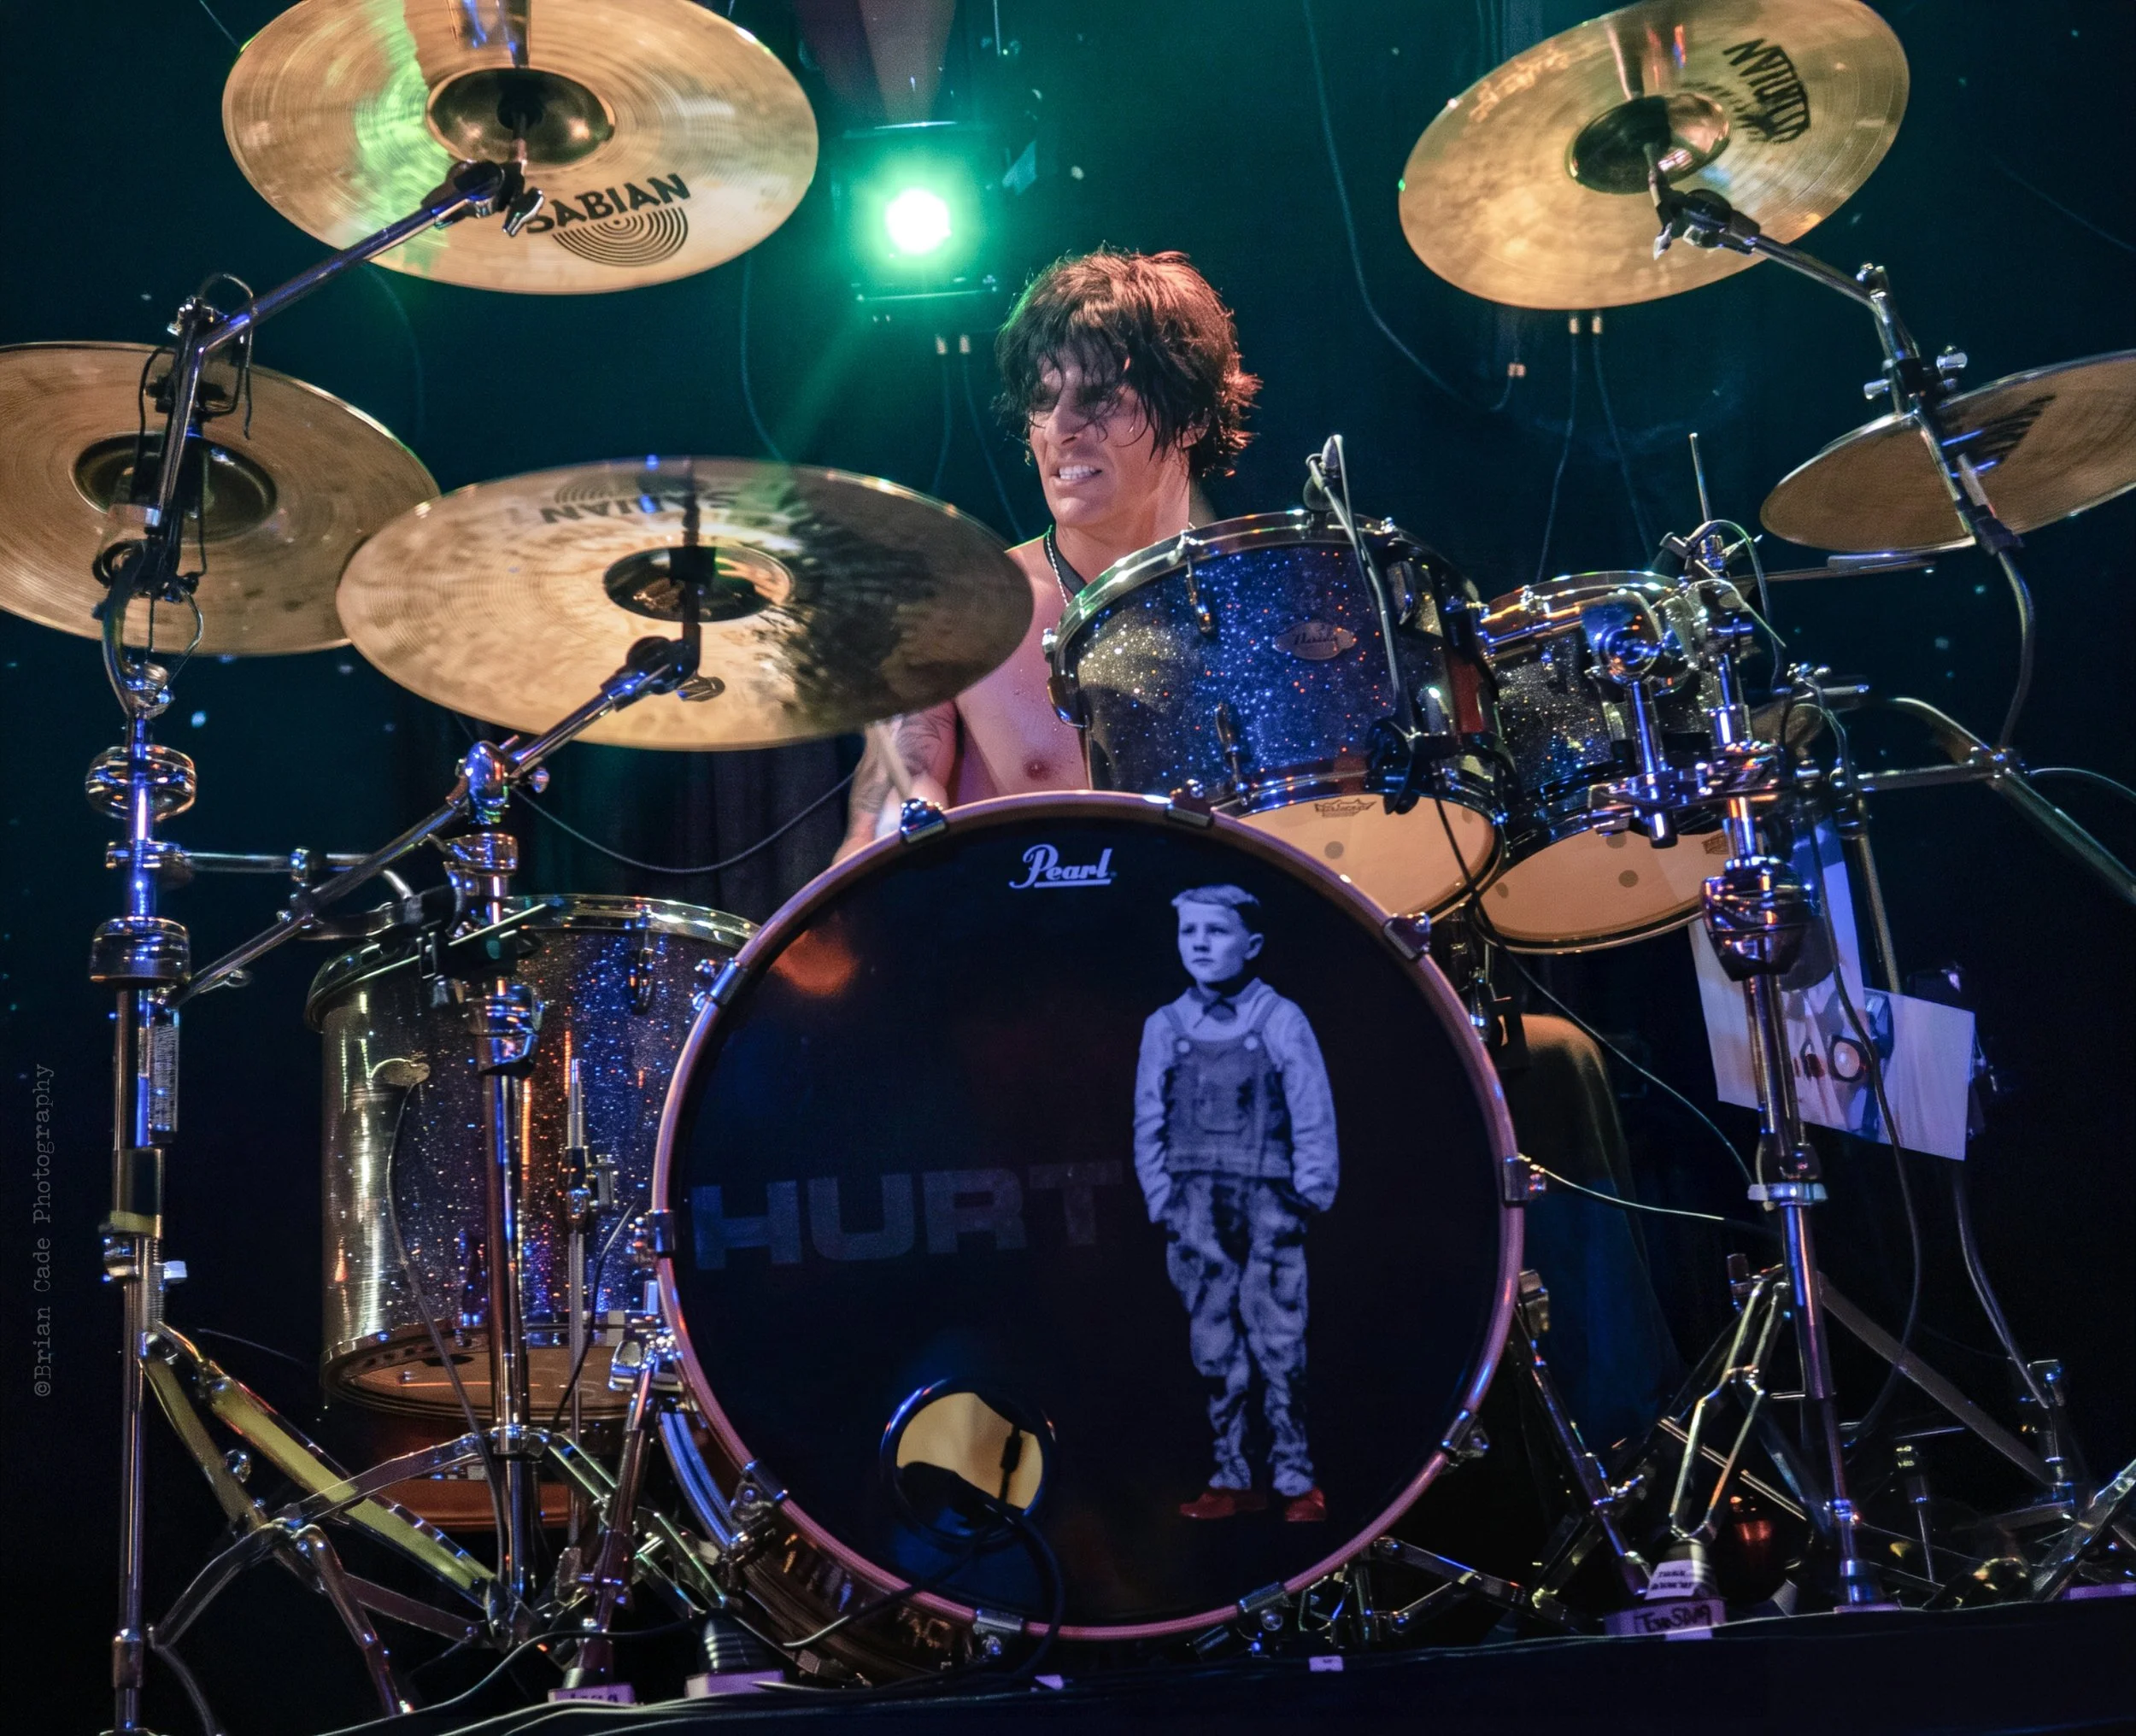
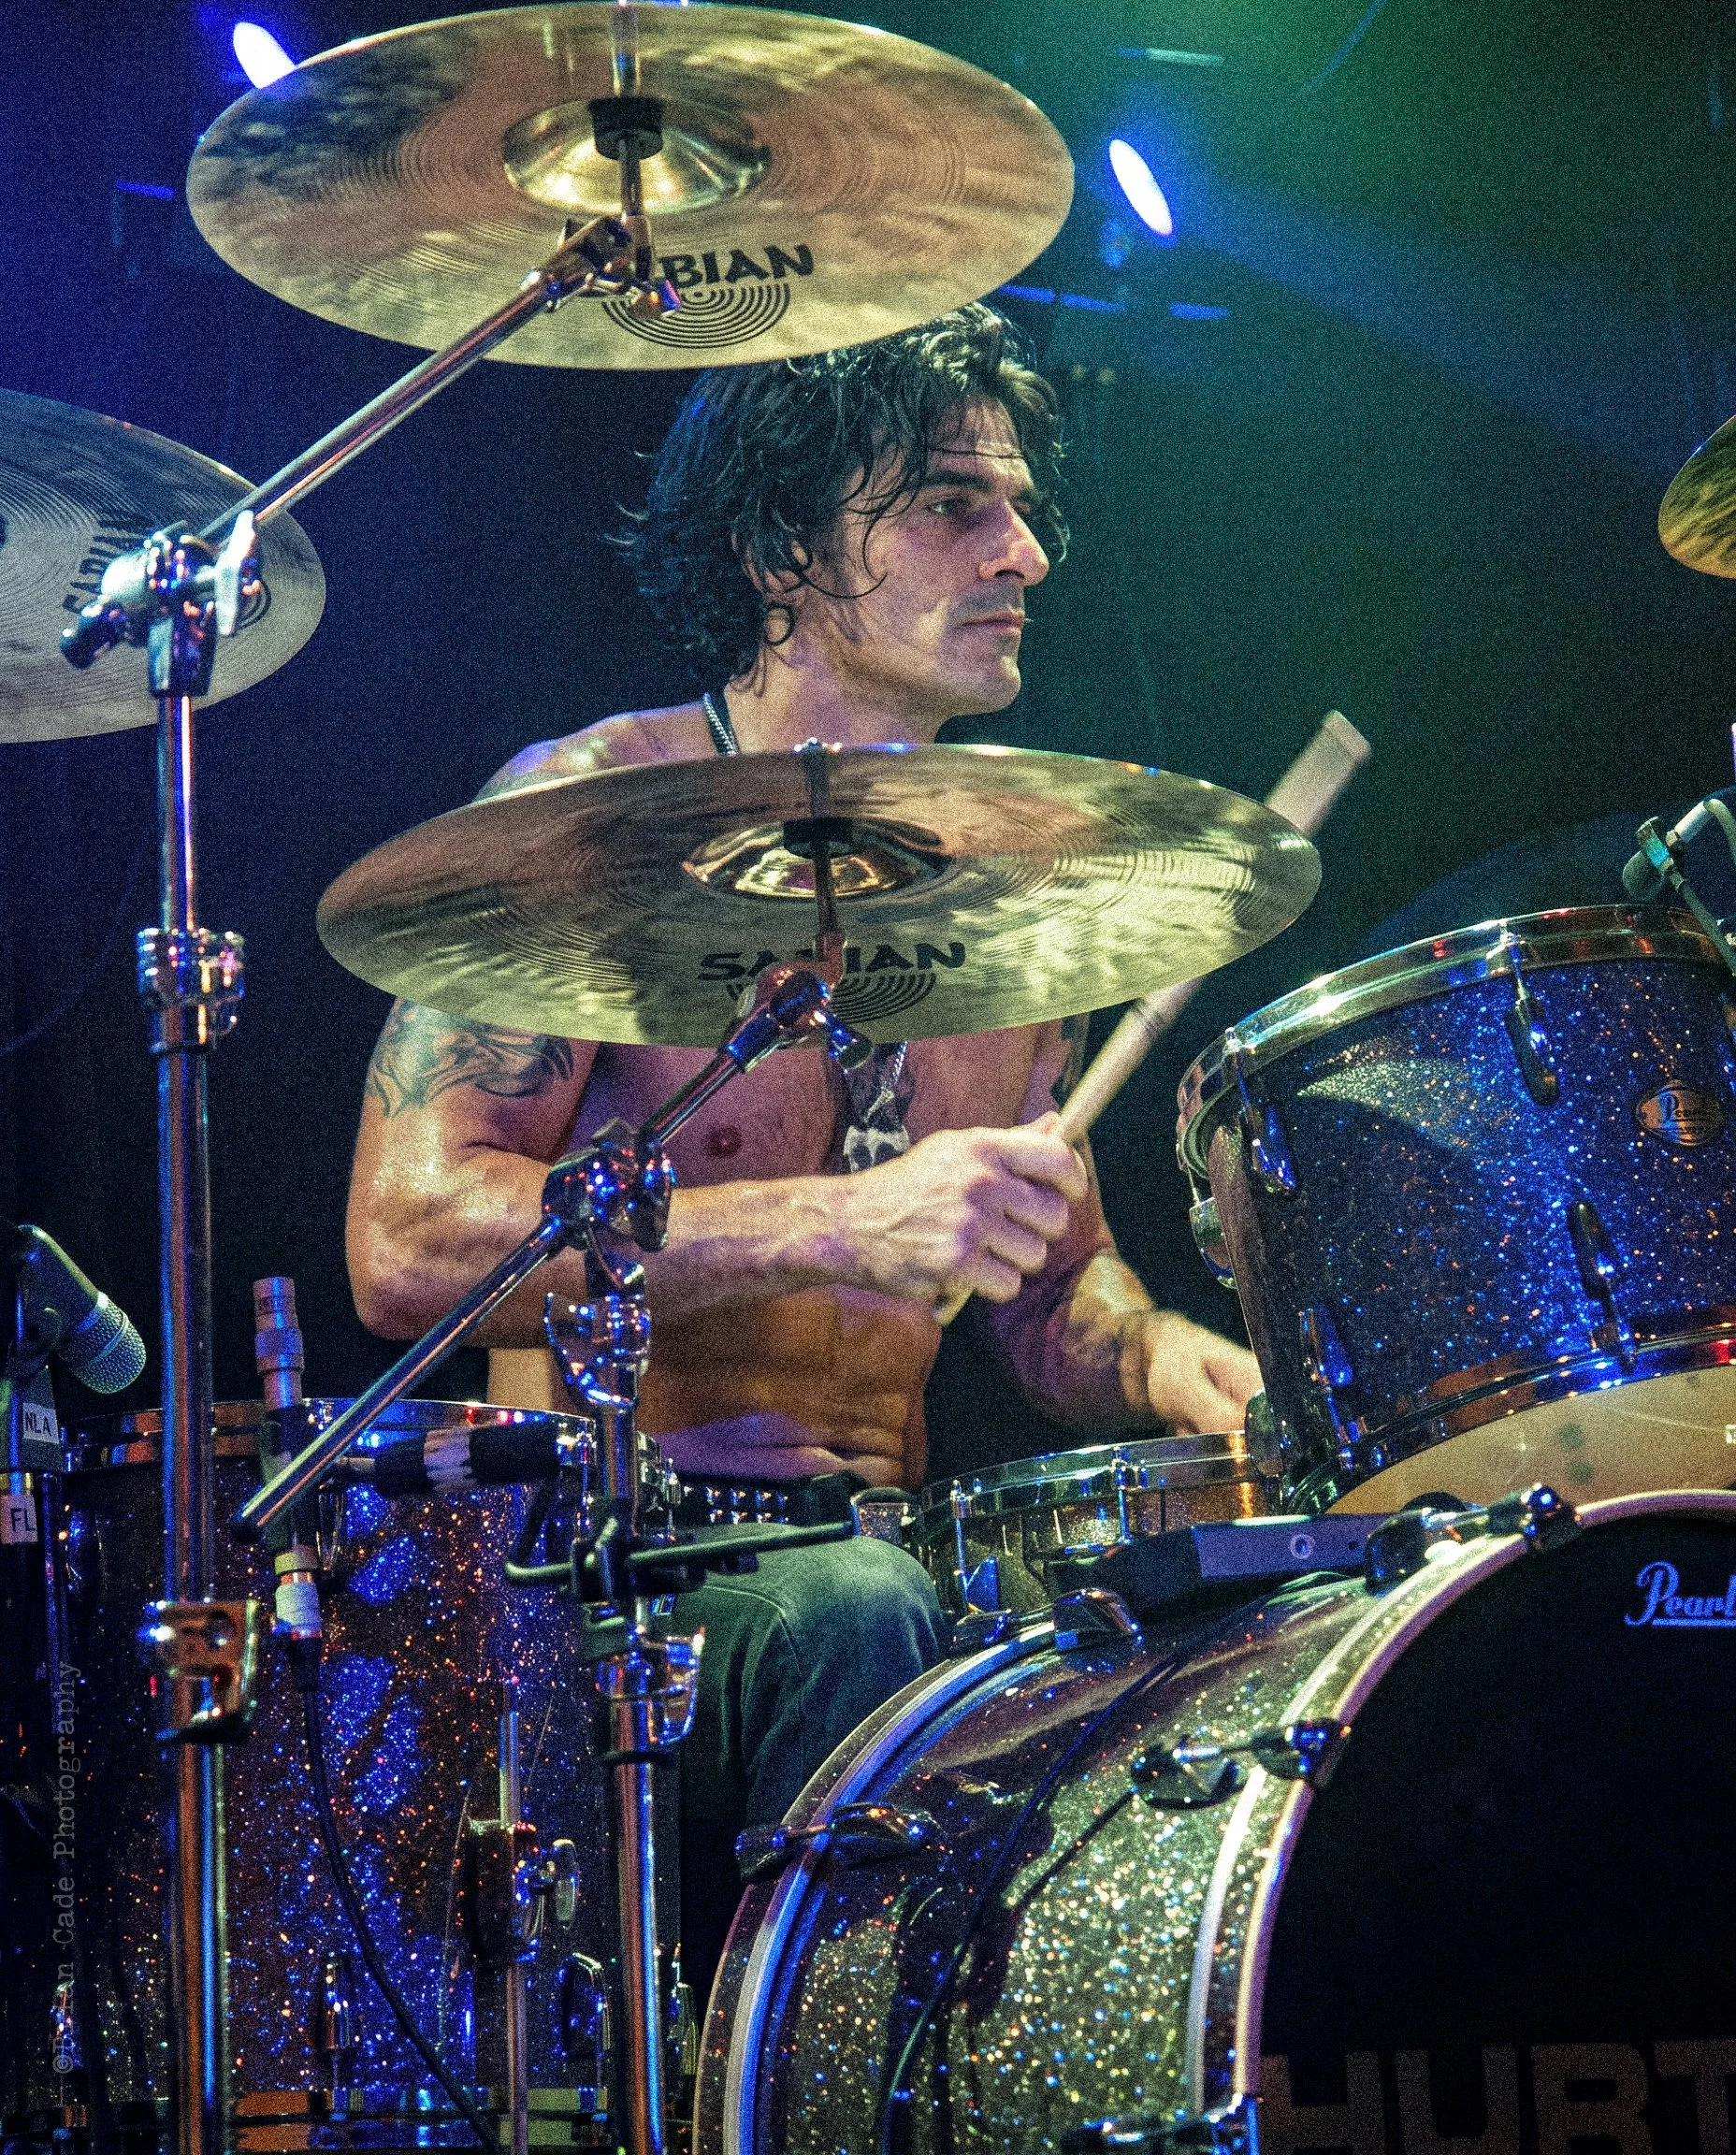
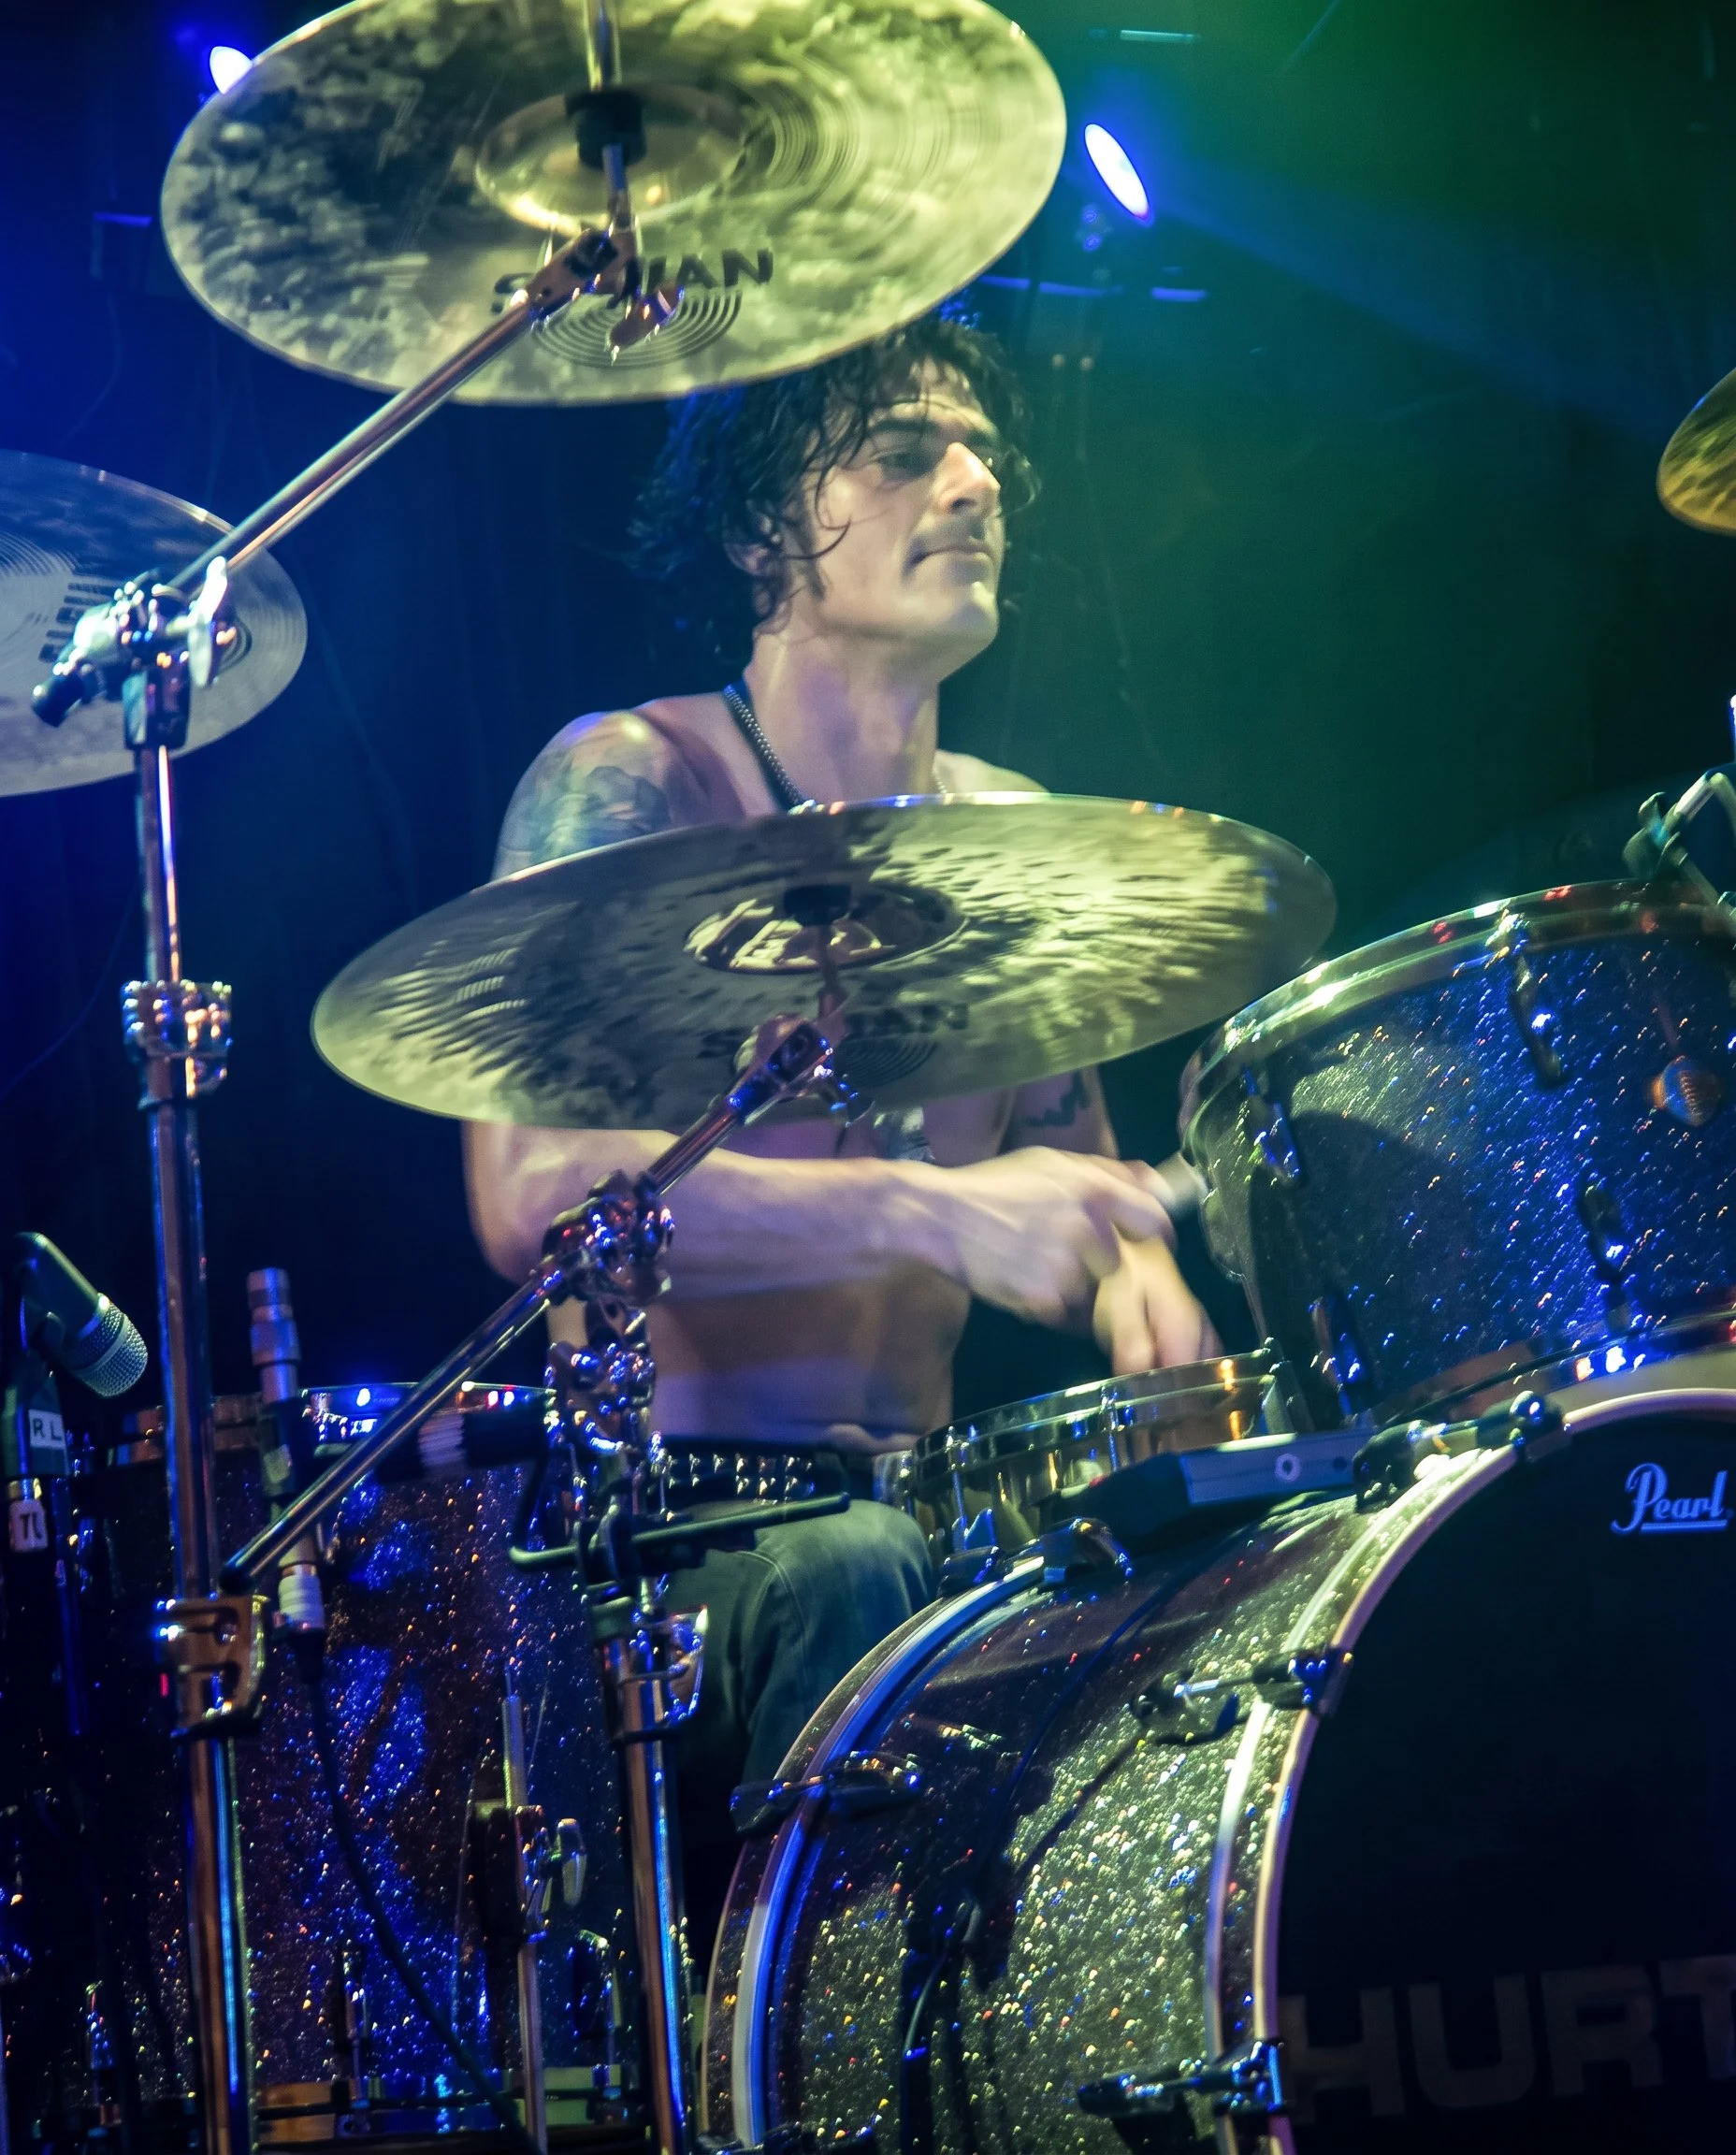
I should have been in Louisville, Kentucky, this night, reporting on my good friends in Stereoside (there’s an interesting story associated with that as well); instead, my friend and fellow shutterbug, Shannon Lindsay from MUEN Magazine, asked whether I would like to cover a band from Virginia called Hurt; of course, I seized the opportunity, we were heading to Johnson City, TN, to a club called Capone’s.
**Please note that we will add more images from this show as time permits.

Megadeth: 2009 Endgame Tour
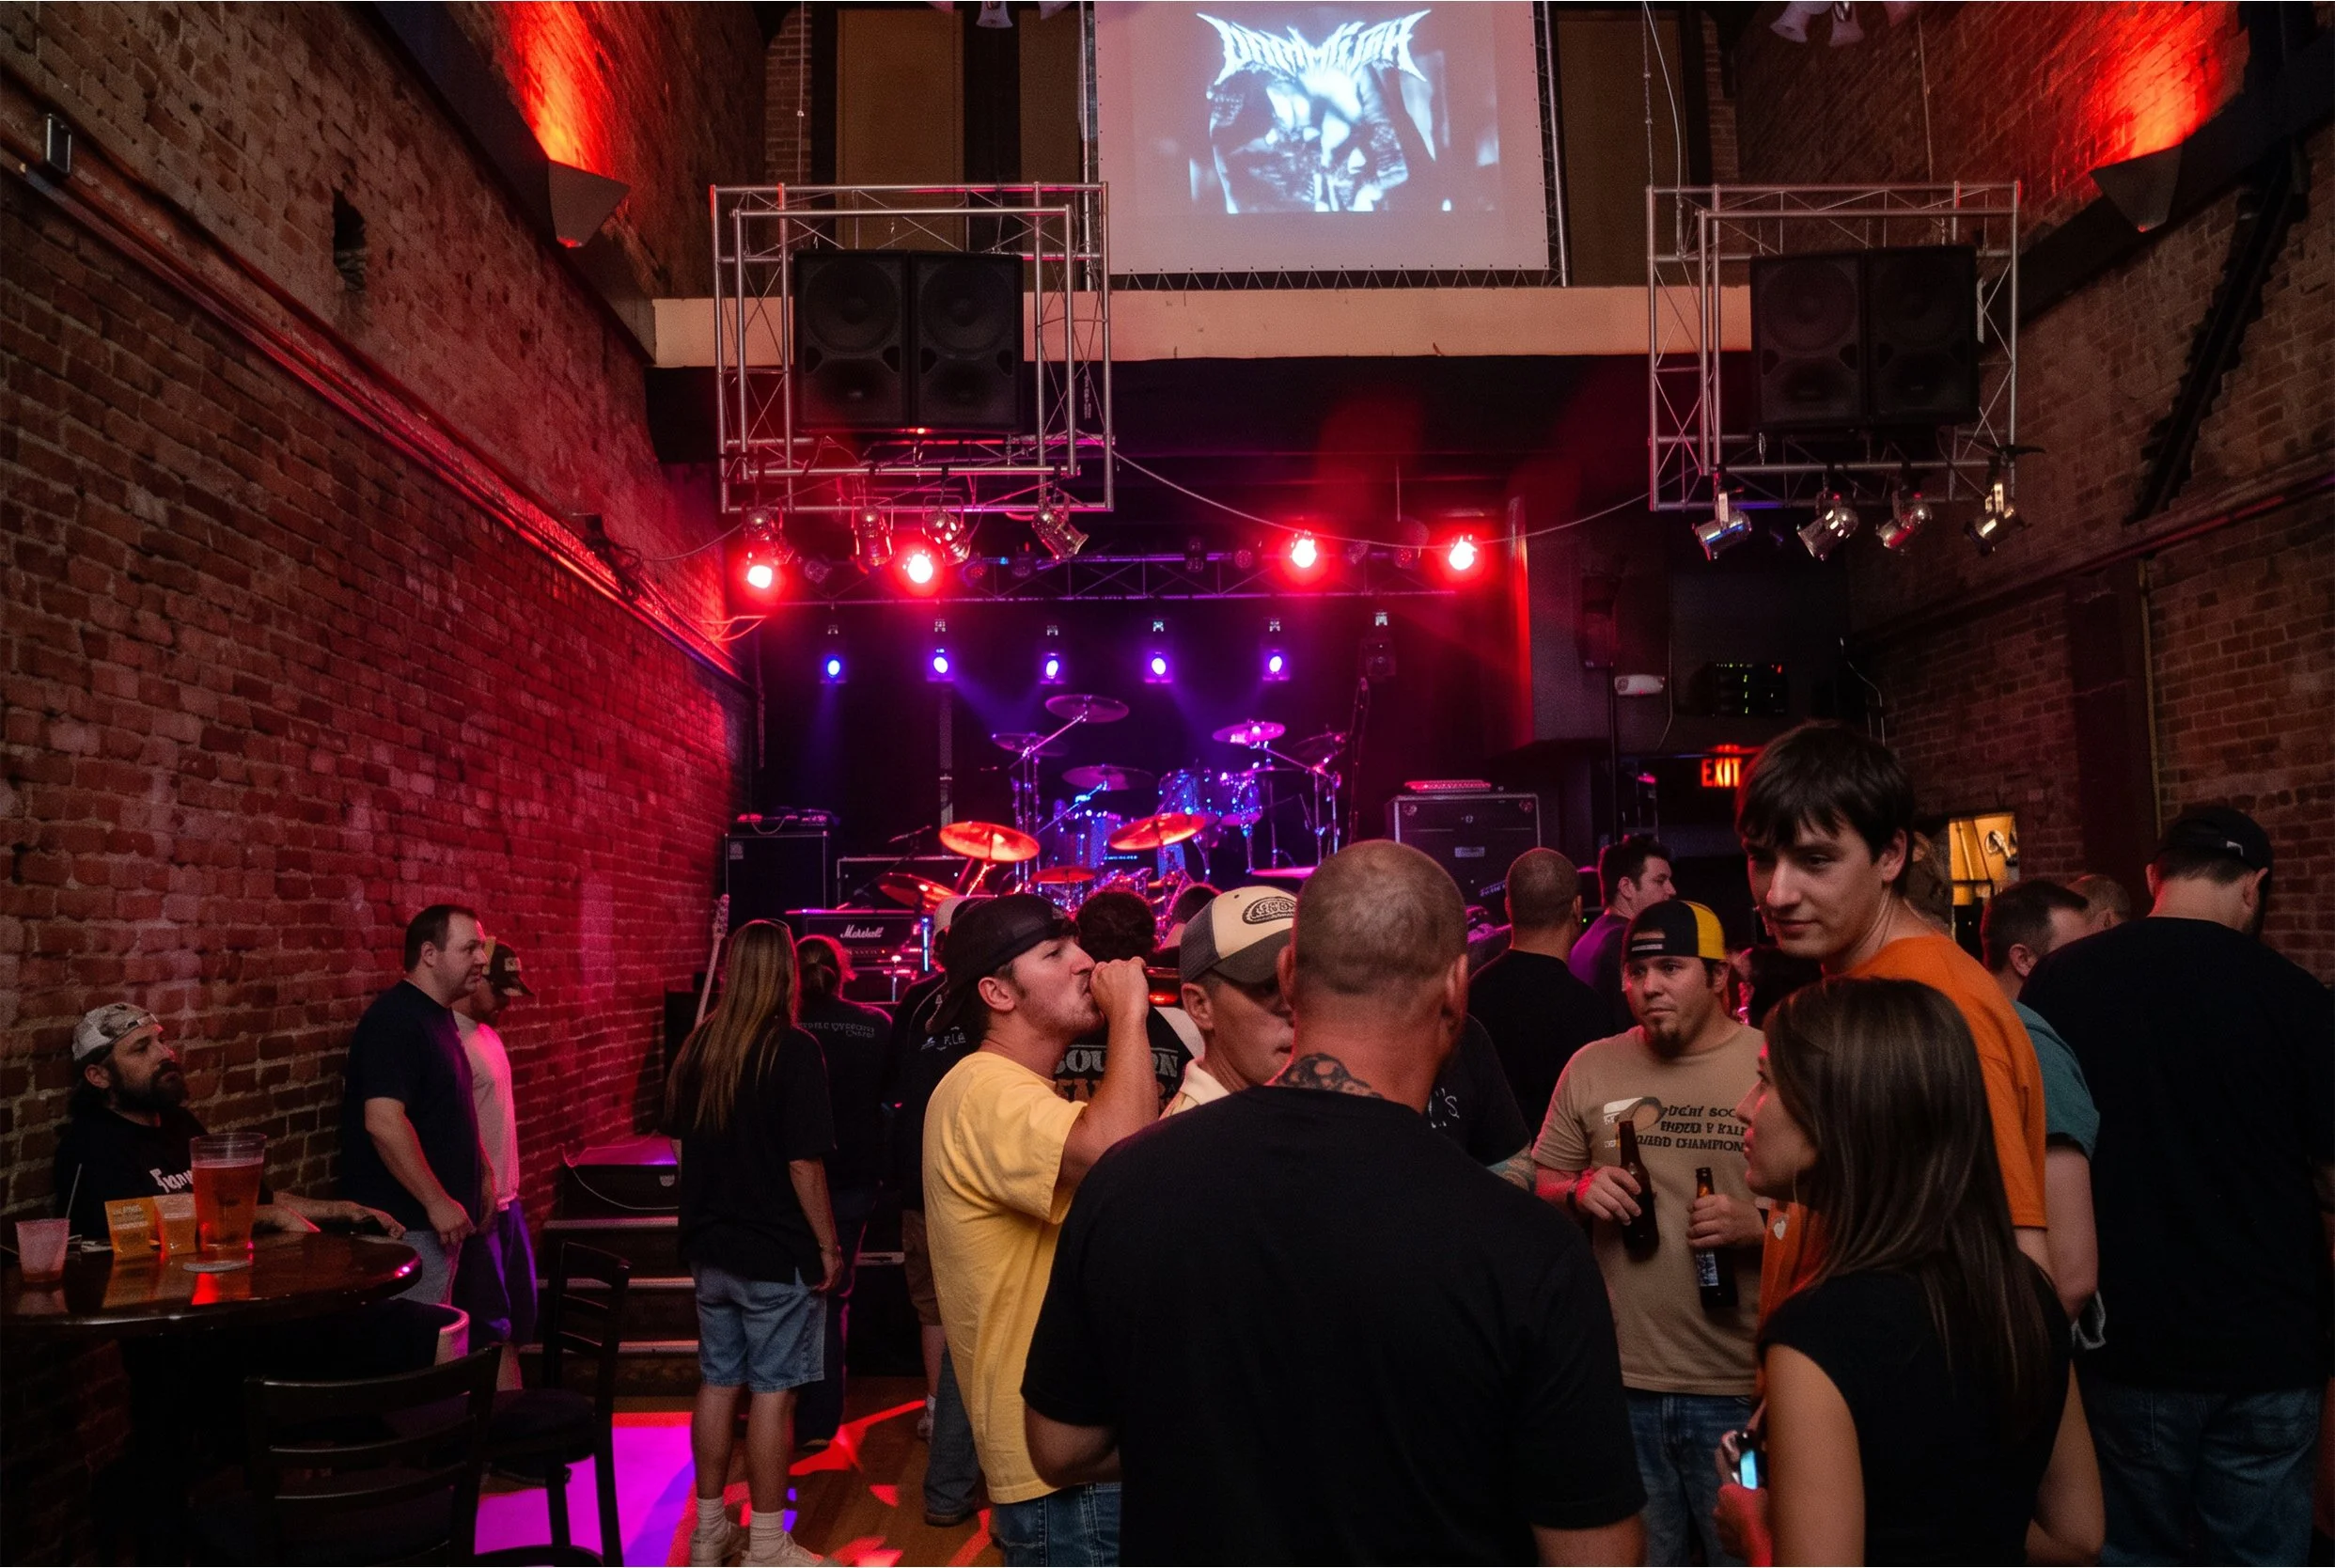
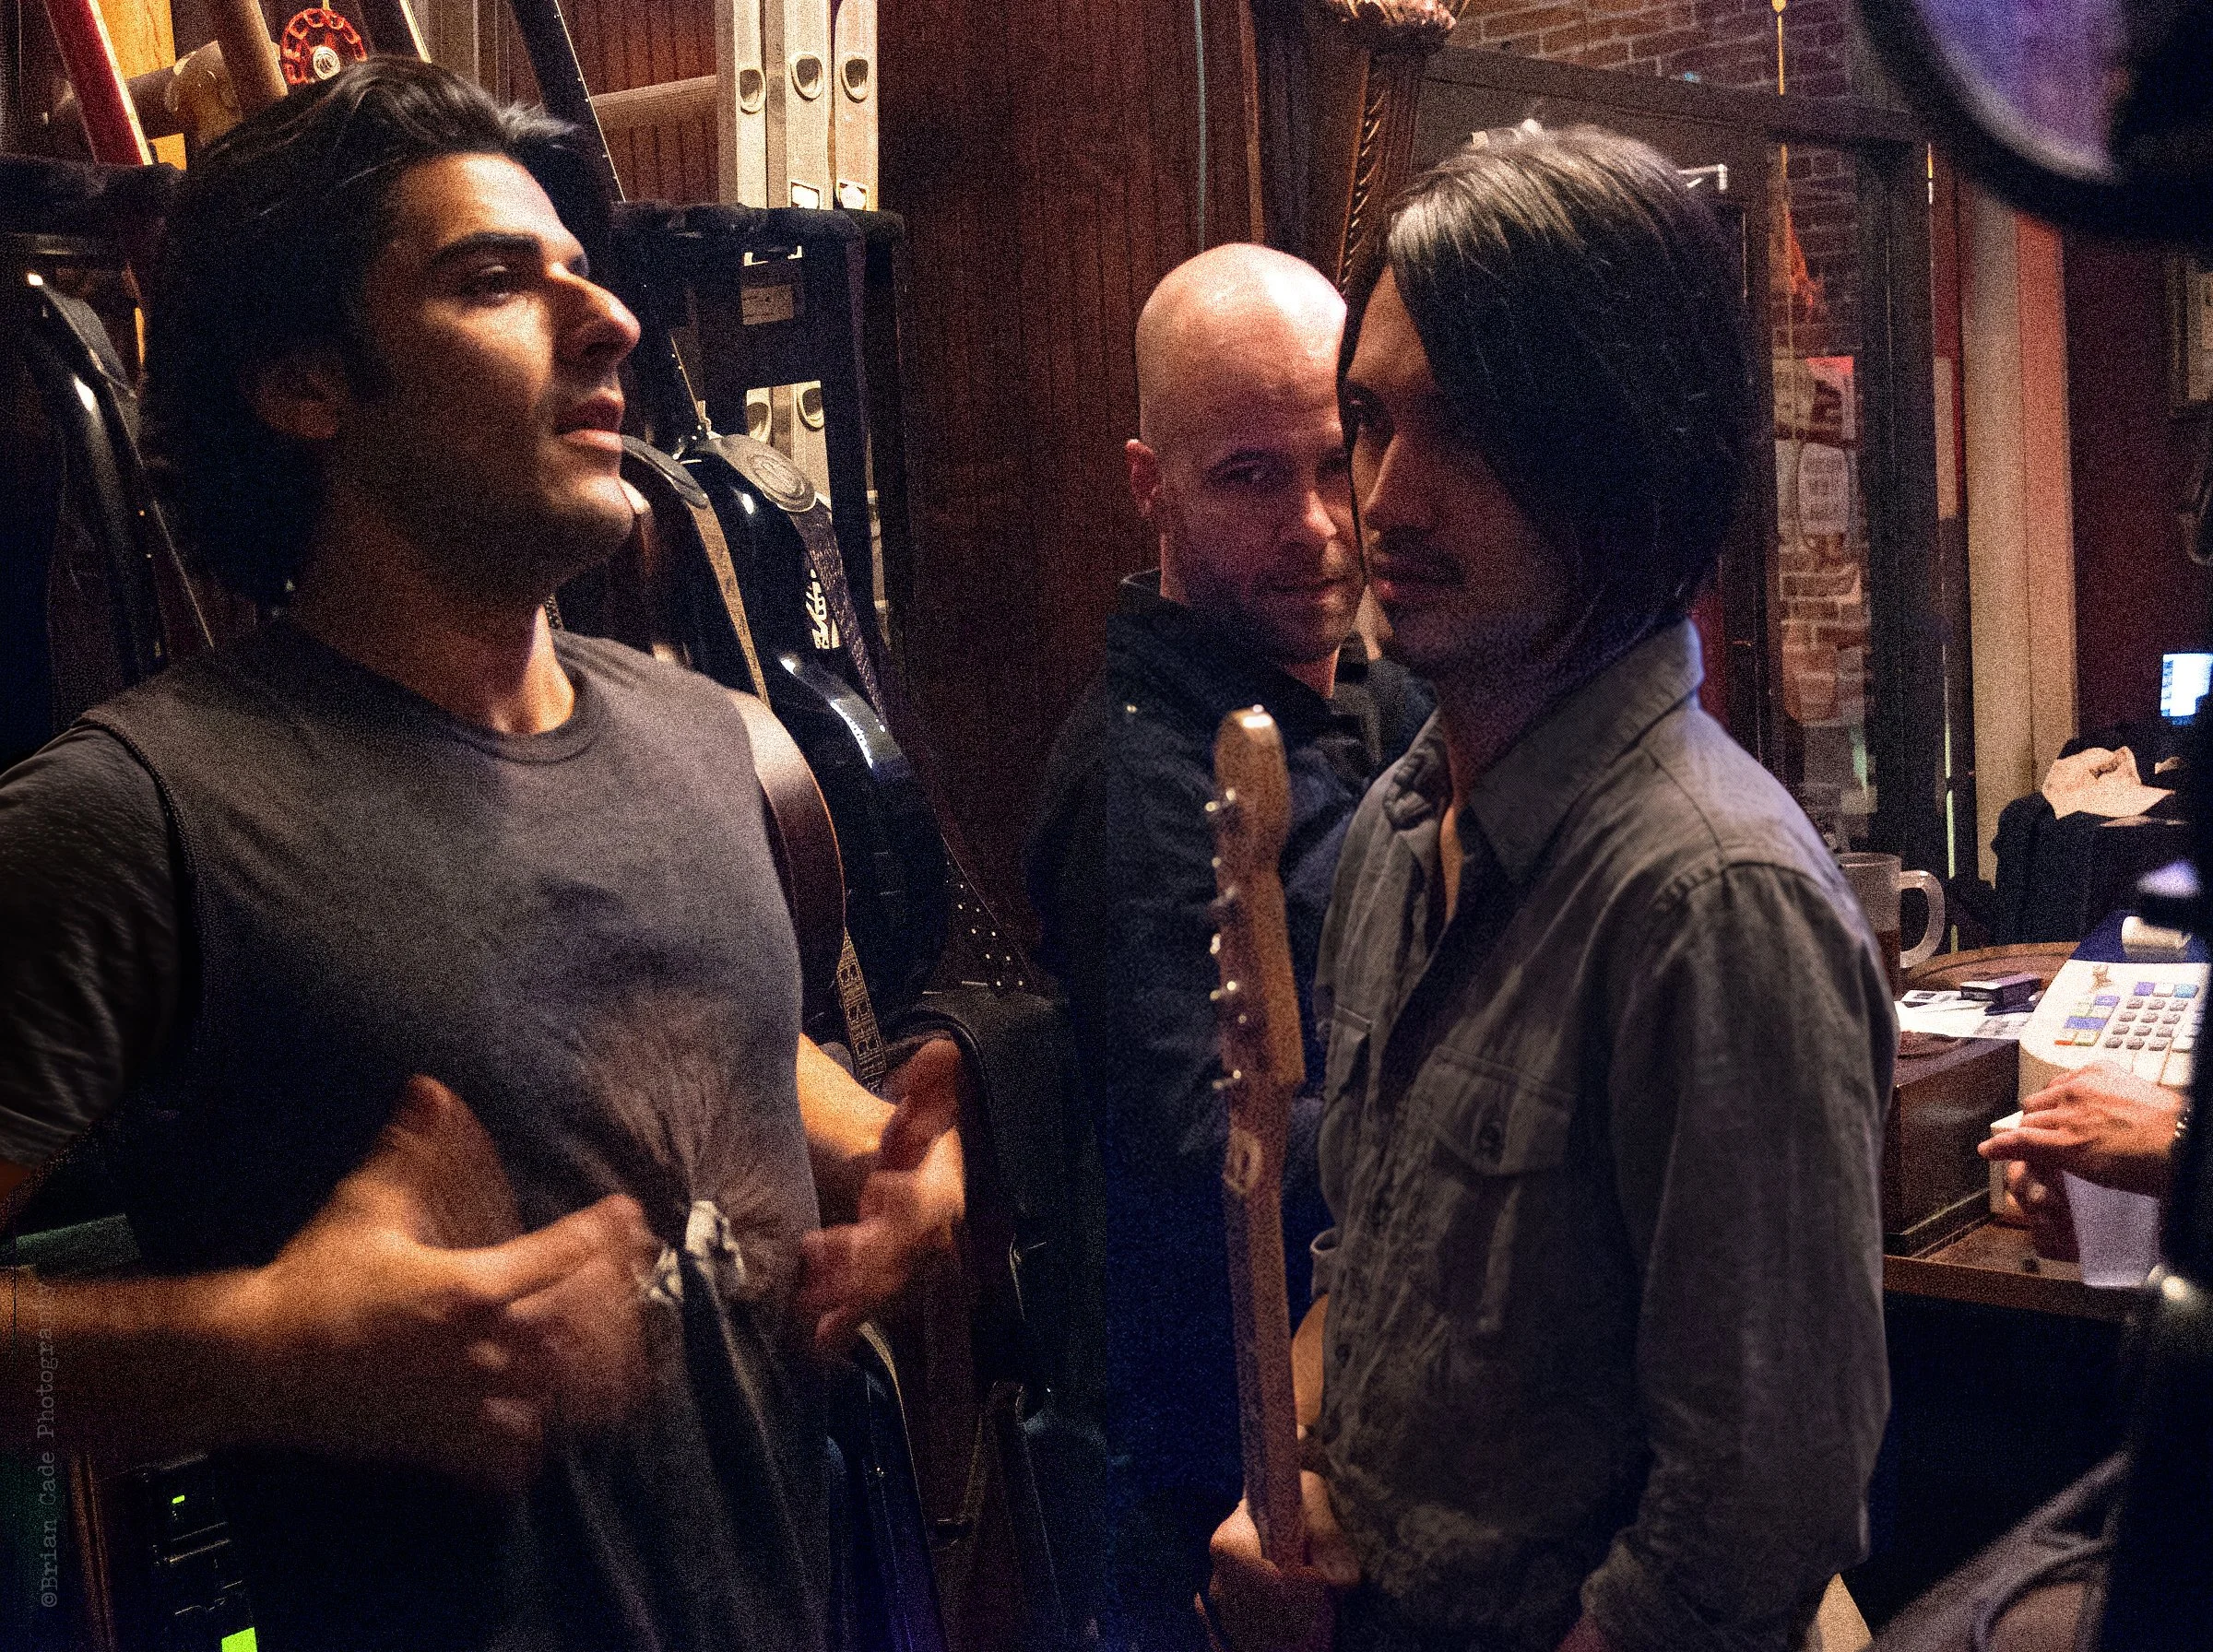
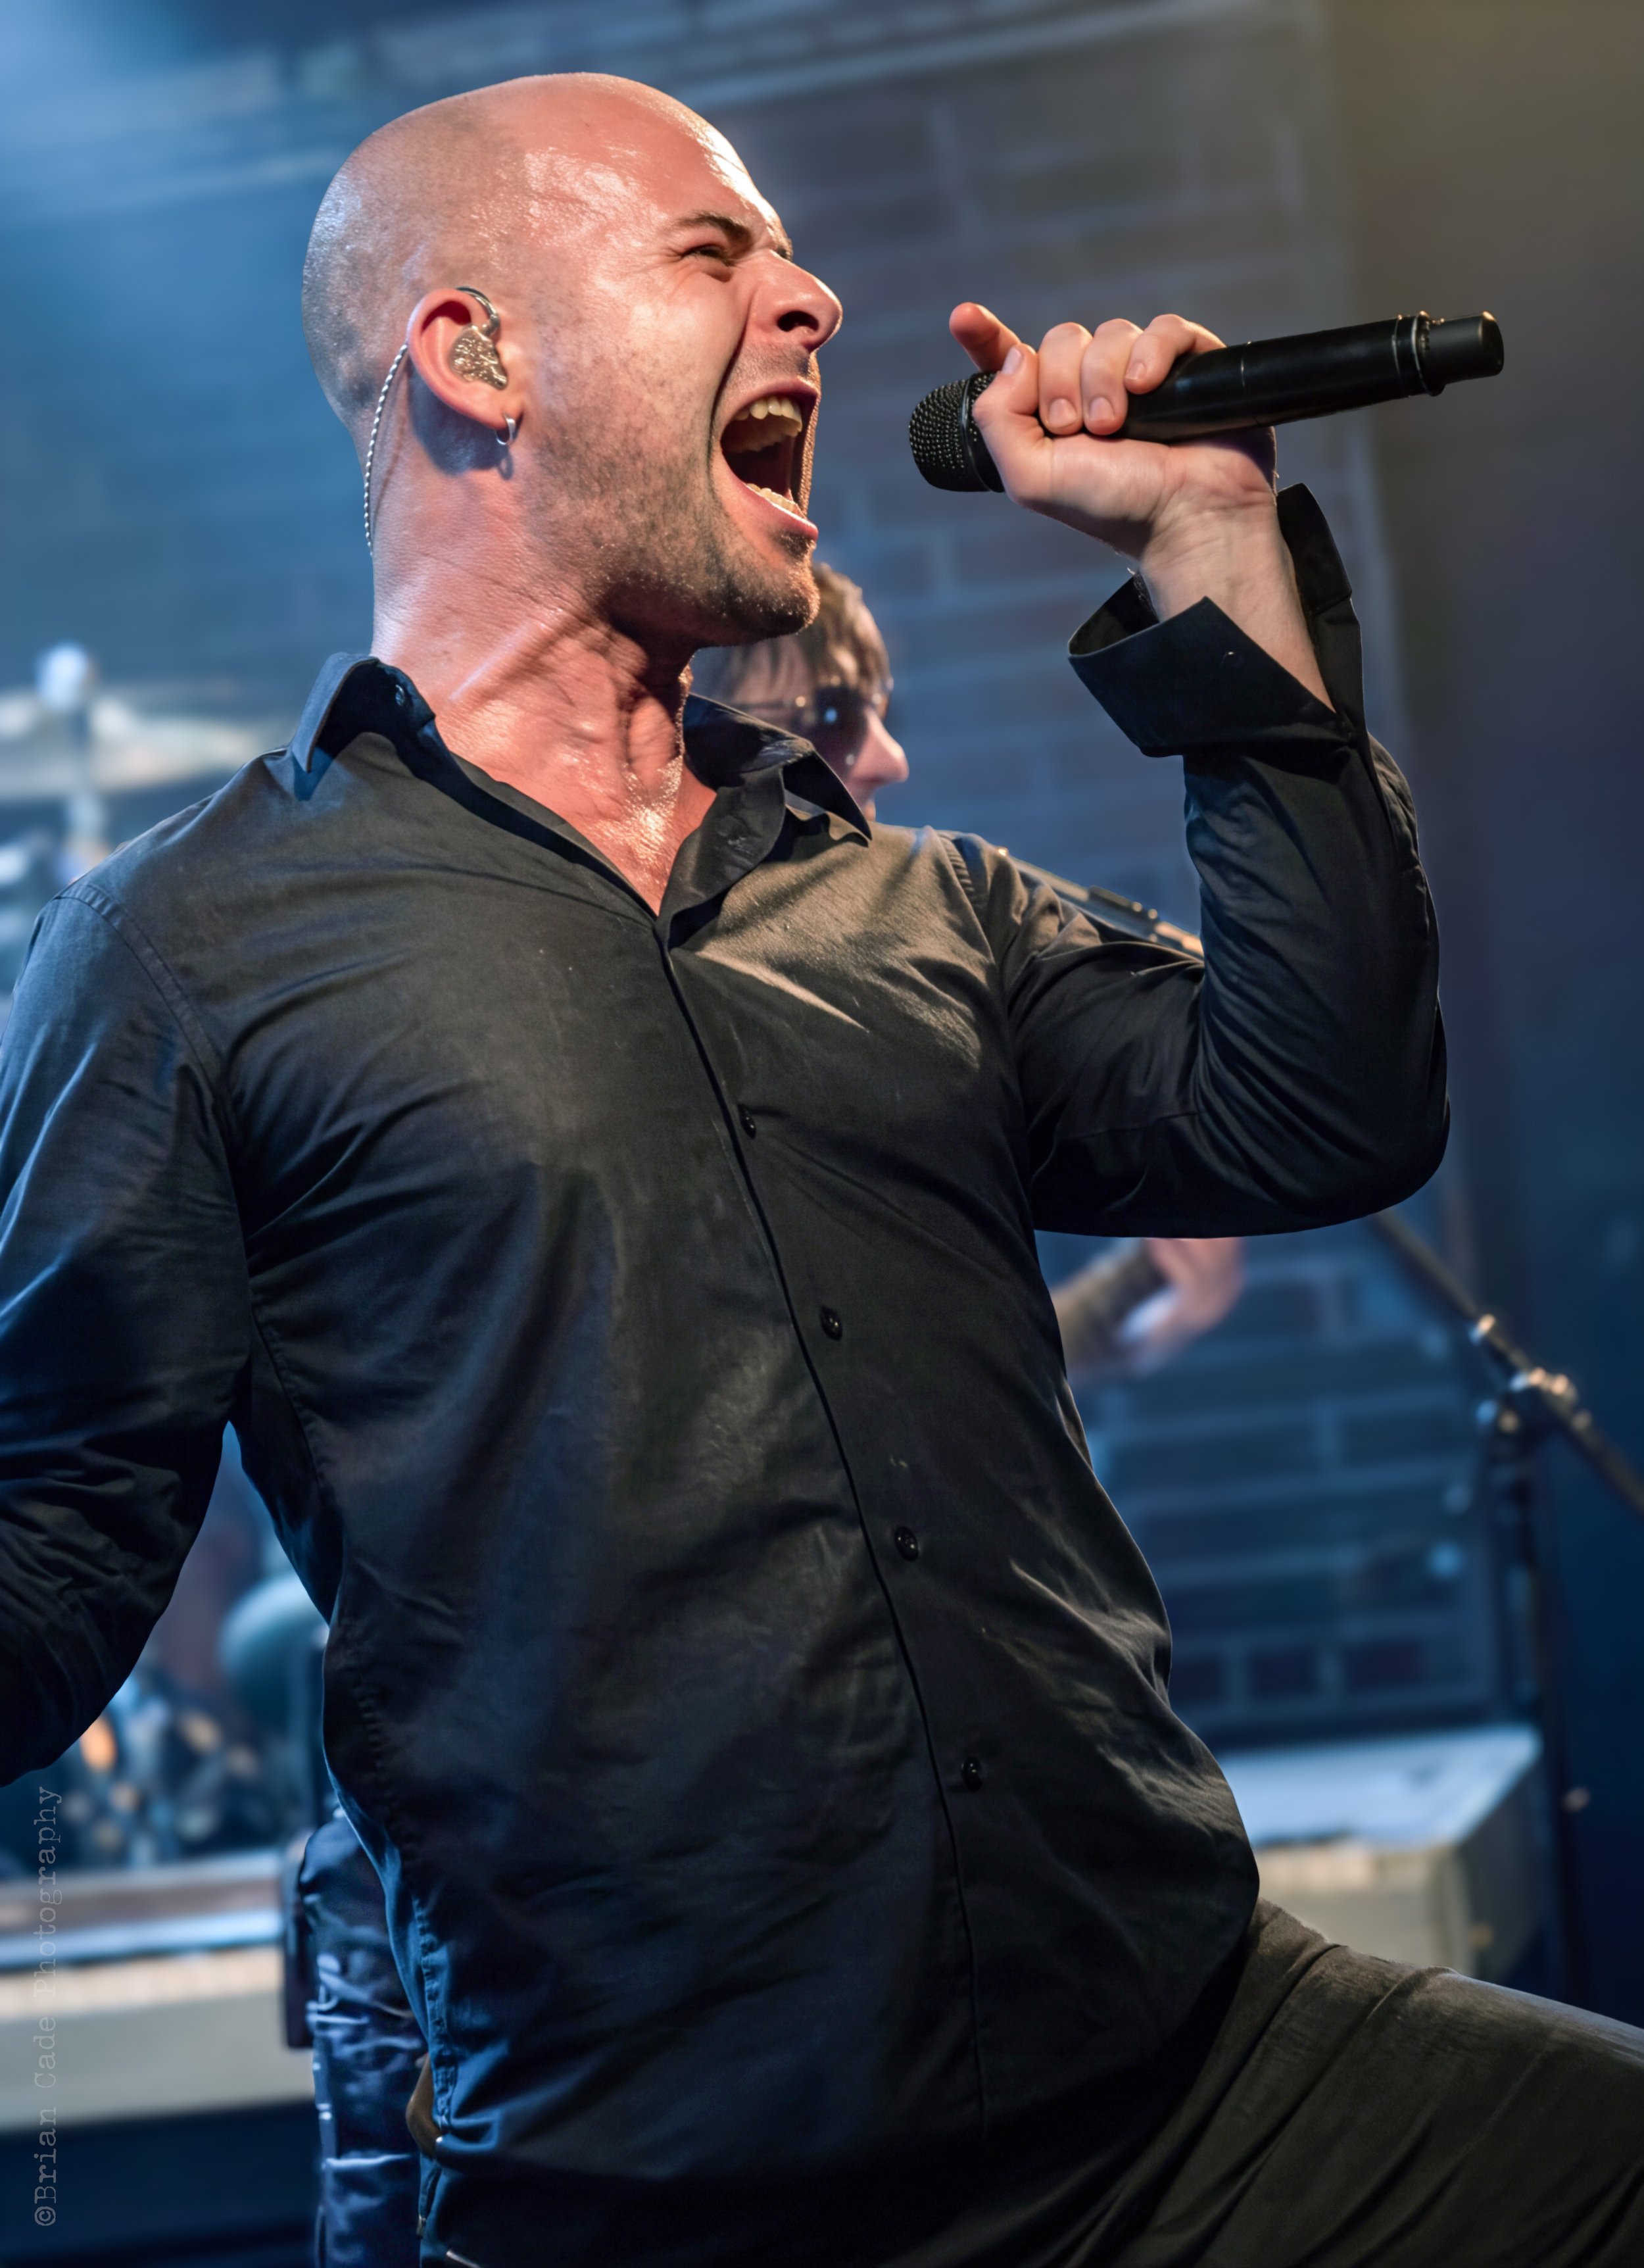
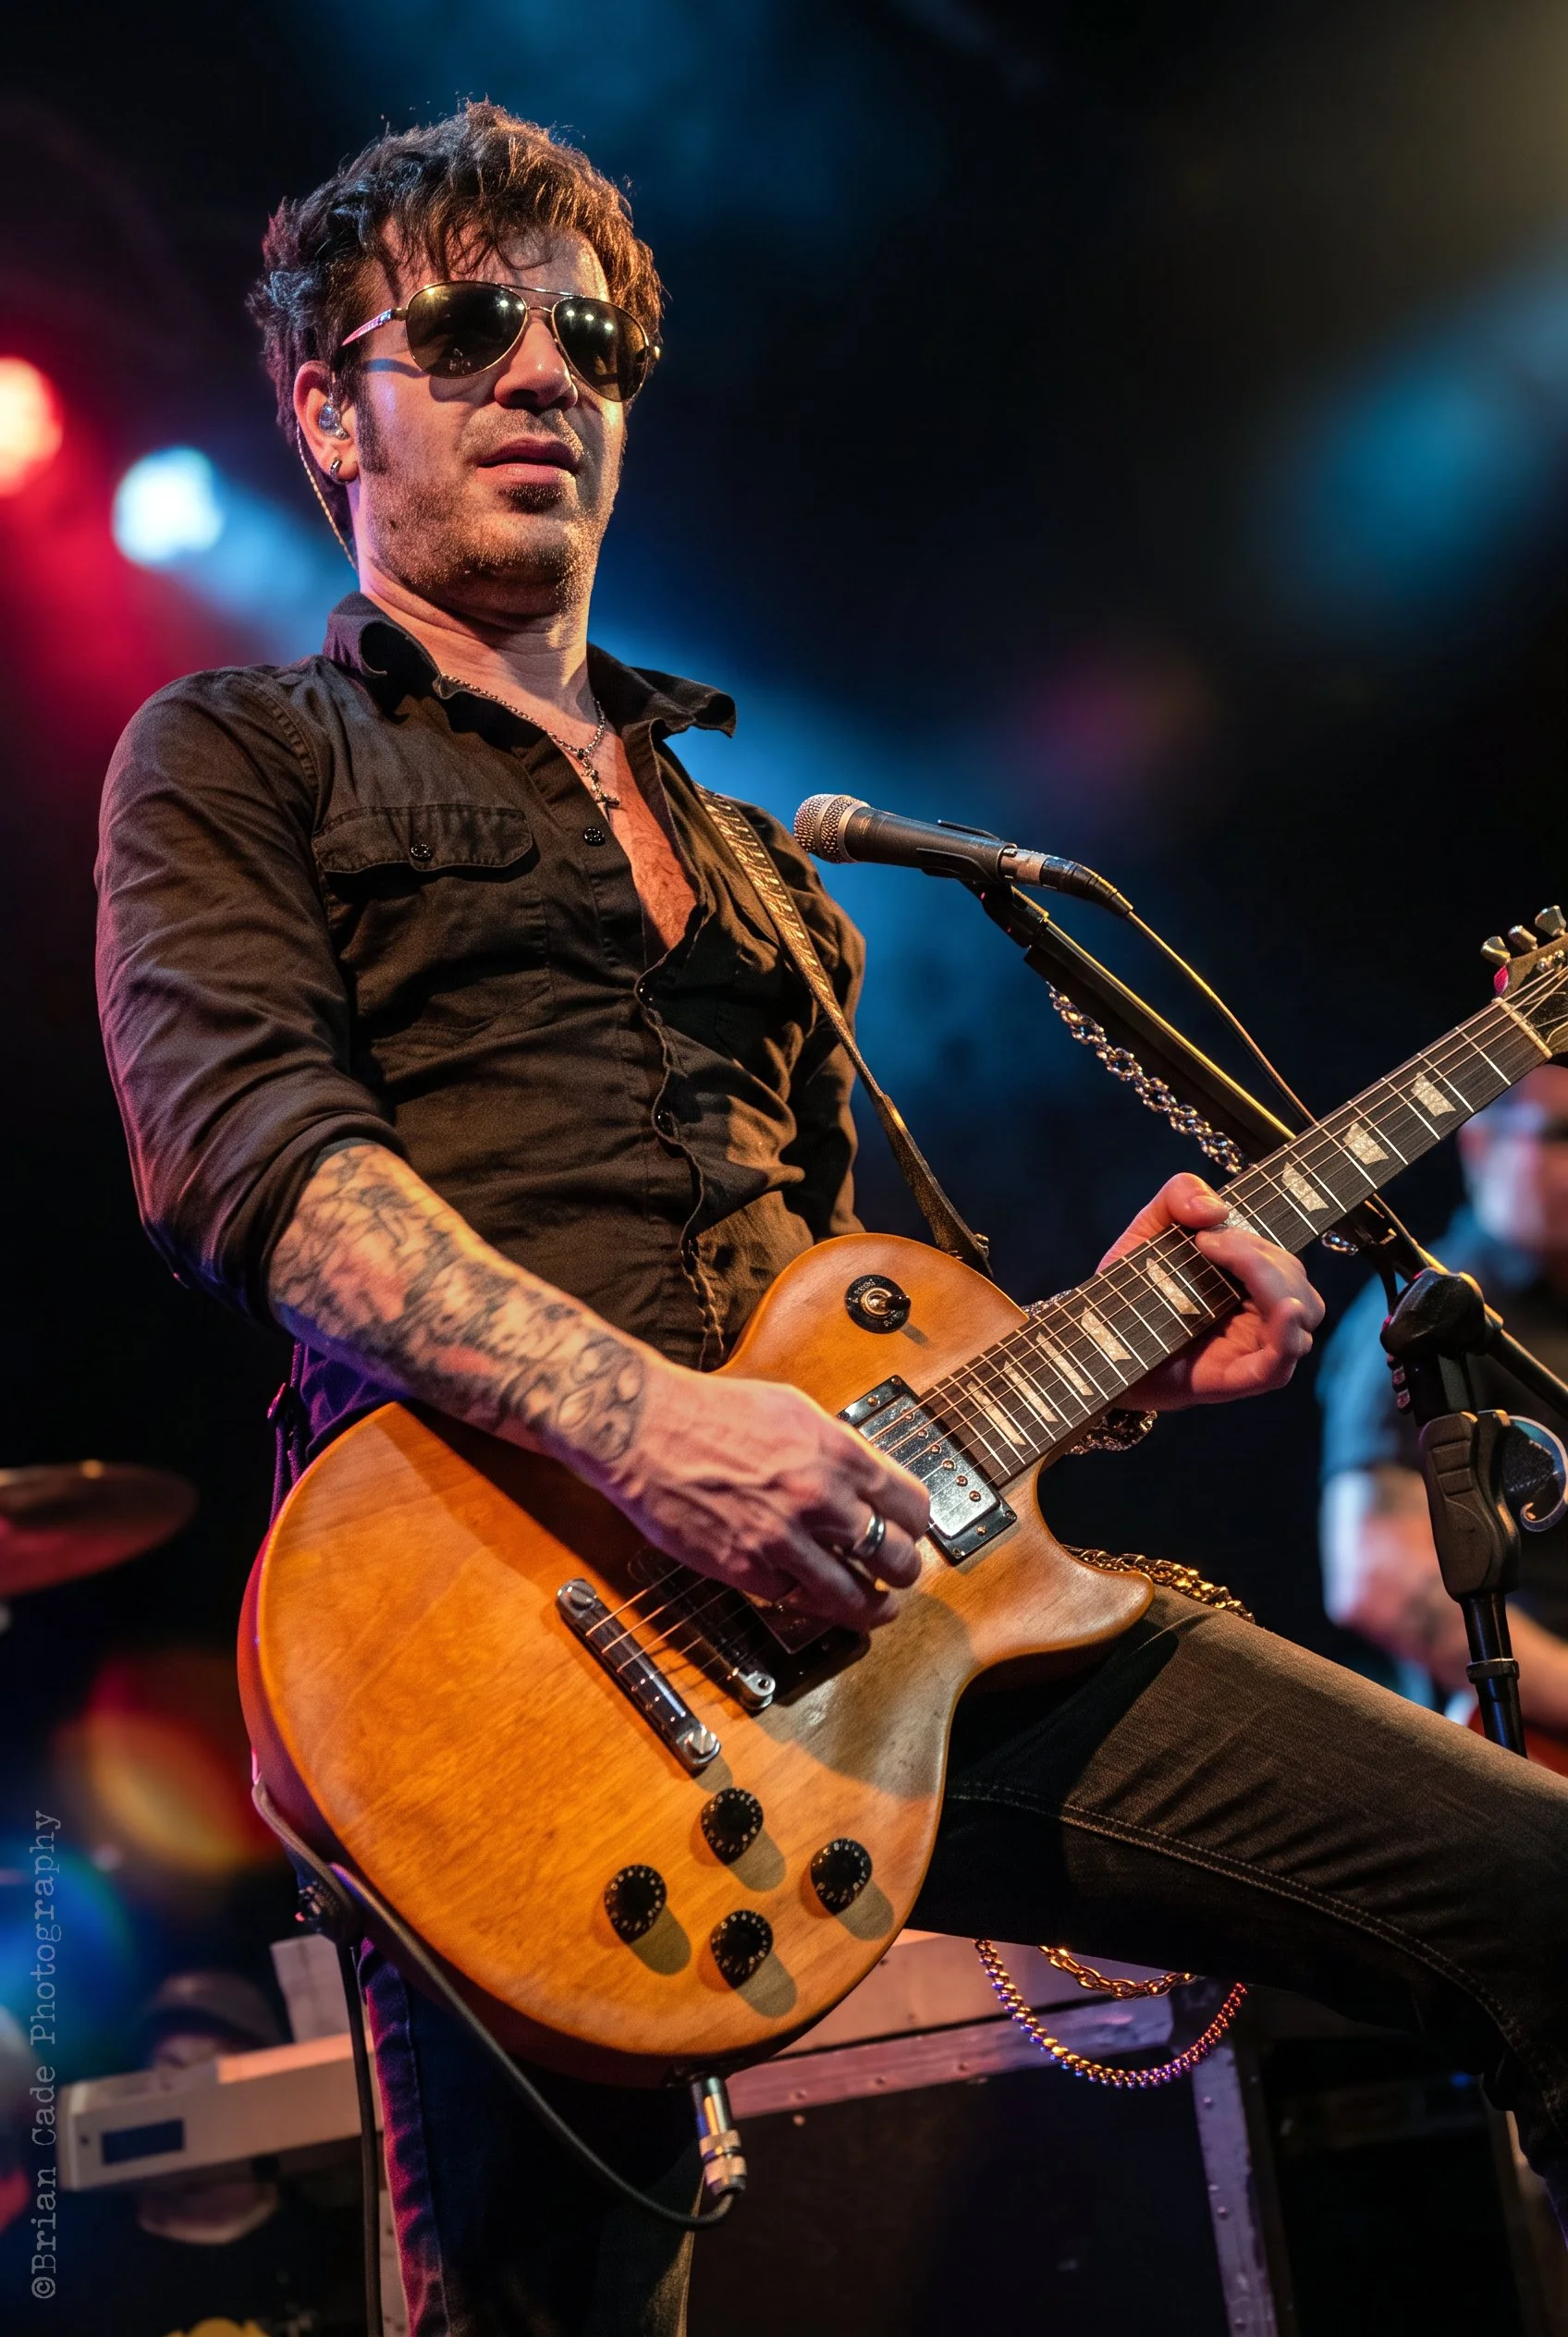
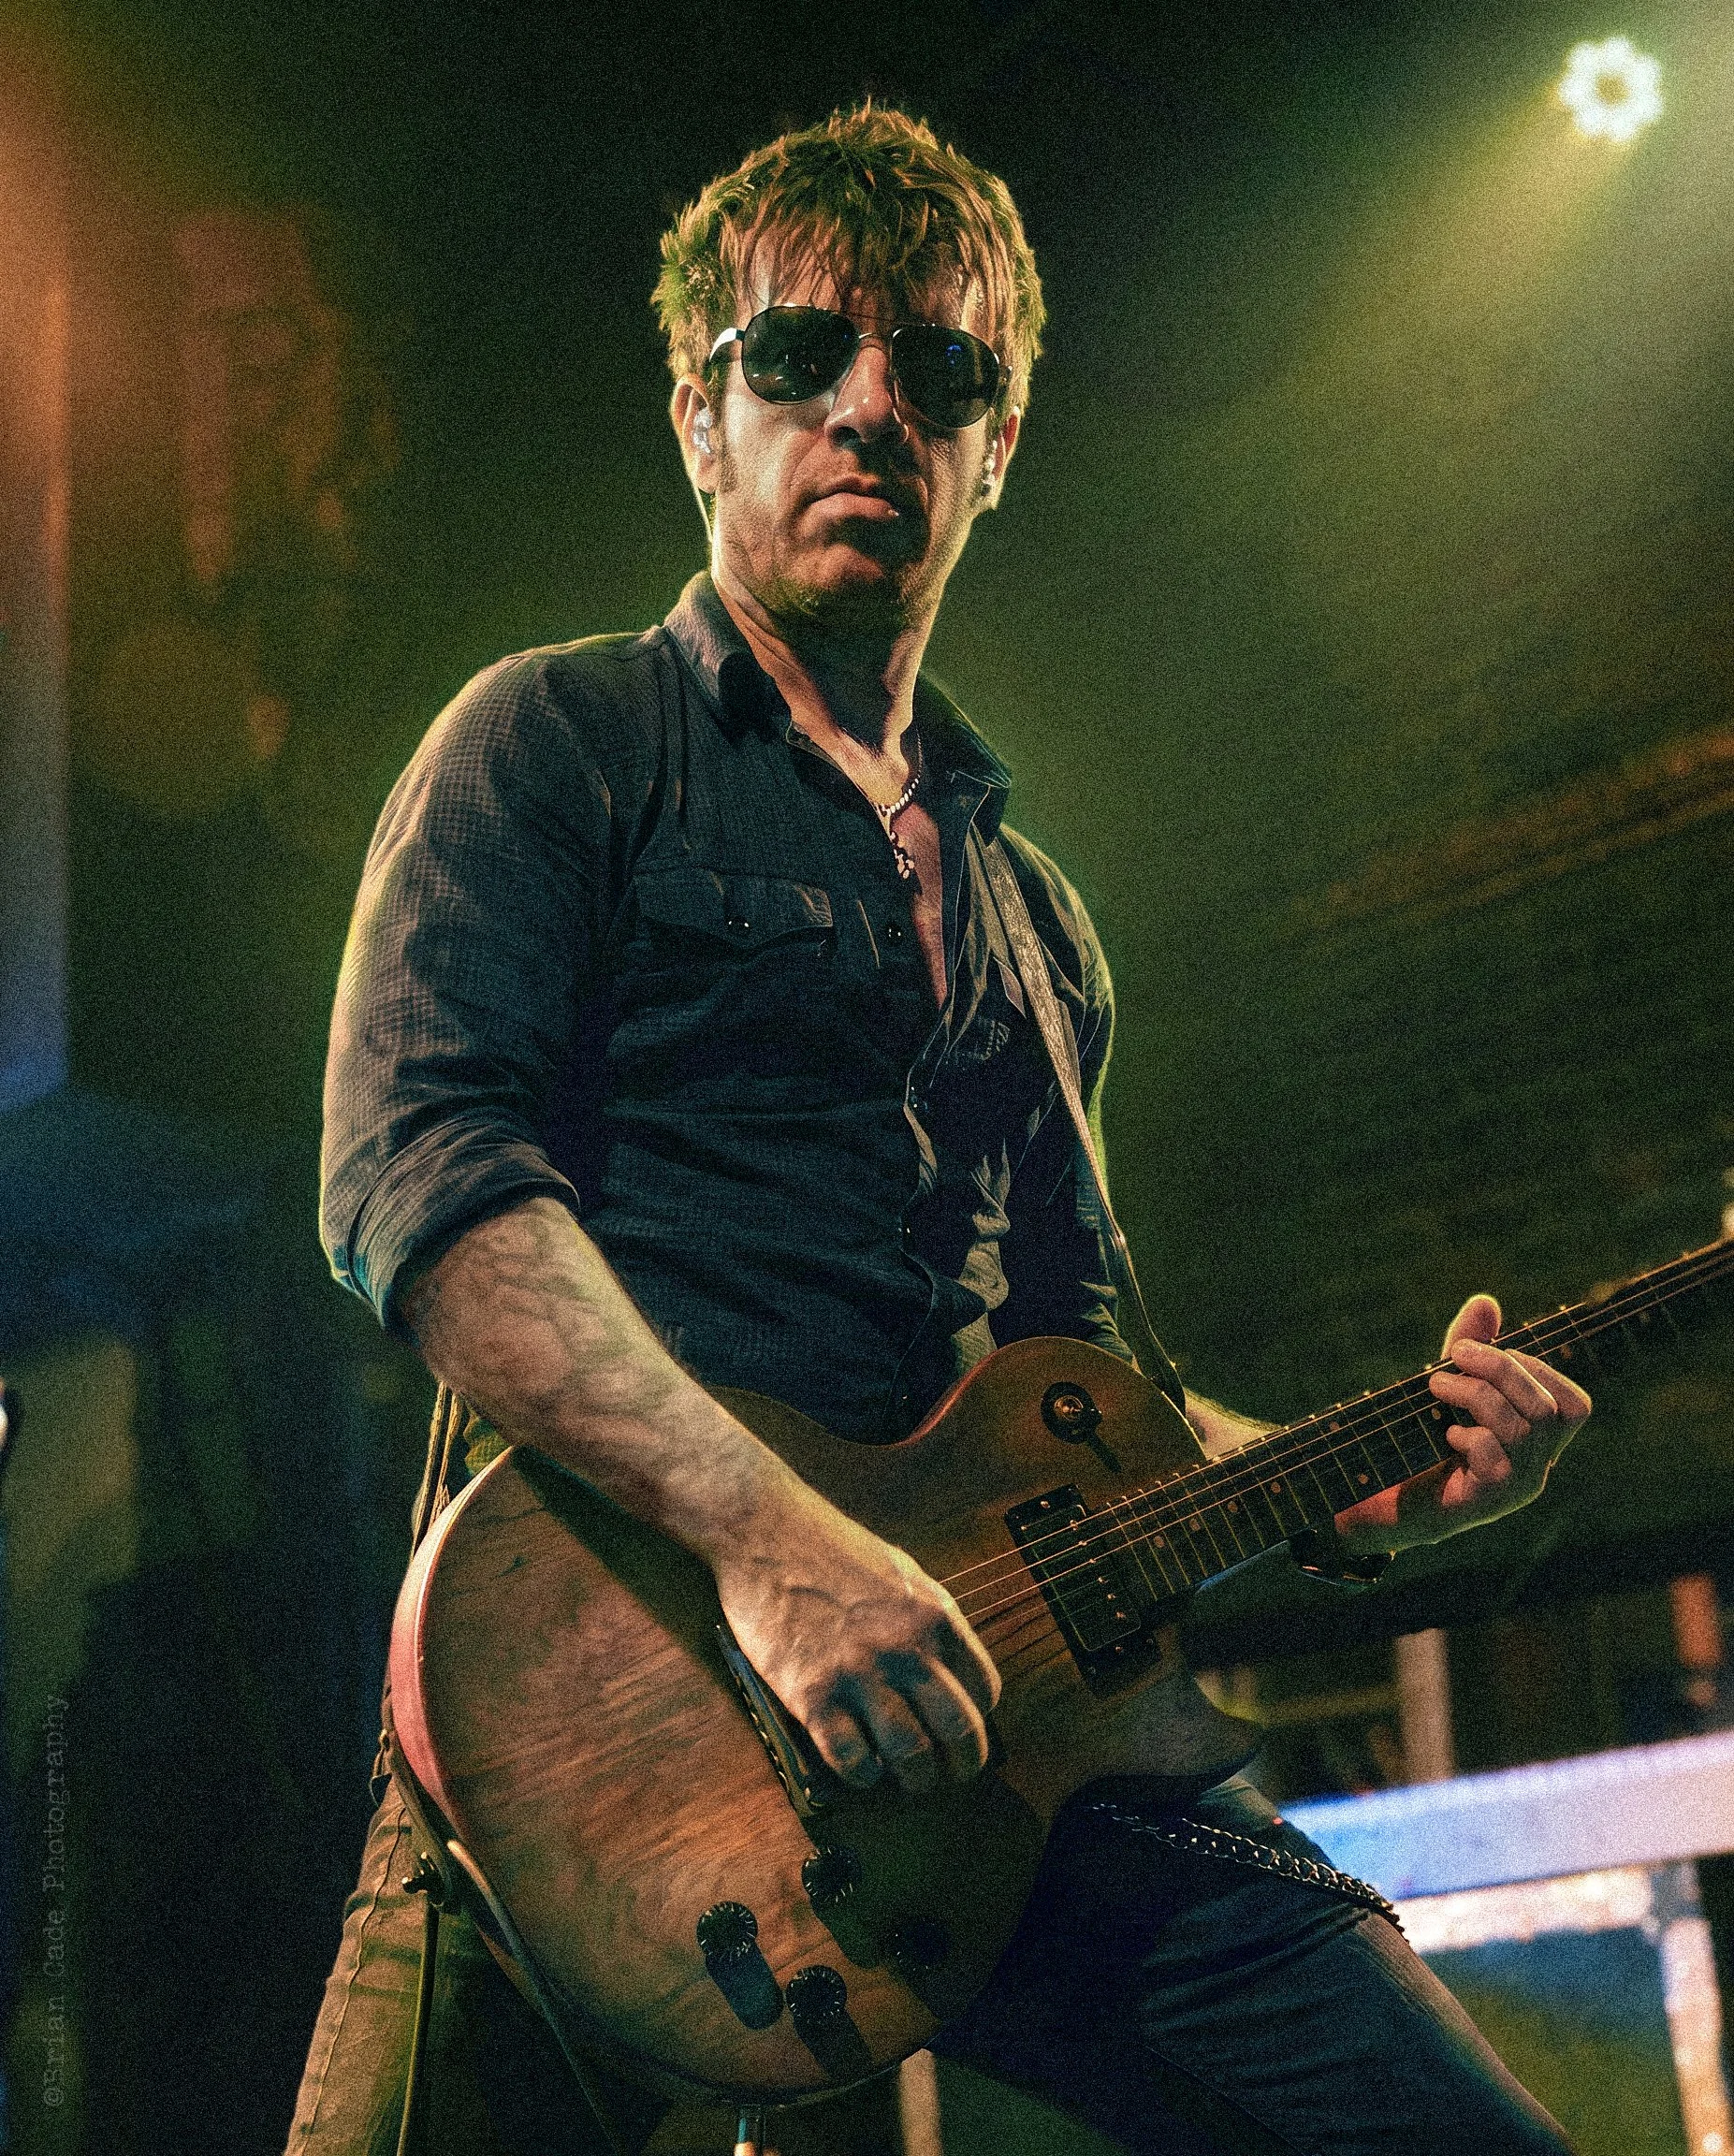
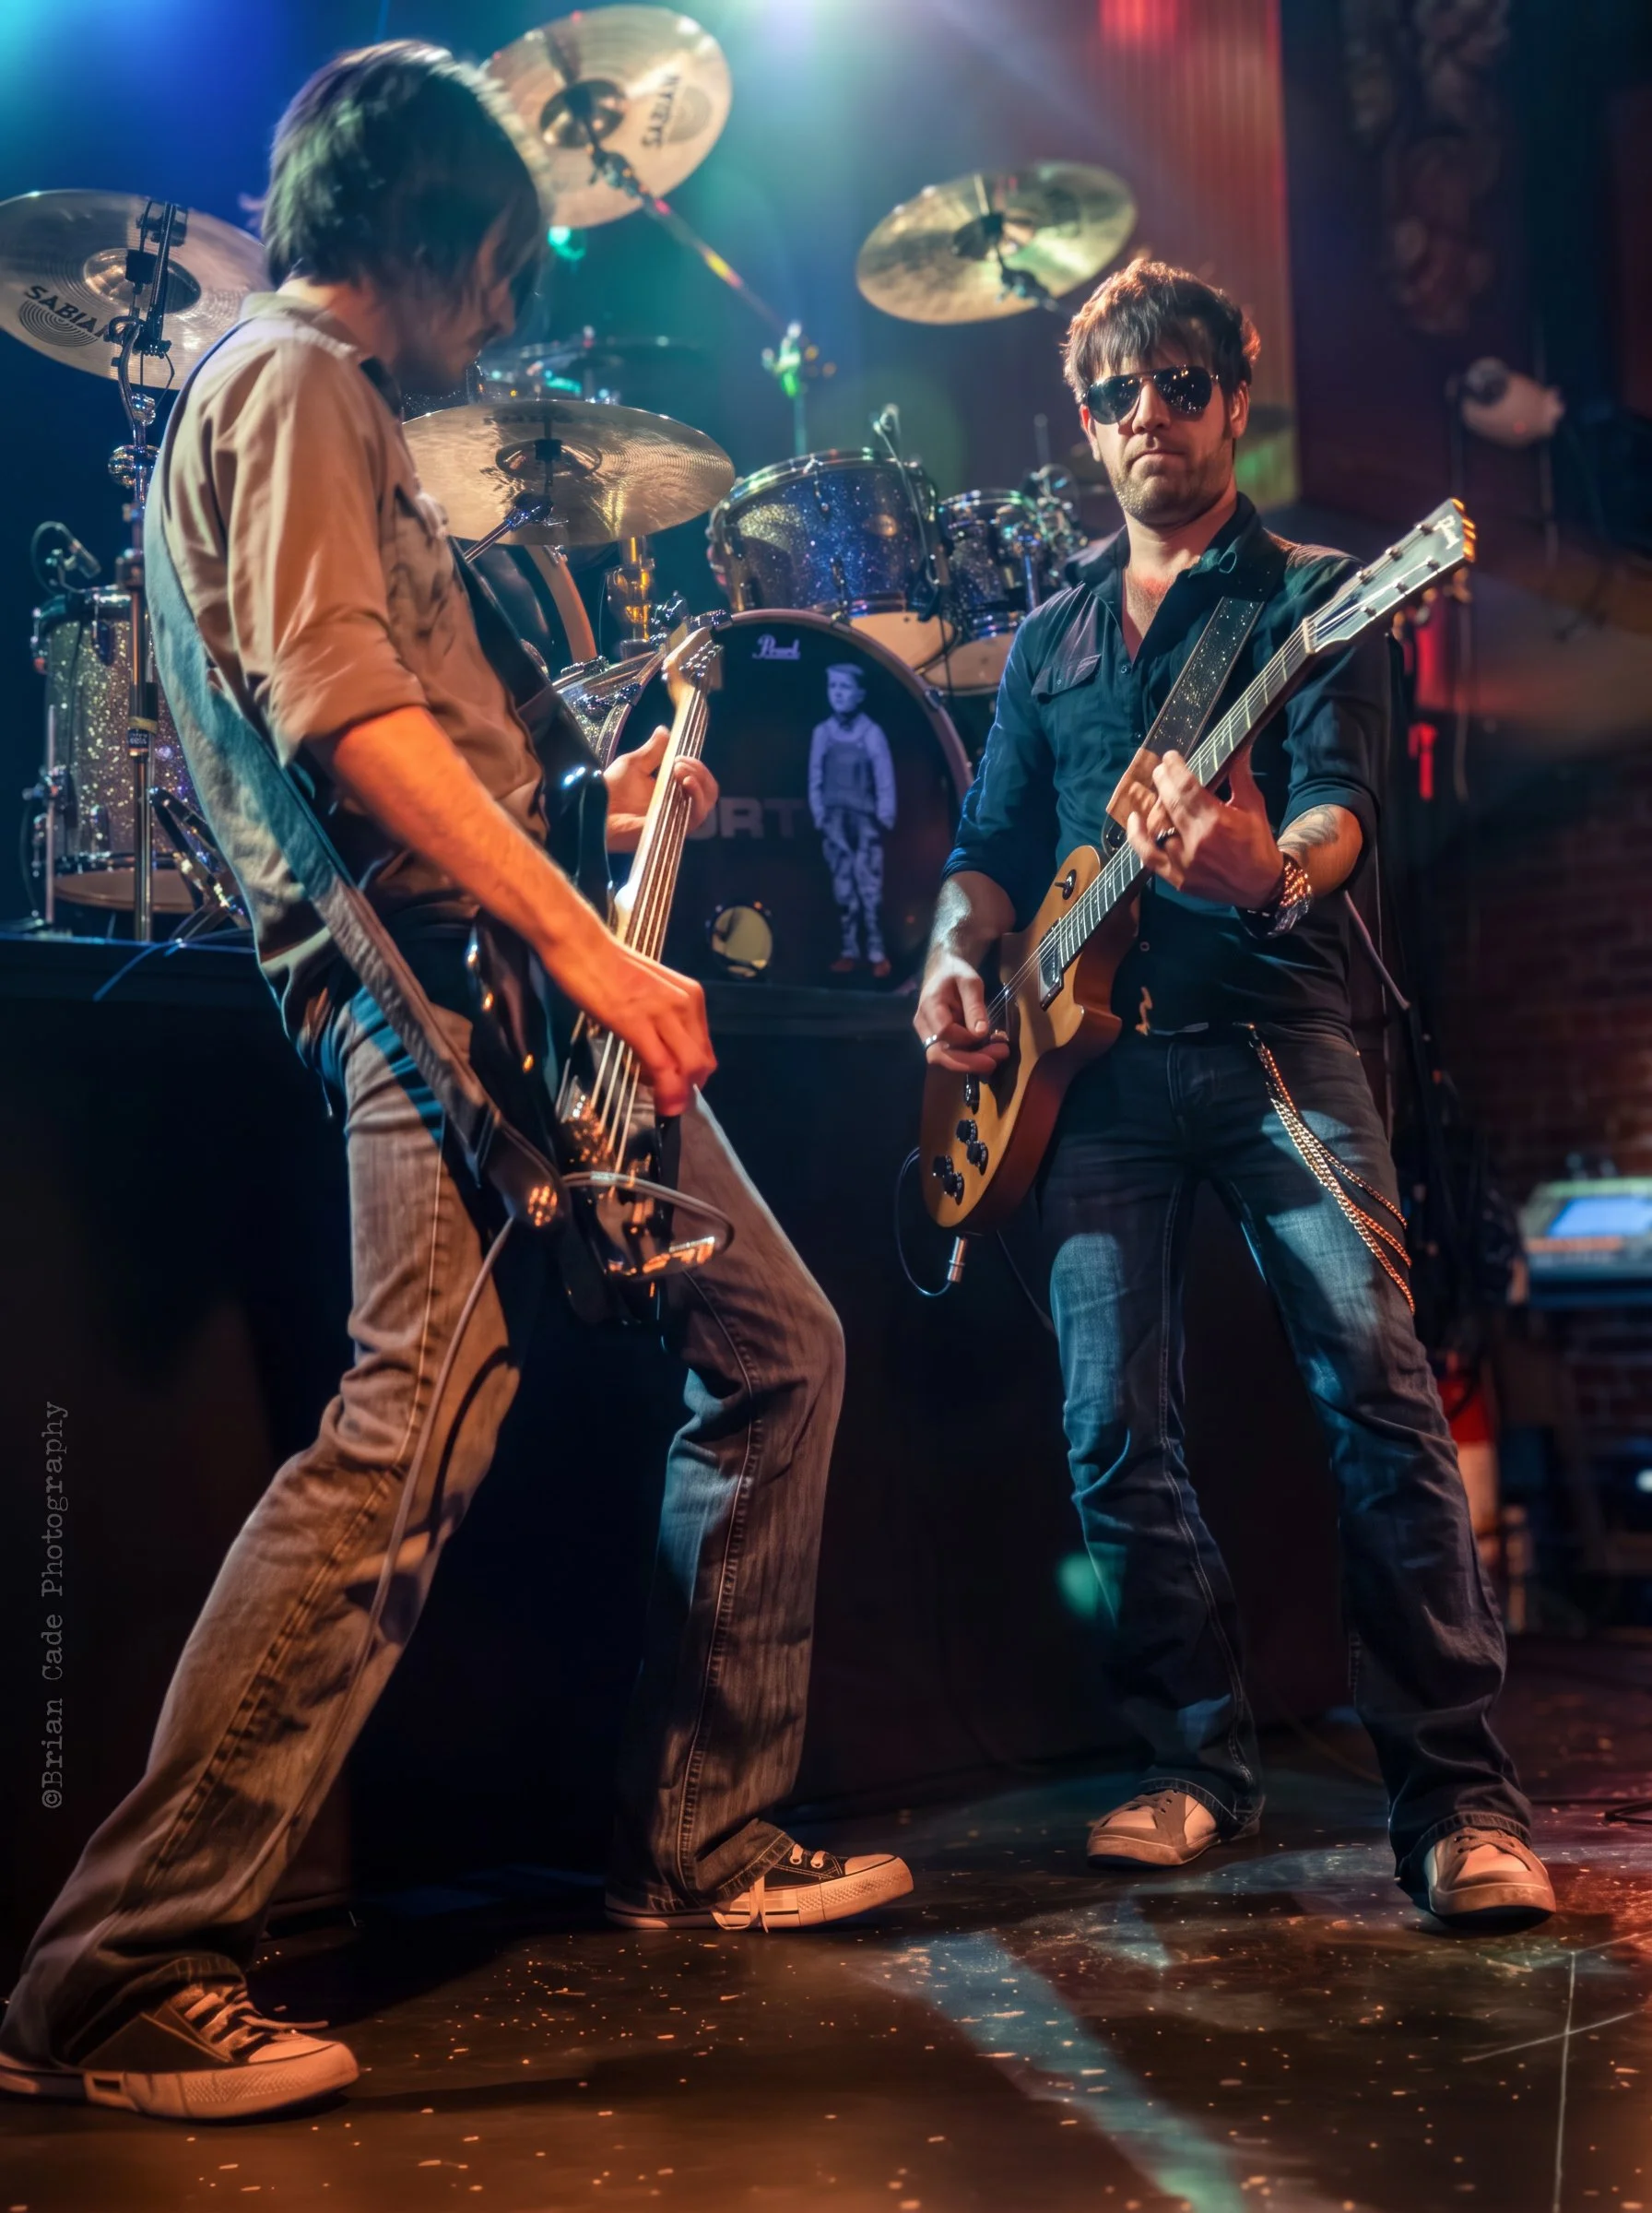
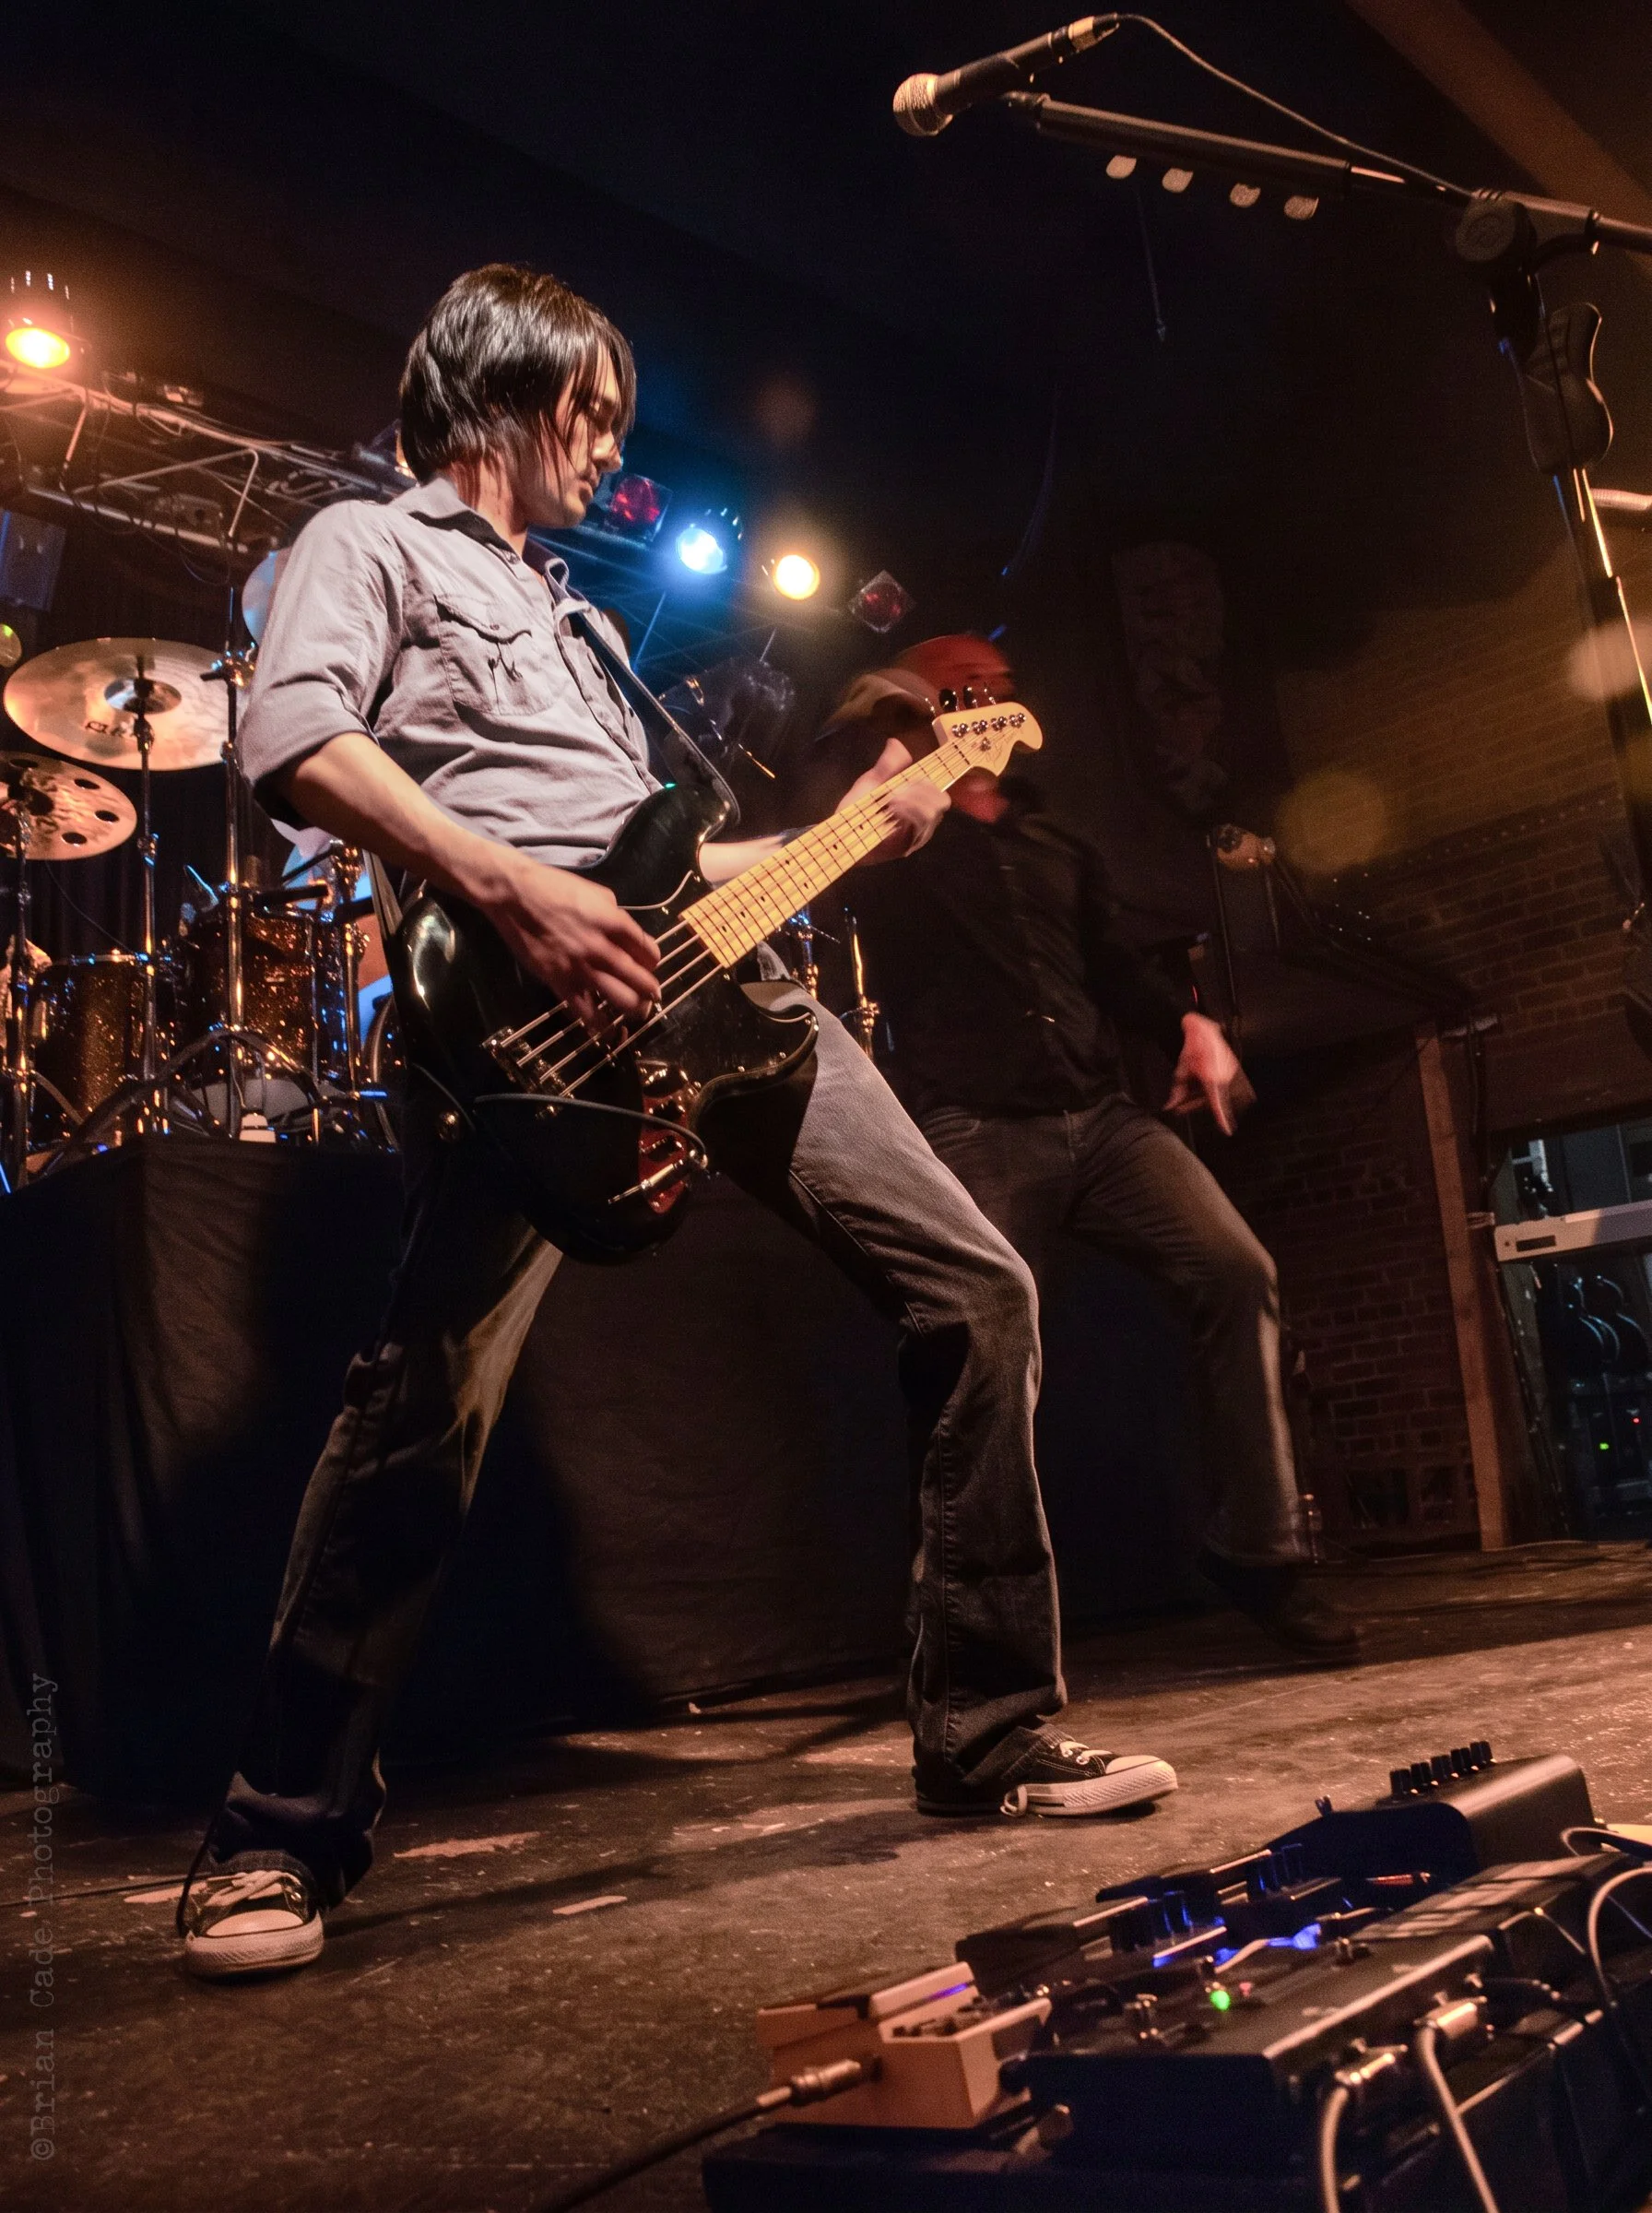
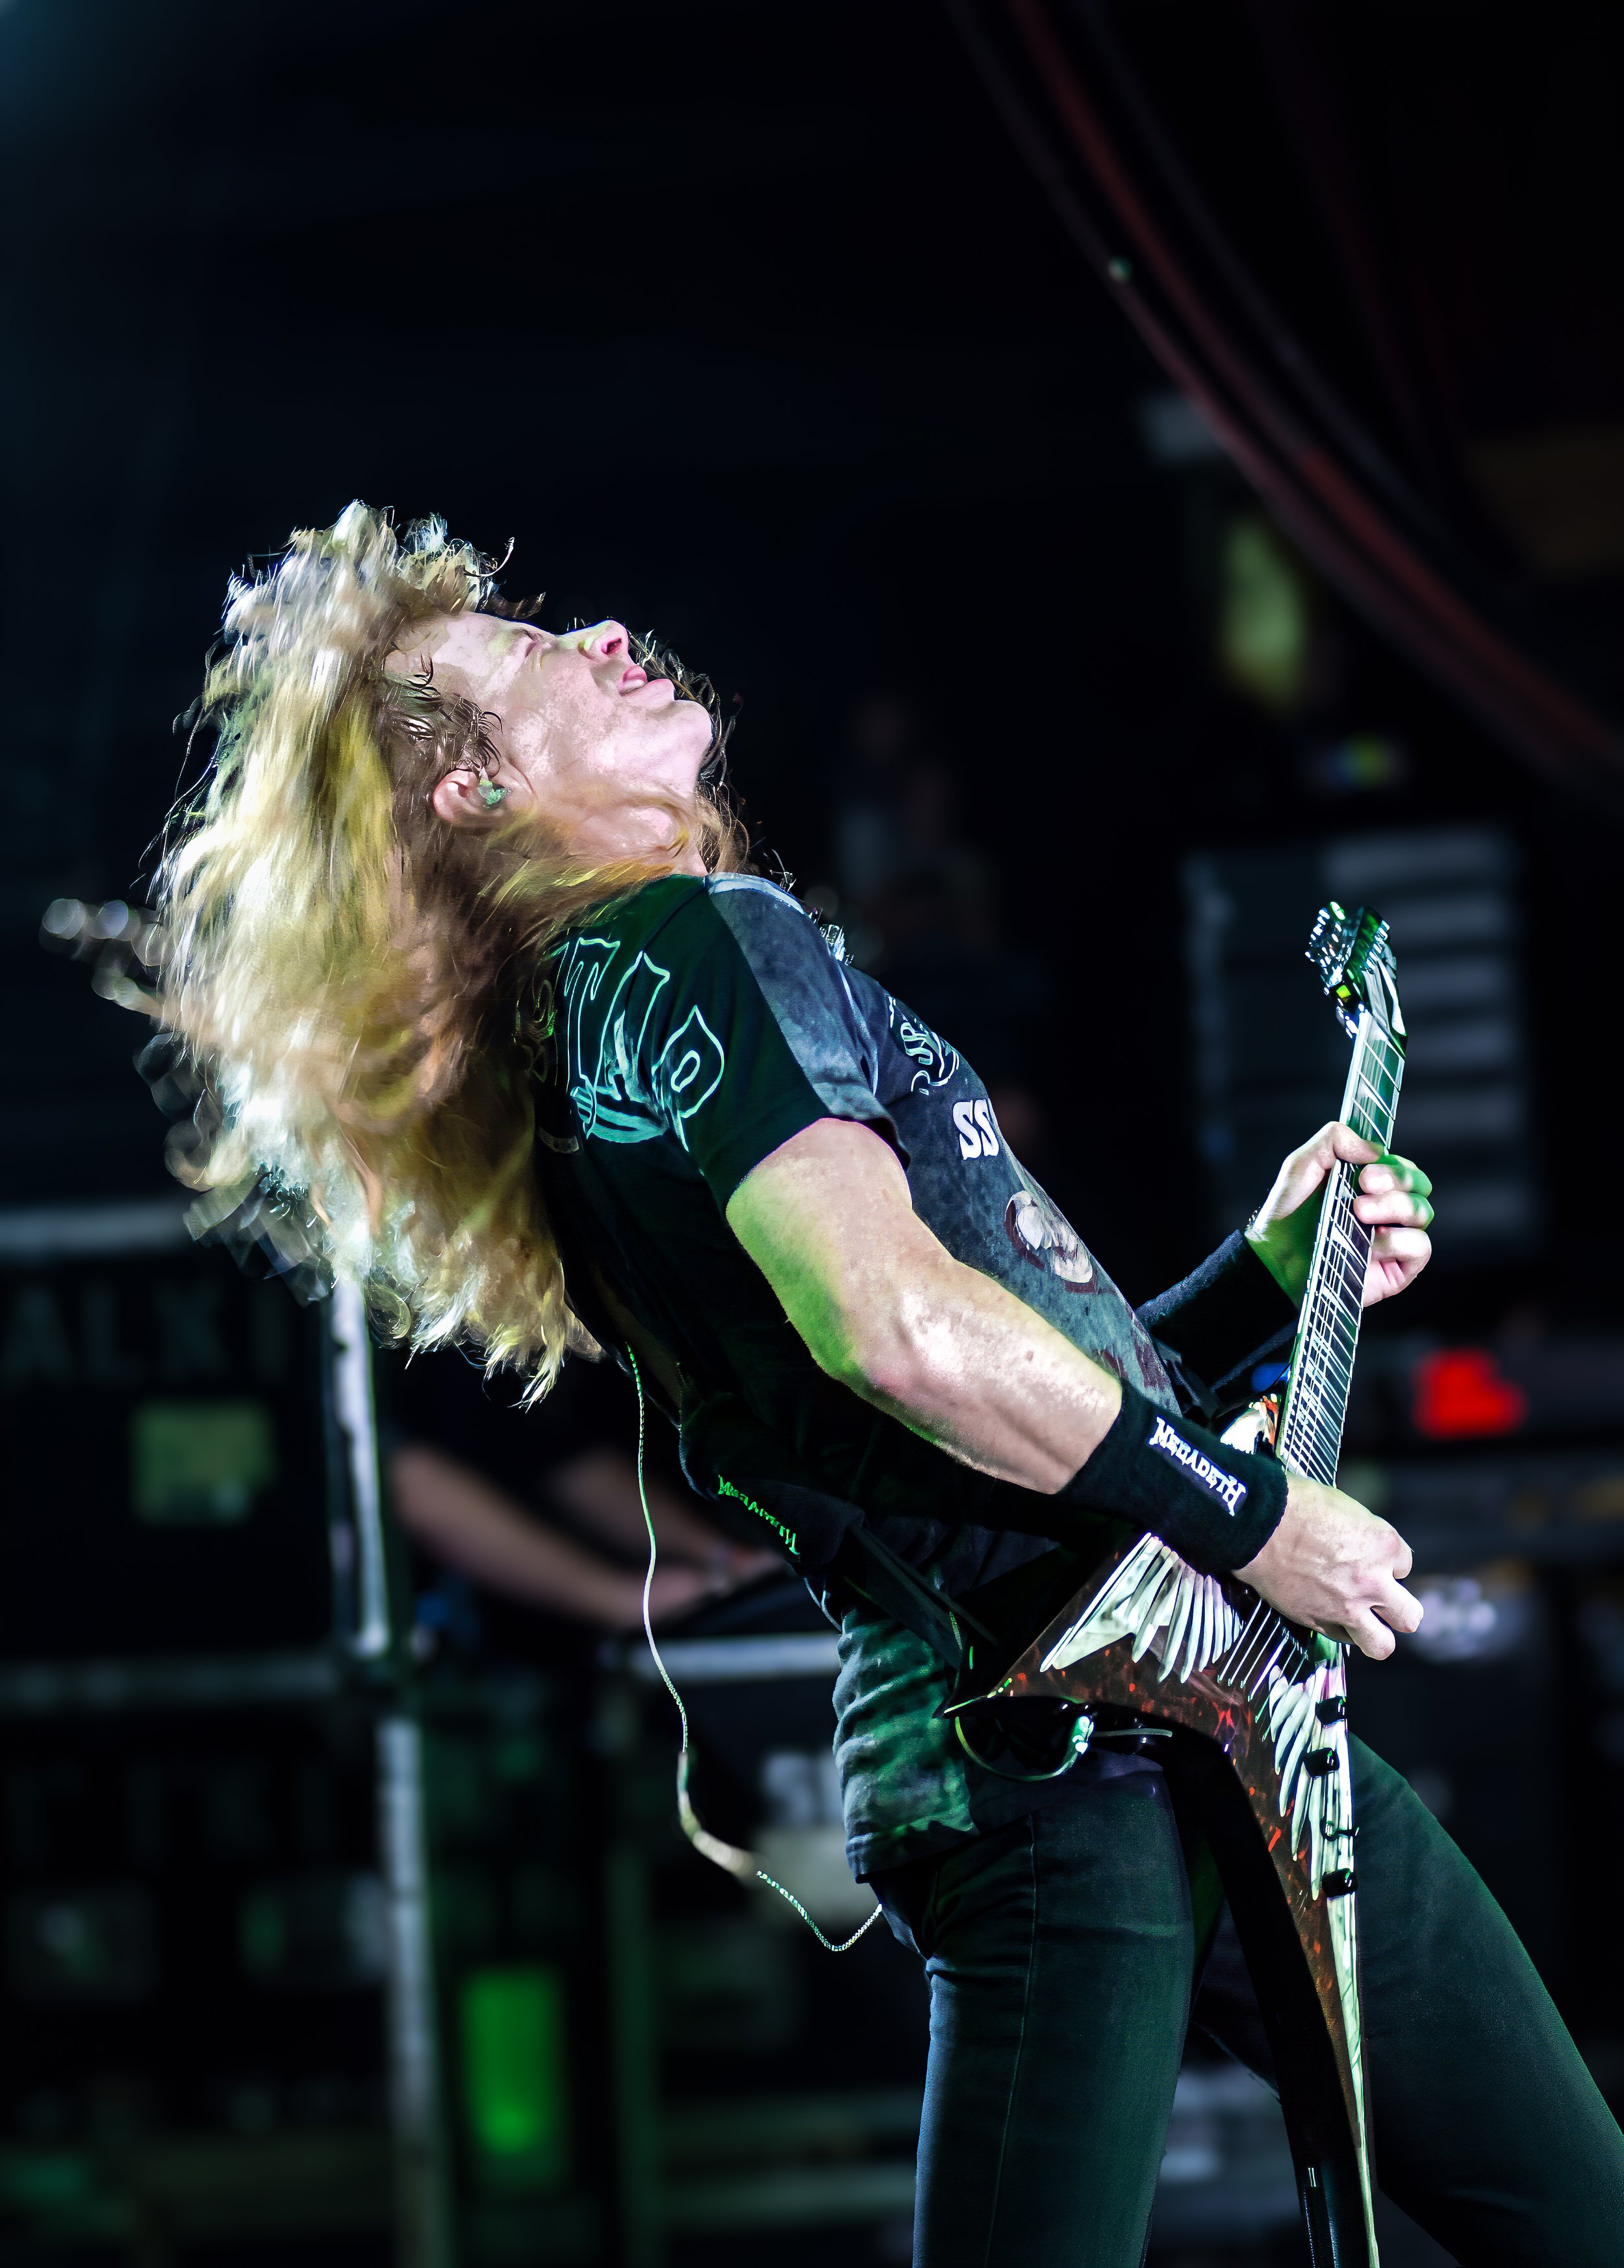
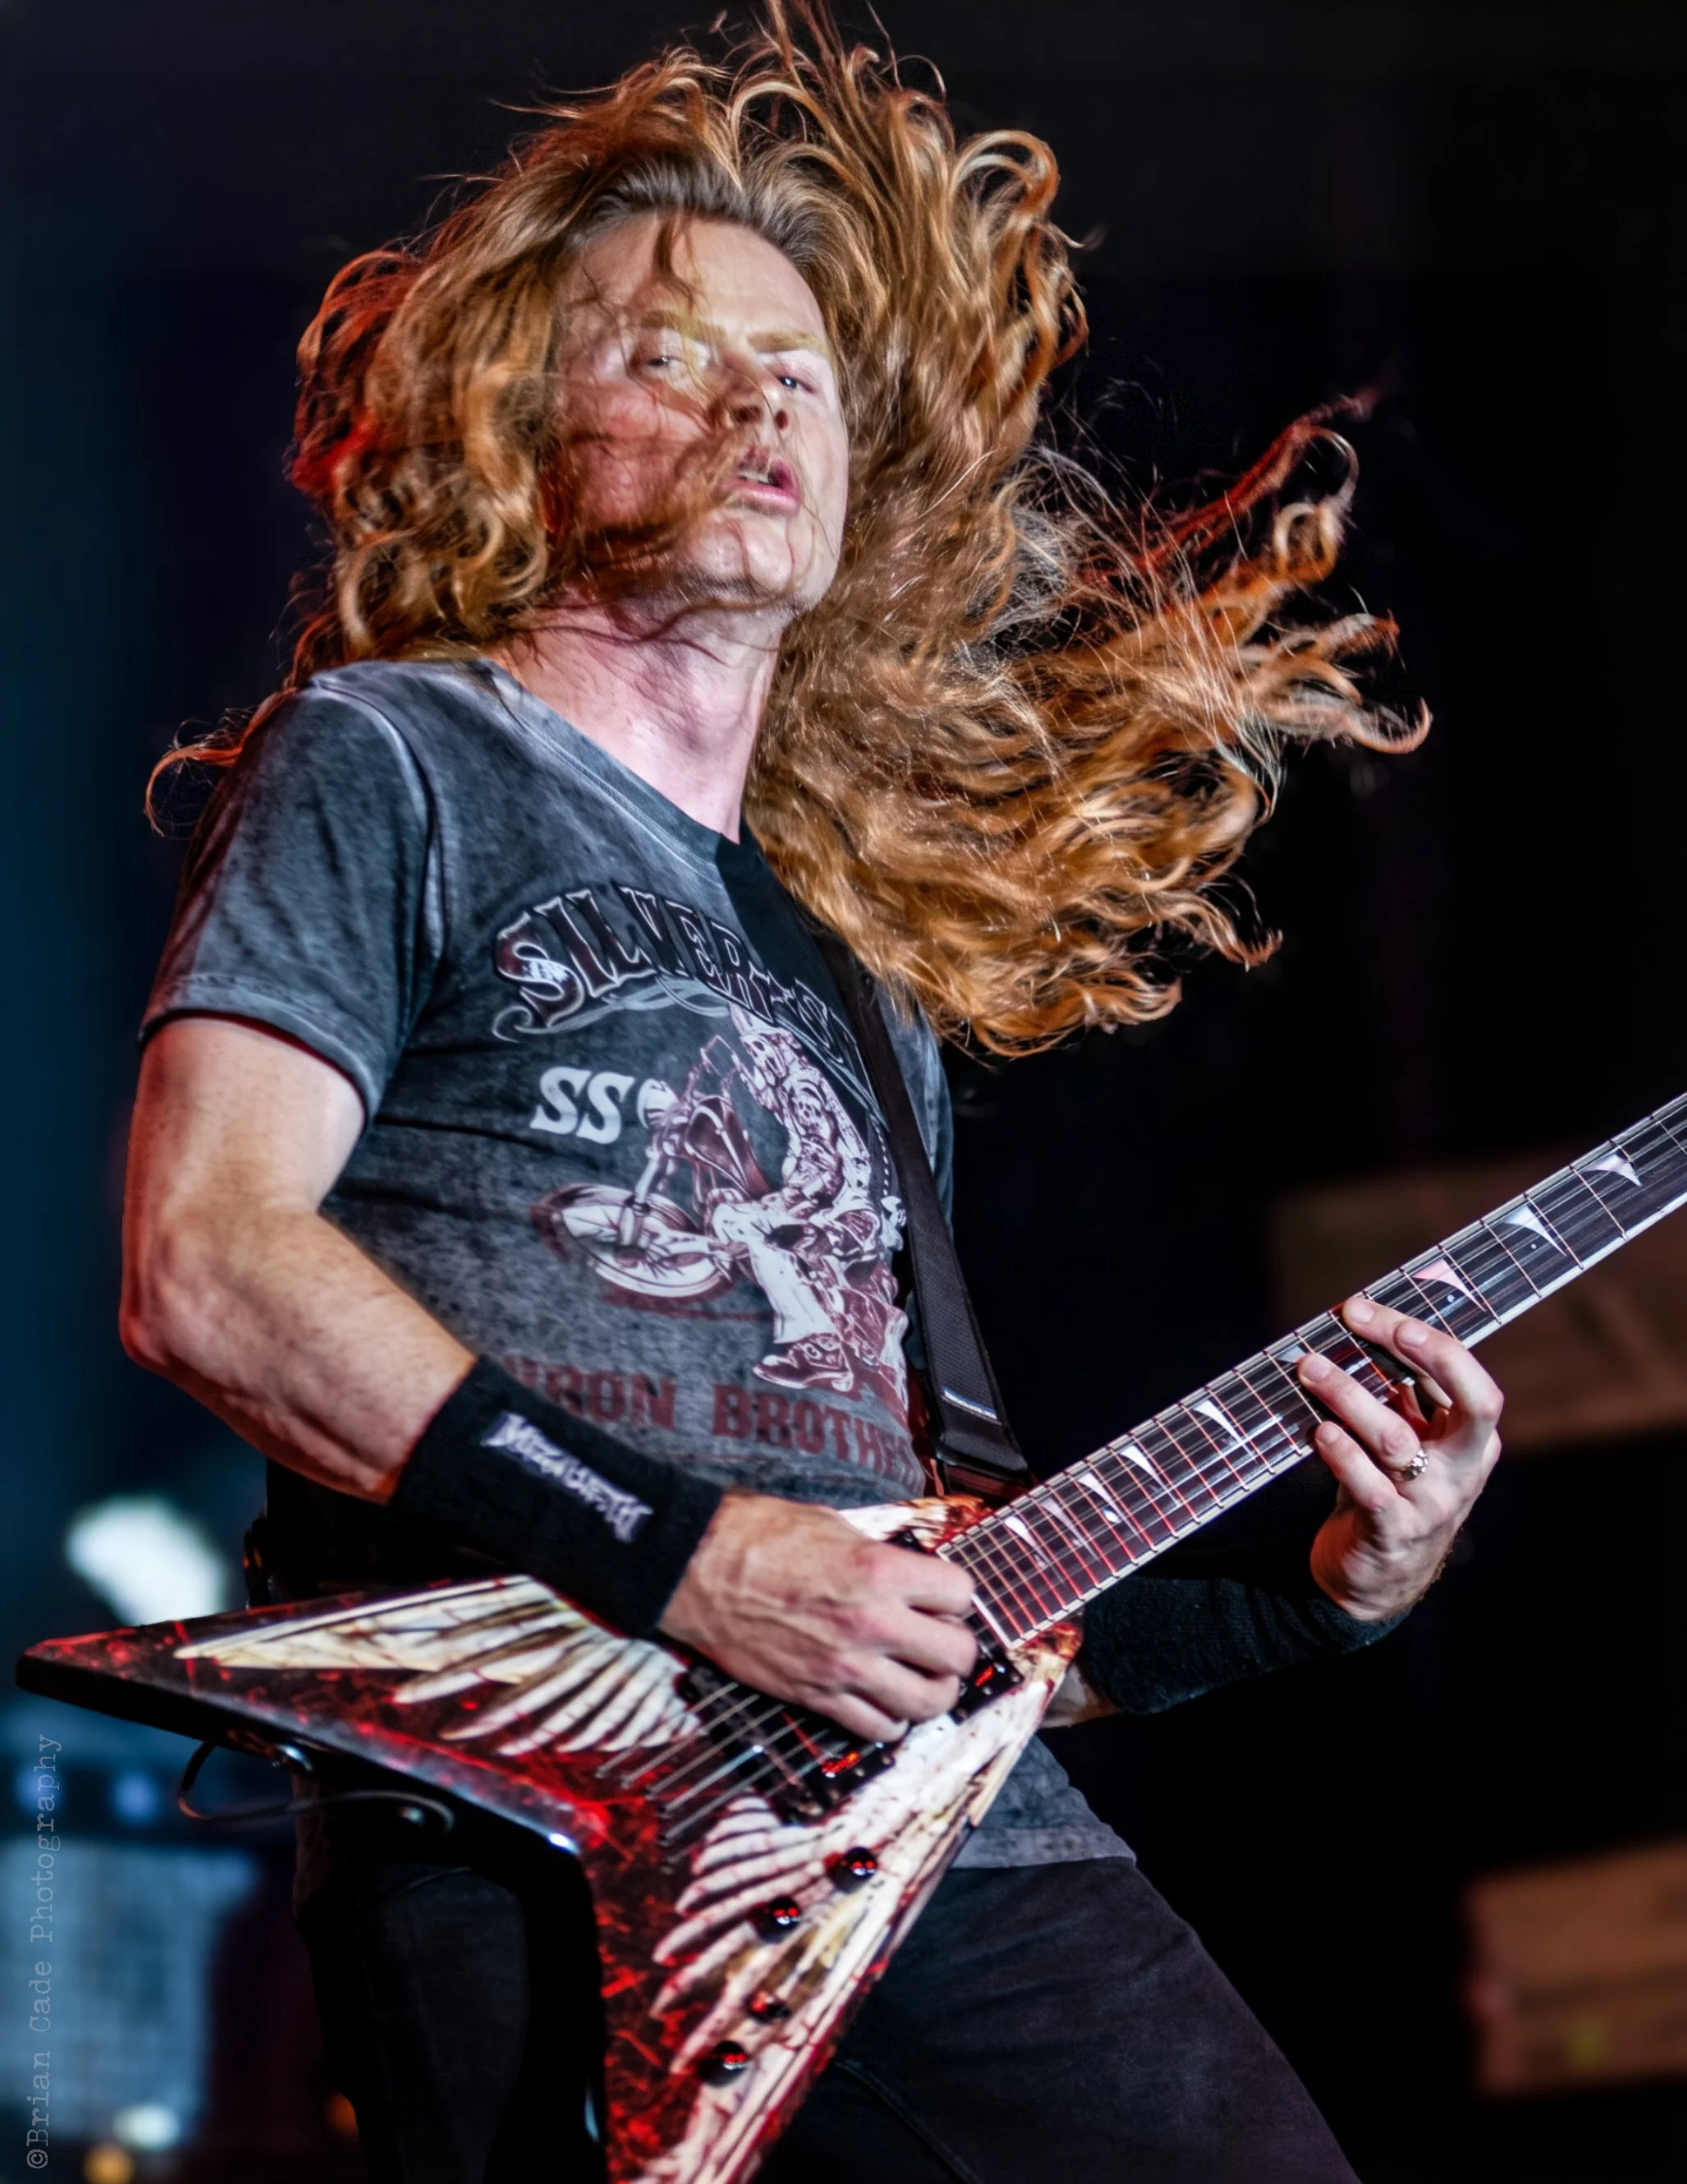
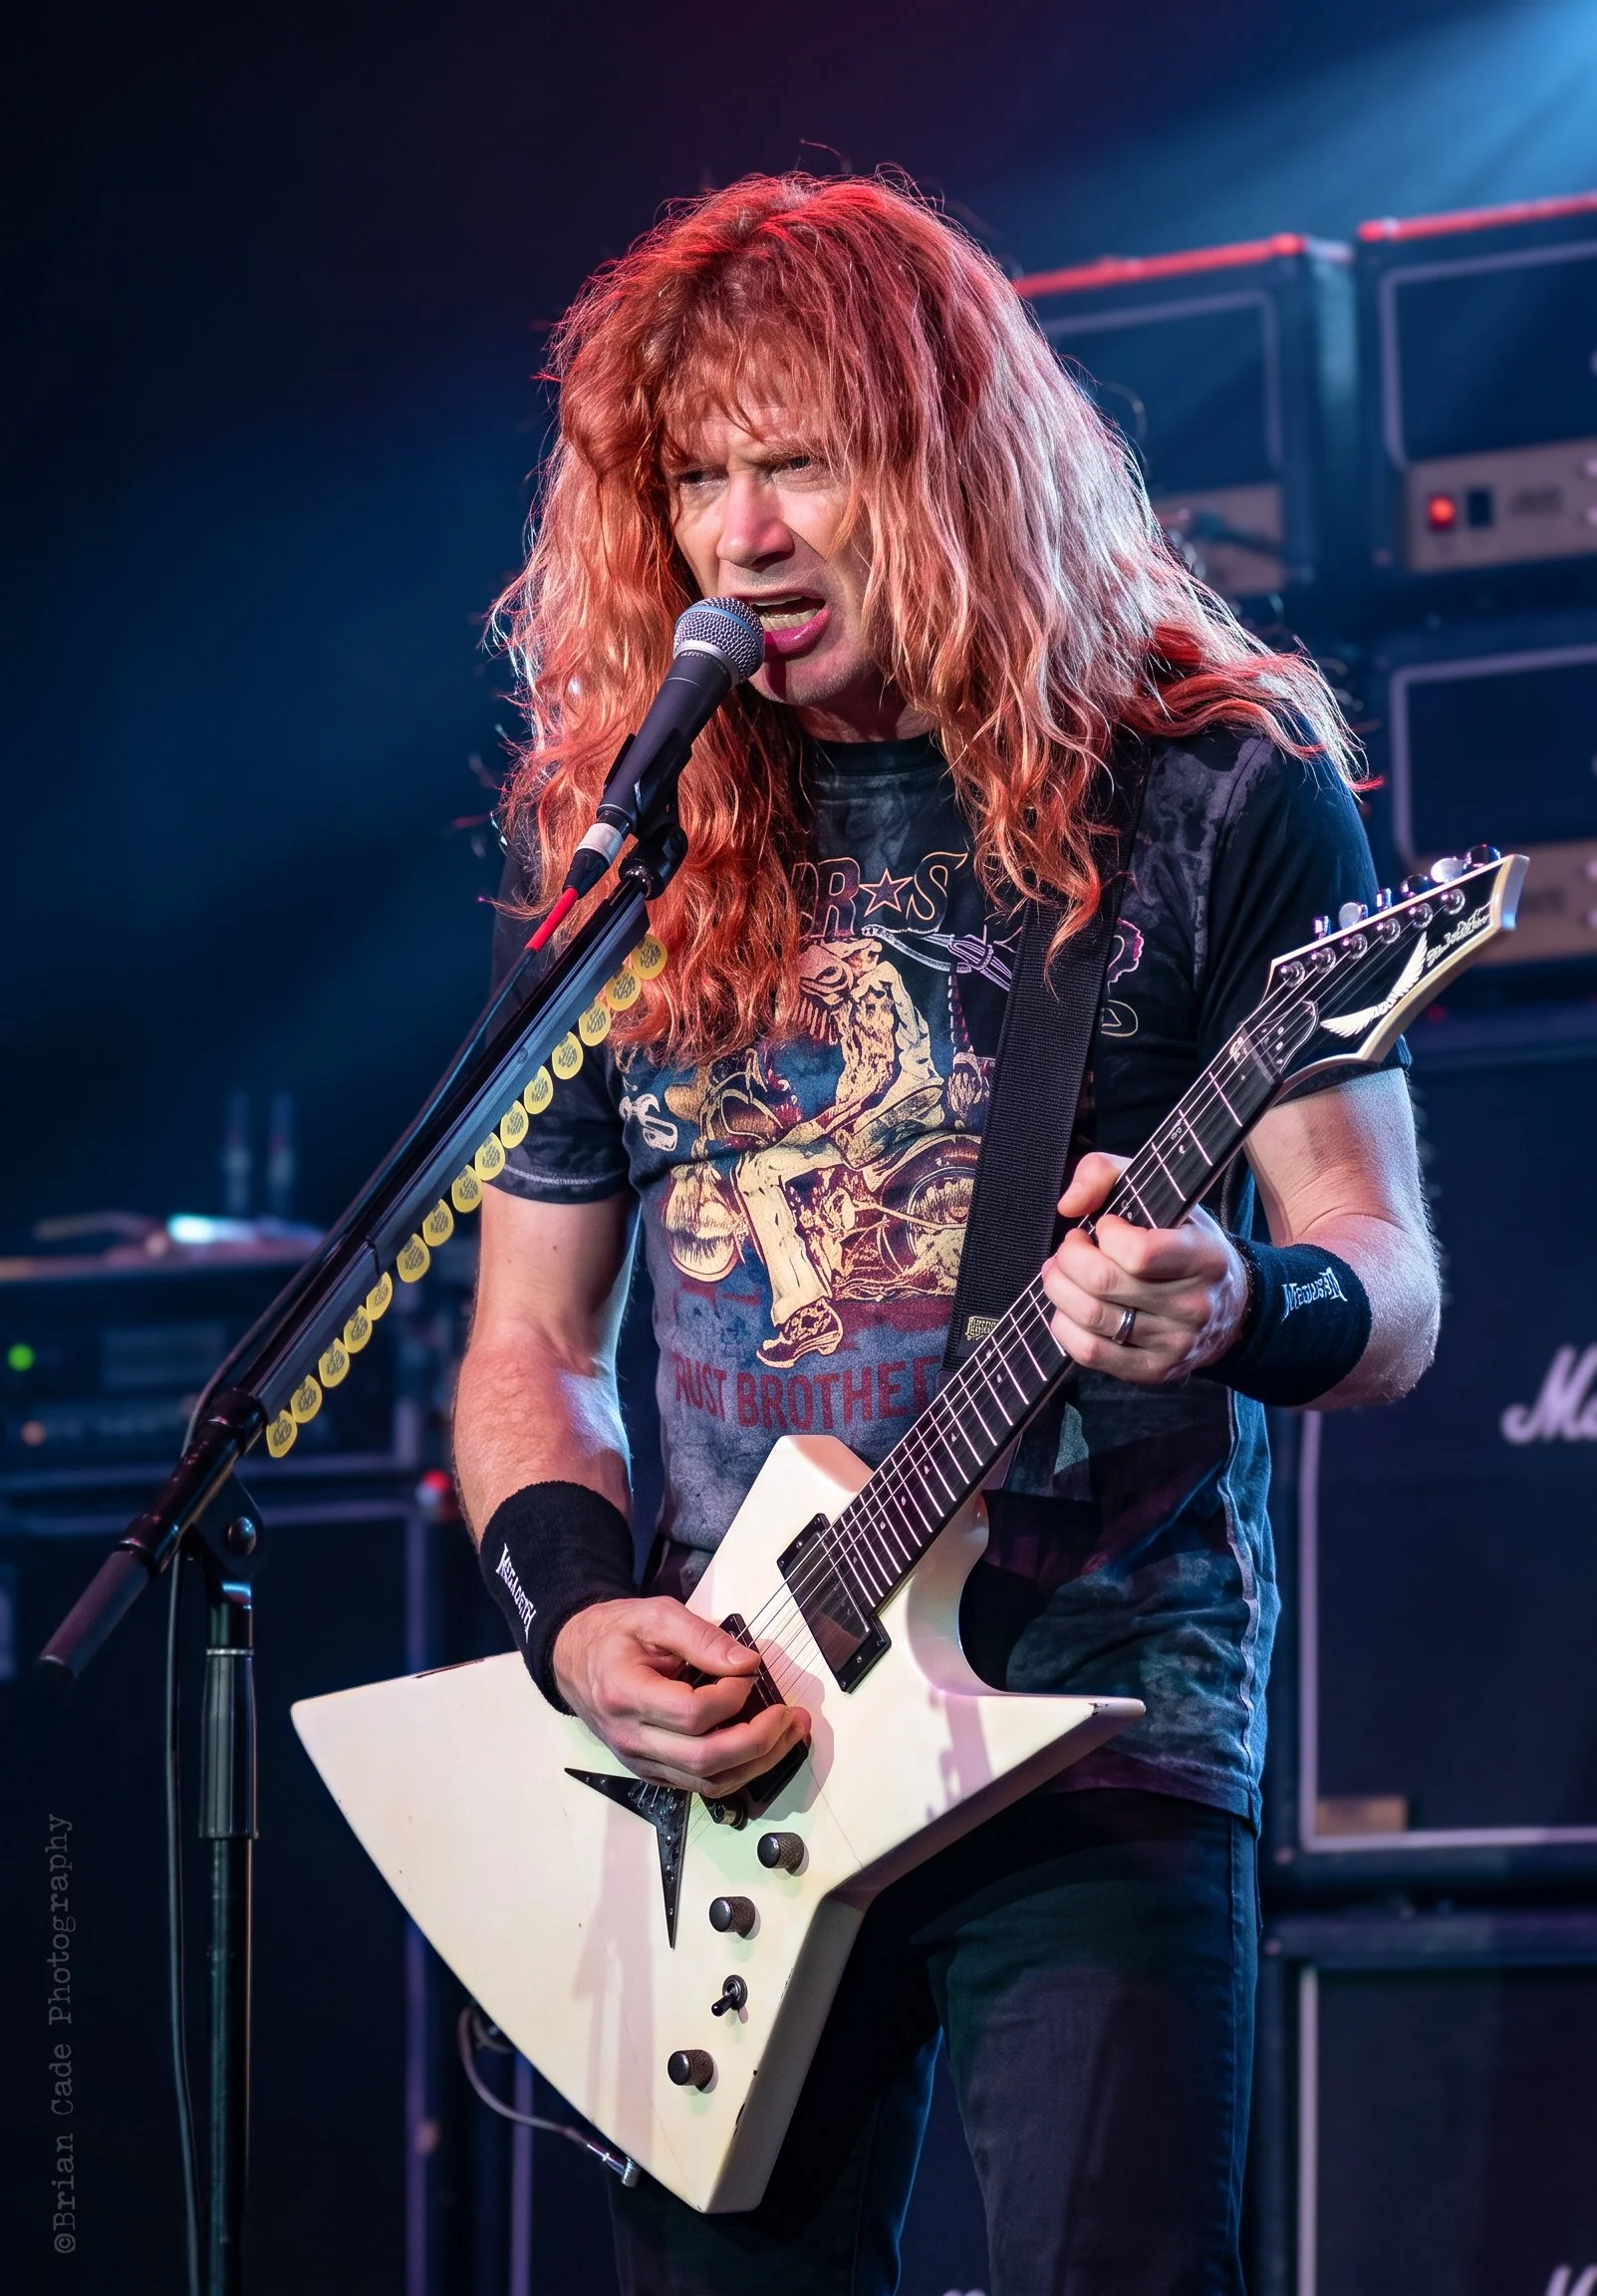
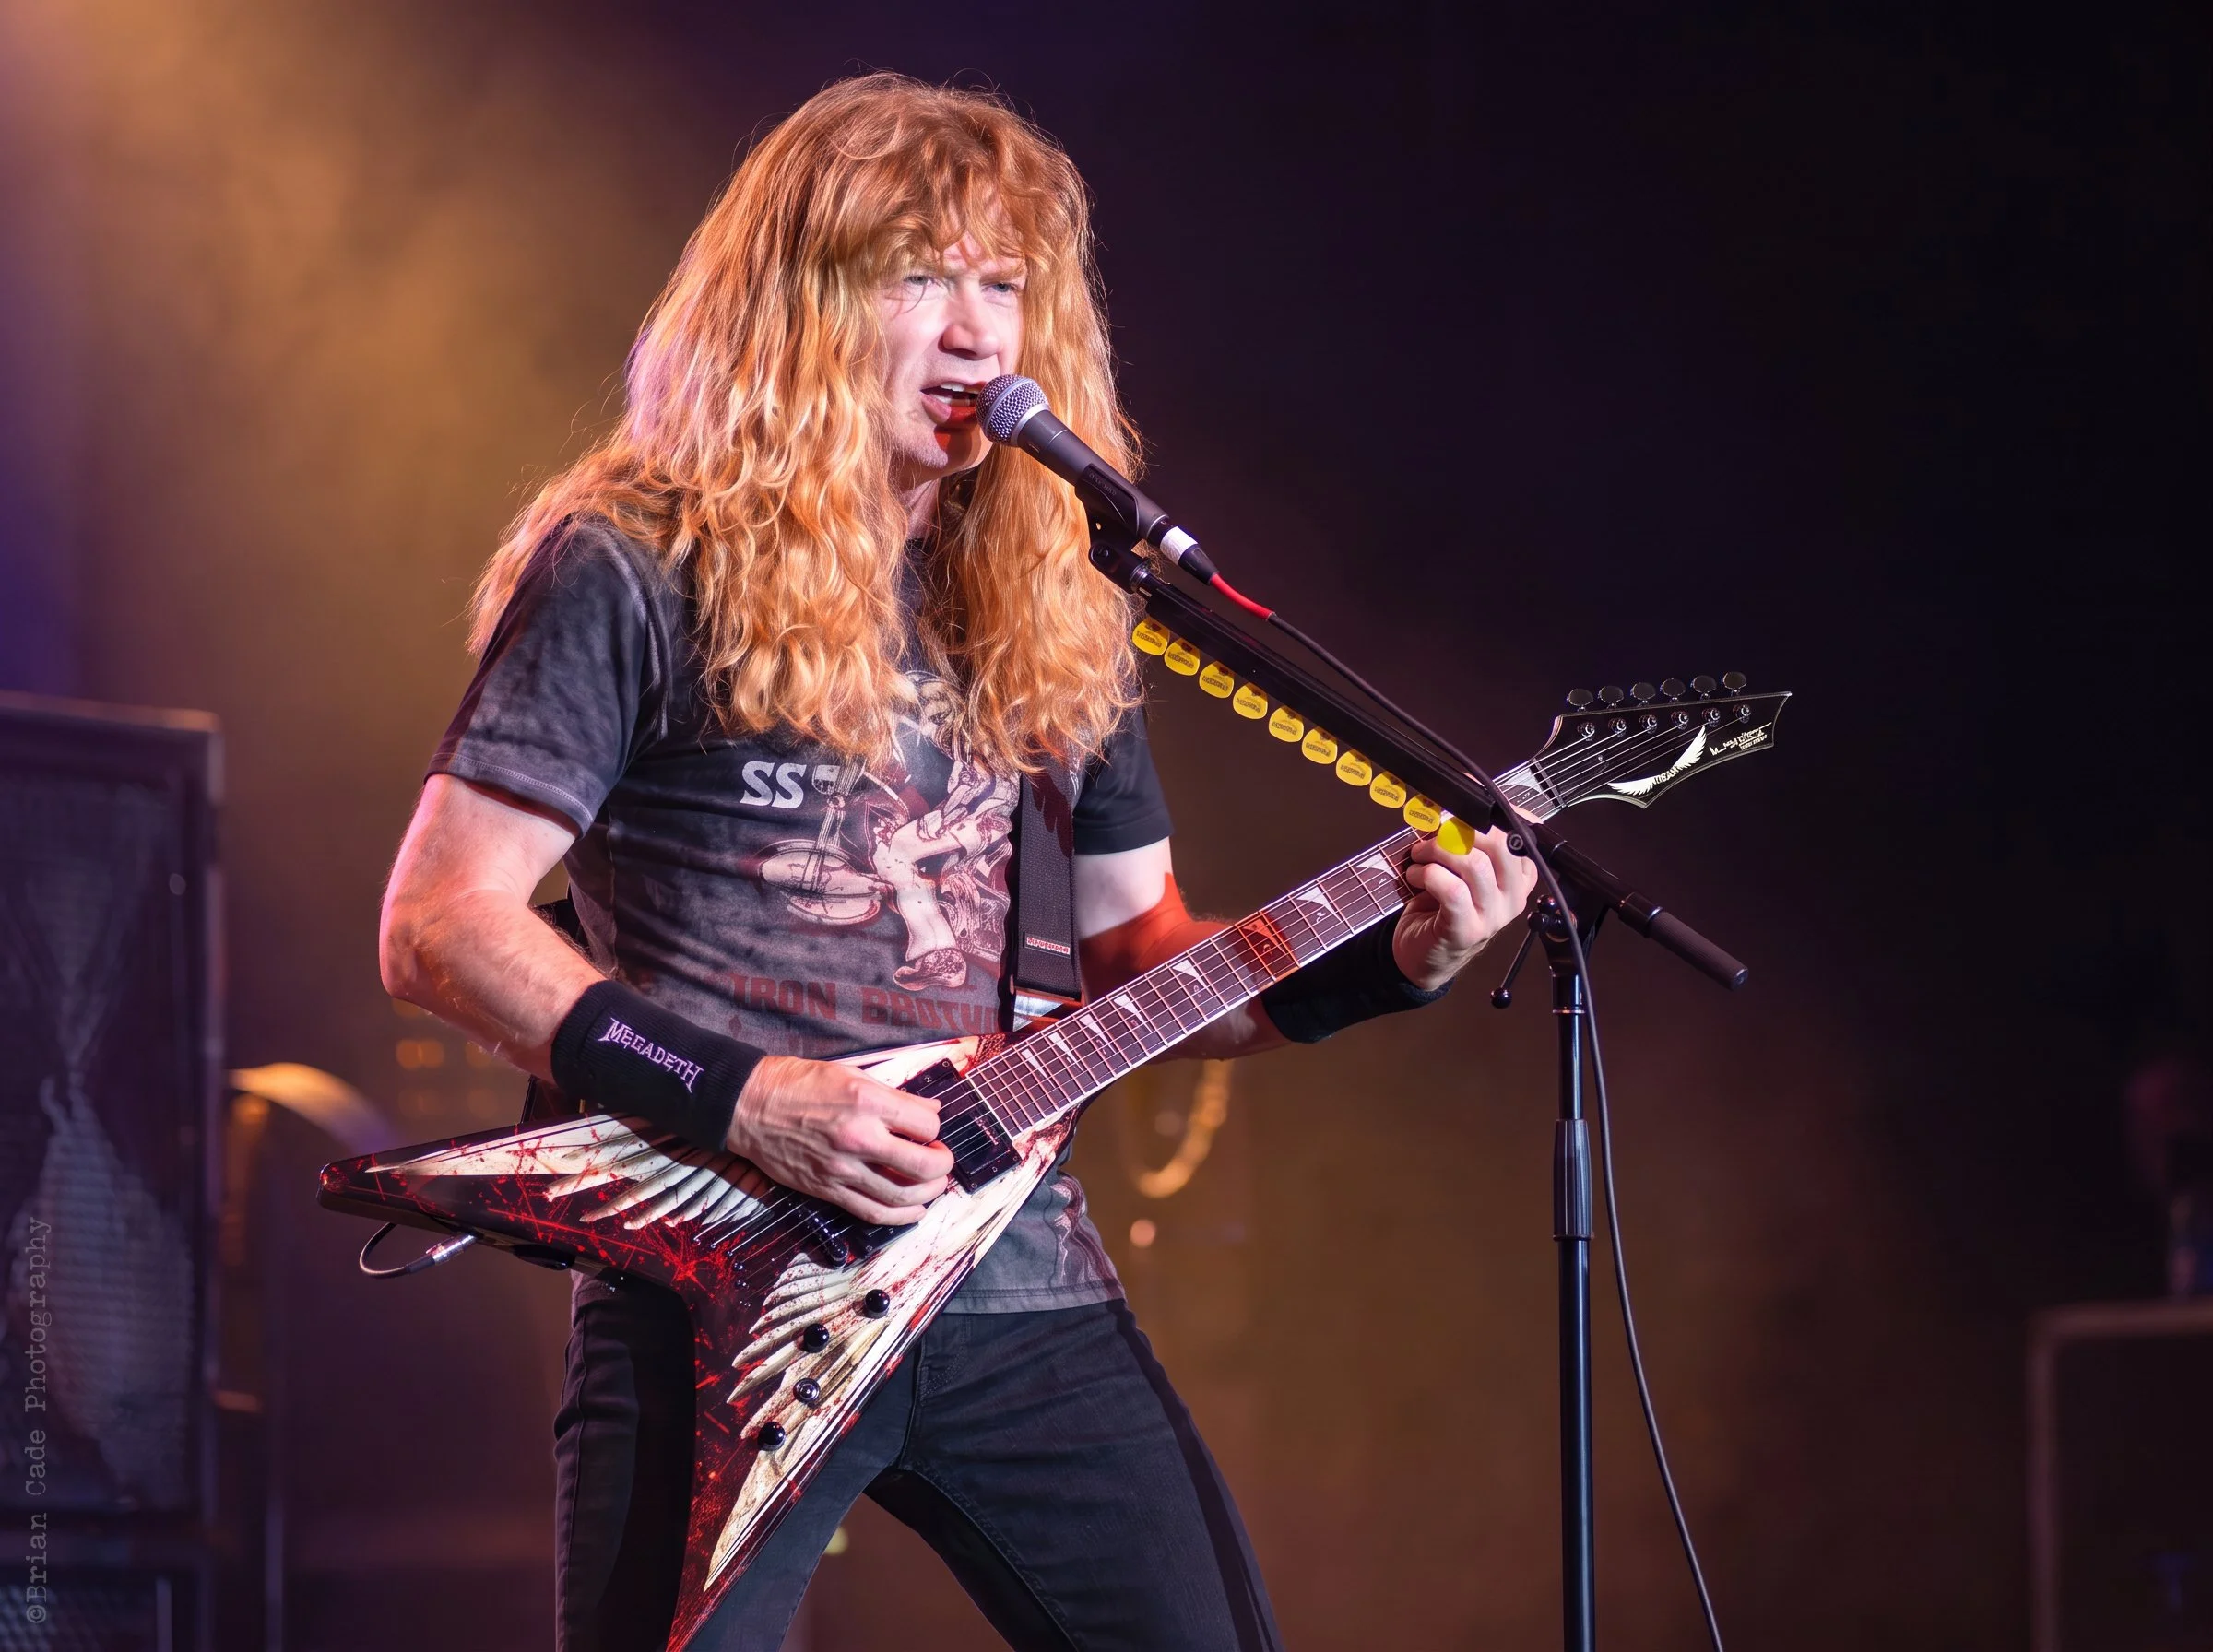
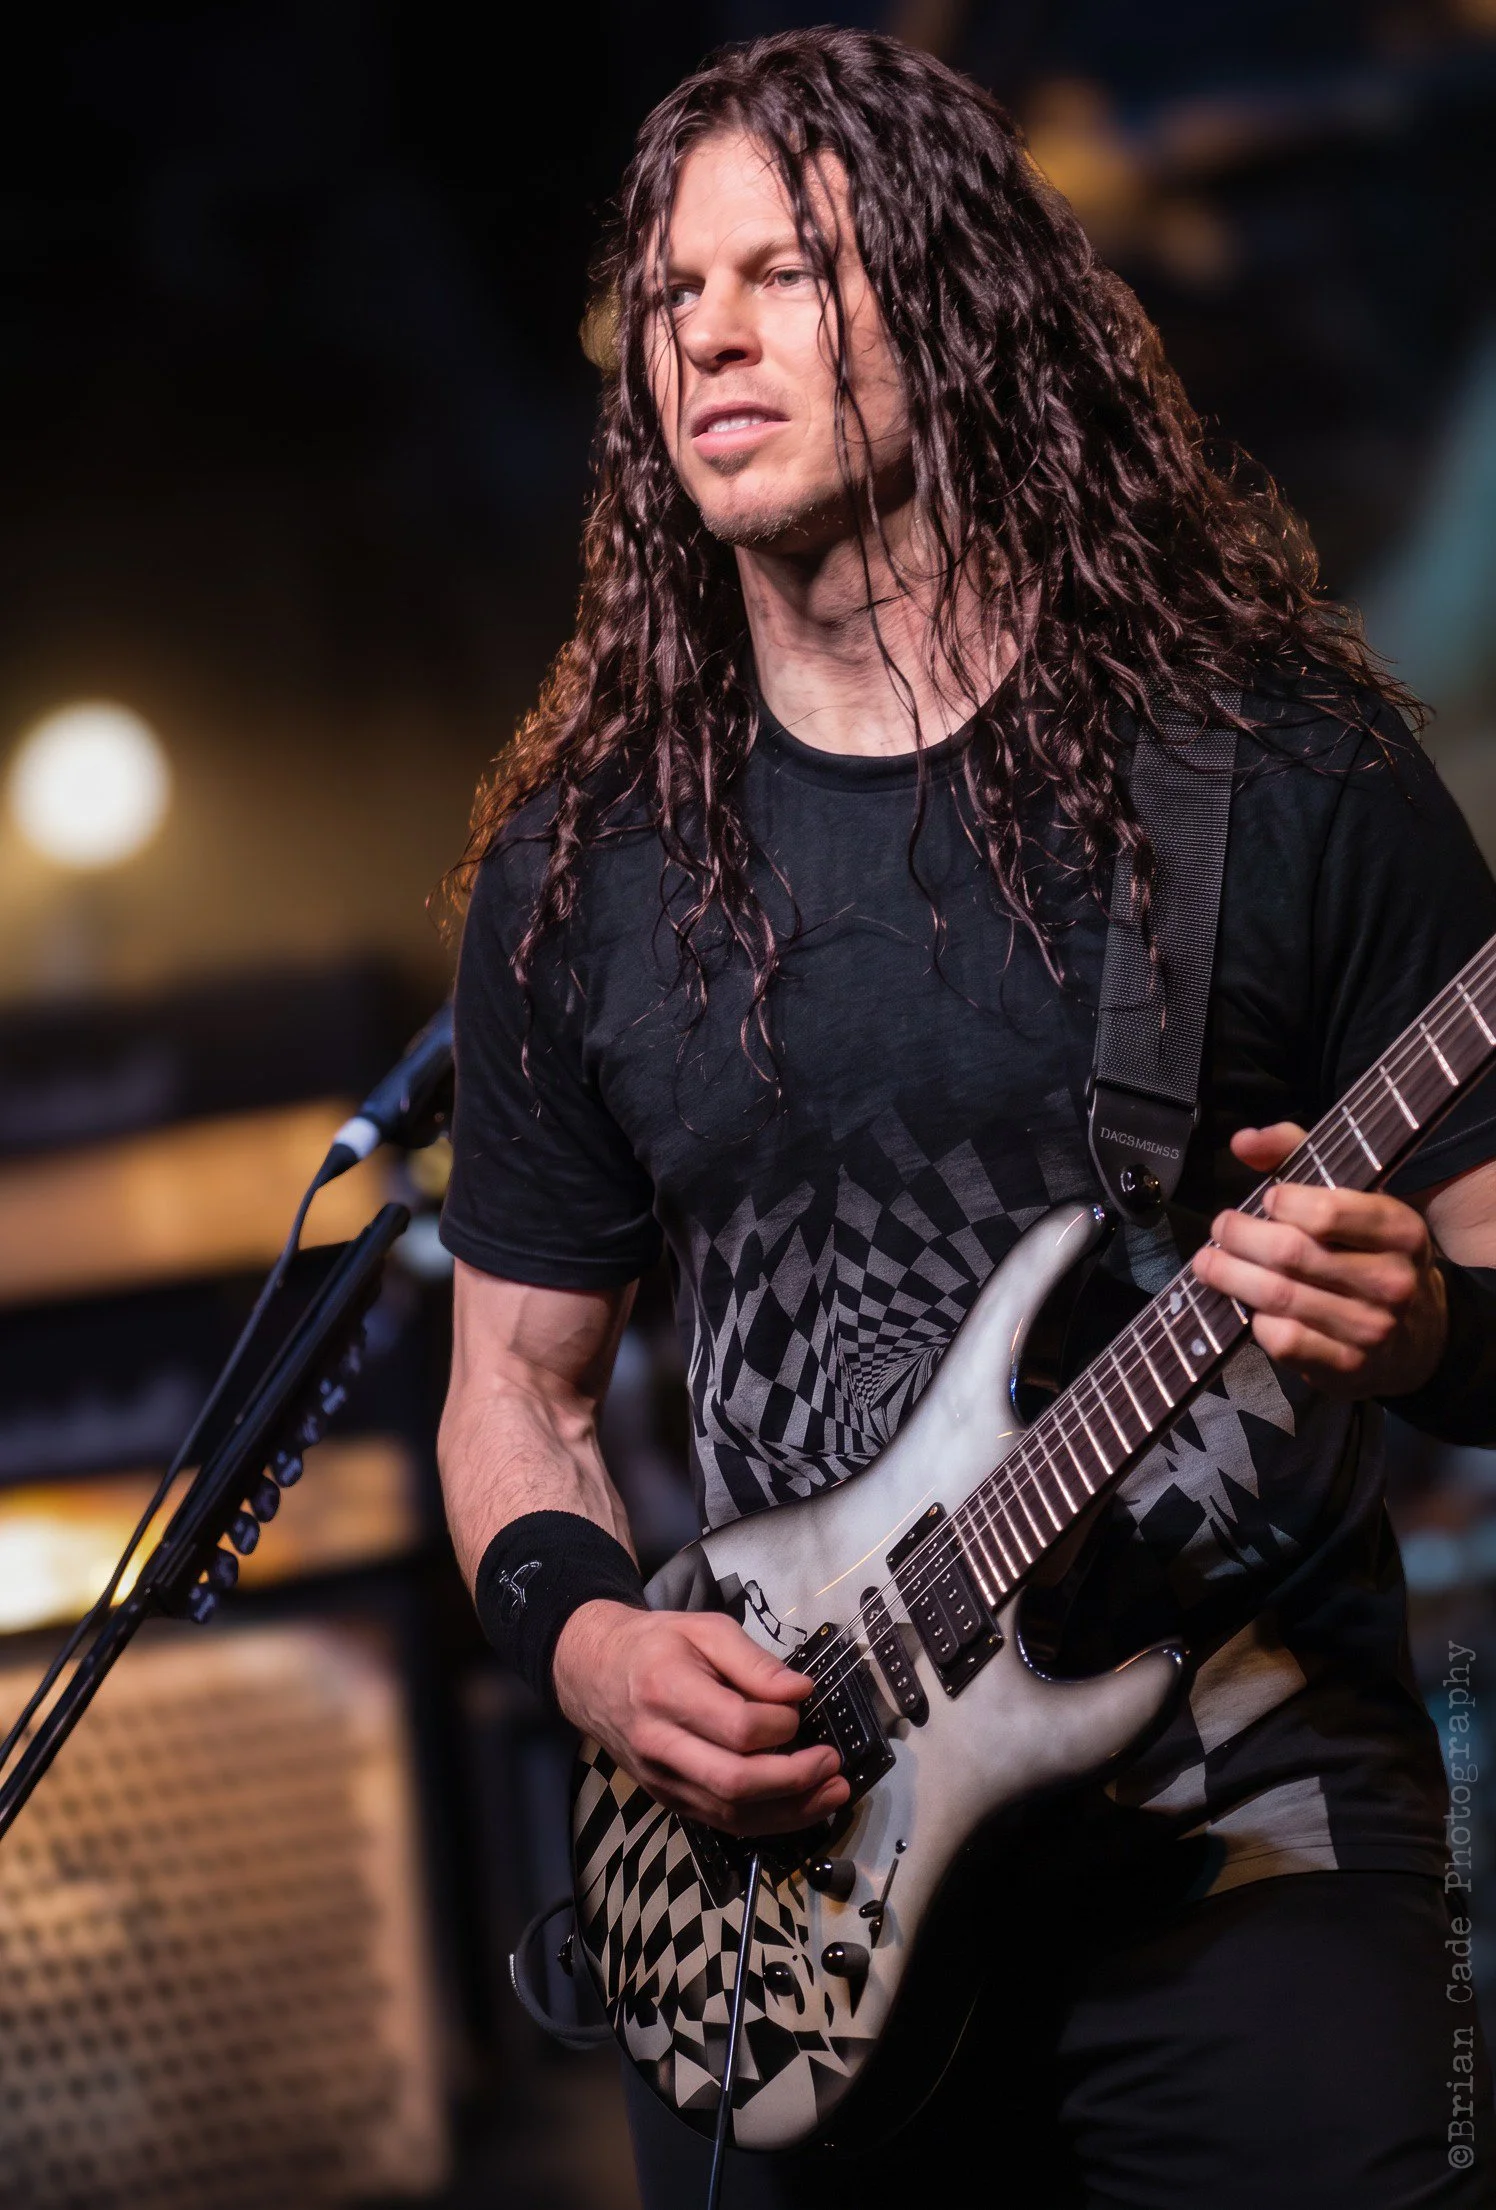
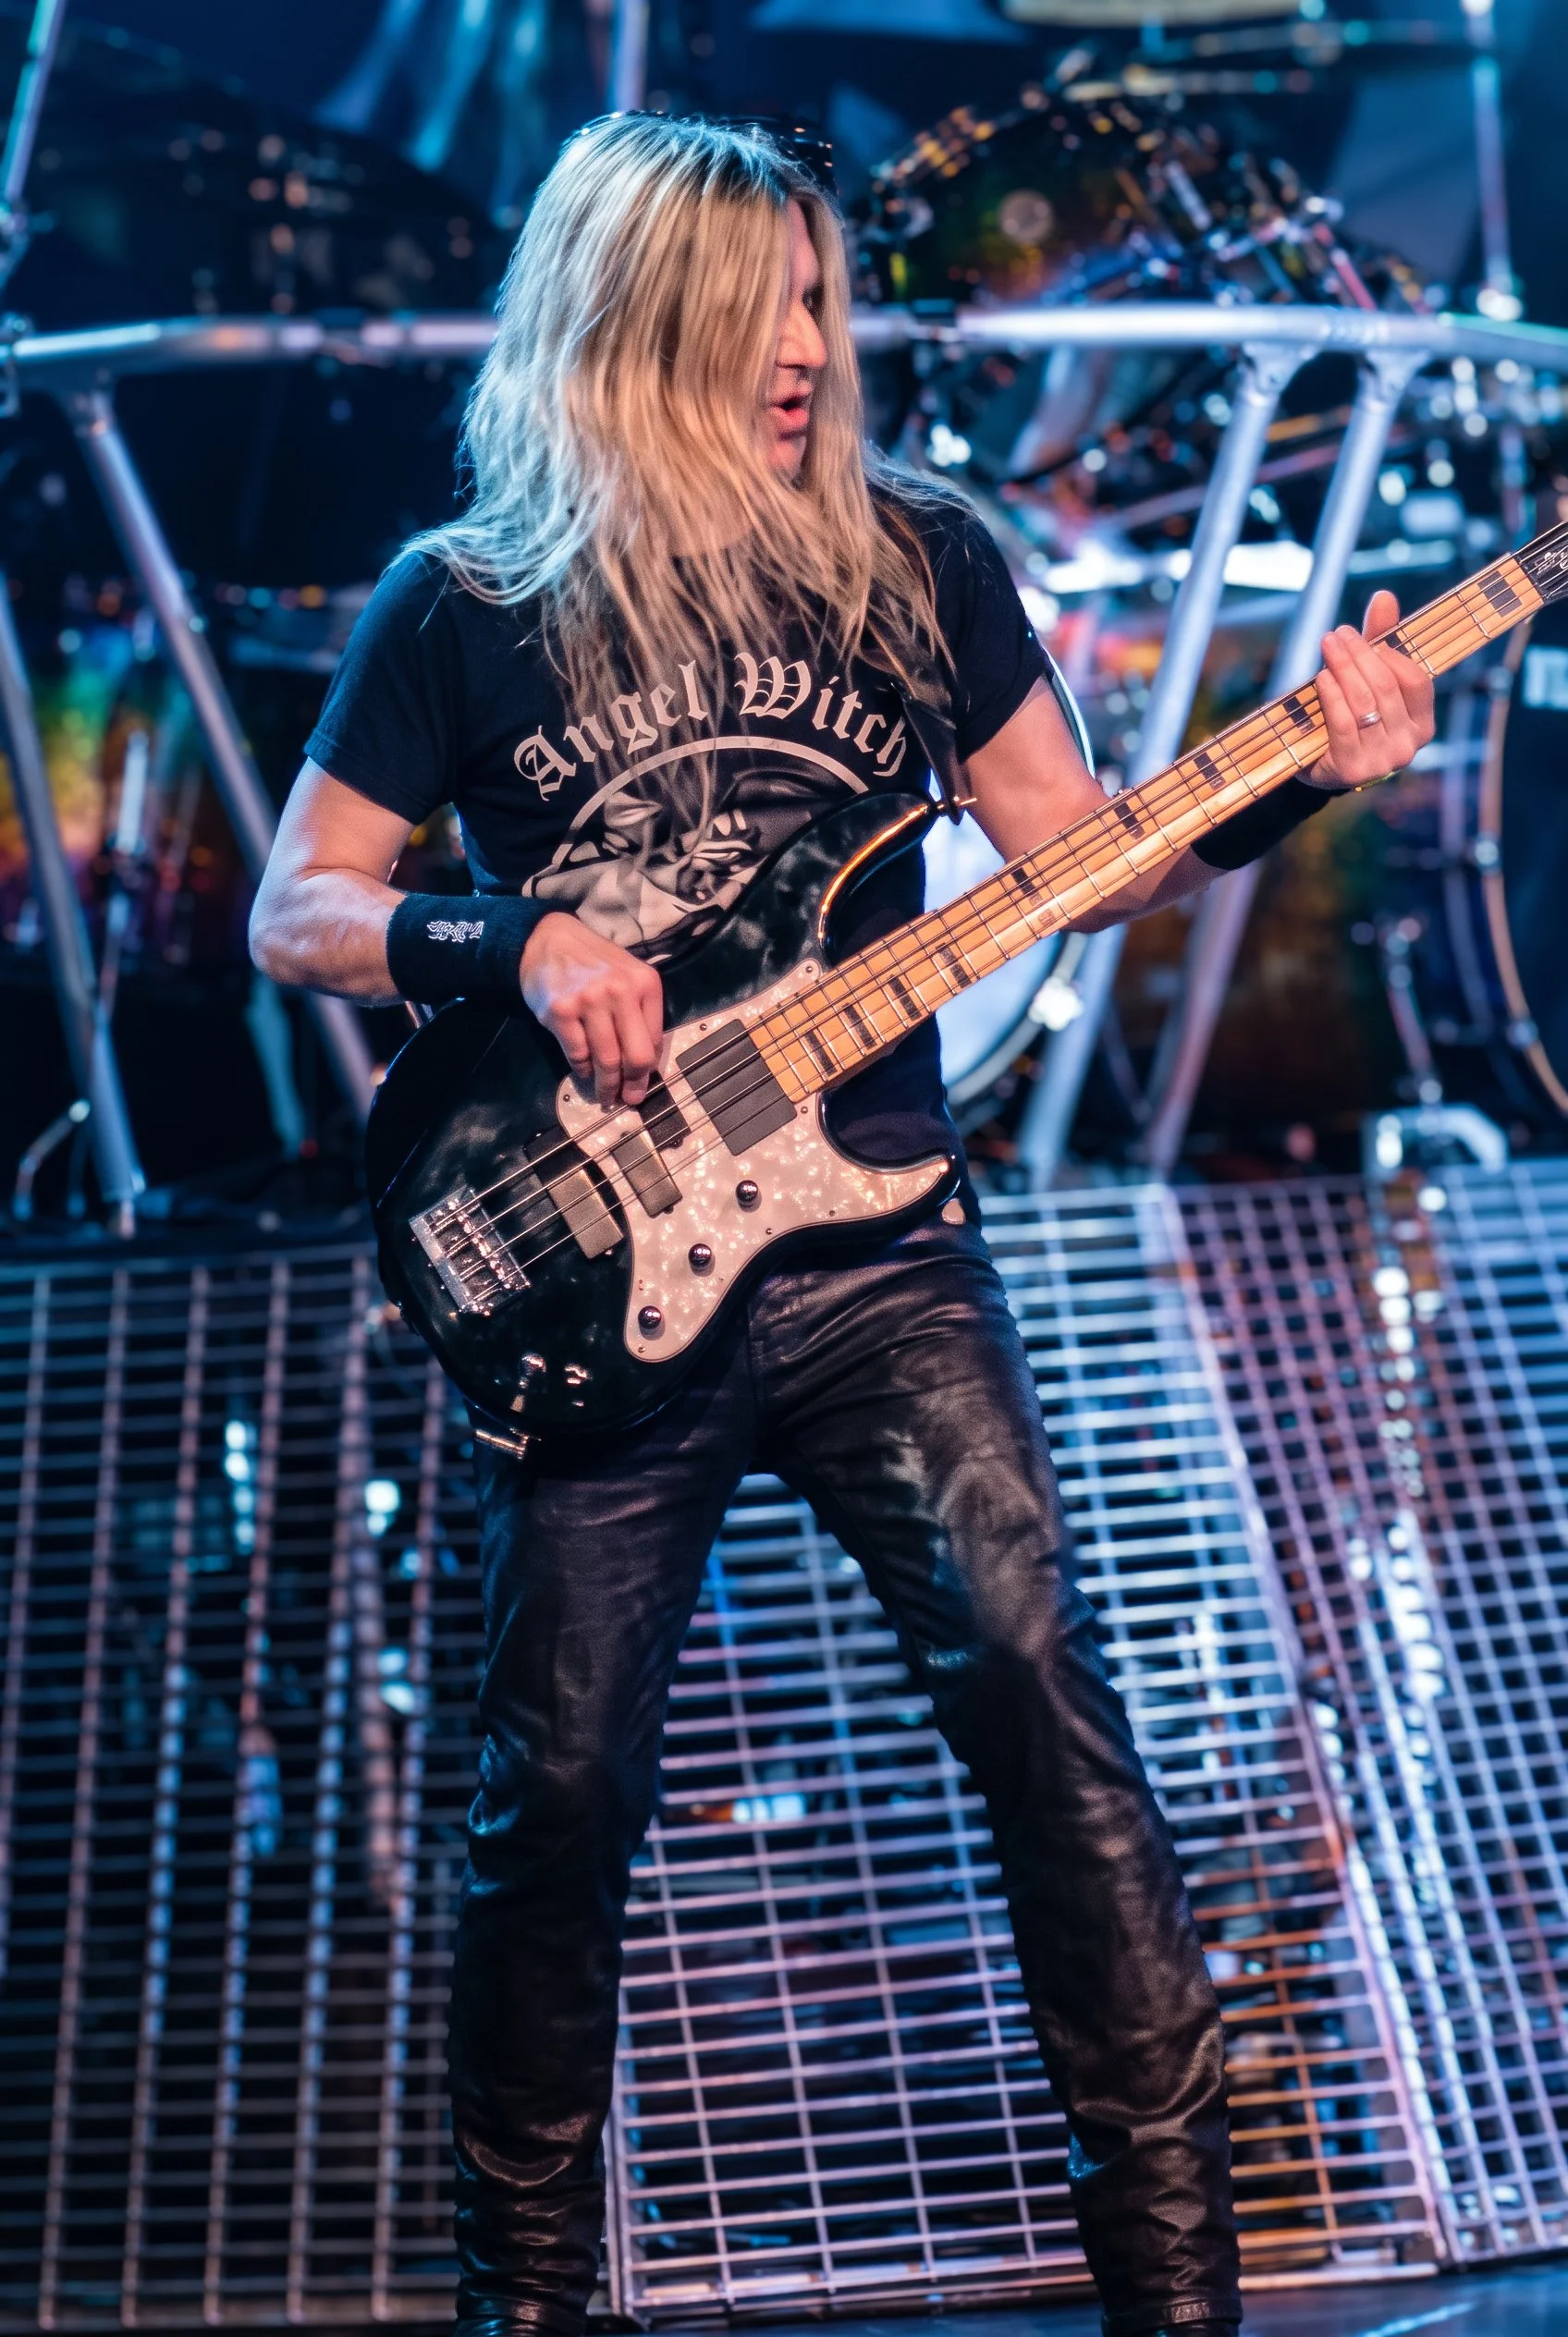
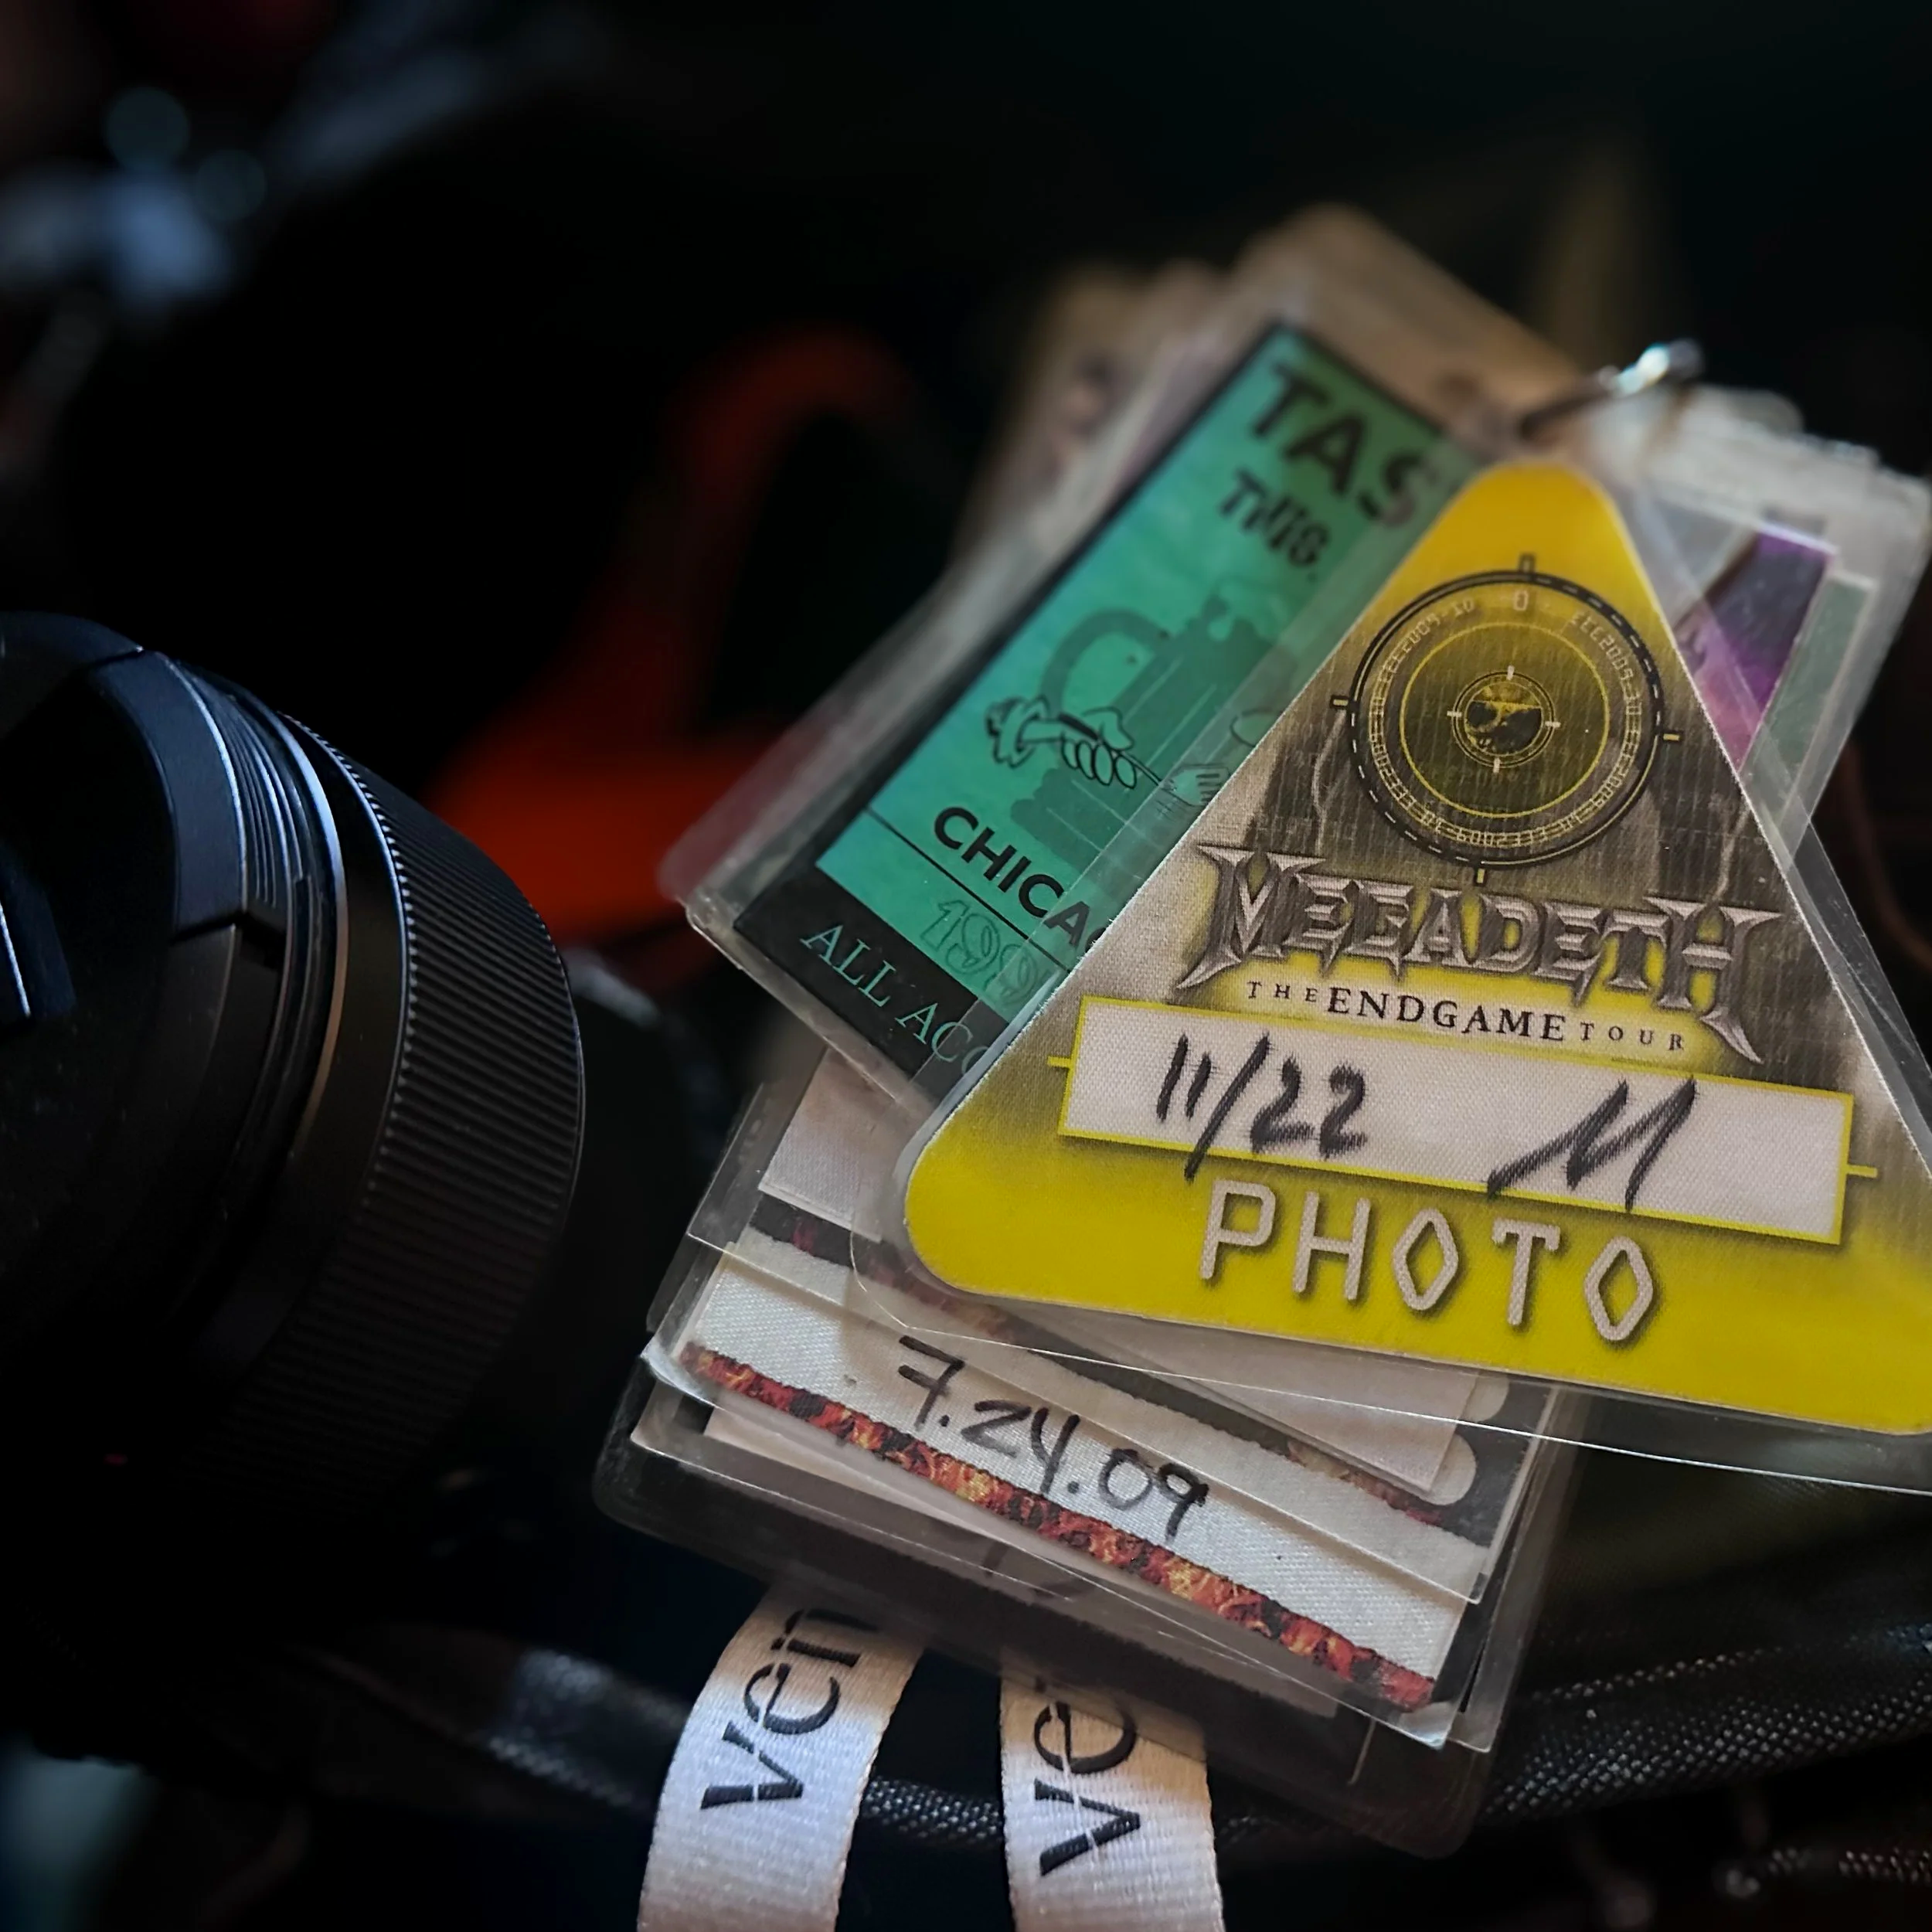
A few interesting stories came about when I covered the 2009 Megadeth Endgame tour stop in Knoxville, Tennessee, at the well-known Velarium. Megadeth headlined the show, with Machine Head and Suicide Silence as the opening acts.
A few interesting stories came about when I covered the 2009 Megadeth Endgame tour stop in Knoxville, Tennessee, at the well-known Velarium. Megadeth headlined the show, with Machine Head and Suicide Silence as the opening acts.
The Knoxville show was scheduled for November 22, but I rushed to request credentials on the 19th. Usually, you should ask for access at least a week in advance, so I knew I might get turned down. My main contact at Roadrunner Records, Megadeth's label, helped me get approved to cover Megadeth—just in time.
On the day of the show, I got to the venue just in time to cover Megadeth, despite my time constraints. I was disappointed, but I was alright with it.
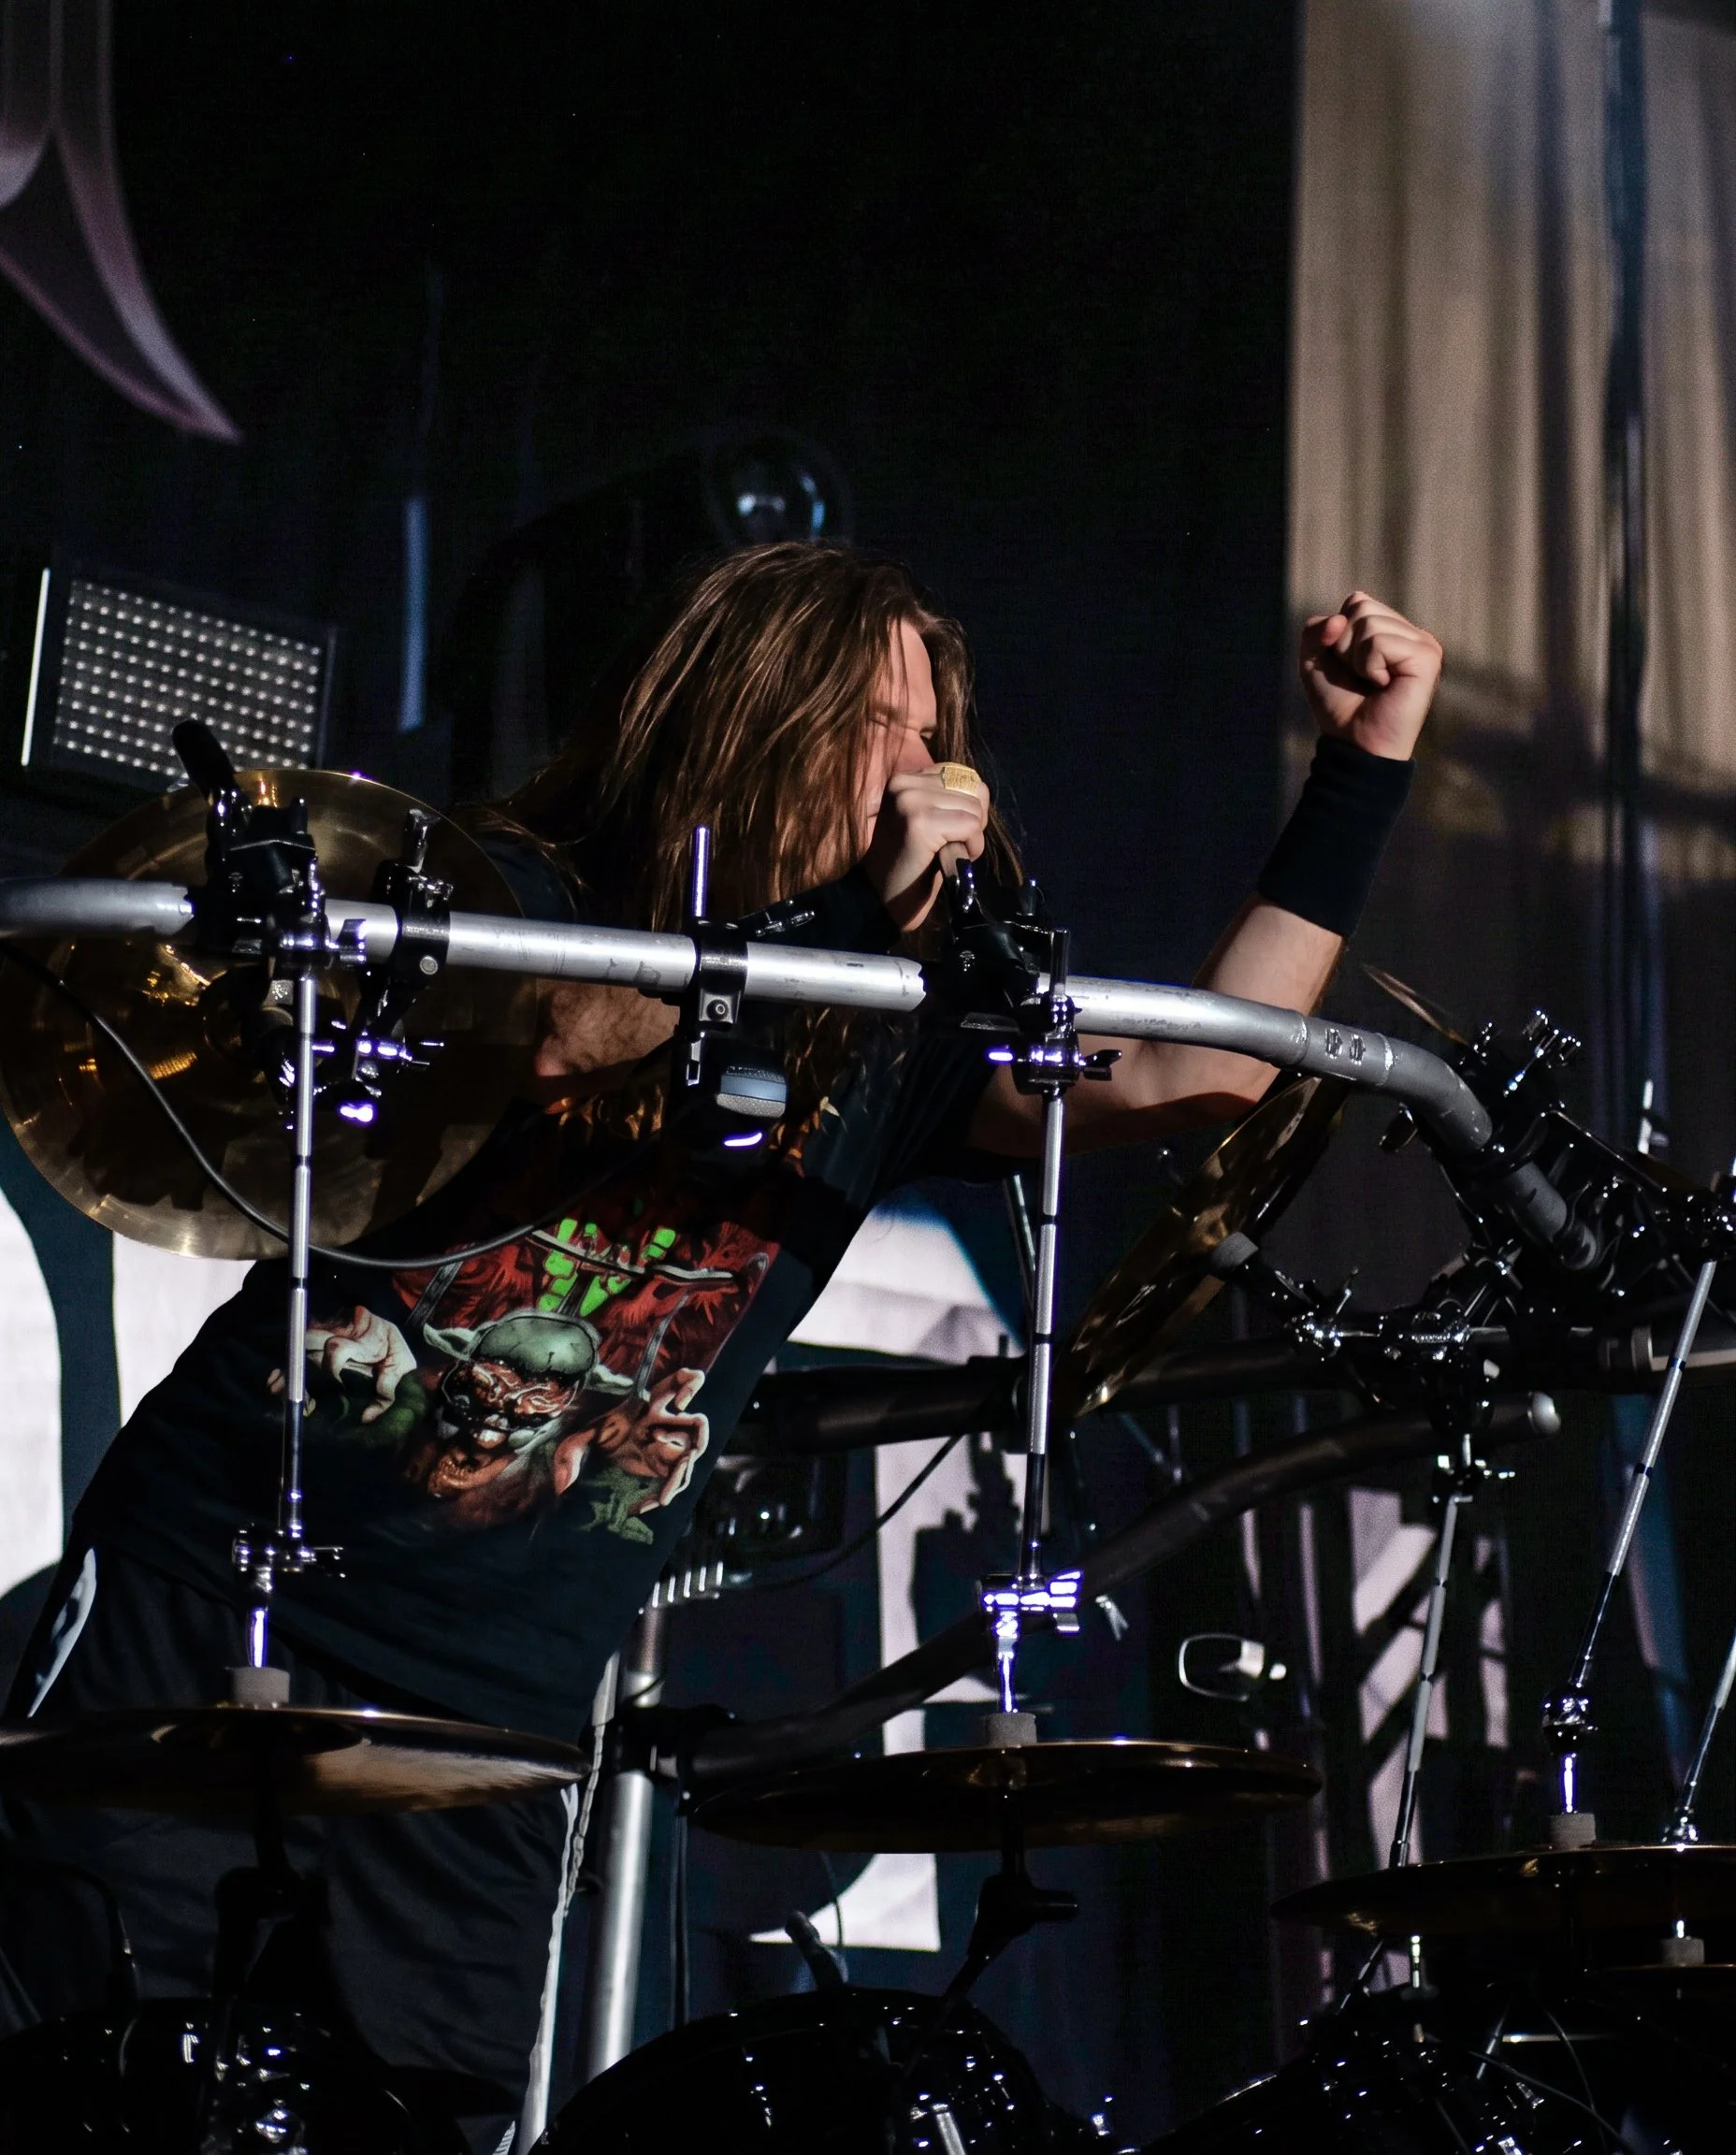
The press pit usually runs along the stage and is about four feet wide in small clubs, sometimes even less. For Megadeth, though, the center of the pit was filled with some of the band’s equipment, so I couldn’t move around to get different shots. I thought I knew that Dave Mustaine almost always sang facing his left, but I ended up on his right and couldn’t switch sides in time. I made the best of it and, once again, tried not to stress.
There were about four or five photographers in the pit, and I recognized a couple as locals. We each found a small spot to work from, hoping to get the best shots we could. There’s one thing I’ve never understood—it happens at a lot of concerts. Some women feel the urge to pull up their shirts and expose themselves to everyone nearby. This happened to me and one of the local photographers while we waited for the show to start. A young woman behind us tapped the local guy on the shoulder. He turned around, she gave him a big grin and said hello, then did the same to me. I guess she wanted more attention, because she tapped us both again on the shoulder, and when we turned around, she lifted her shirt to her chin with a huge smile. We weren’t shocked or offended; we just laughed loudly and turned back around. Then the show began.
At most events I photographed, the rules were always the same: shoot for three songs, no flash, then you were finished. Usually, someone would lead you off the main floor to leave the venue. Sometimes, you could store your gear in the main office and stay to enjoy the rest of the show. This time, when we were escorted out of the photo pit, none of that happened. Security just let us walk around the edge of the crowd, so I did. I even made my way to the middle of the crowd, on Dave’s left side, and managed to get some better photos. It turned out to be an amazing evening.








Adobe Firefly 5: My New AI Assistant
As our creative methods evolve, many digital photographers are worried about the rise of AI. This situation is similar to what traditional painters faced in 1839: The solution is to adapt and grow, or risk being left behind. The reality is that AI, even as a tool to help photographers, is here to stay.
Recently, I asked a pressing question to two dear friends of mine, Ellen, an accomplished painter, and her husband Chris, an avid photographer. The question had been eating at me for some time: when does a photograph lose its originality and become more of an AI illustration, and when does it truly remain a photograph with AI editing assistance? Both had similar questions as I did, so I went online in search of answers.
Most articles I read appeared to divide the field into AI-generated images and AI-assisted images. Since AI-generated is pretty much self-explanatory, I want to concentrate on AI-assisted images.
The images below of Tyler Connolly of Theory of a Deadman are a clear example I deem “assisted.” Top left is the original from 2011, followed by an edit I did in Photoshop the following year. Dodging and burning, along with some exposure adjustments, gave the image a new dynamic, especially in the mist and fog surrounding the artist. Notice, too, that I eliminated the microphone stand with Photoshop, as it was a distraction. In the bottom images, I removed the mic stand again and used Adobe Firefly to add more punch by eliminating the blue cast and crunching the pixels for a sharper, more defined image. AI assist also let me make the mist and fog more defined. Finally, masking areas in Lightroom and editing them gave the image a more appealing overall look.
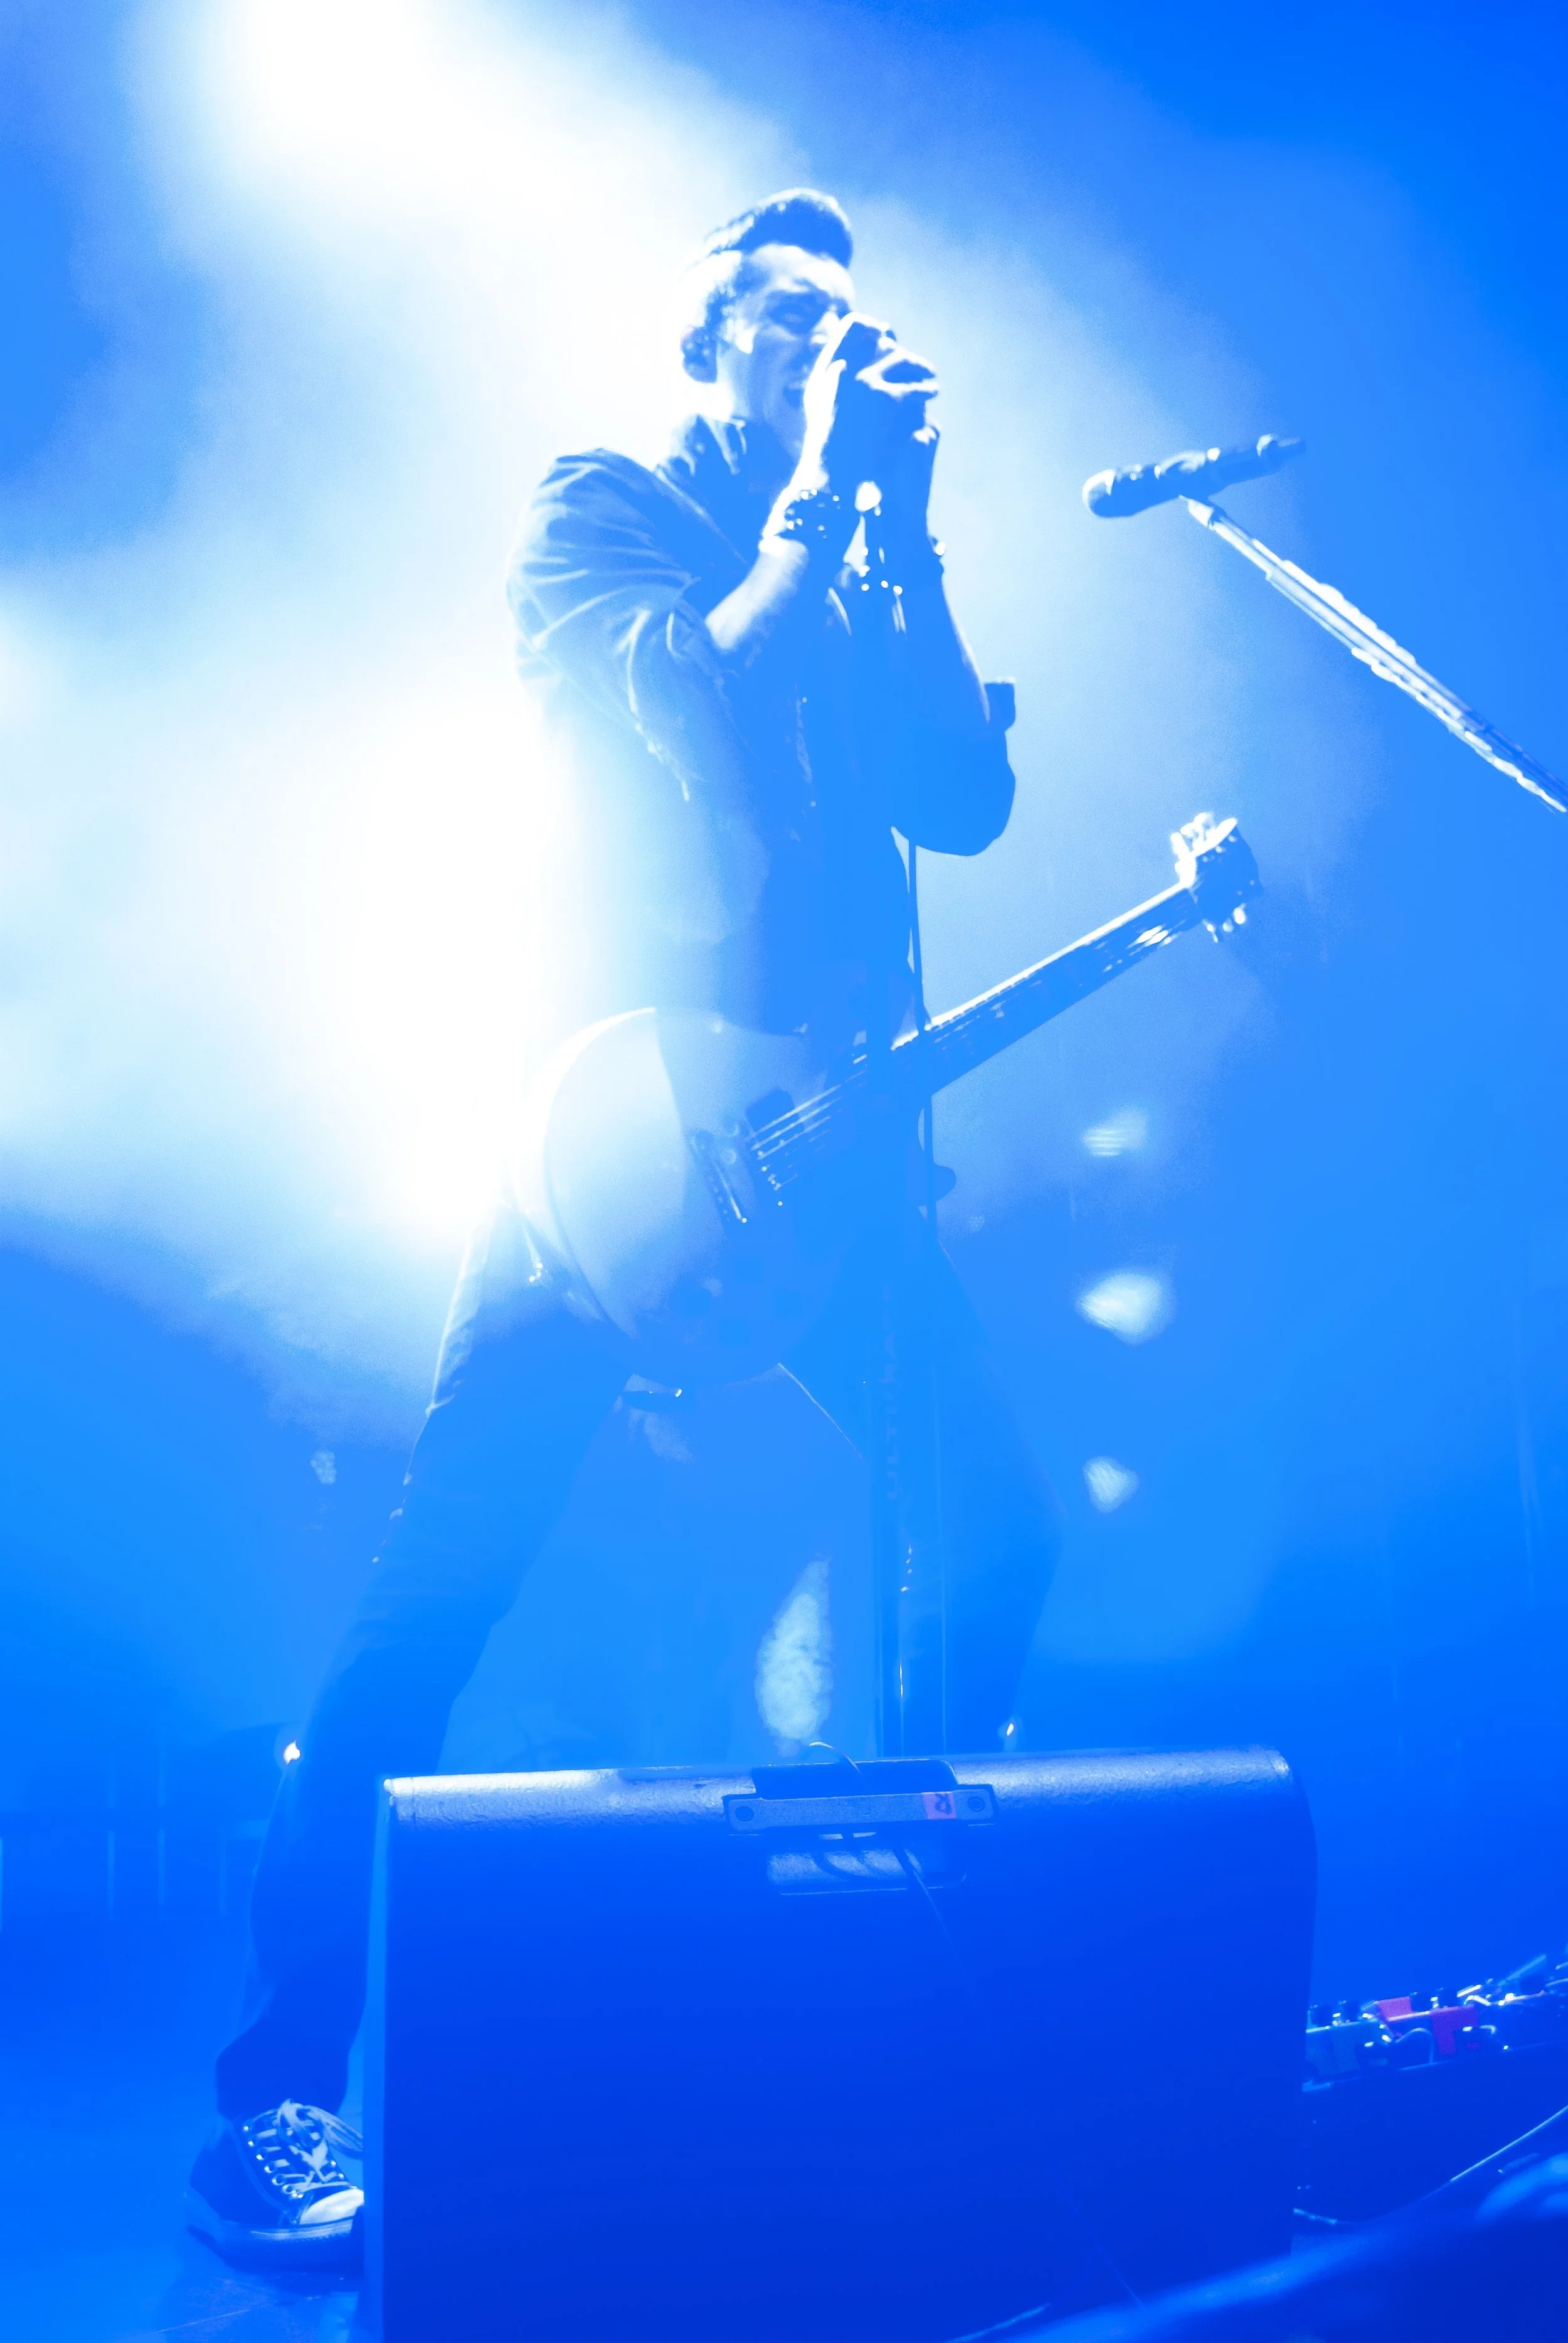
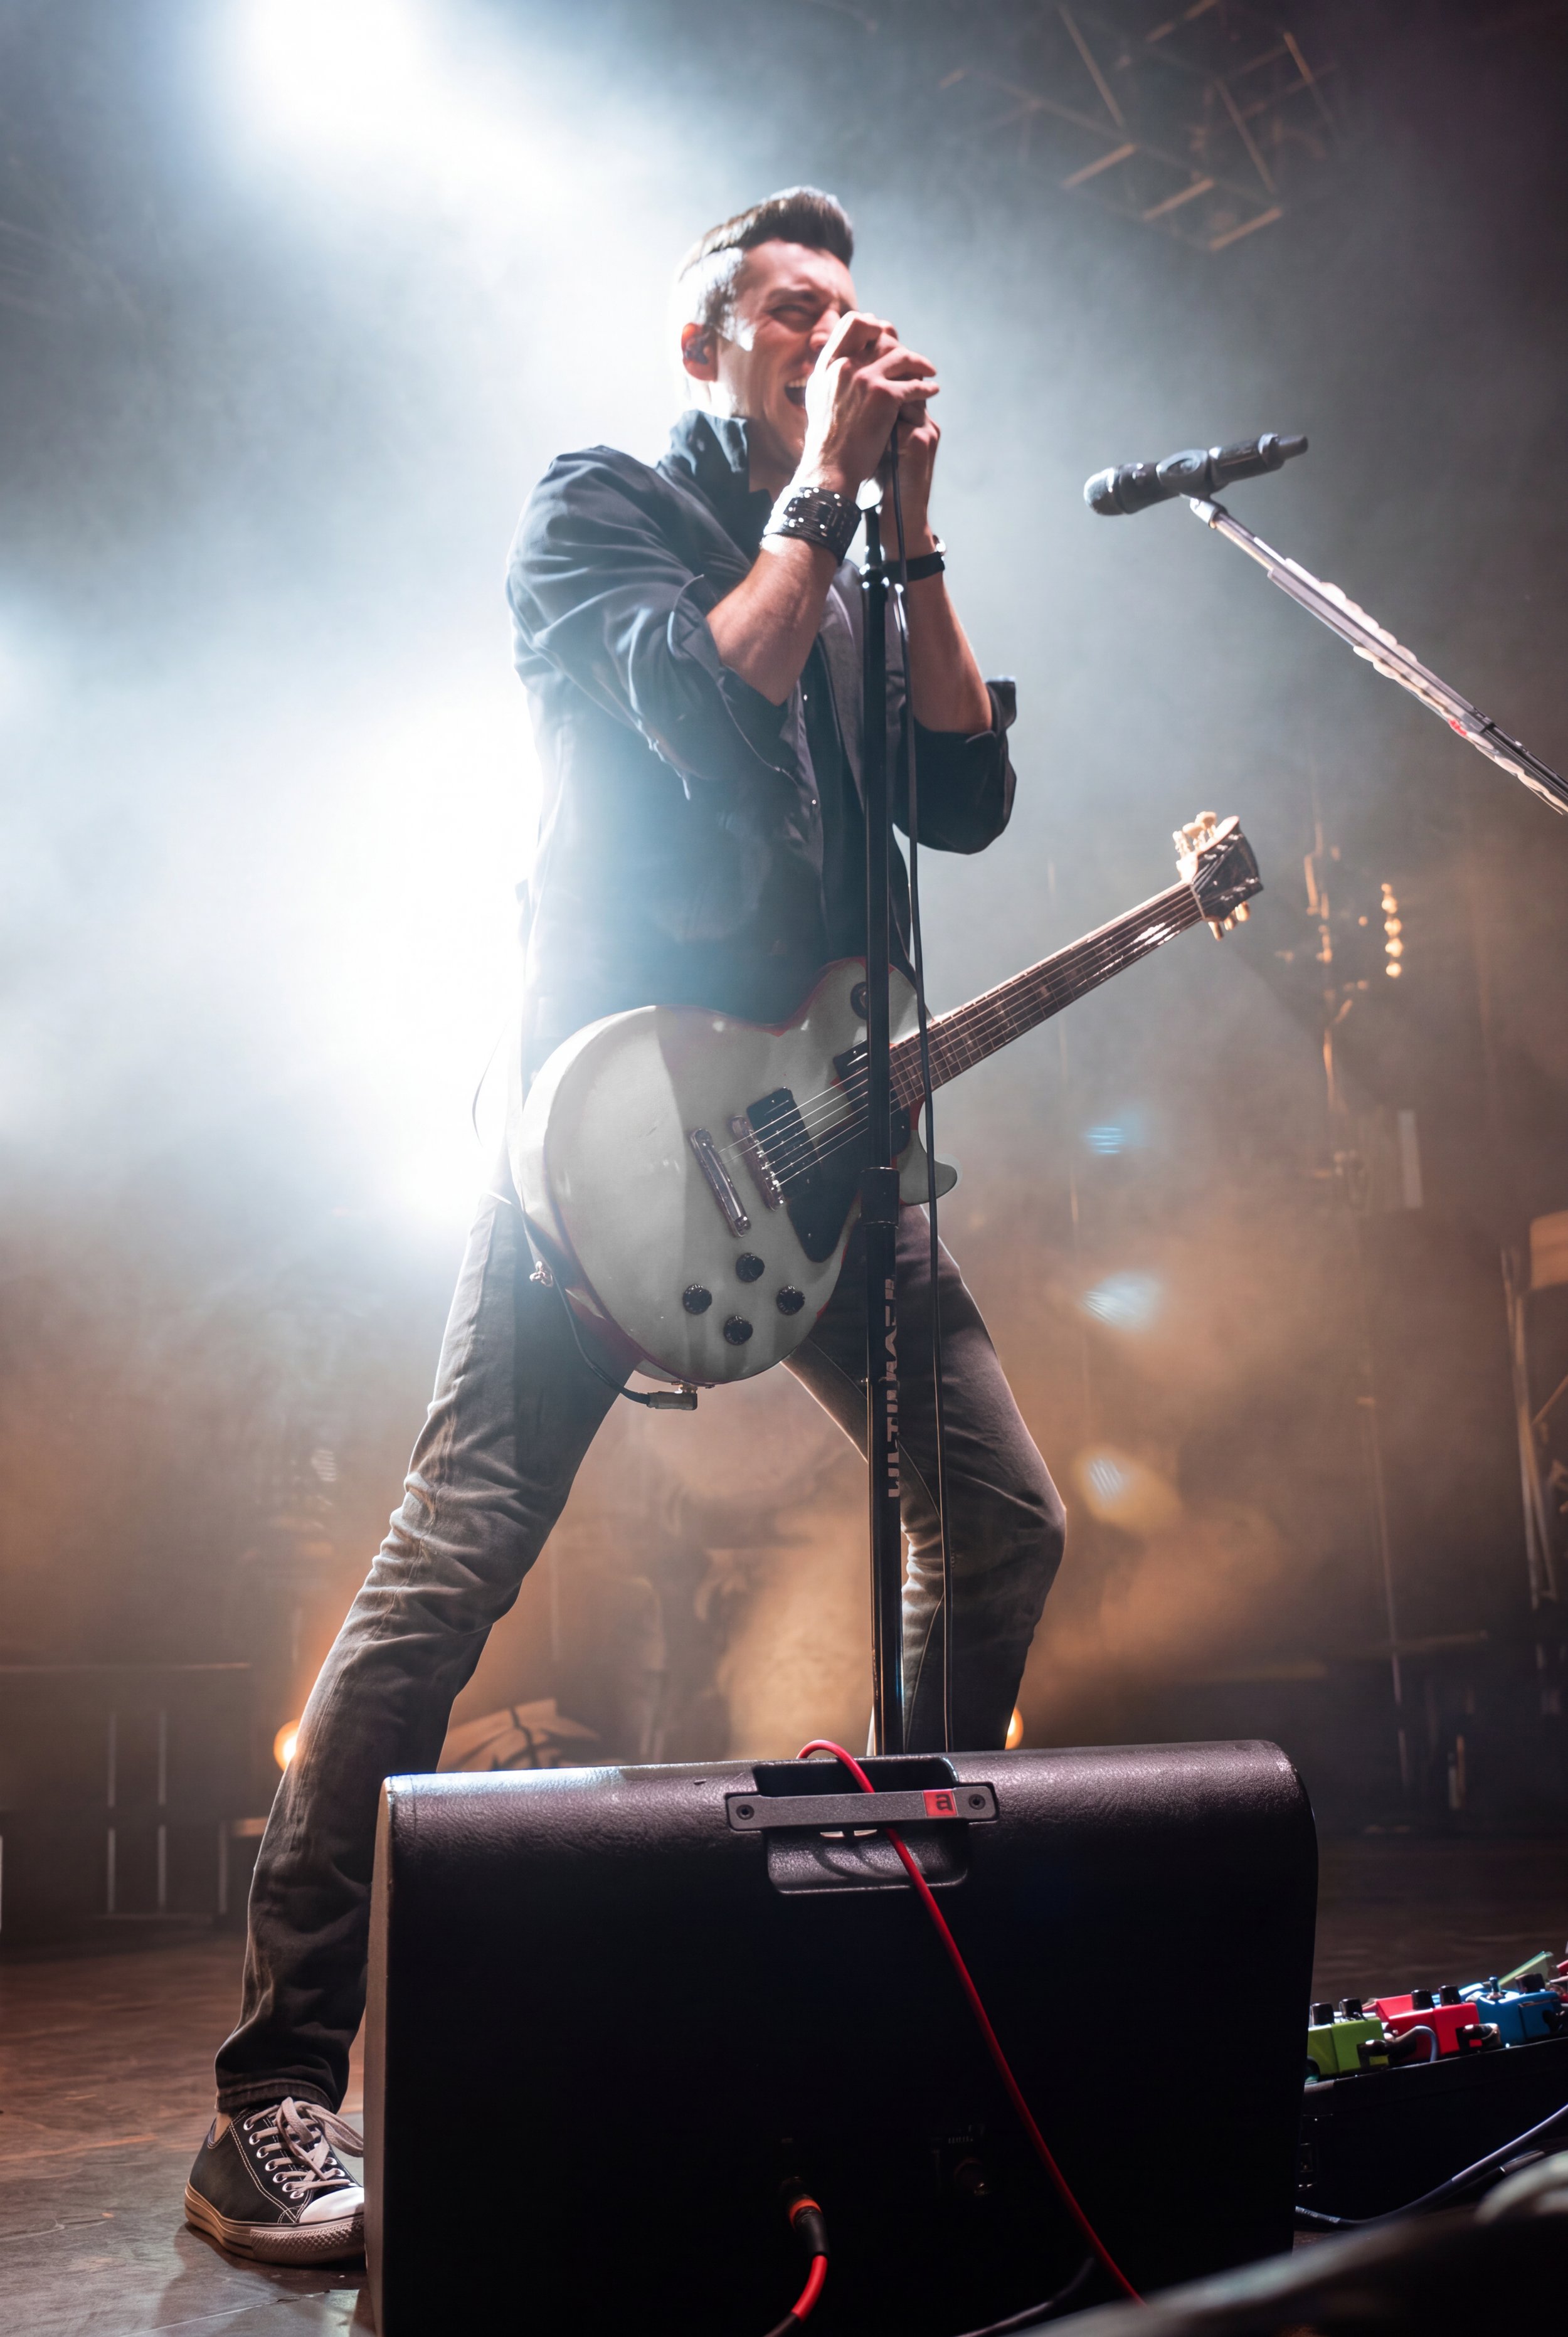
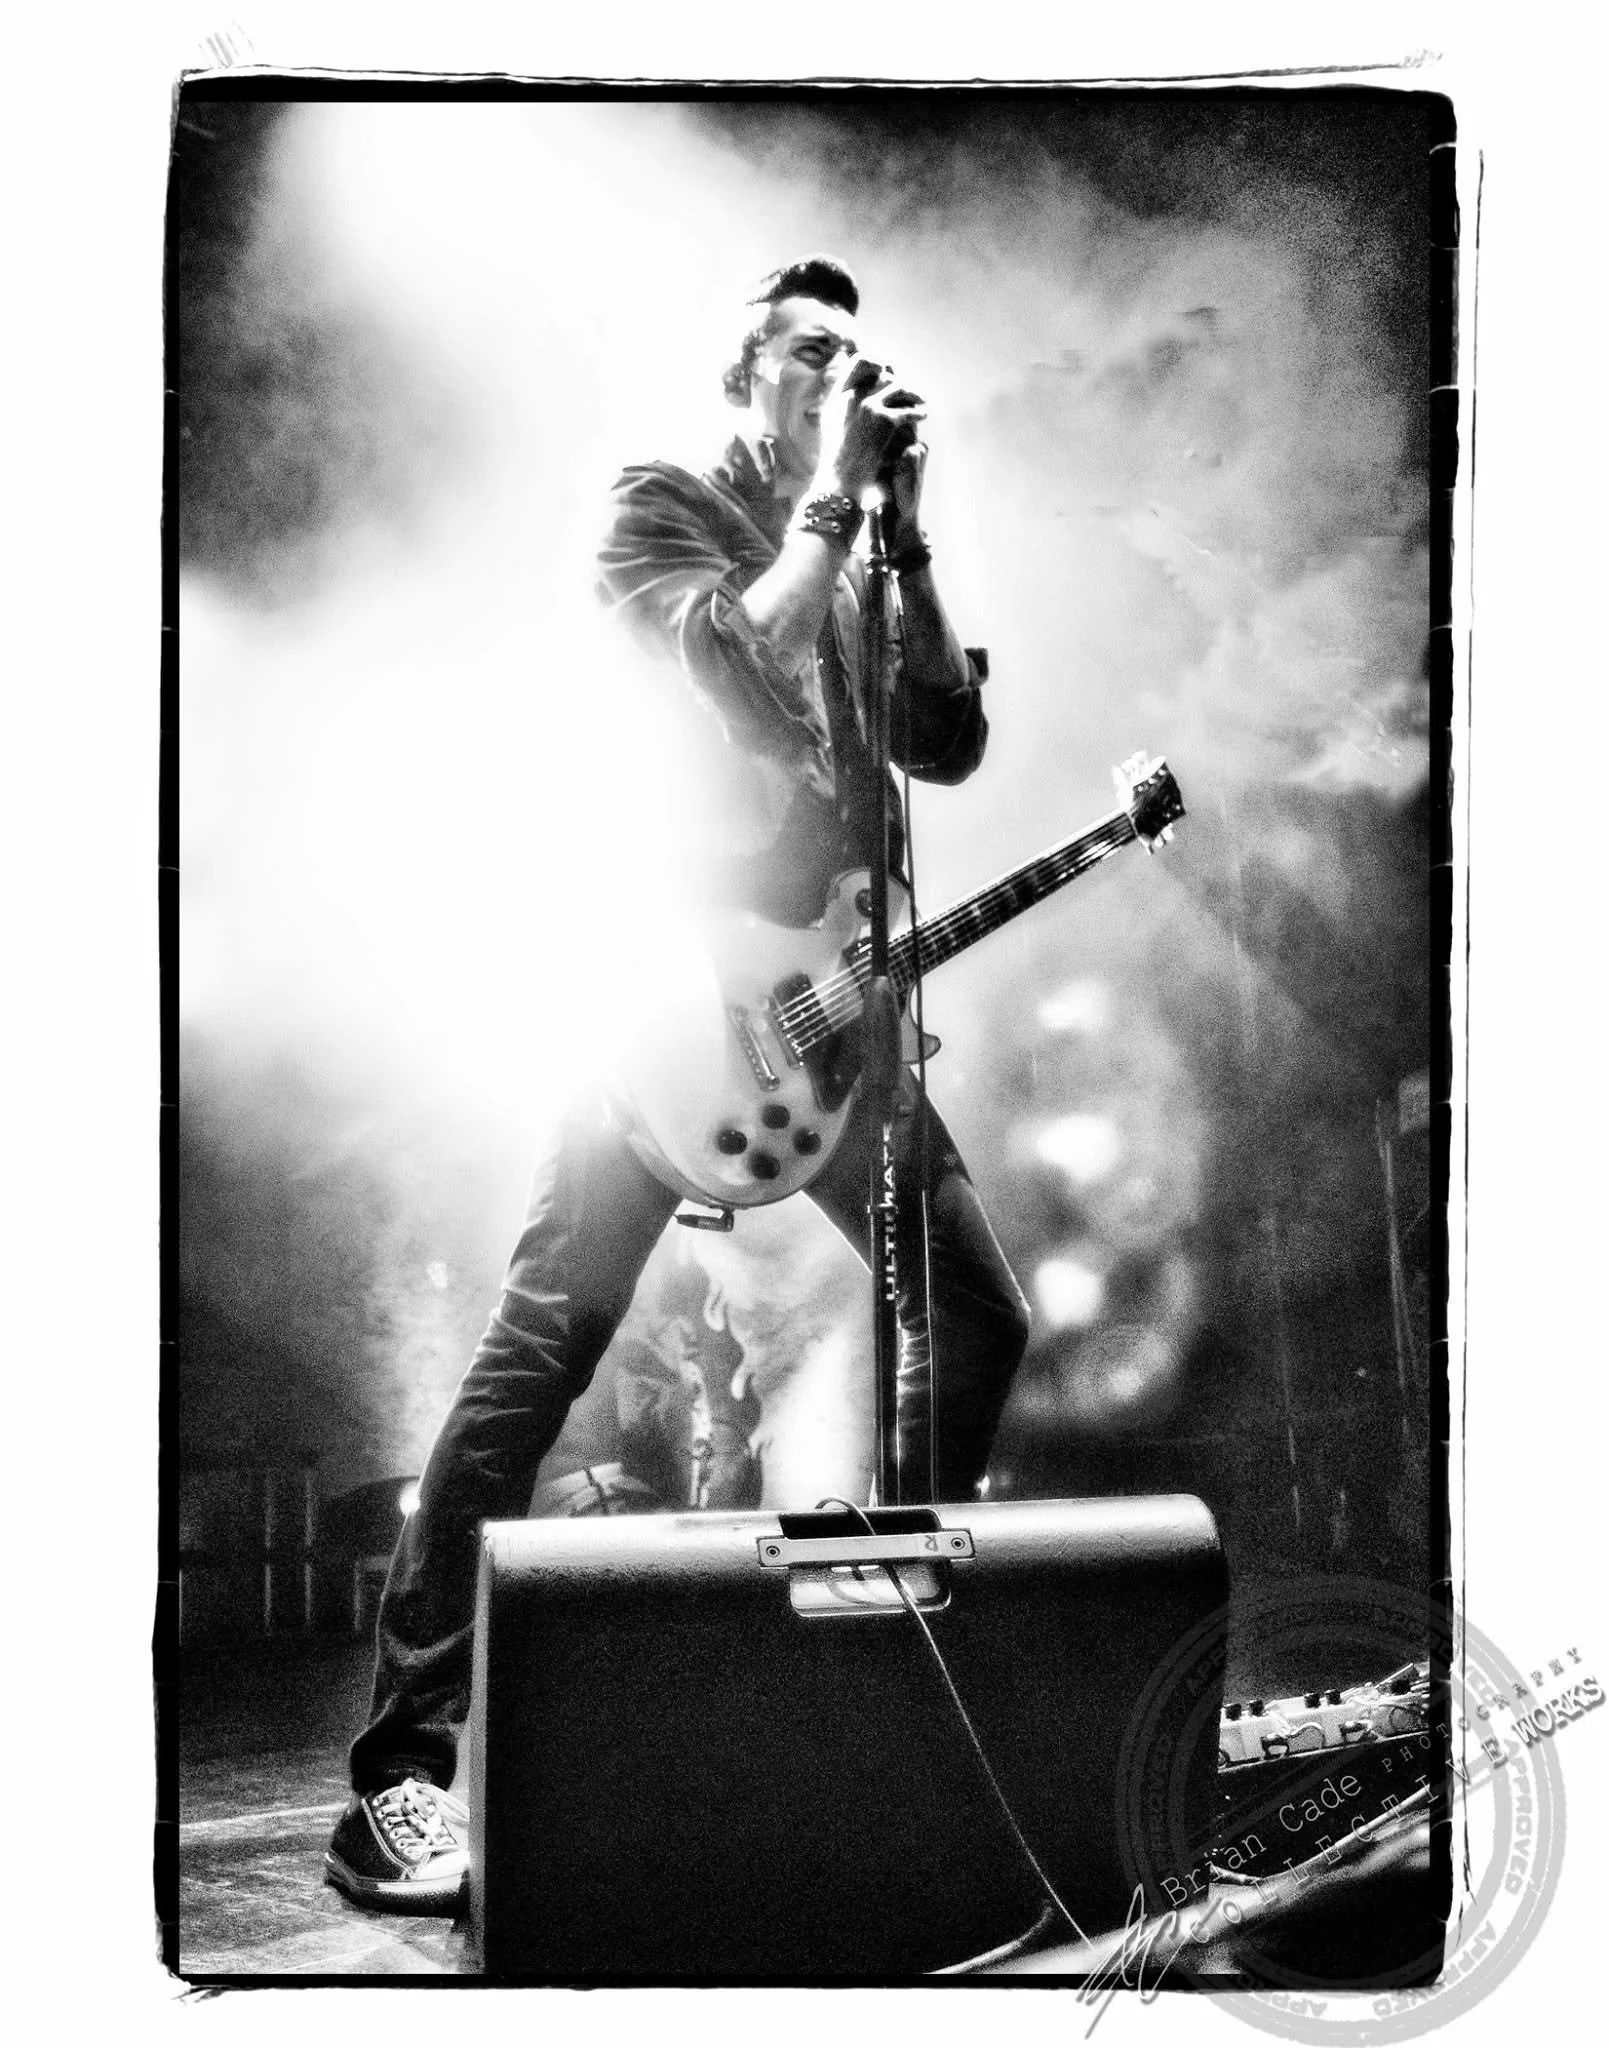
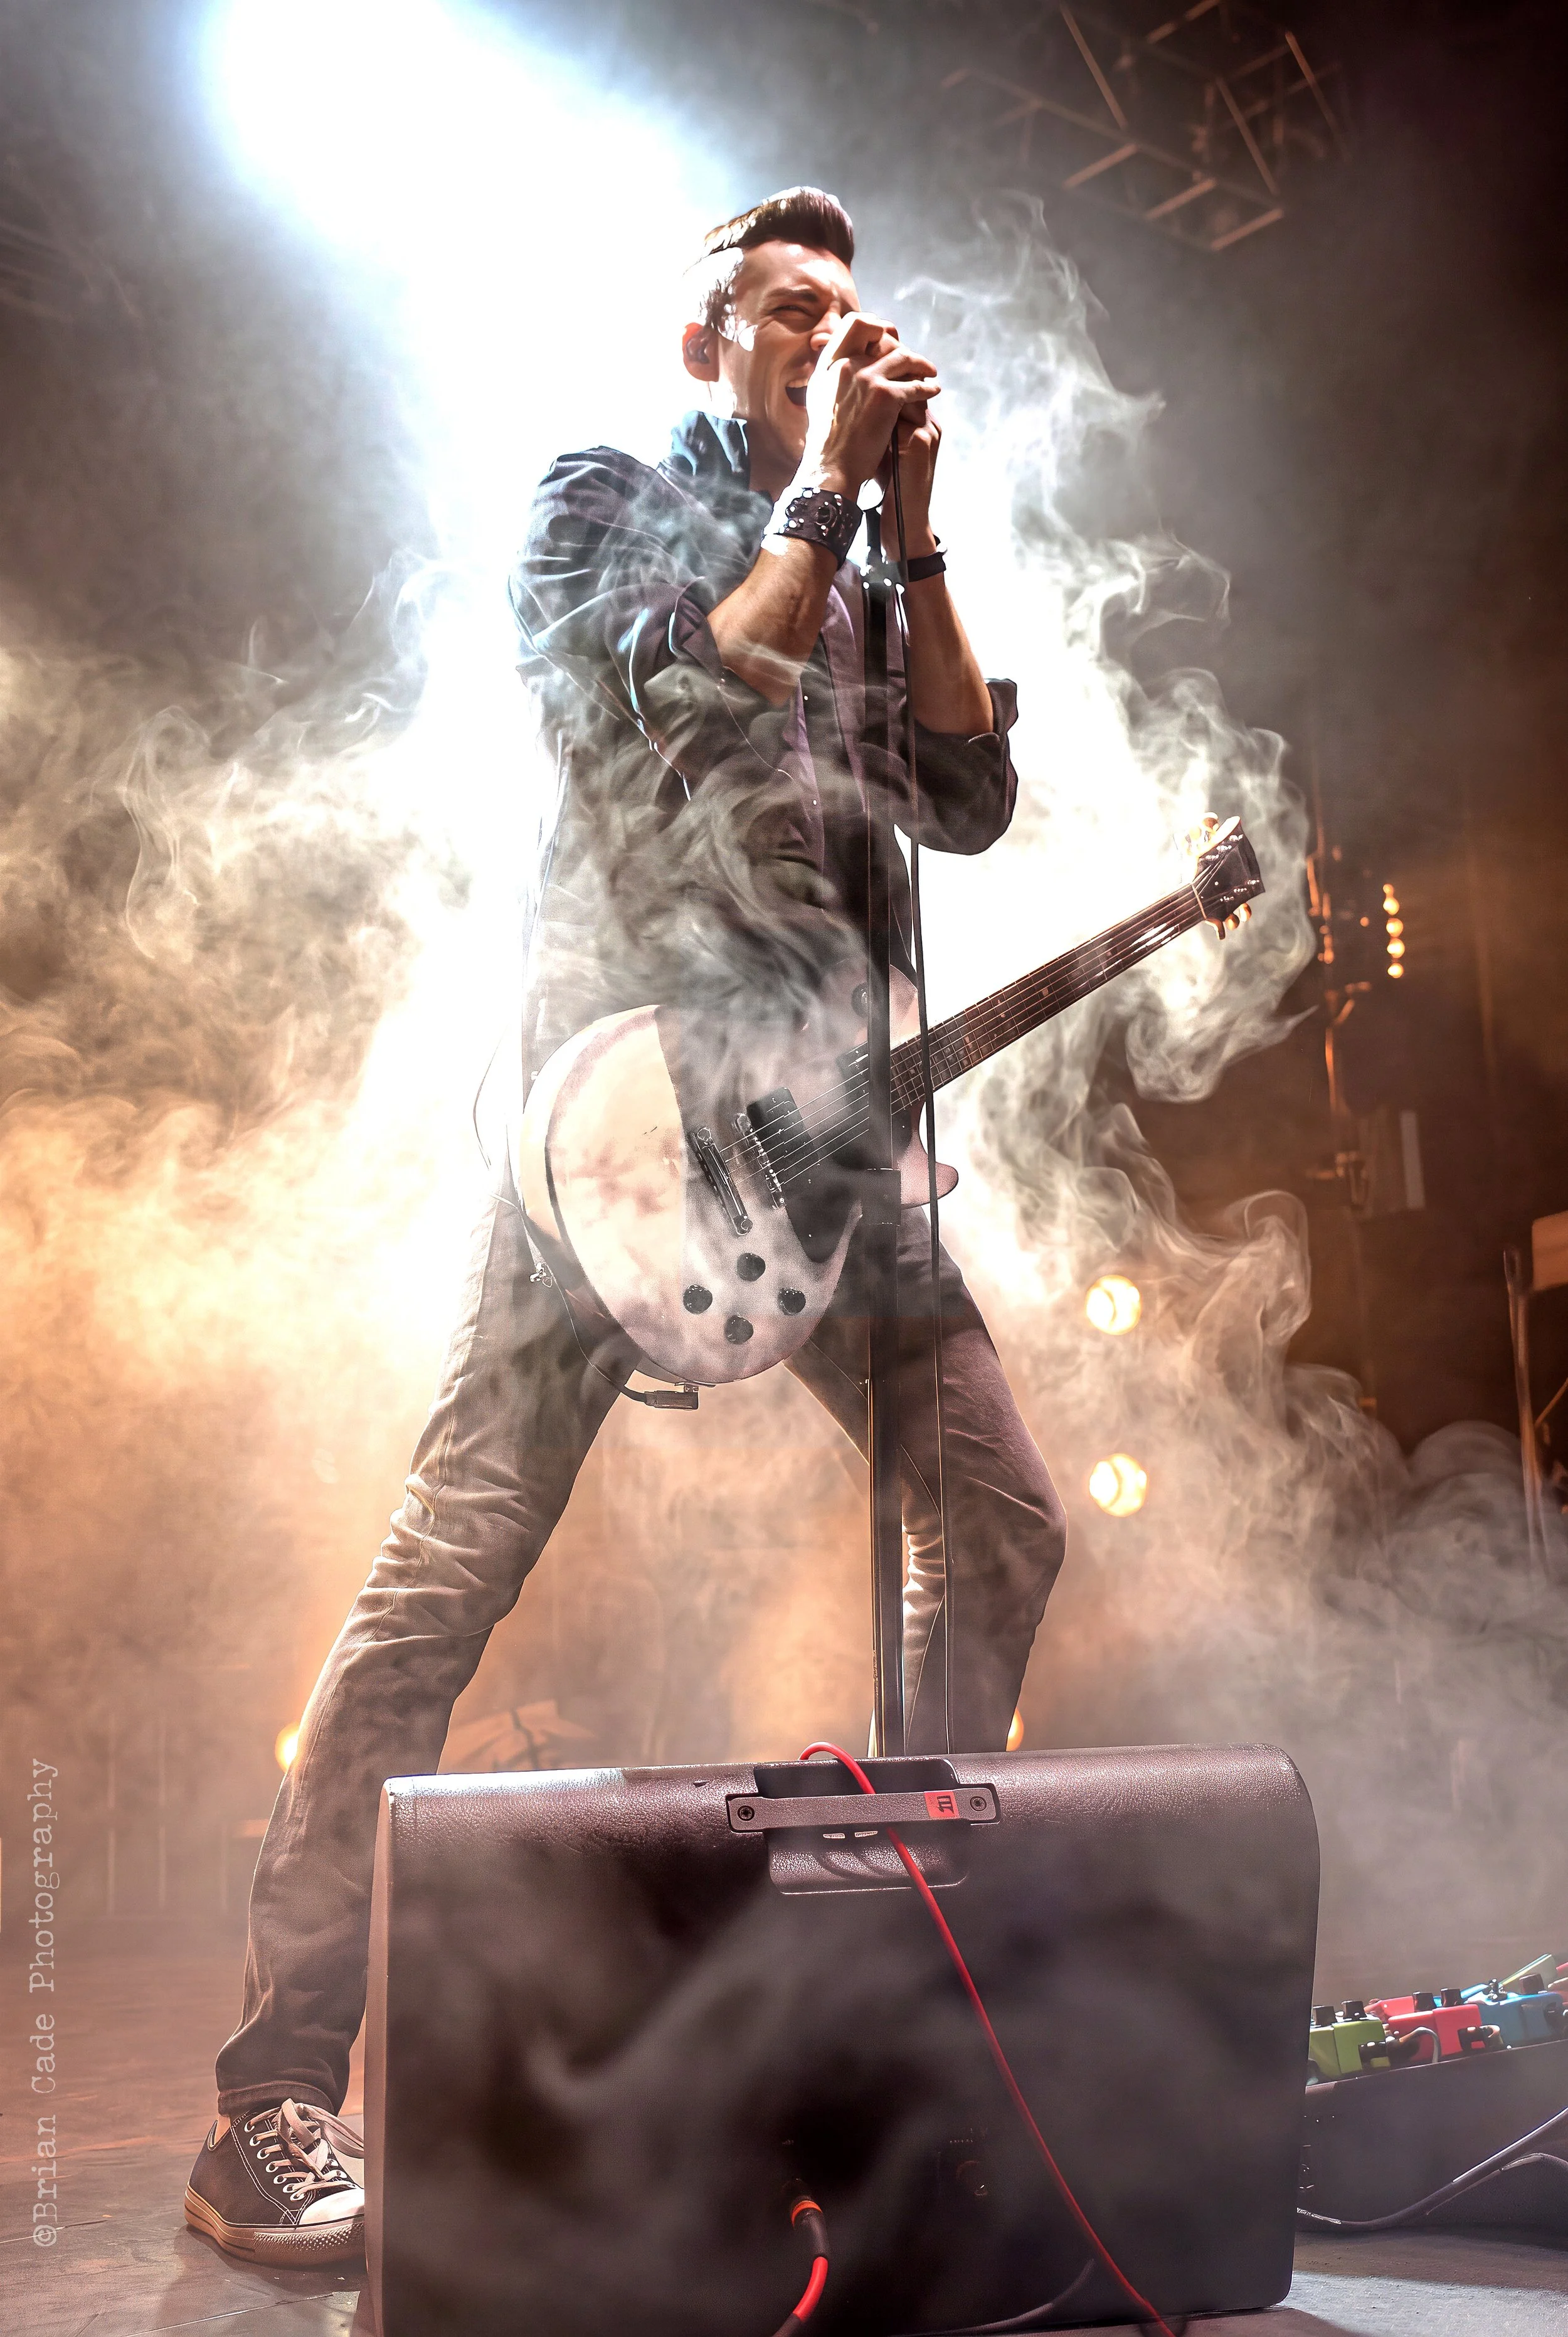
I have a ton of concert images where color lights dominated each band’s set, and I have a lot of image files that may seem unusable—until now. I used Adobe Lightroom CC to remove color cast with the temperature and tint sliders, along with the white balance selector, to adjust the image to a more pleasing rendition of a band or artist.
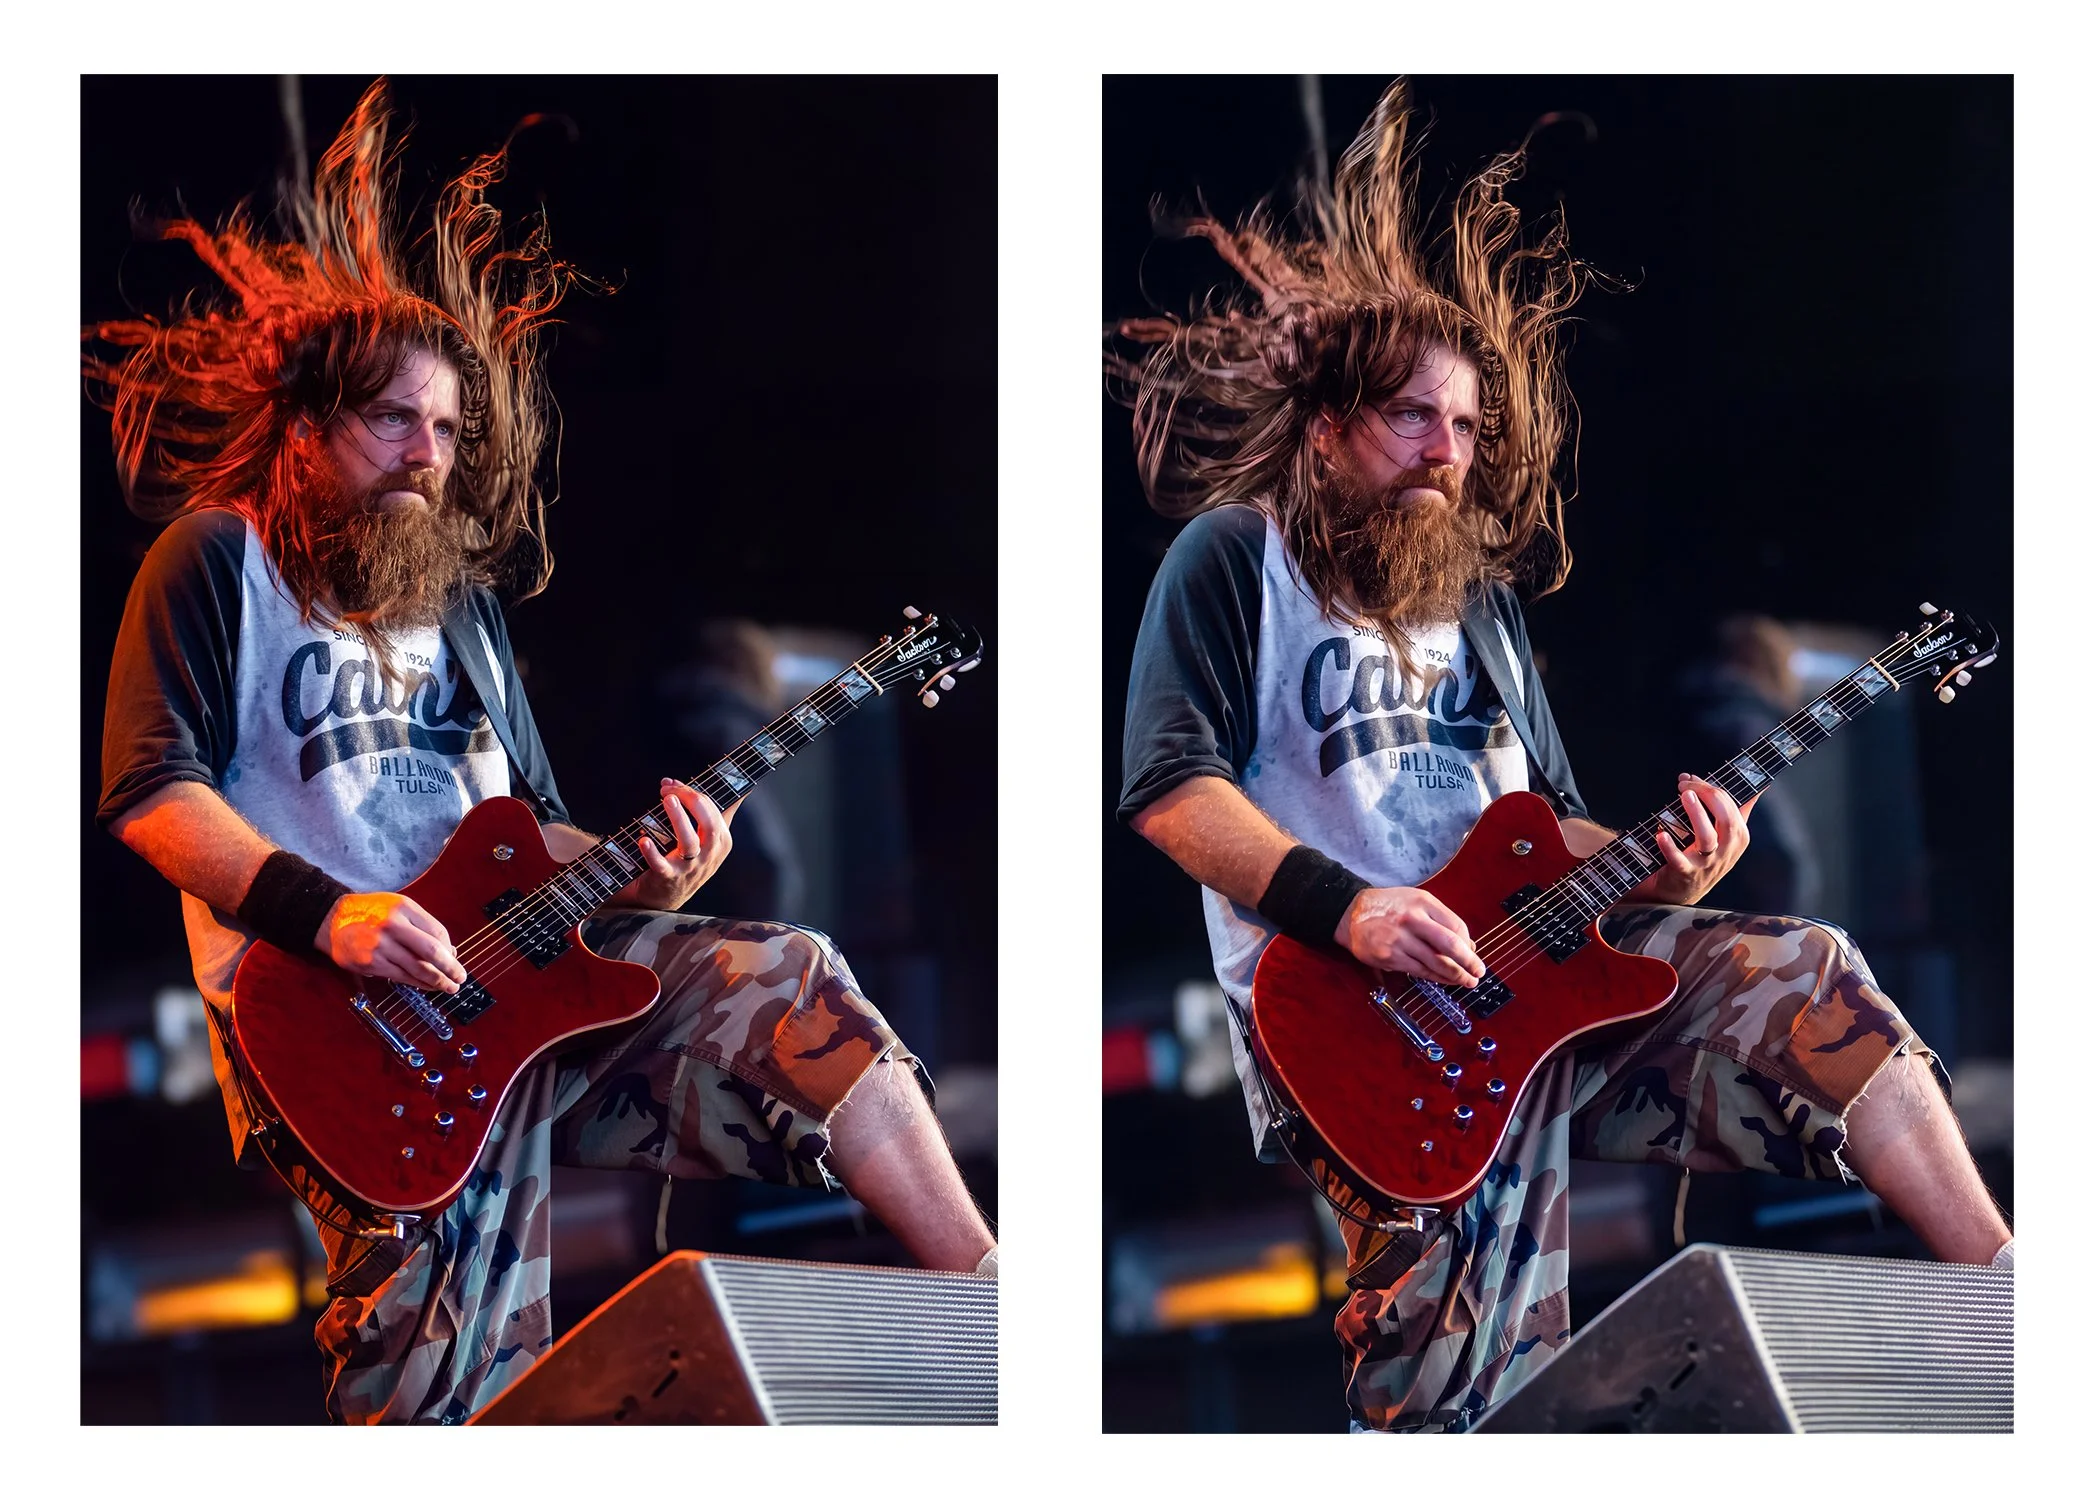
Using AI-assisted tools such as Topaz AI Denoise, AI Sharpen, Gigapixel, or even Adobe Firefly, I'm taking a lot of the heavy lifting out of the equation; I can now focus on the smaller details with masking in Lightroom to get a better image. I’ve been an artist longer than I have been a photographer; I have used all kinds of tools and push-button apps to achieve certain outcomes in an image. Not all worked, and then again some were over-processed. Below is another AI-assisted image, this time of Mark Morton of Lamb of God. I am really fond of the one on the left, which was processed through Adobe Camera RAW. I thought I’d remove the red color cast from the image to show how AI-assisted tools have a place in my workflow; it gave me a choice.
Just remember that when photography debuted in 1839, painters reacted with despair, panic, and hostility. French painter Paul Delaroche declared “from today painting is dead,” while English romantic painter J.M.W. Turner called it the end of art. Same as when digital photography made its debut, purists of the film and darkroom age felt the same as the painters did when photography came around.
As our creative methods evolve, many digital photographers are worried about the rise of AI. This situation is similar to what traditional painters faced in 1839: The solution is to adapt and grow, or risk being left behind. The reality is that AI, even as a tool to help photographers, is here to stay.

Galgano Records Distributors: 1991
We were one of the largest music distributors in the Midwest. Everyone I worked with knew all the artists’ catalog numbers and their labels by heart. We were all good at our jobs.
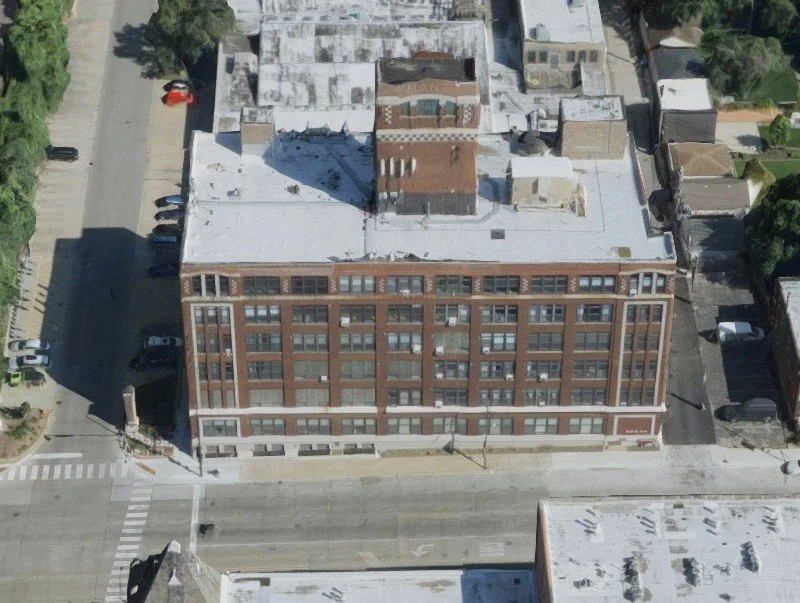
Galgano Records, 4001 North Ravenswood Avenue,
The last place I remember Galgano Records being located was at 4001 North Ravenswood Avenue in Chicago. Right at the corner of Irving Park Road and Ravenswood Avenue. We occupied the entire first floor, and hardly anyone else used the building. For nostalgia, the first spot I remember was at 4125 West Armitage Avenue back in the 1970s; it was located on a whole city block between Kedvale and Keller on Chicago’s west side. I worked there after school and spent my summers working full-time.

The group I remember best is the one from Ravenswood Avenue. We felt like family. Our company picnics were always held at John Galgano Senior’s summer home in Lake Geneva, Wisconsin, and they were big events.
We were one of the largest music distributors in the Midwest. Everyone I worked with knew all the artists’ catalog numbers and their labels by heart. We were all good at our jobs.
We had tons of record release parties, concerts, and promotional vinyl and CD’s weeks before the official release dates. I spent plenty of time backstage, hanging with people from the record label and with band members. It was always business, never any nonsense—I promise (fingers crossed).. These kinds of events inspired me to get into music photography. In fact, my boss’s son, John Galgano Jr., offered to buy me my first camera, a used Pentax Z10n with three lenses, in 1991.
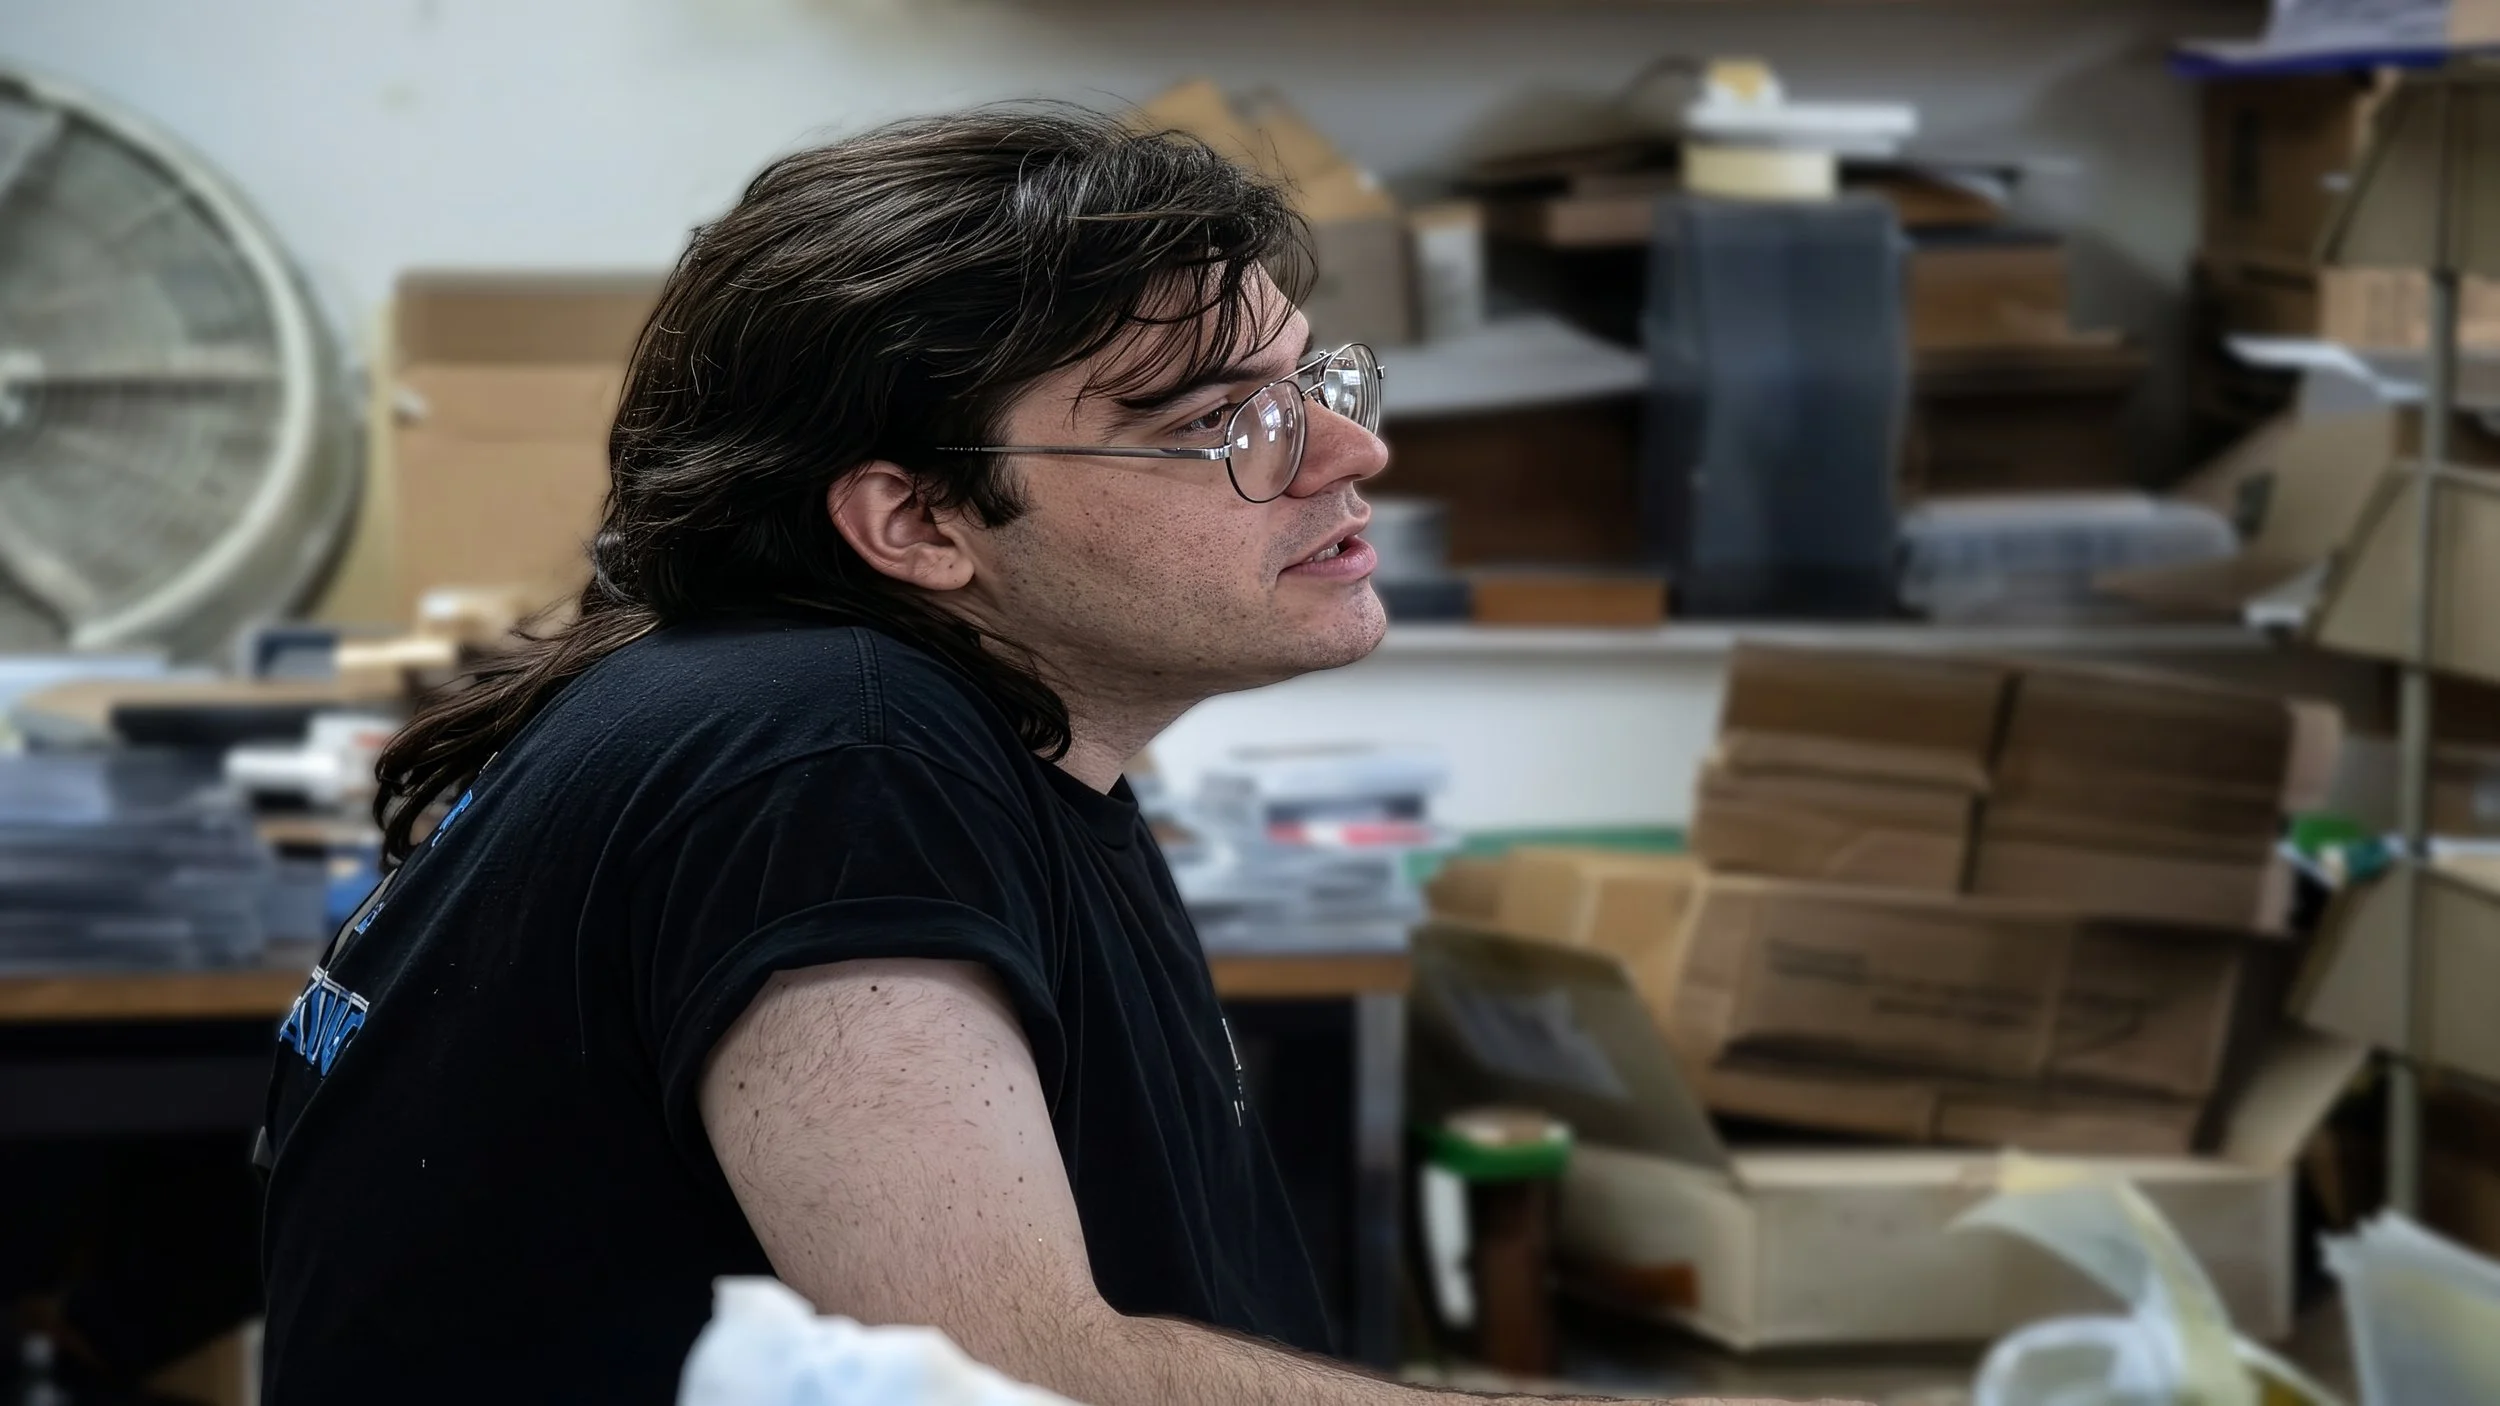
John Galgano Jr.
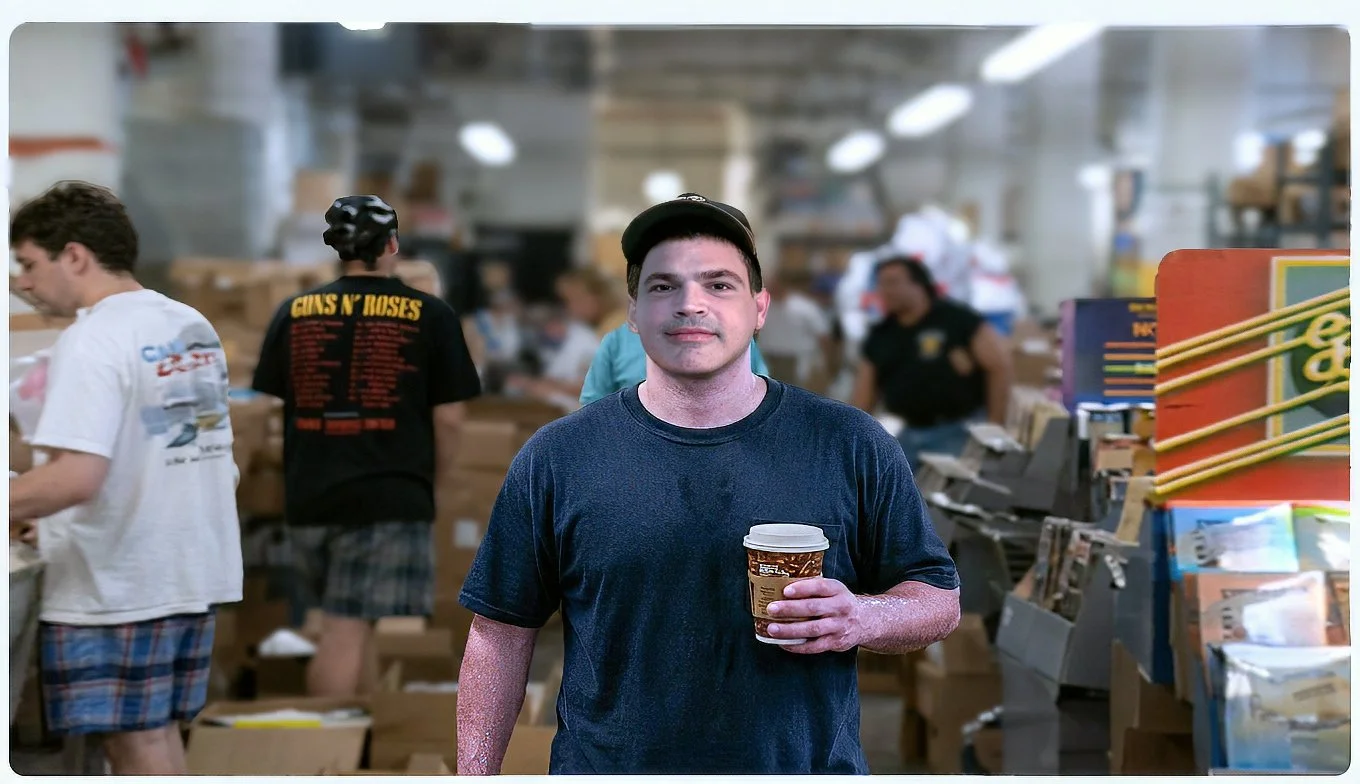
James Galgano

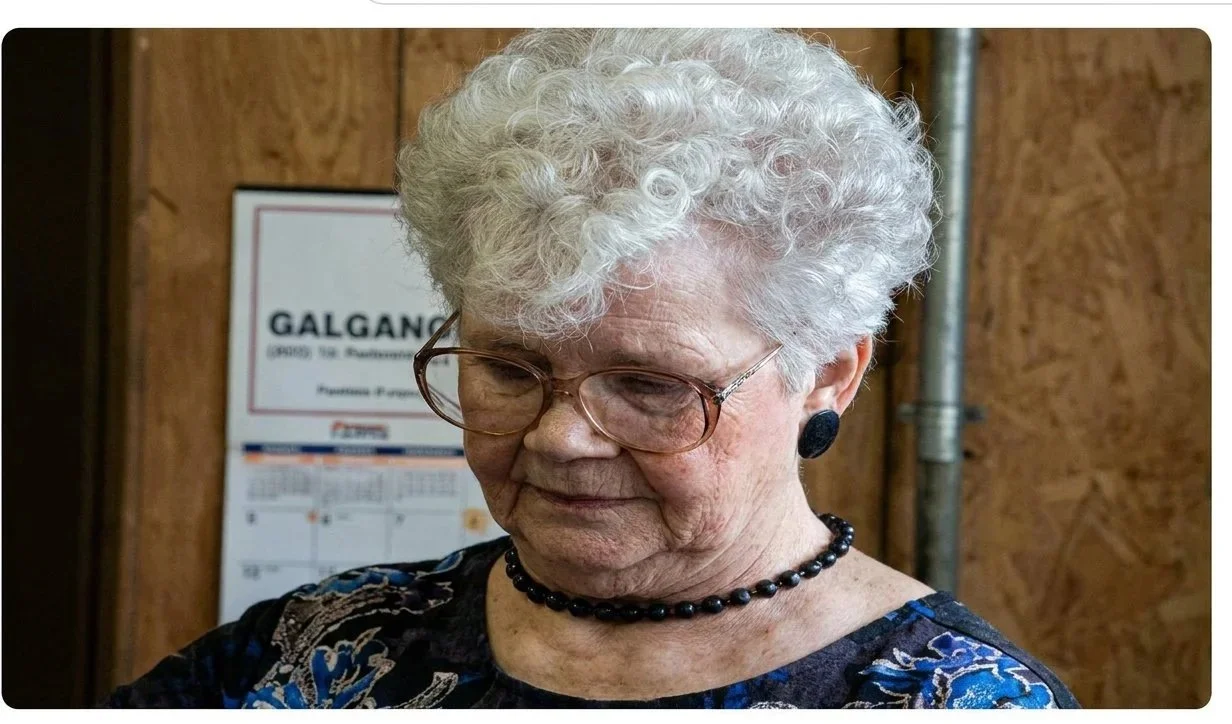
Maria
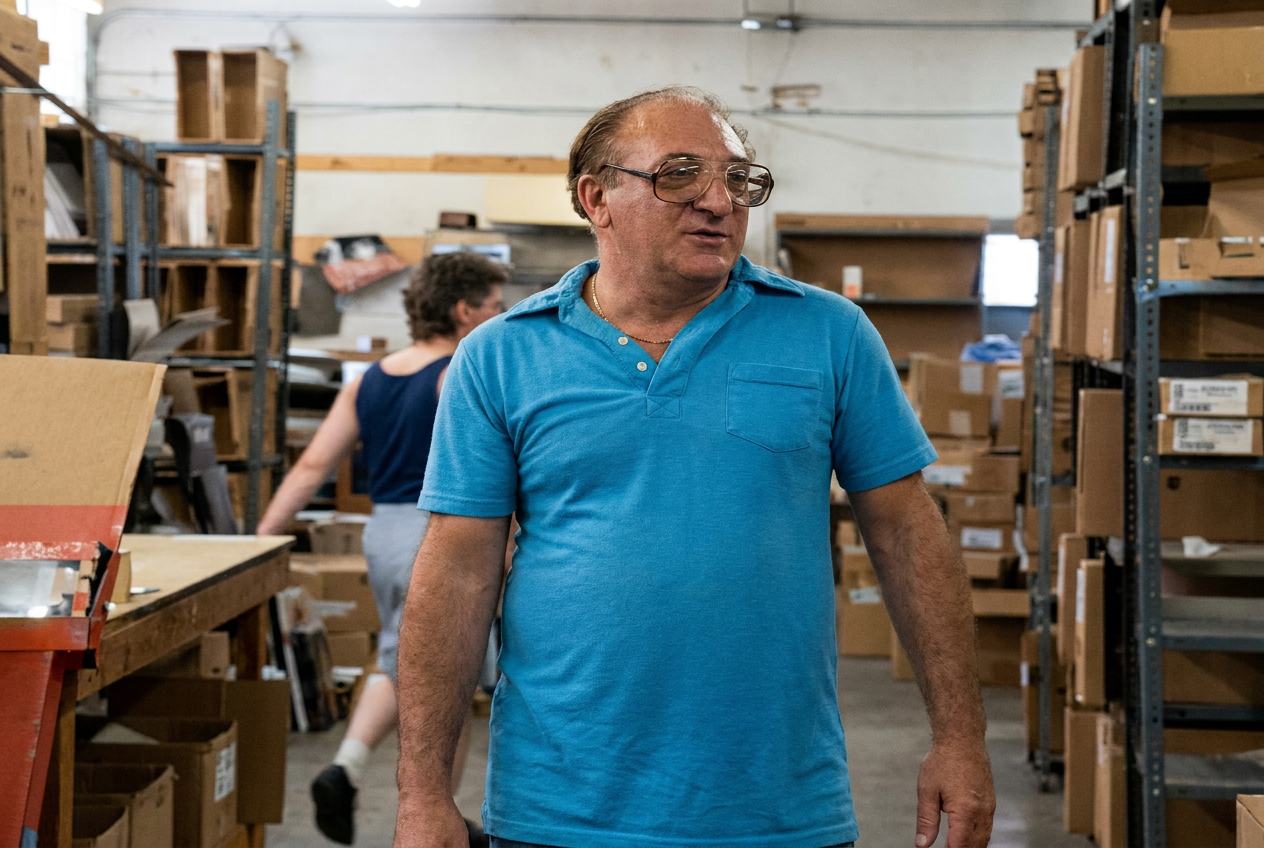
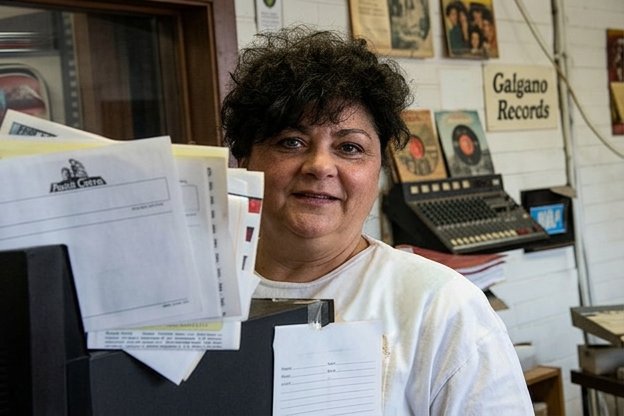

Suzie
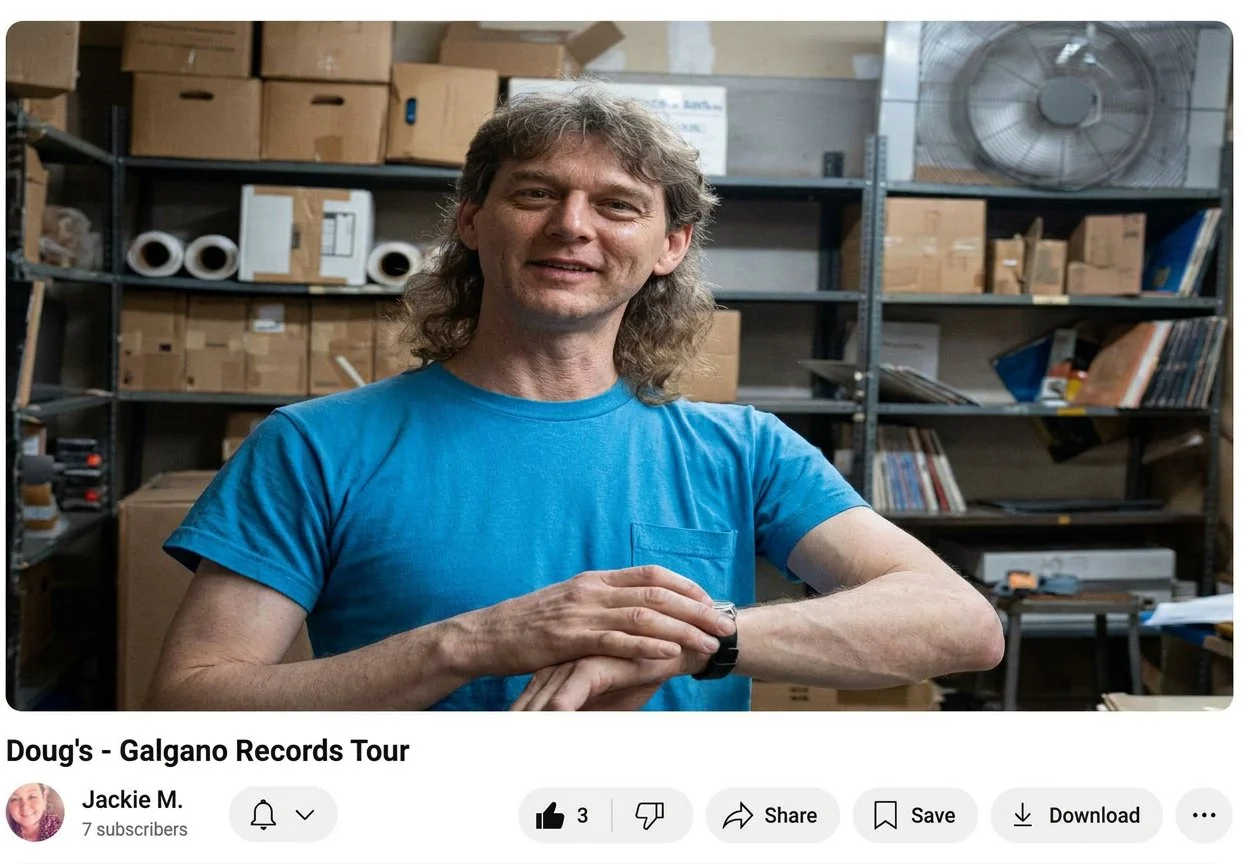
Doug Morris
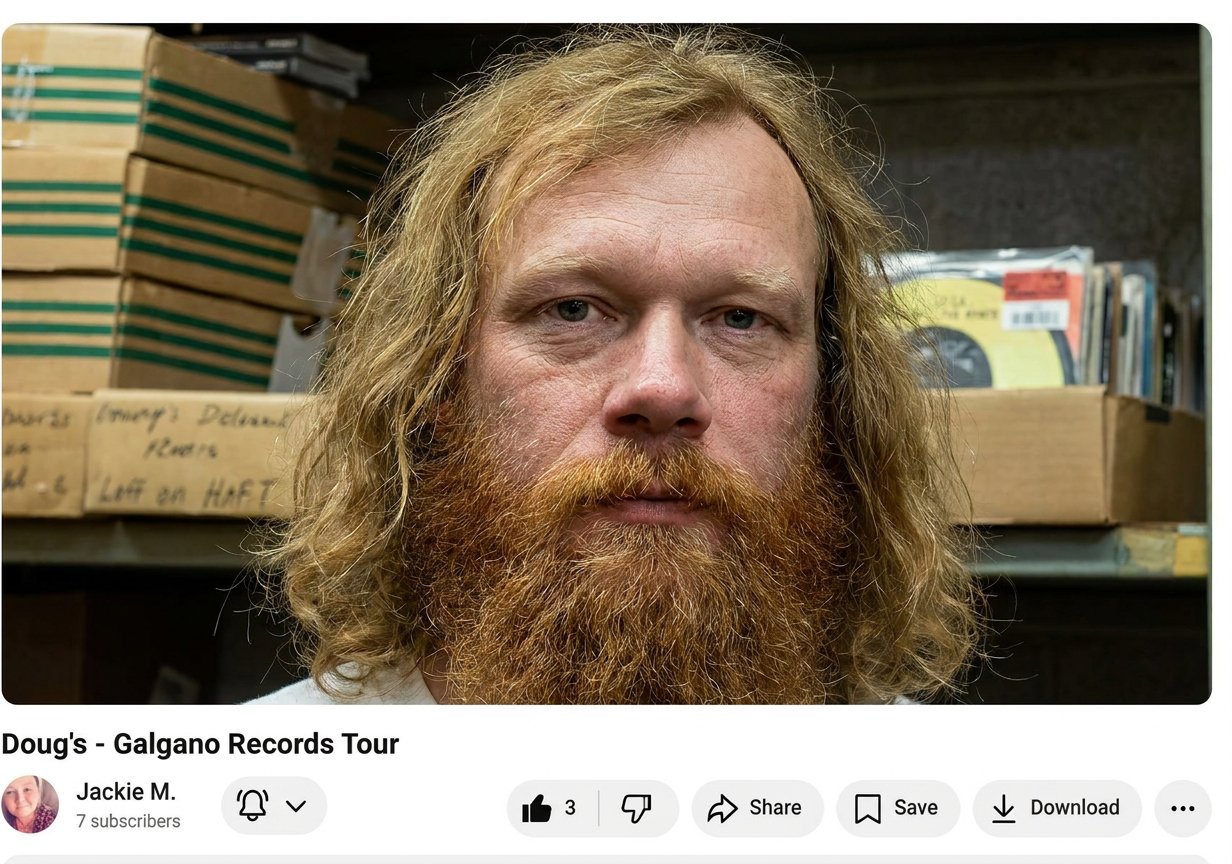
Paul

Brian
Paul Steinbrunner: Mr. Rolling Stones Catalog
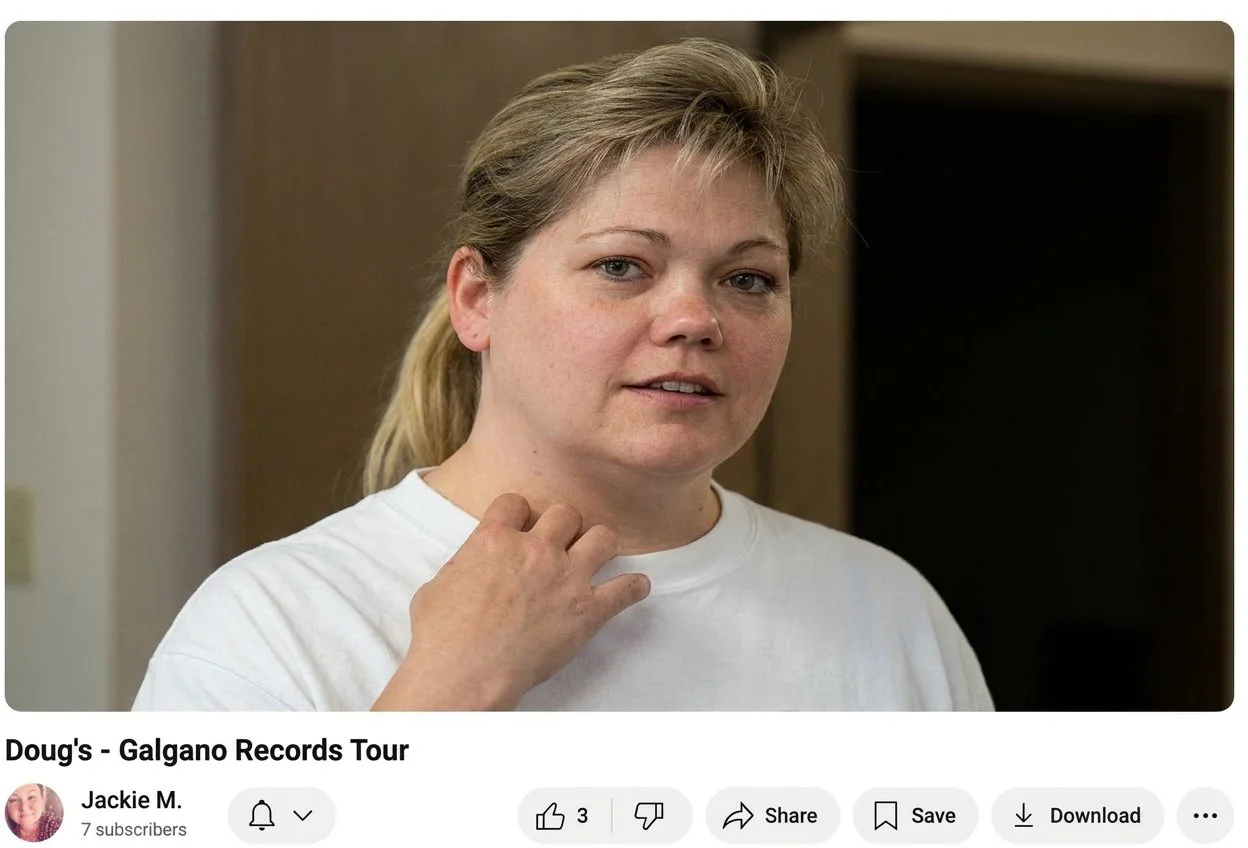
Jennifer

Rick
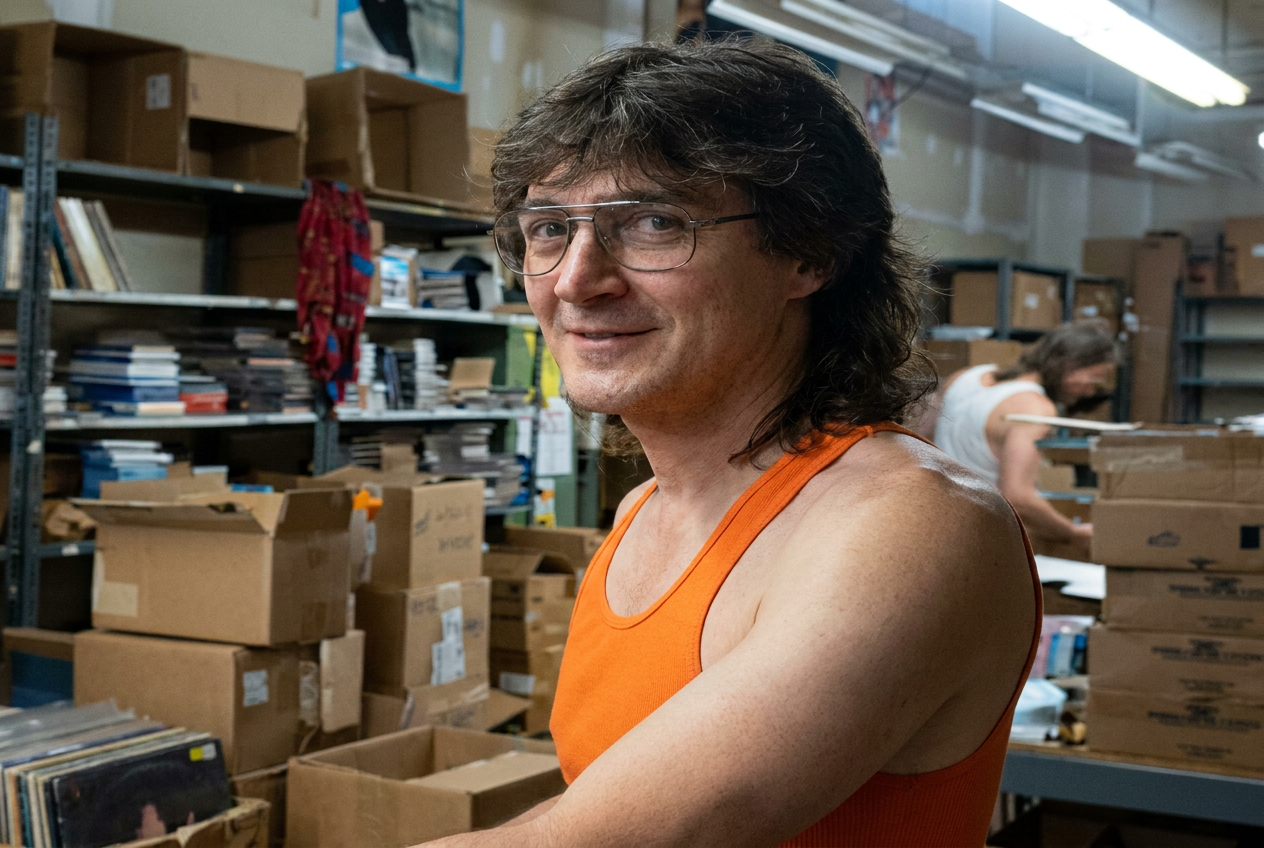
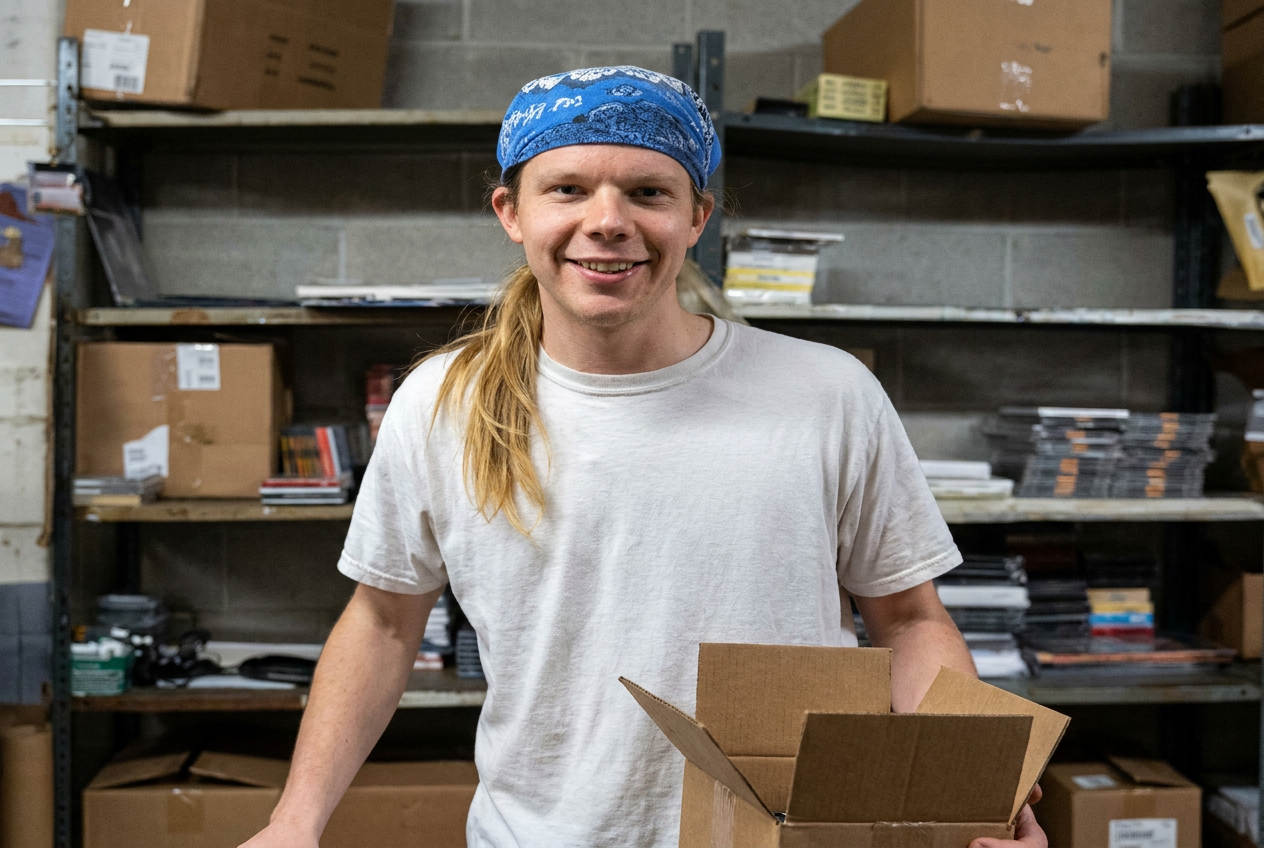
John Vaughn
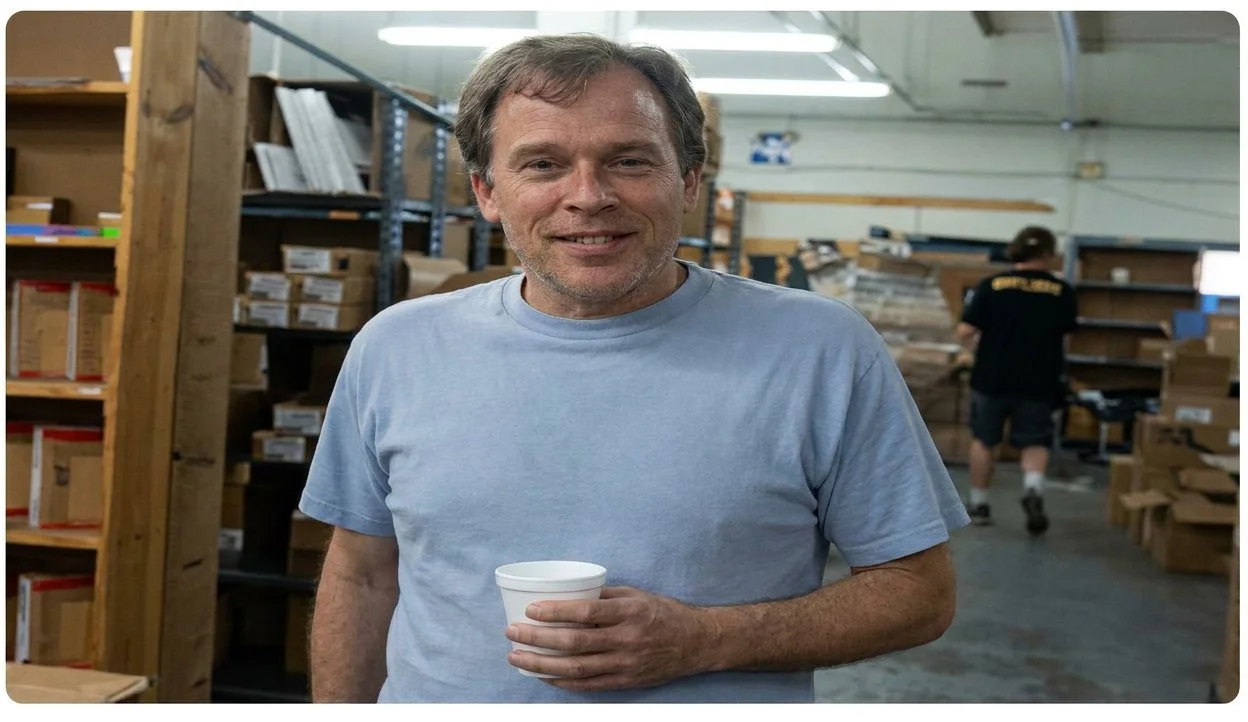

Esme: A Celebration of Life
Esme is home…….
Esme is Home
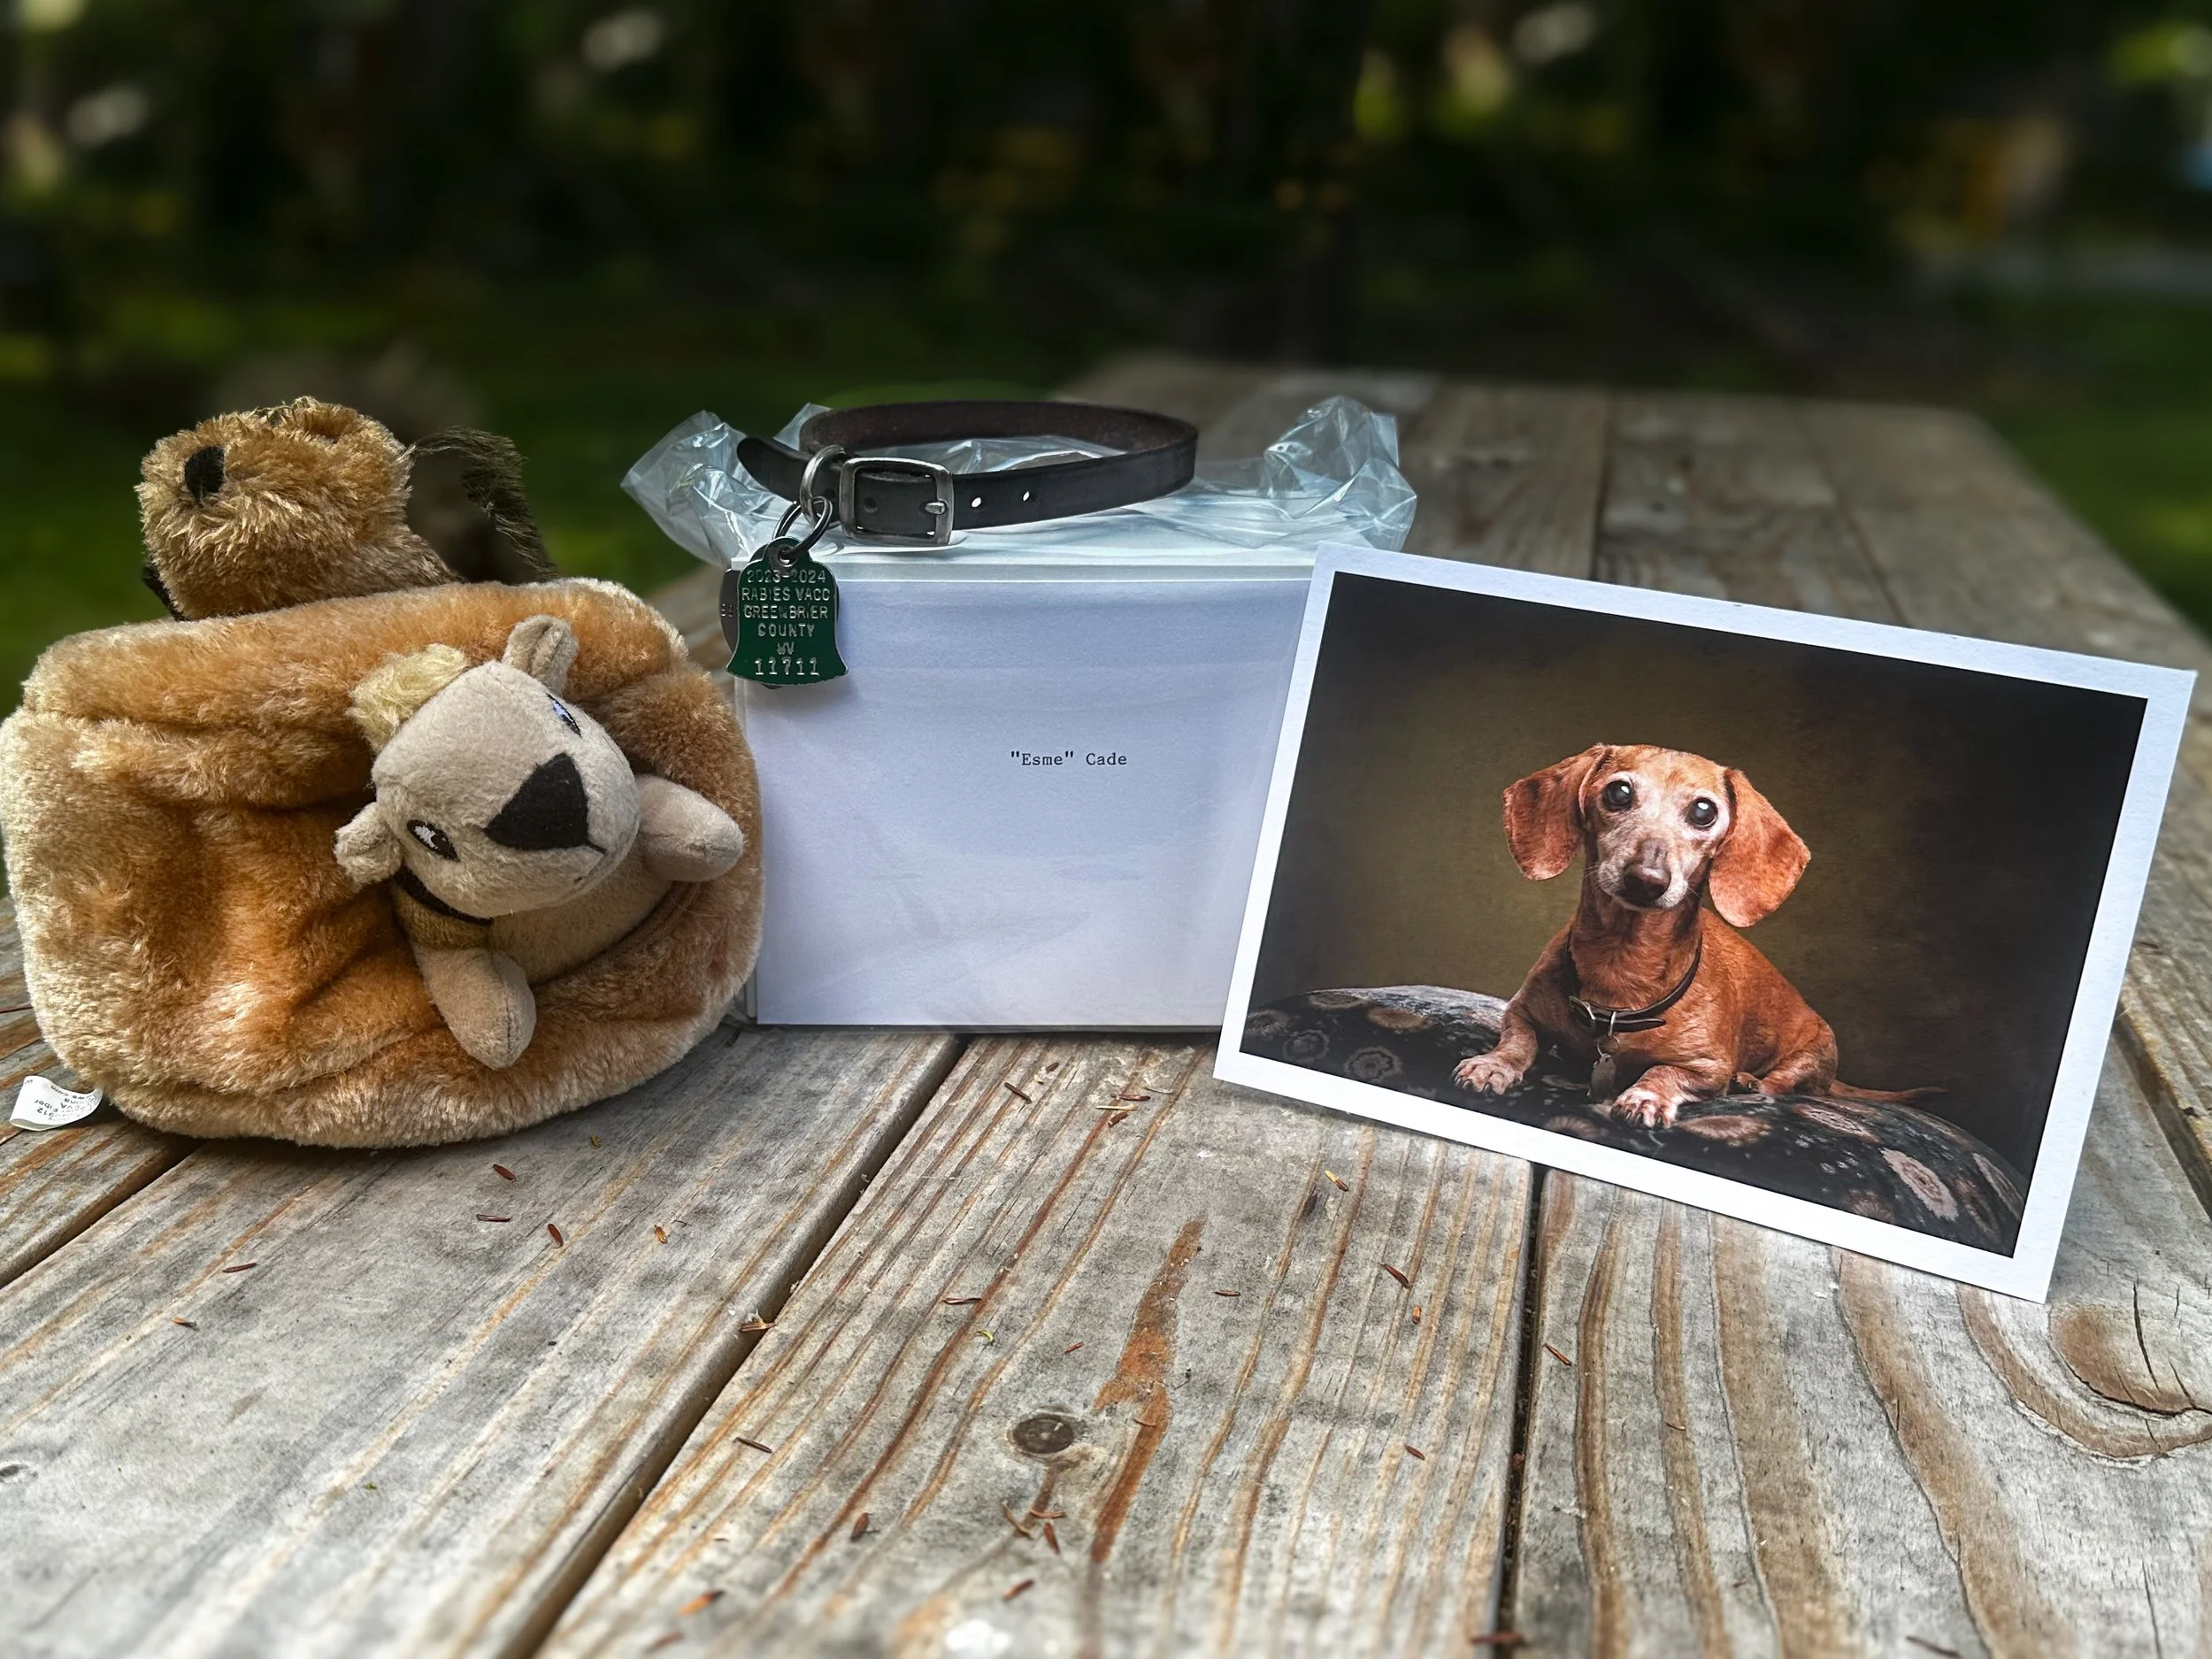
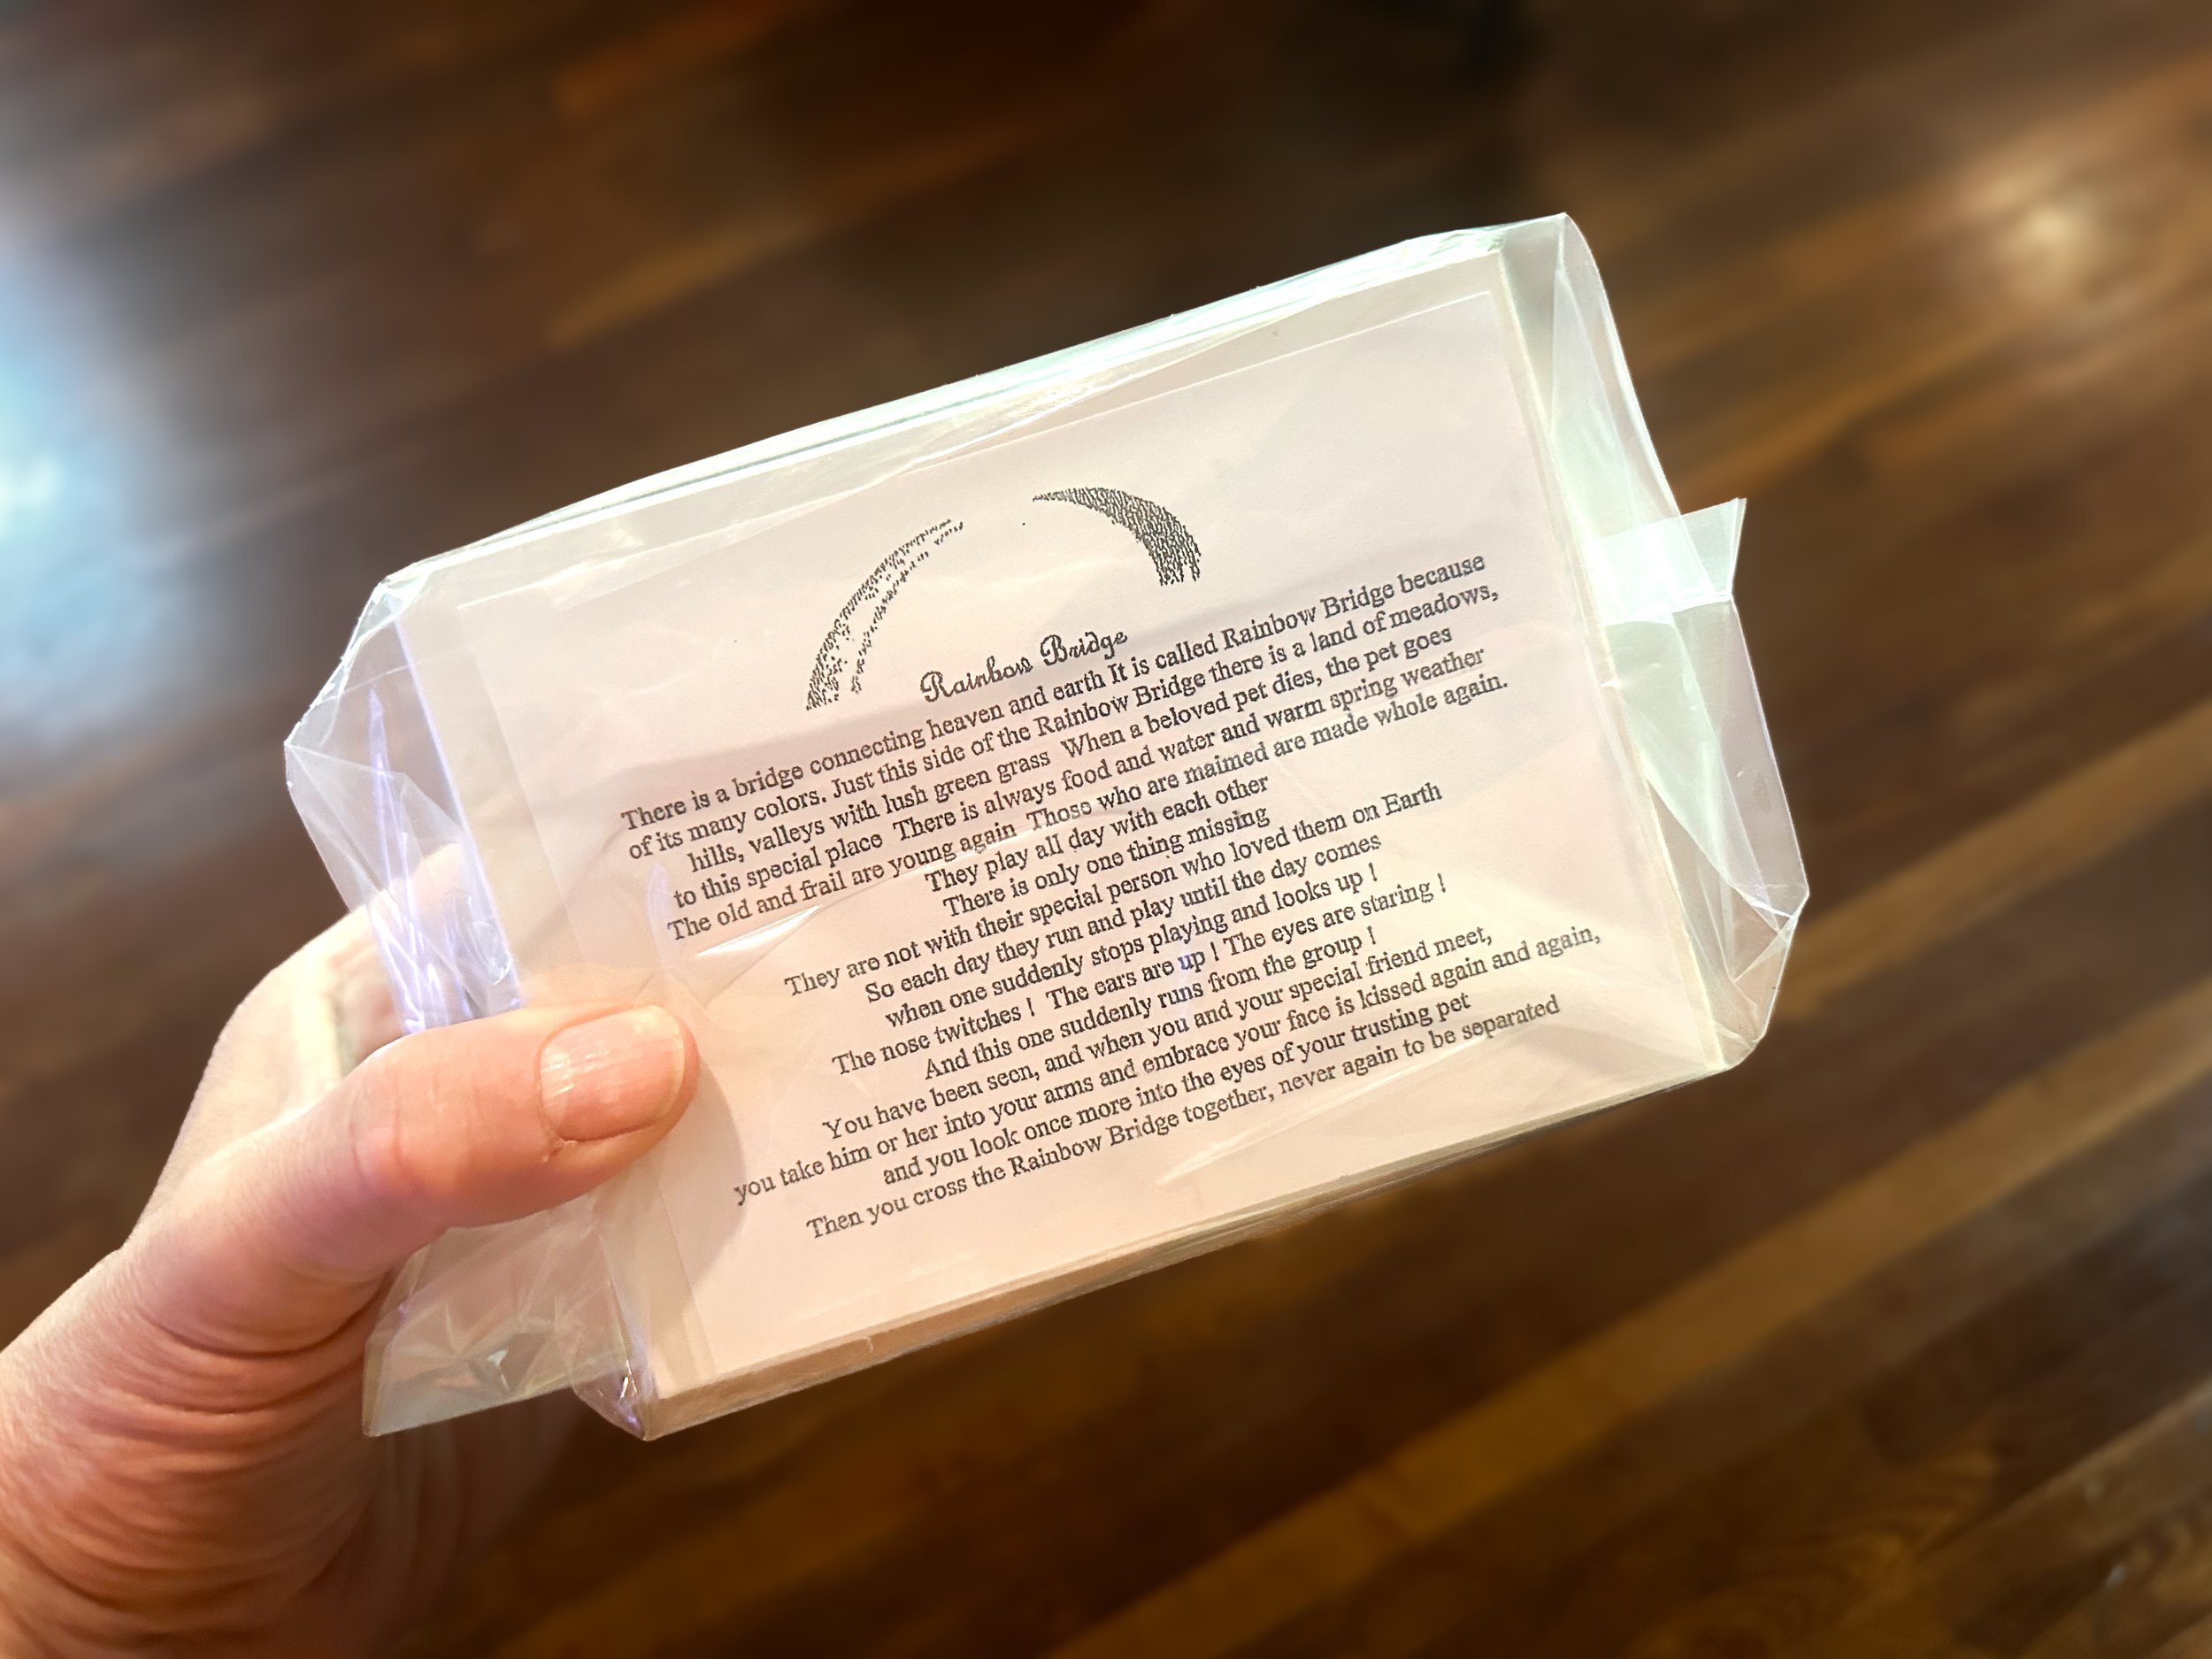
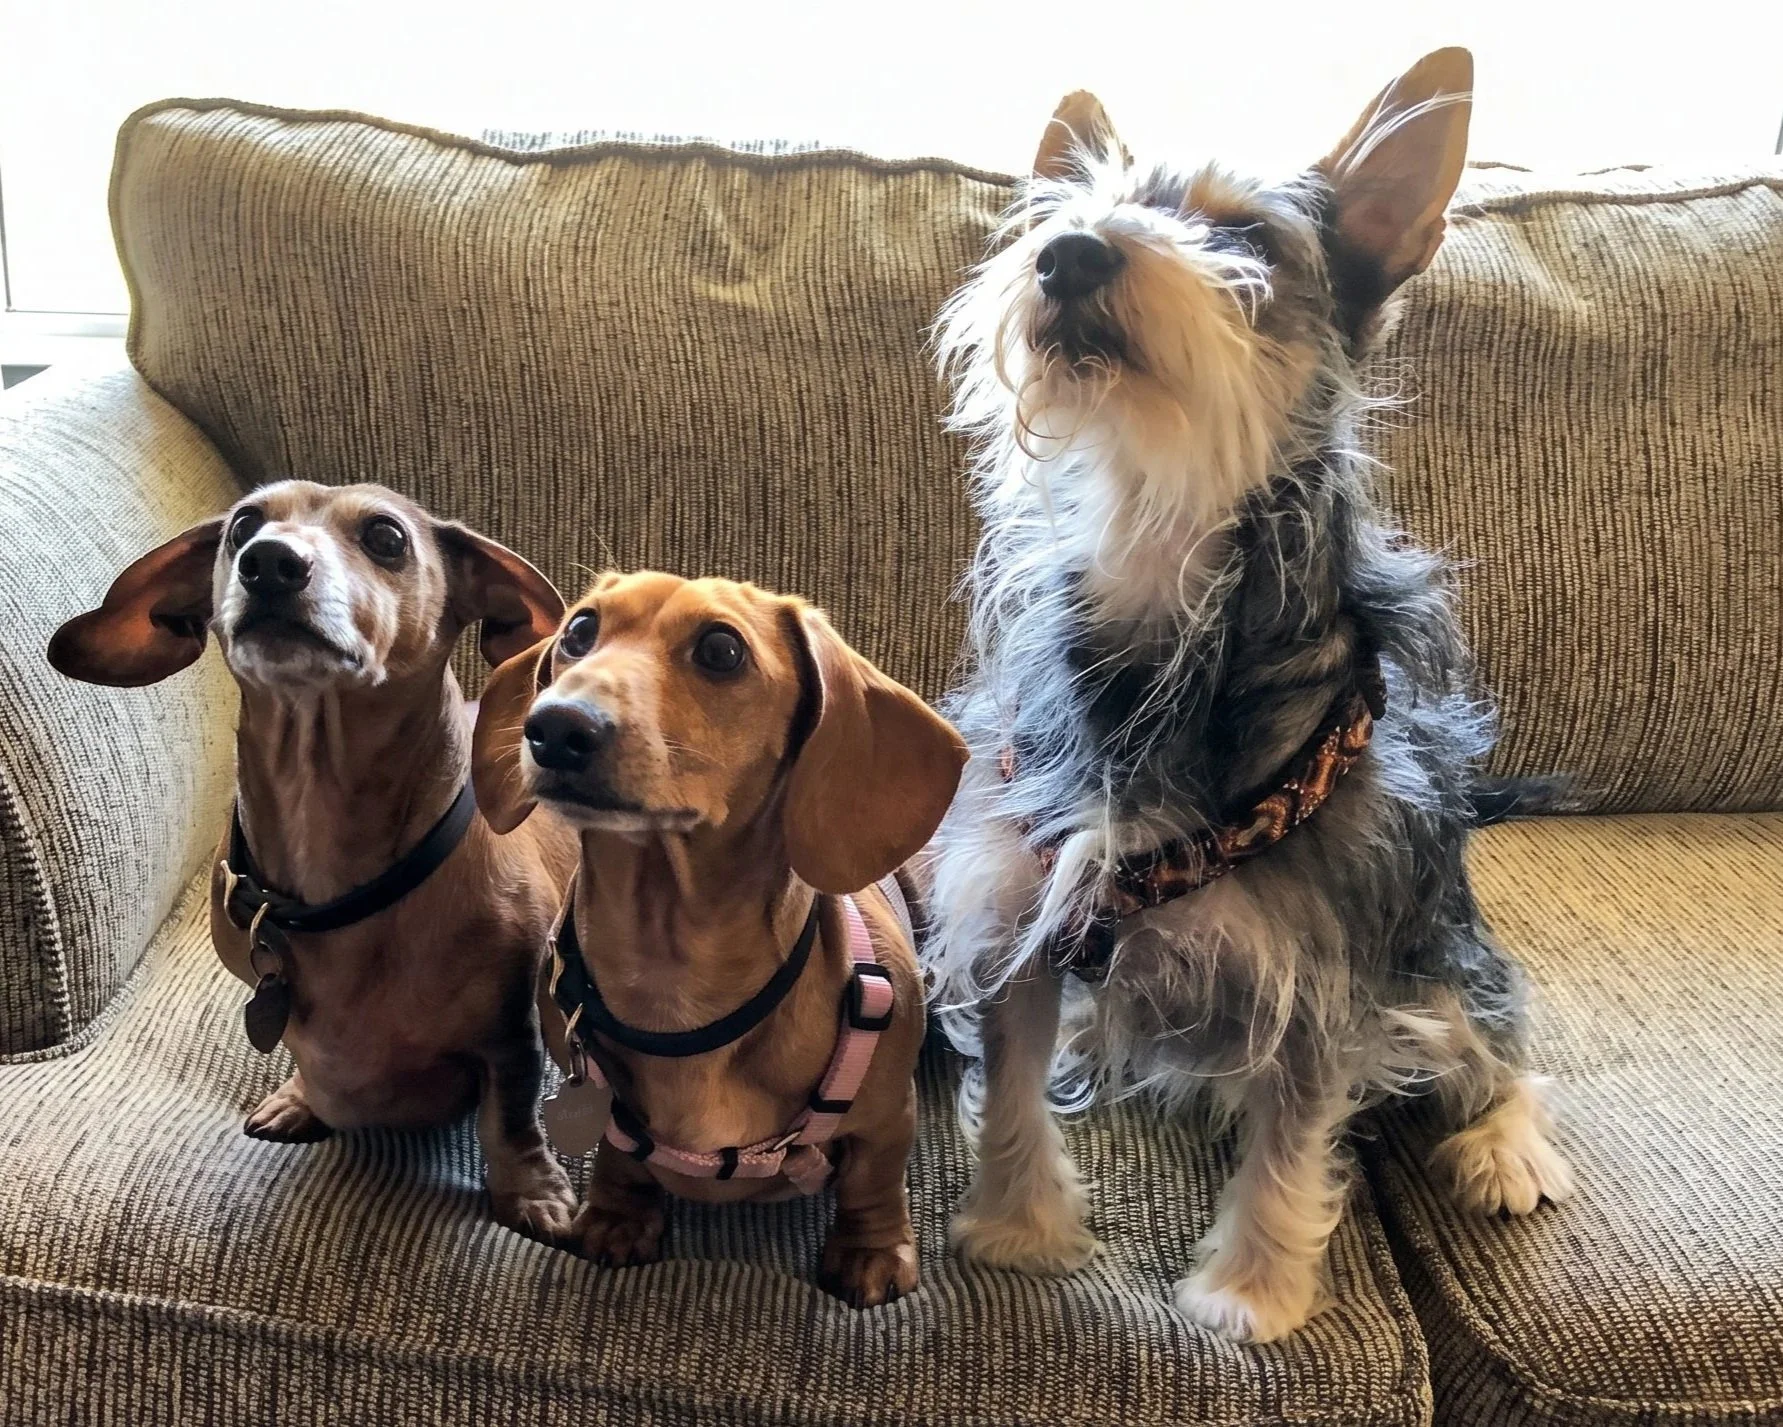
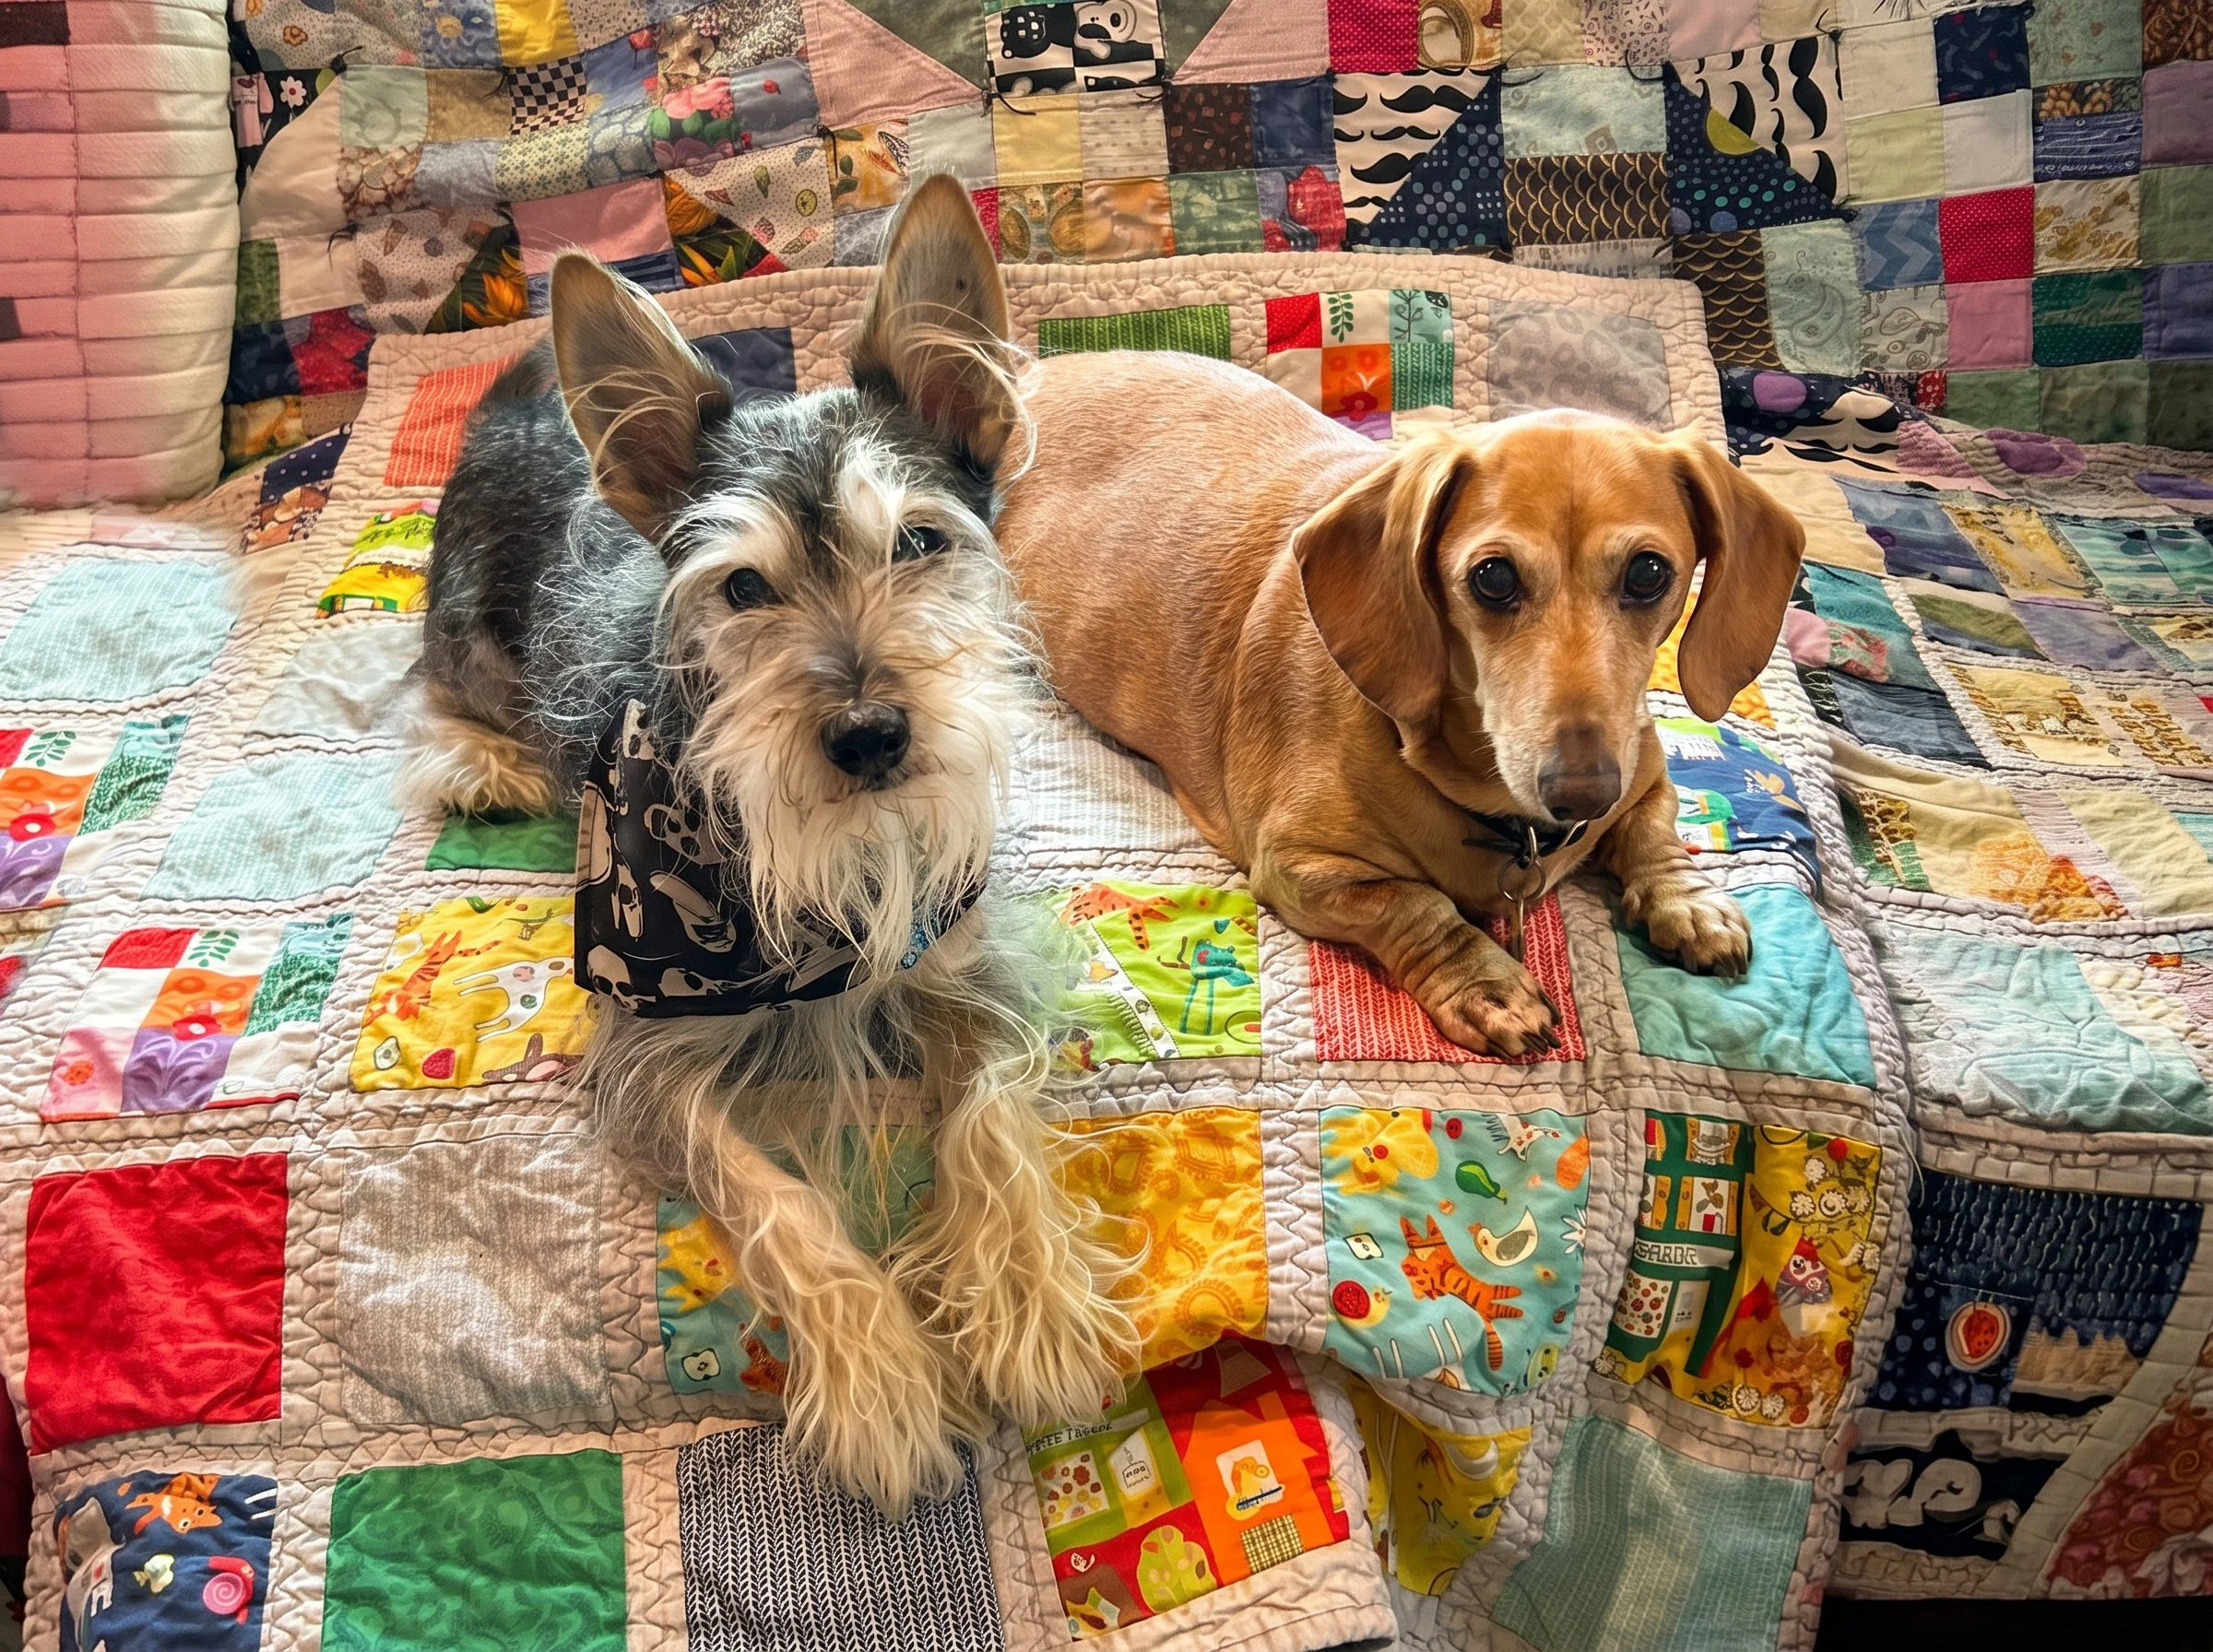
A photo collection of our little girl
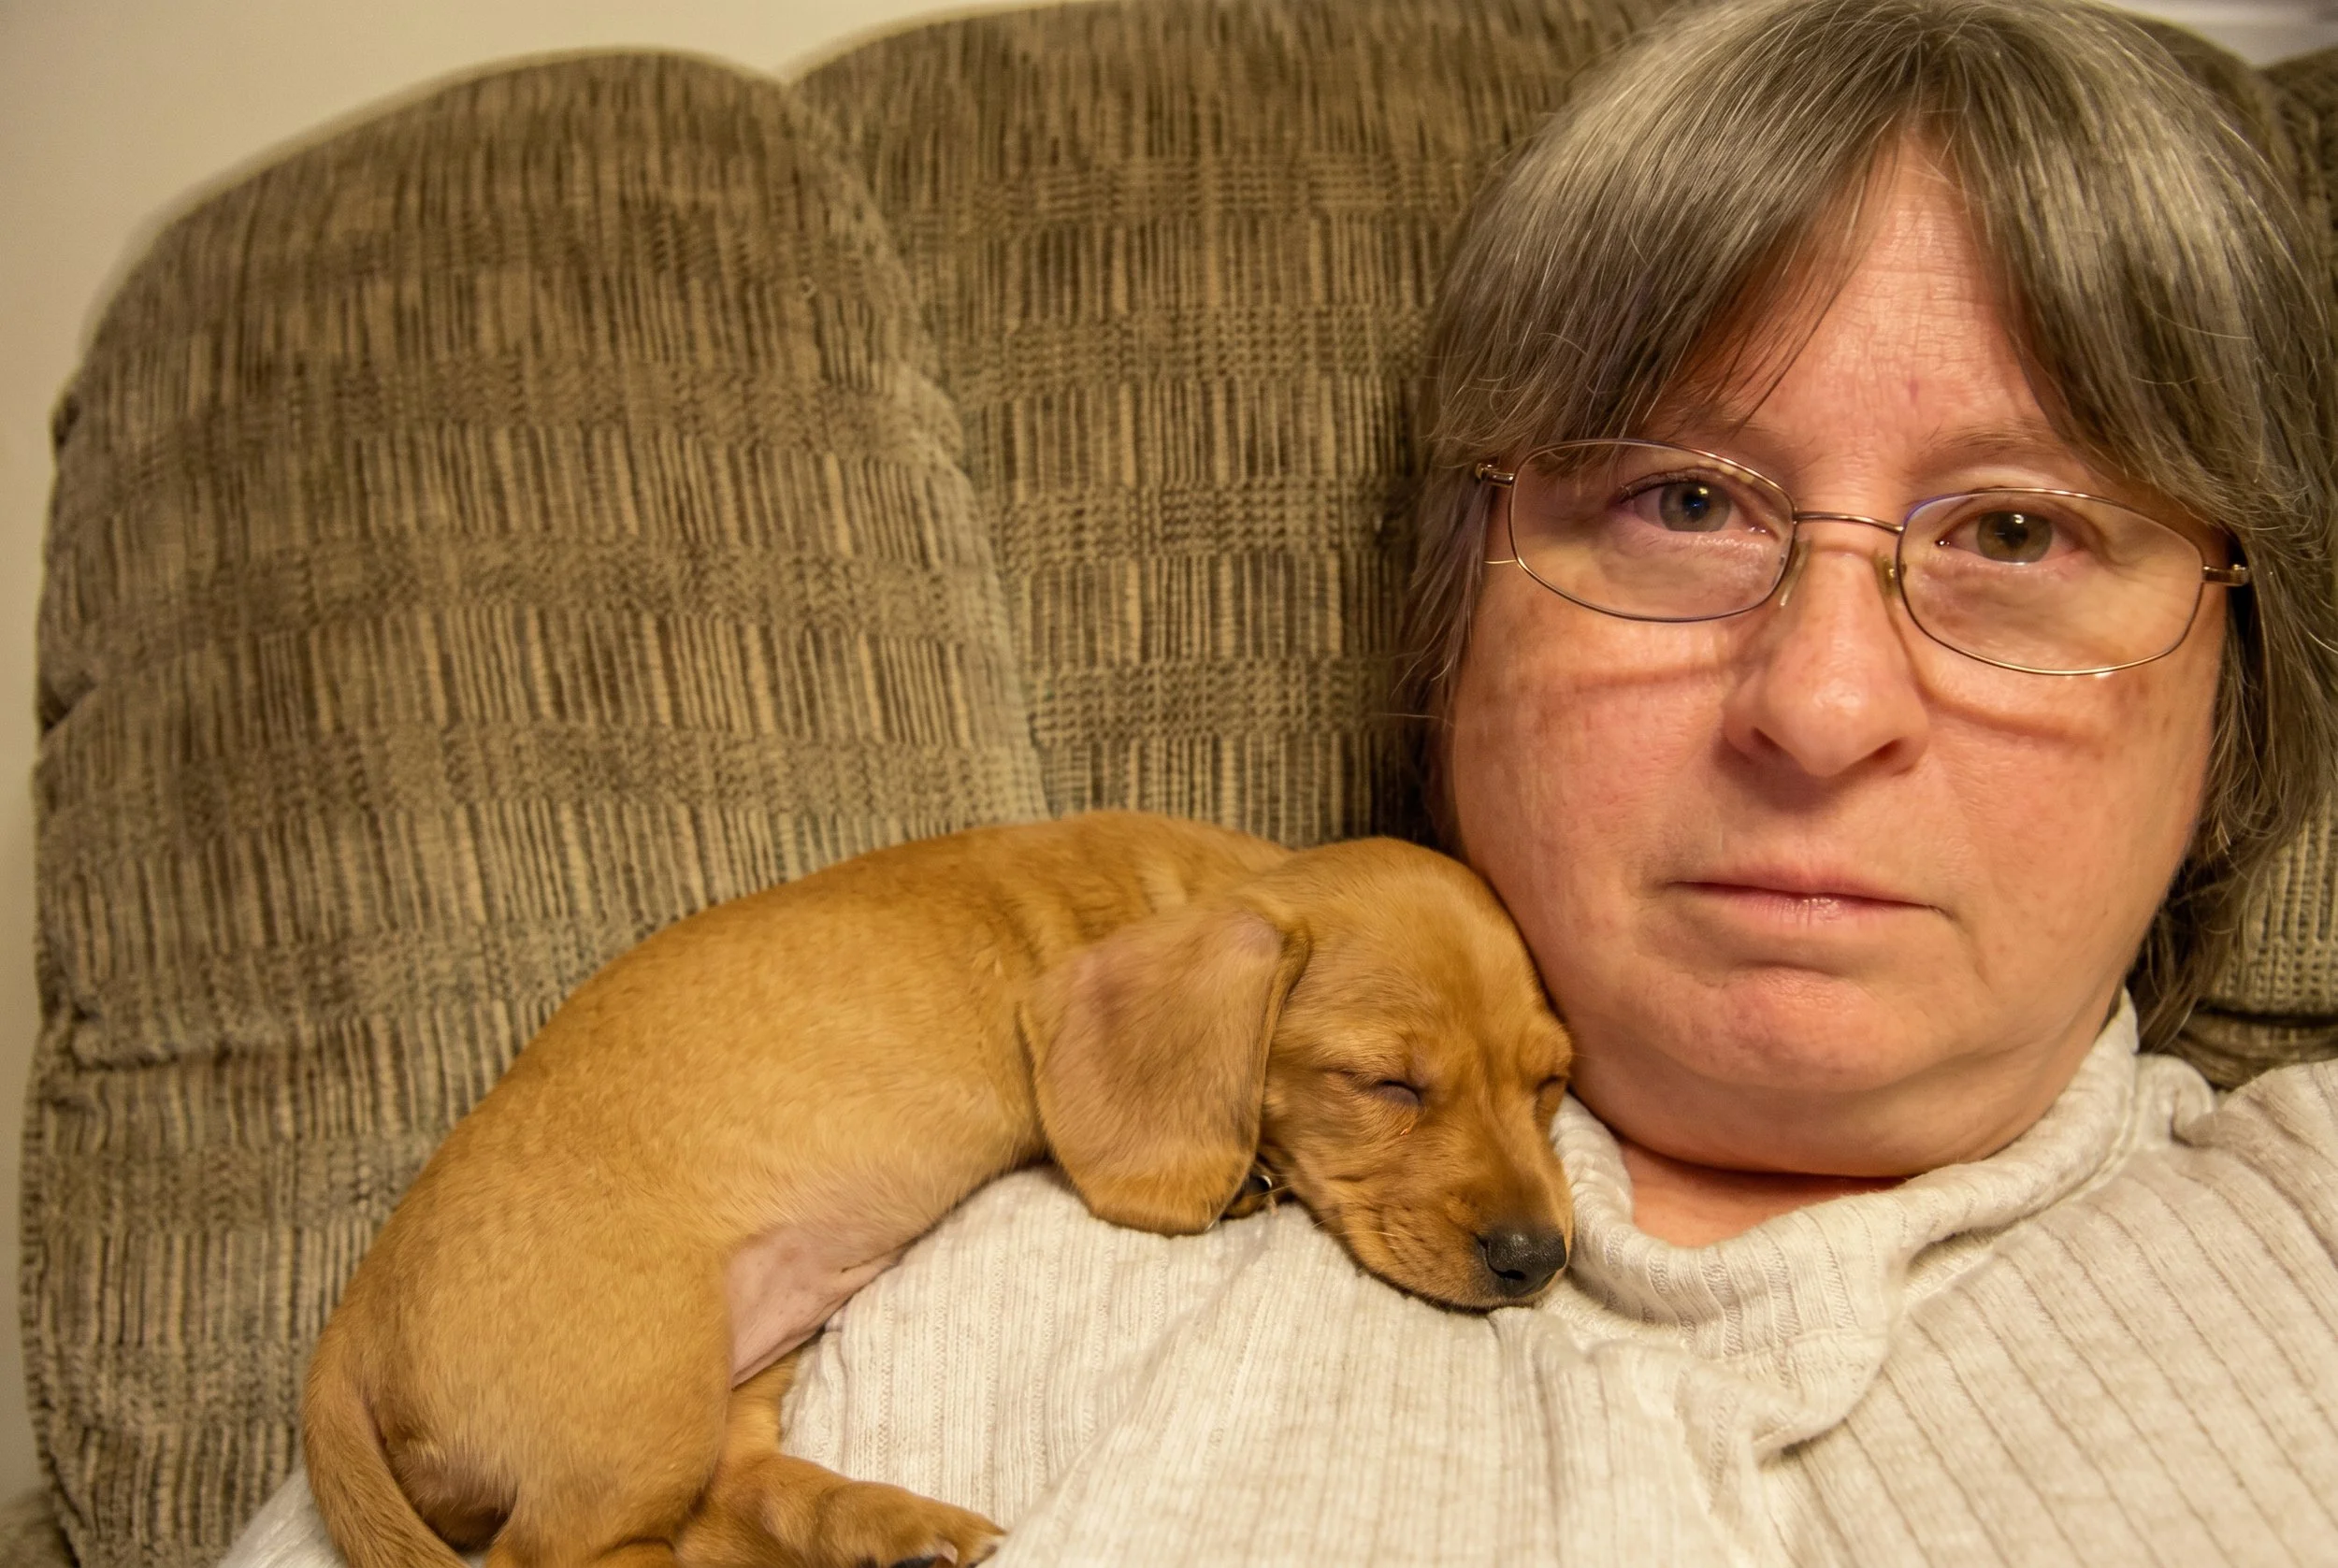
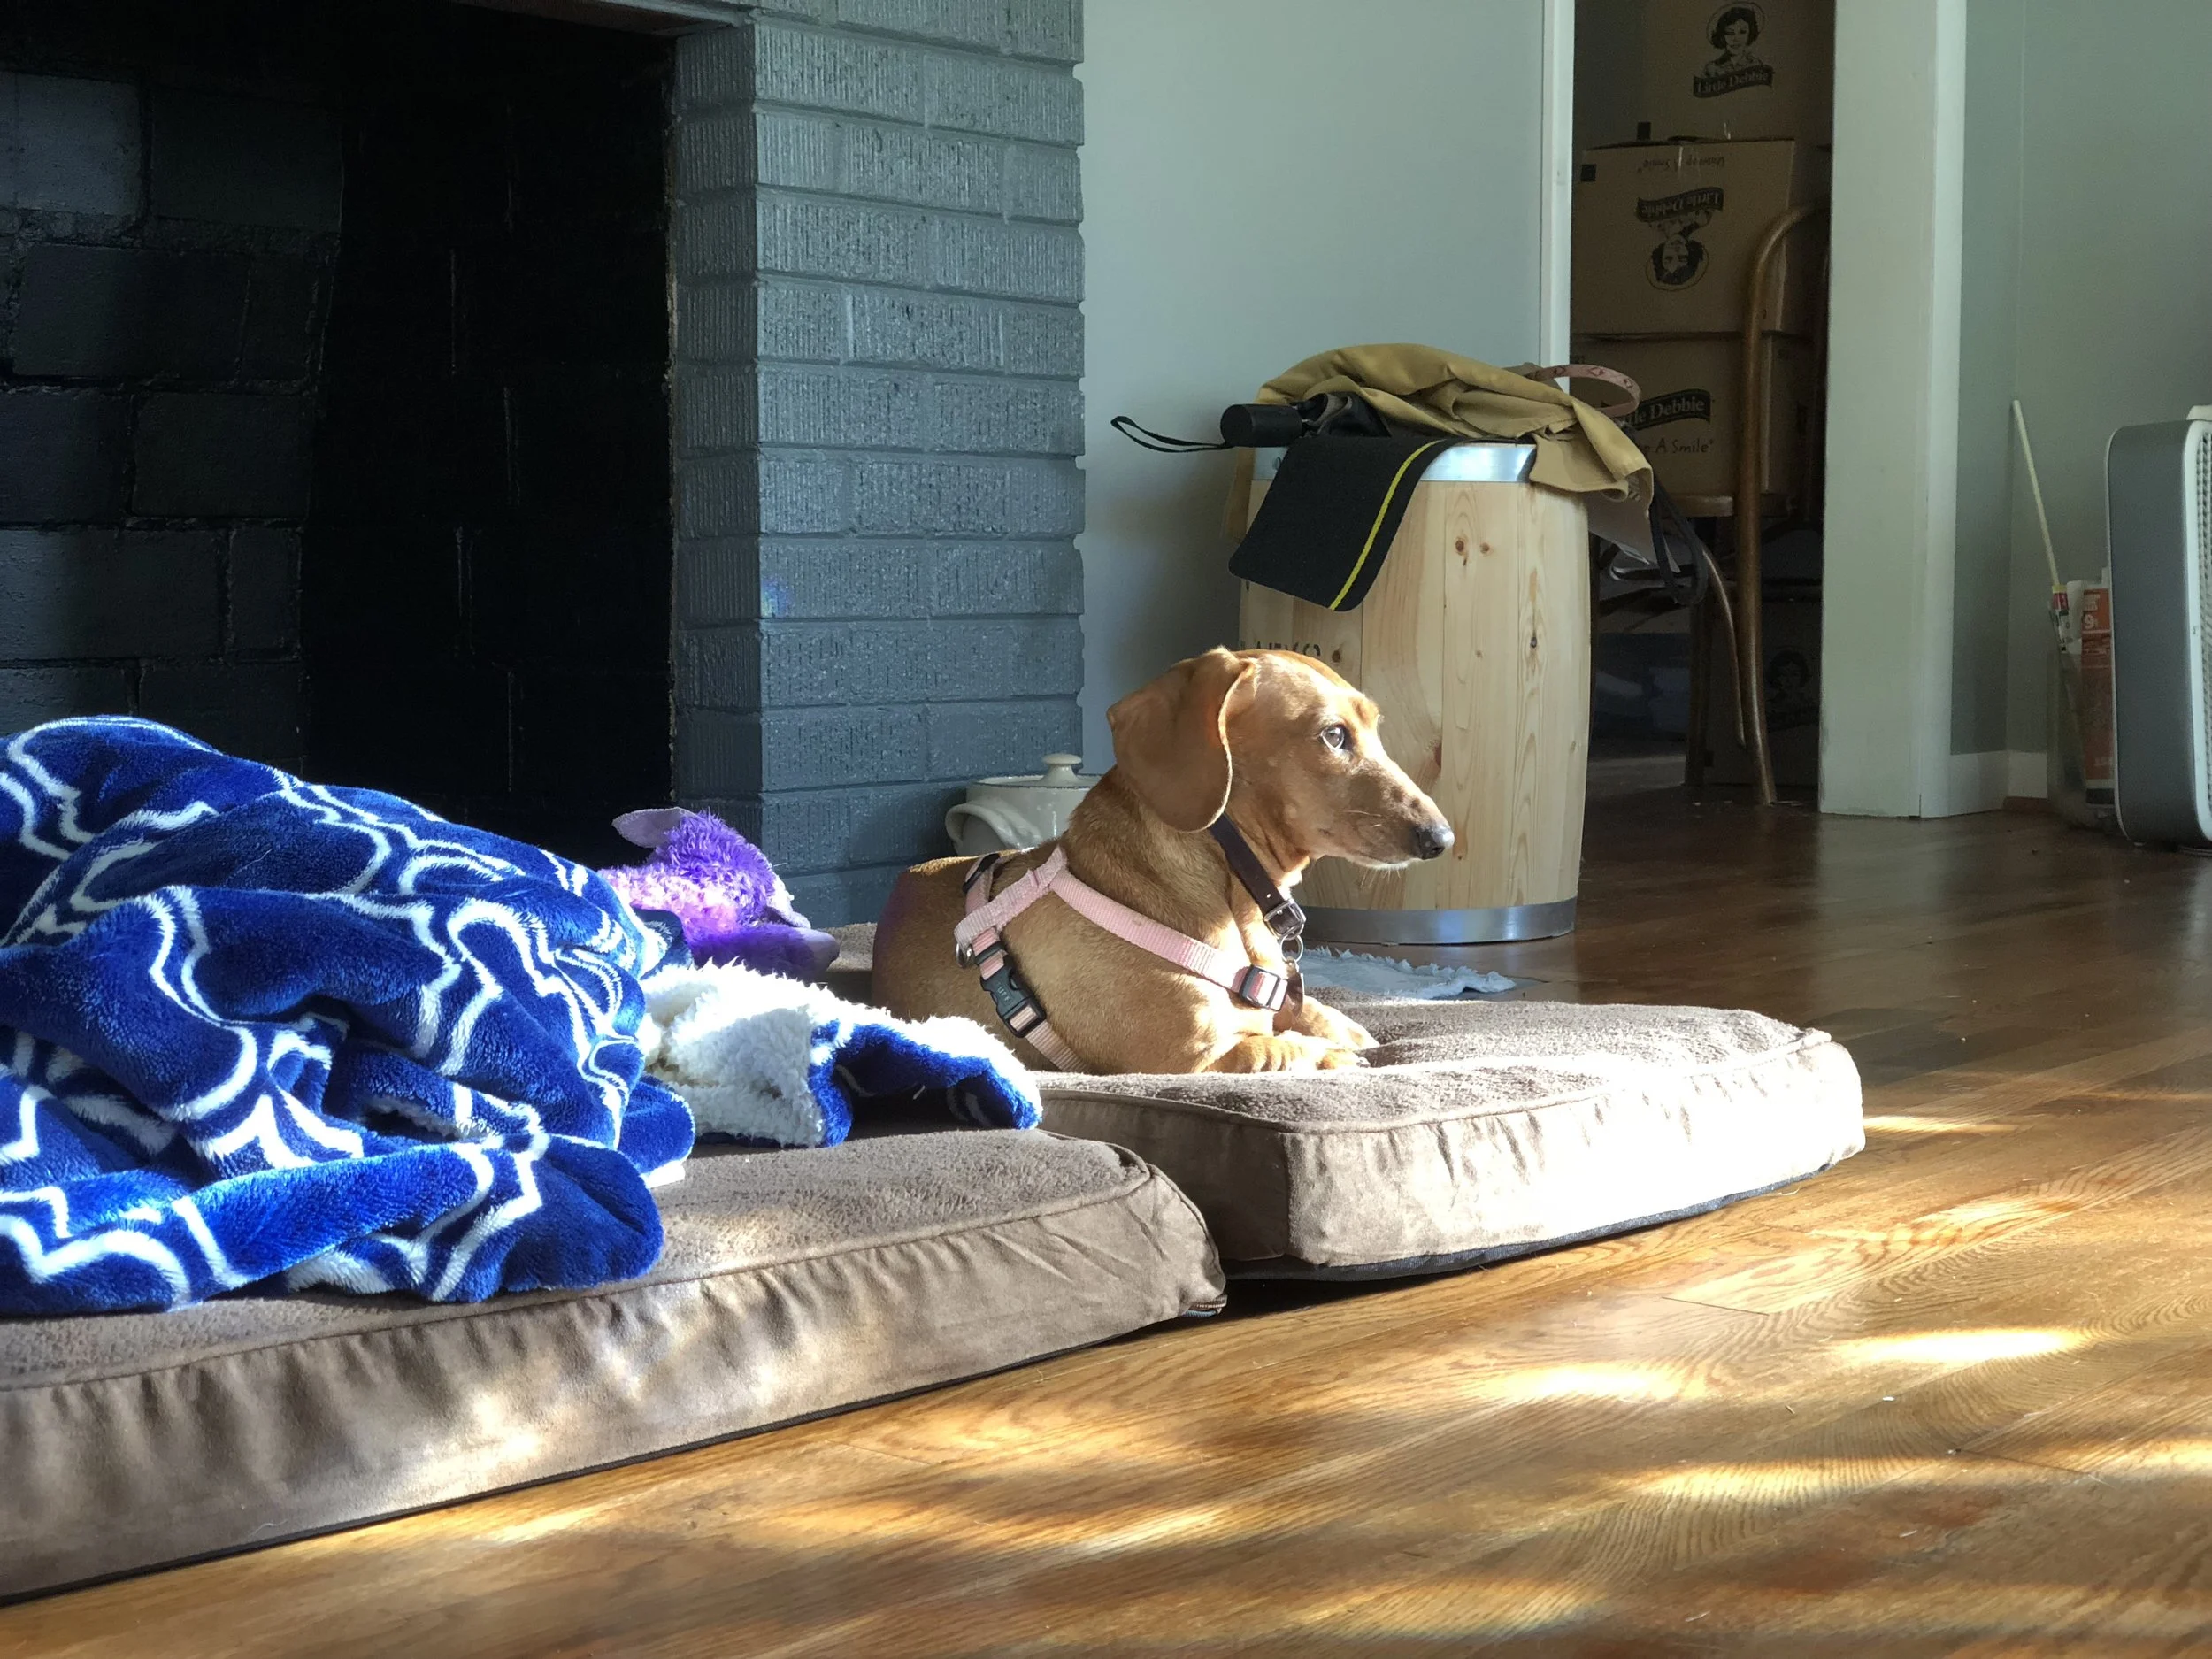
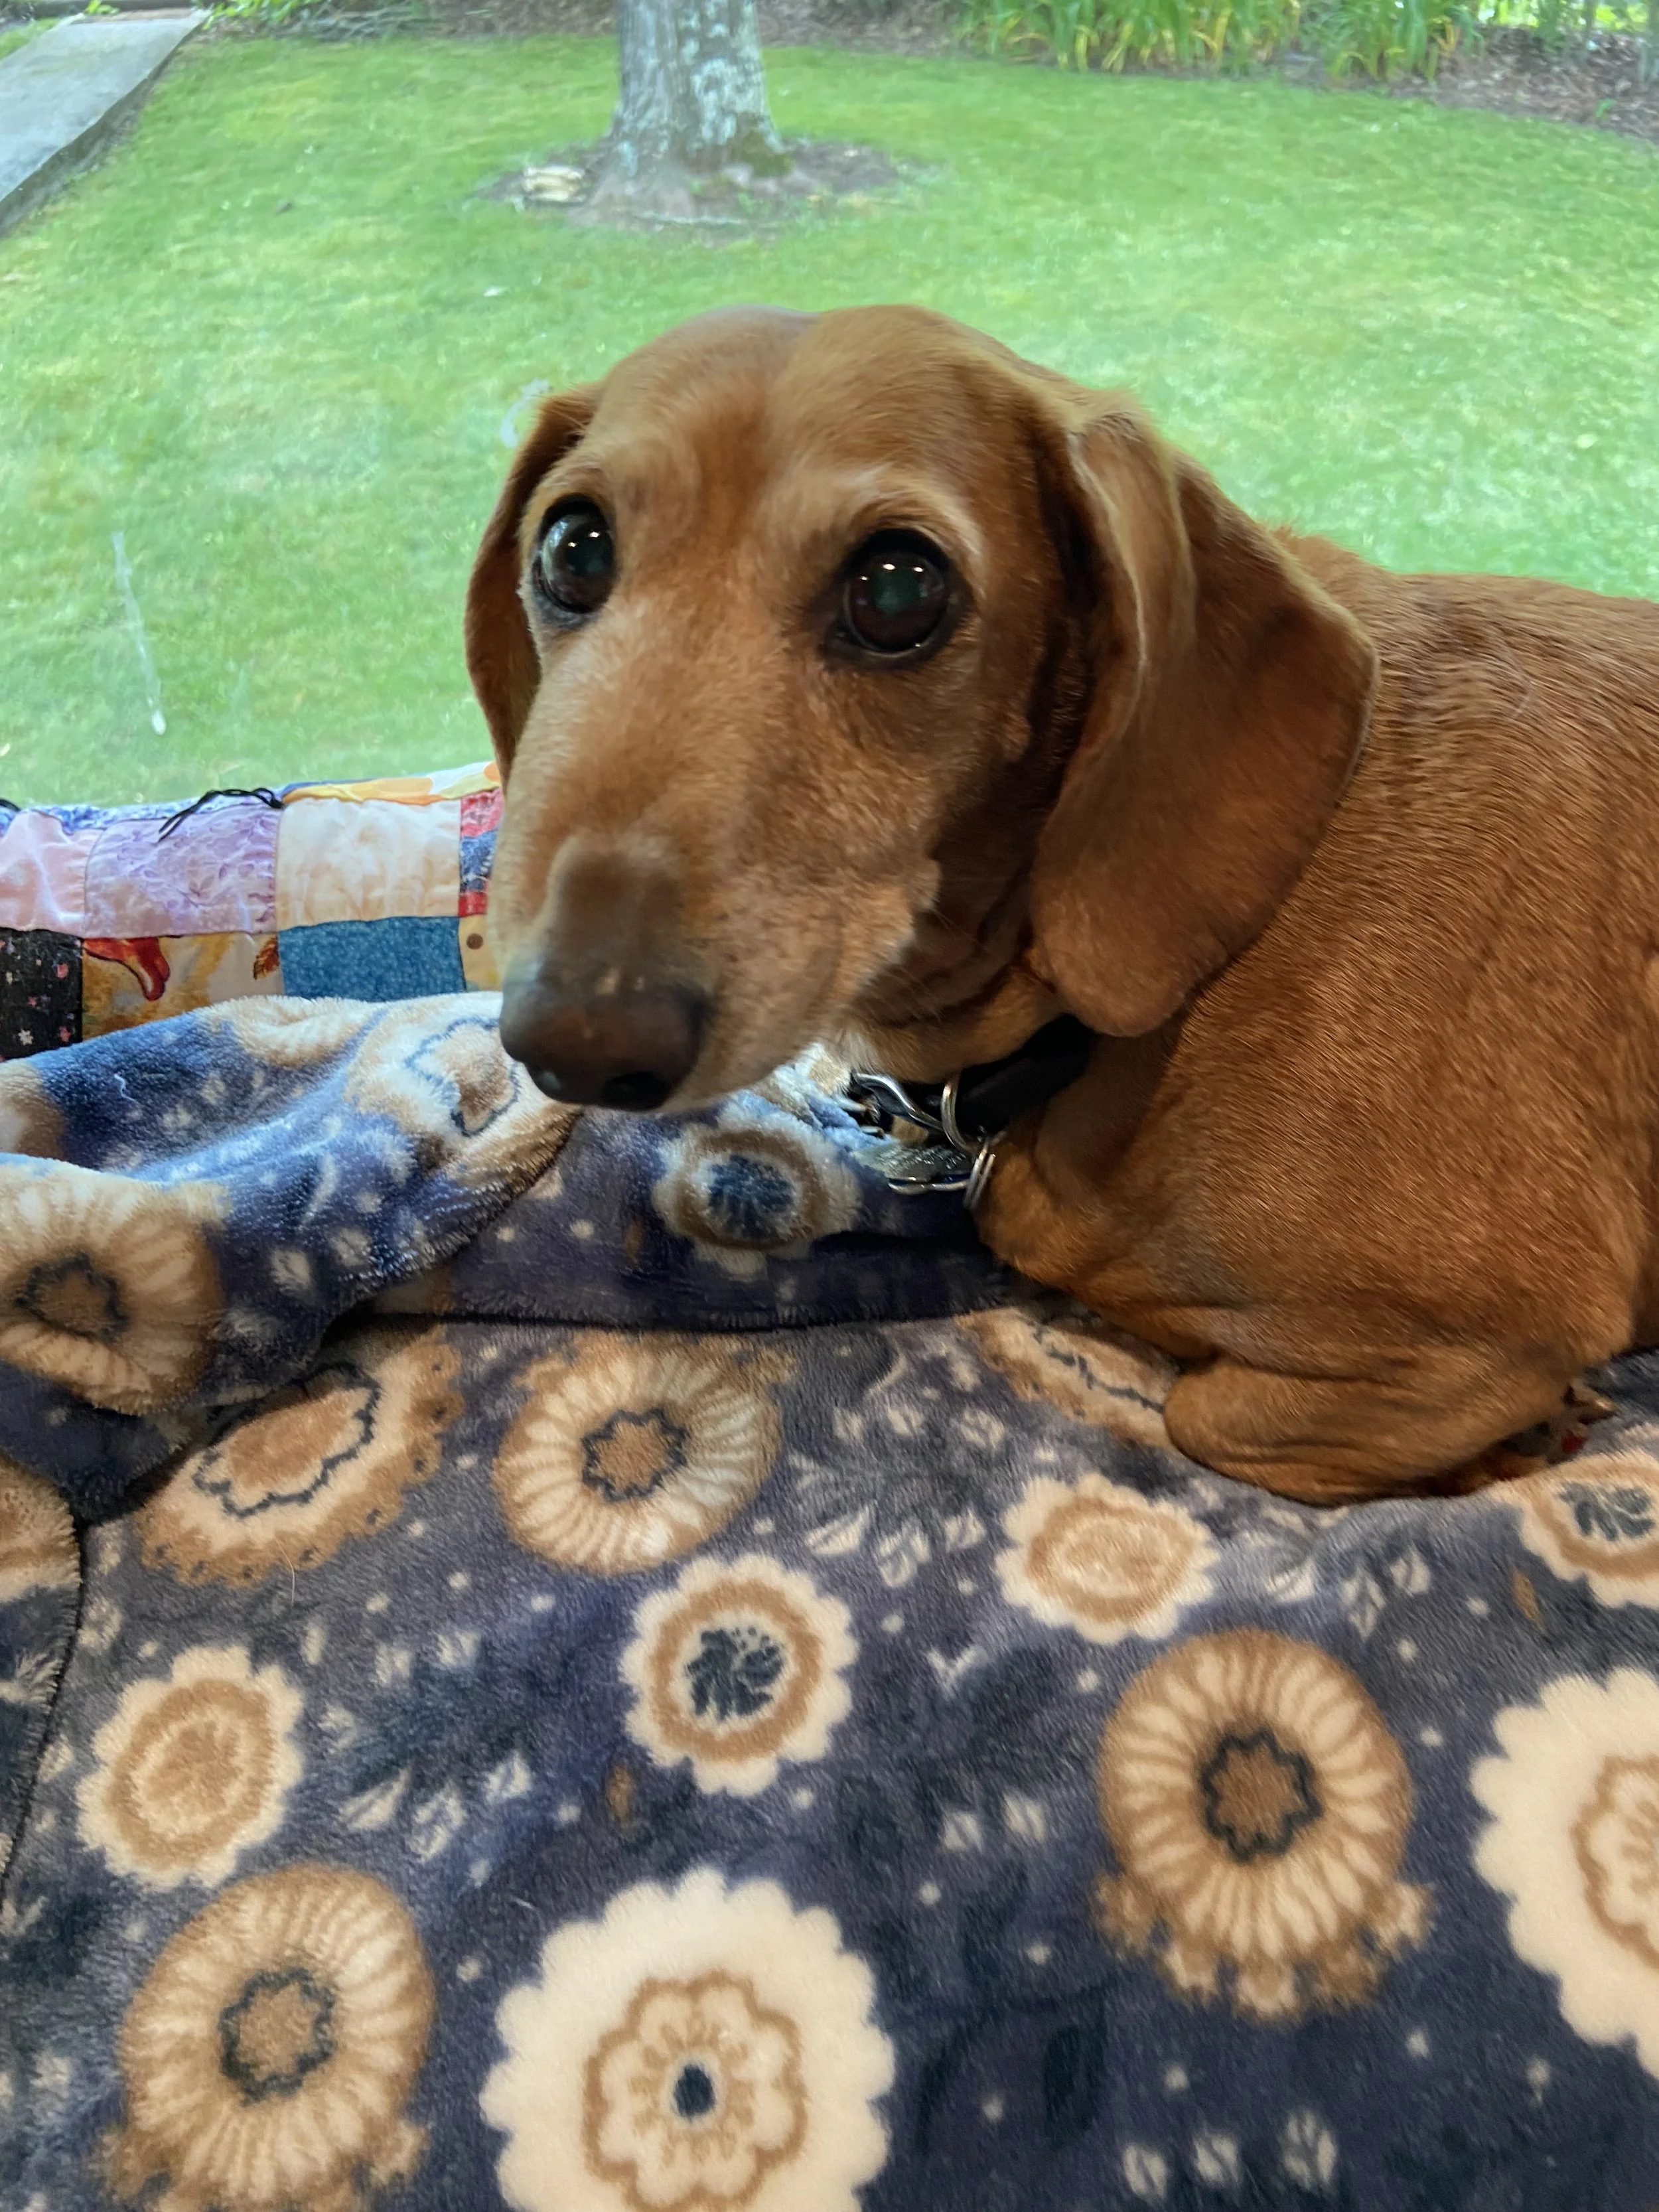
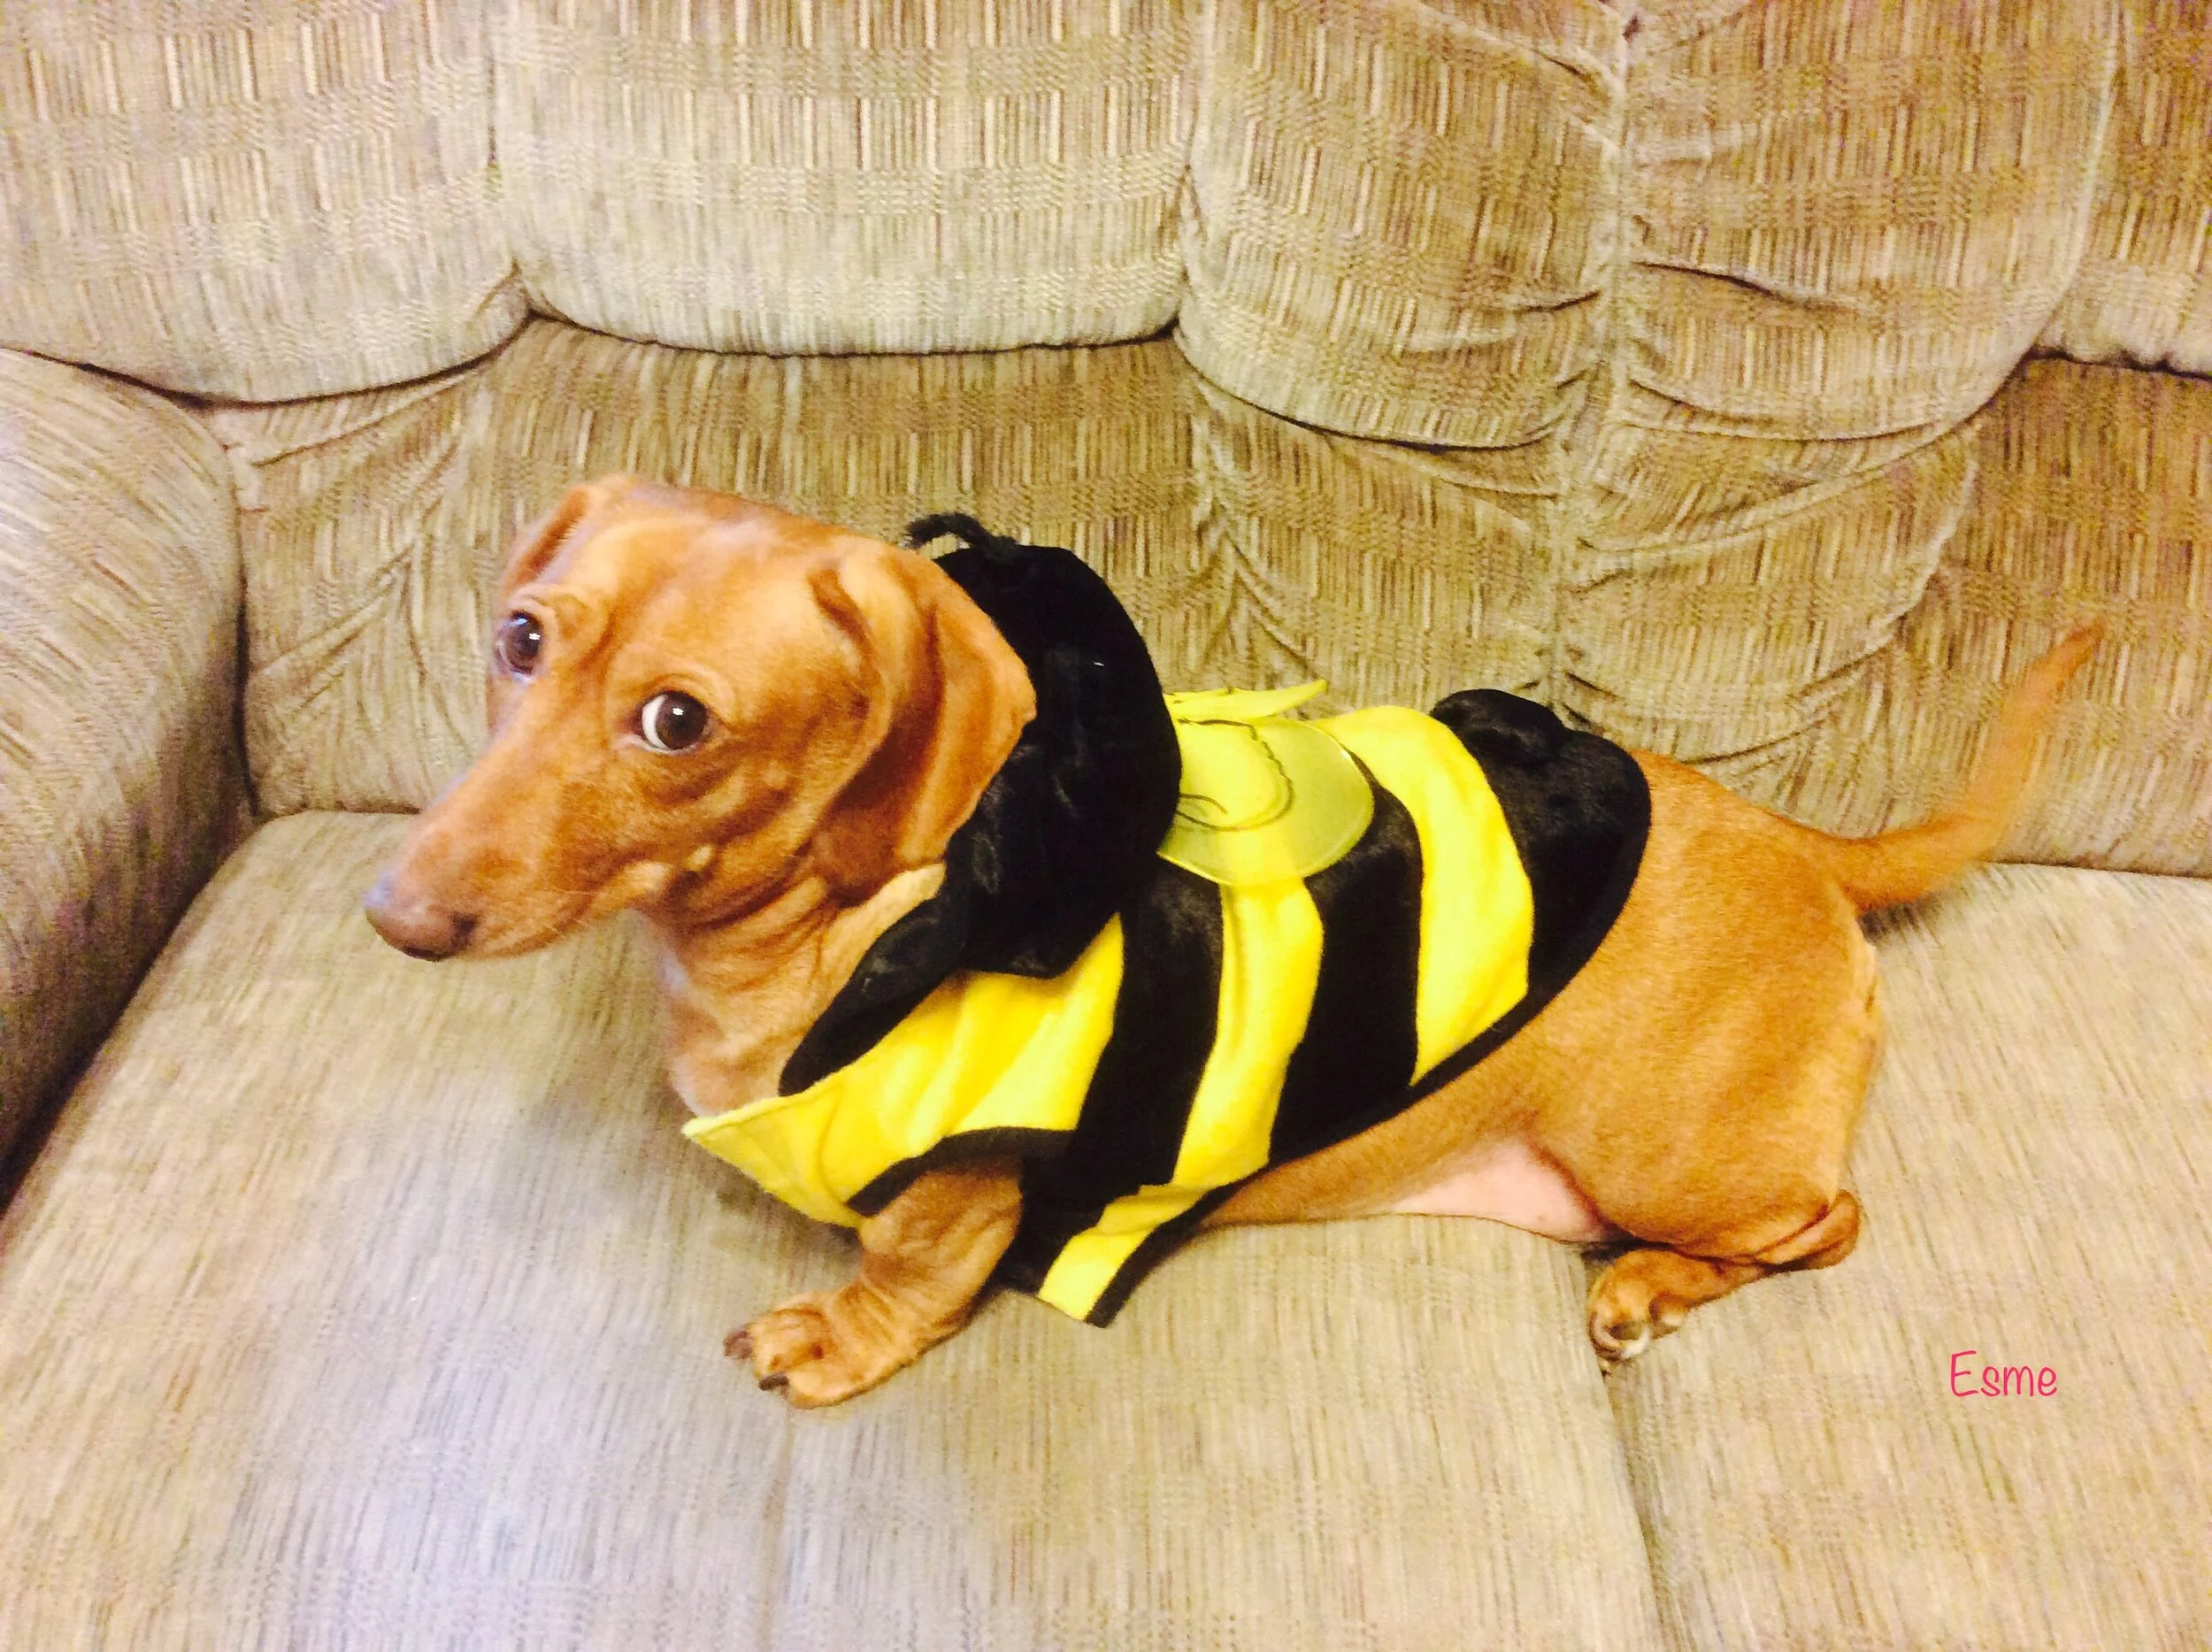
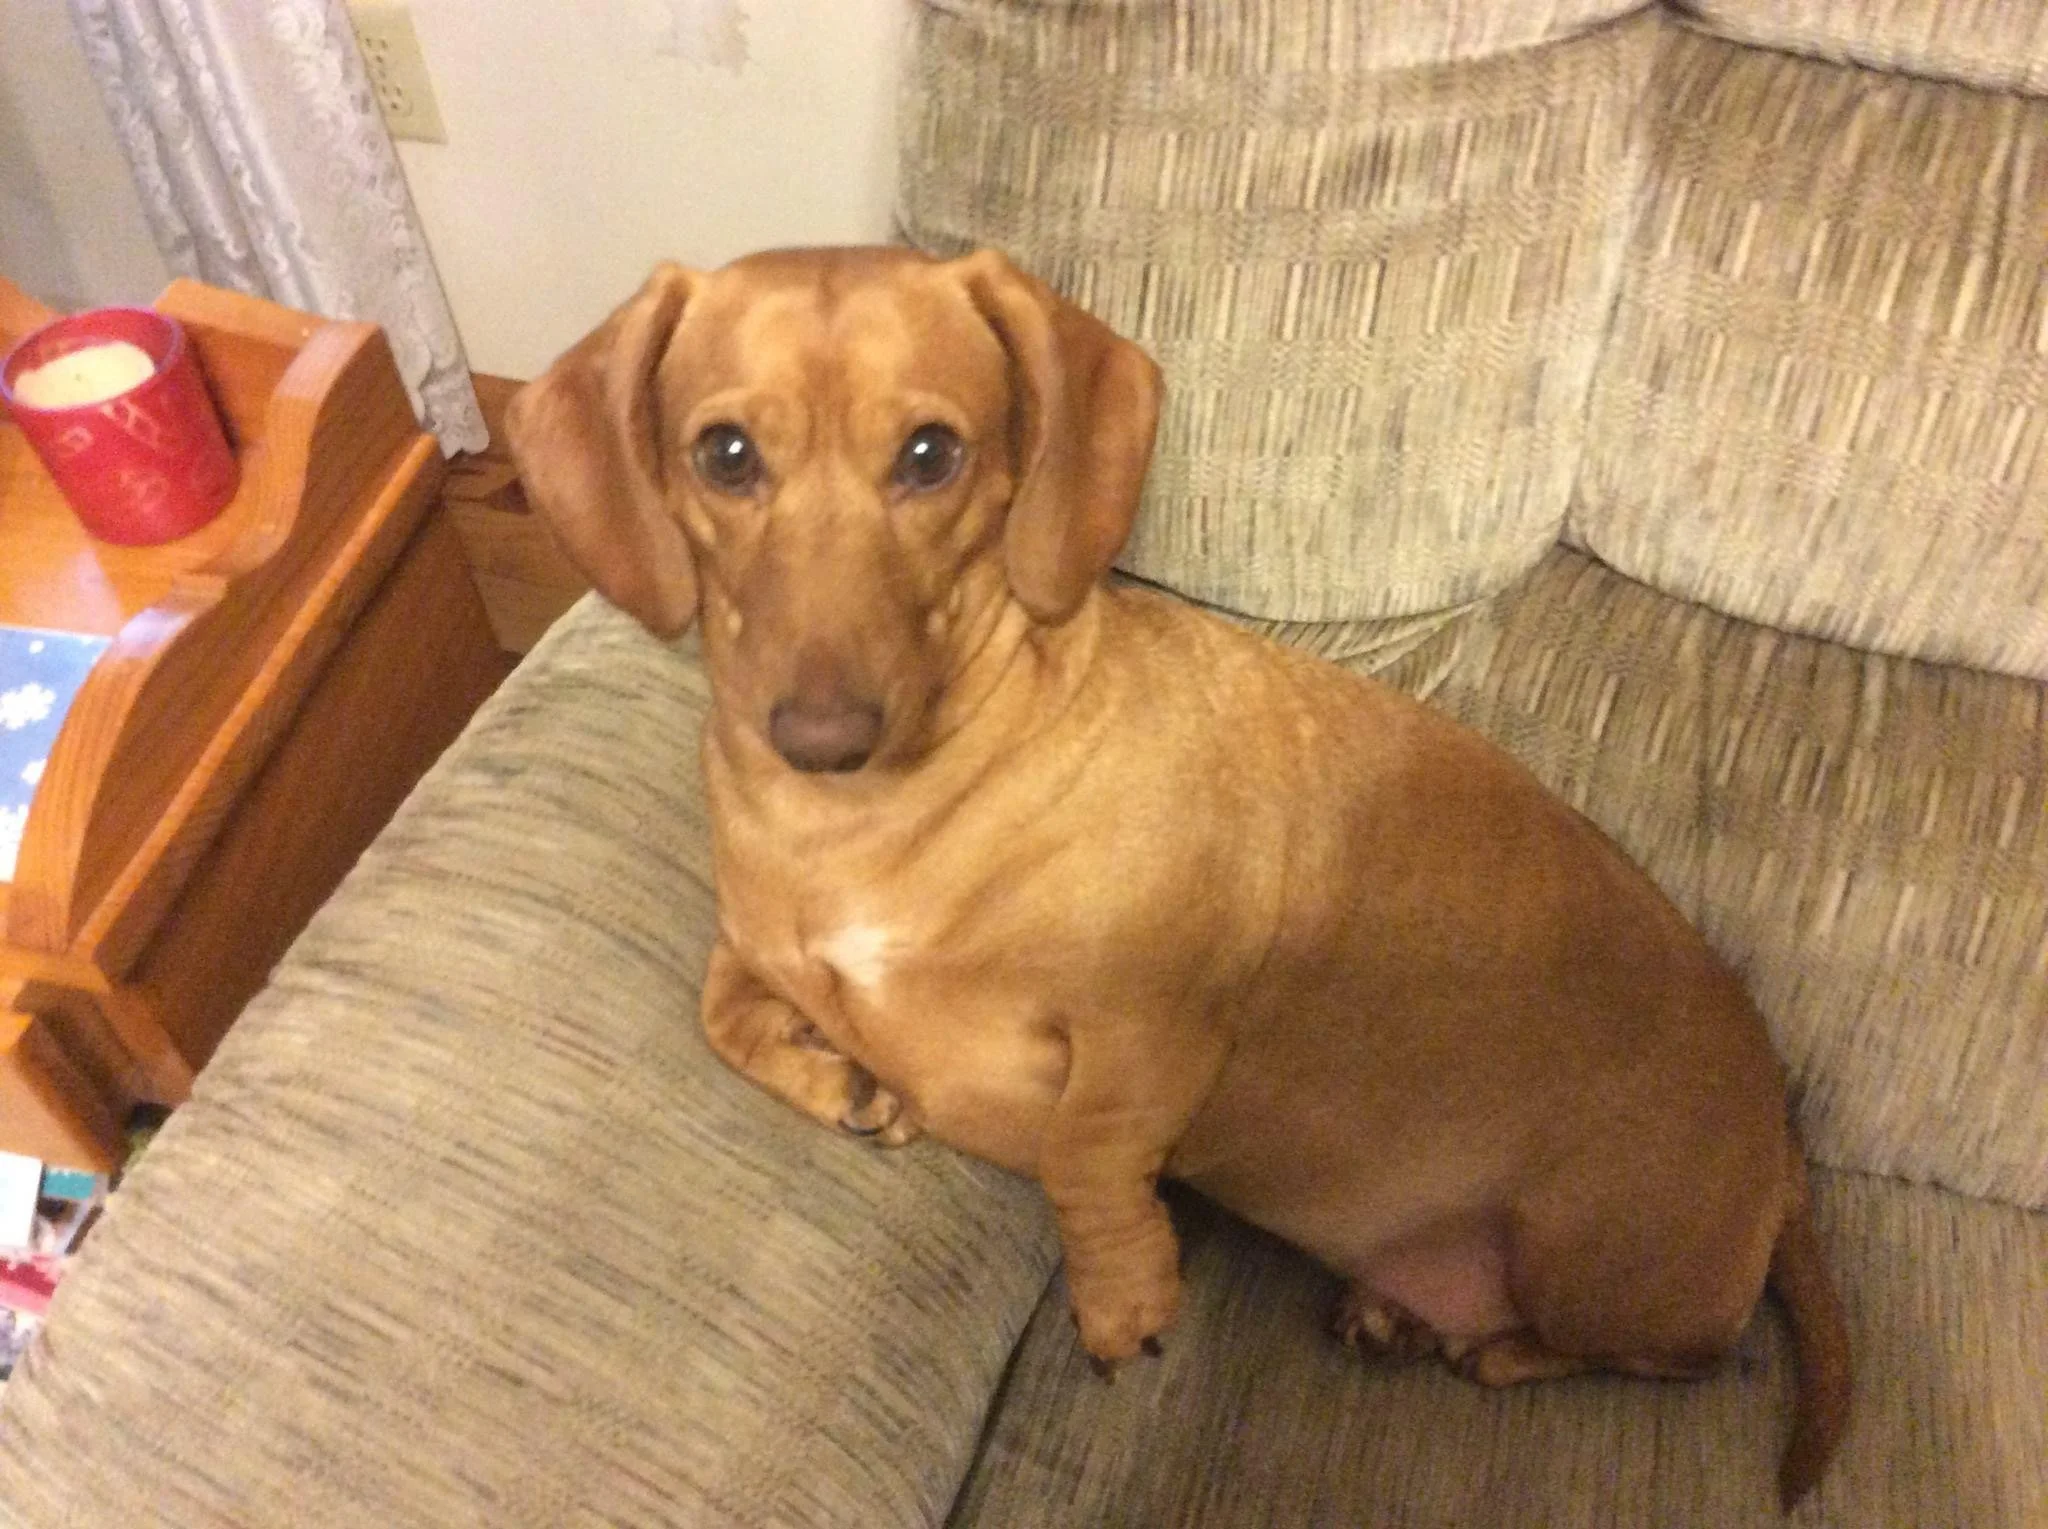
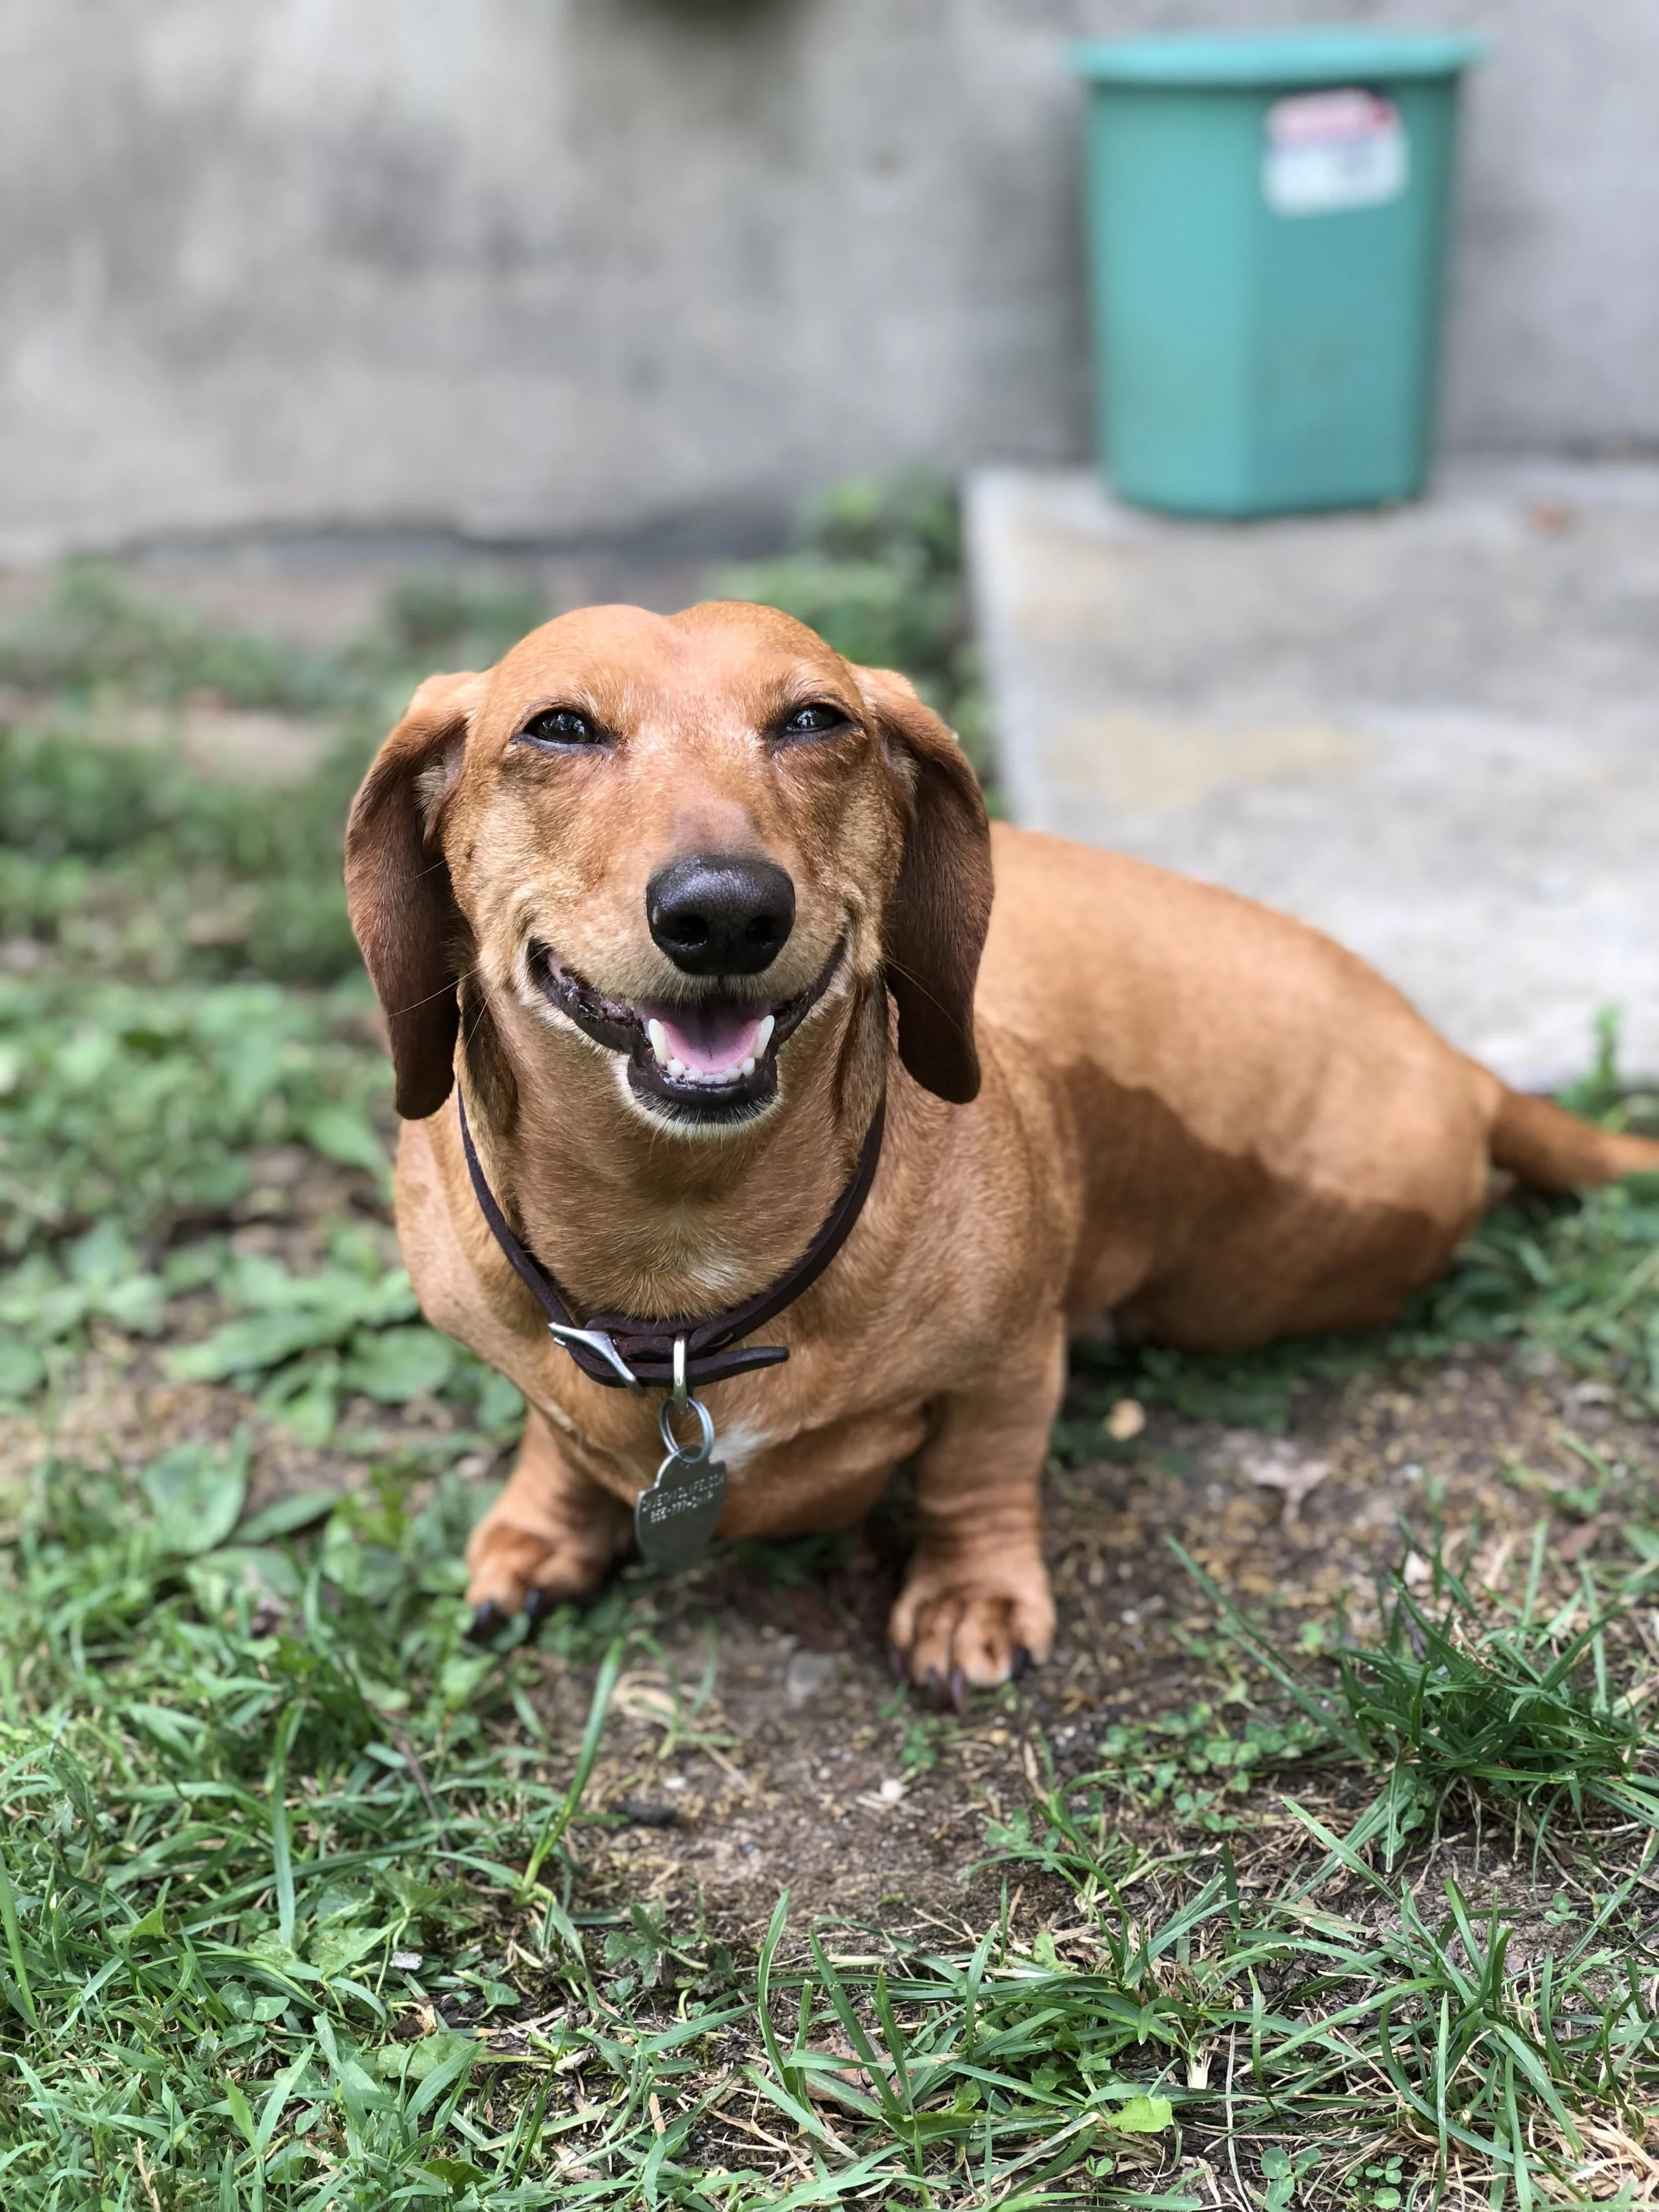
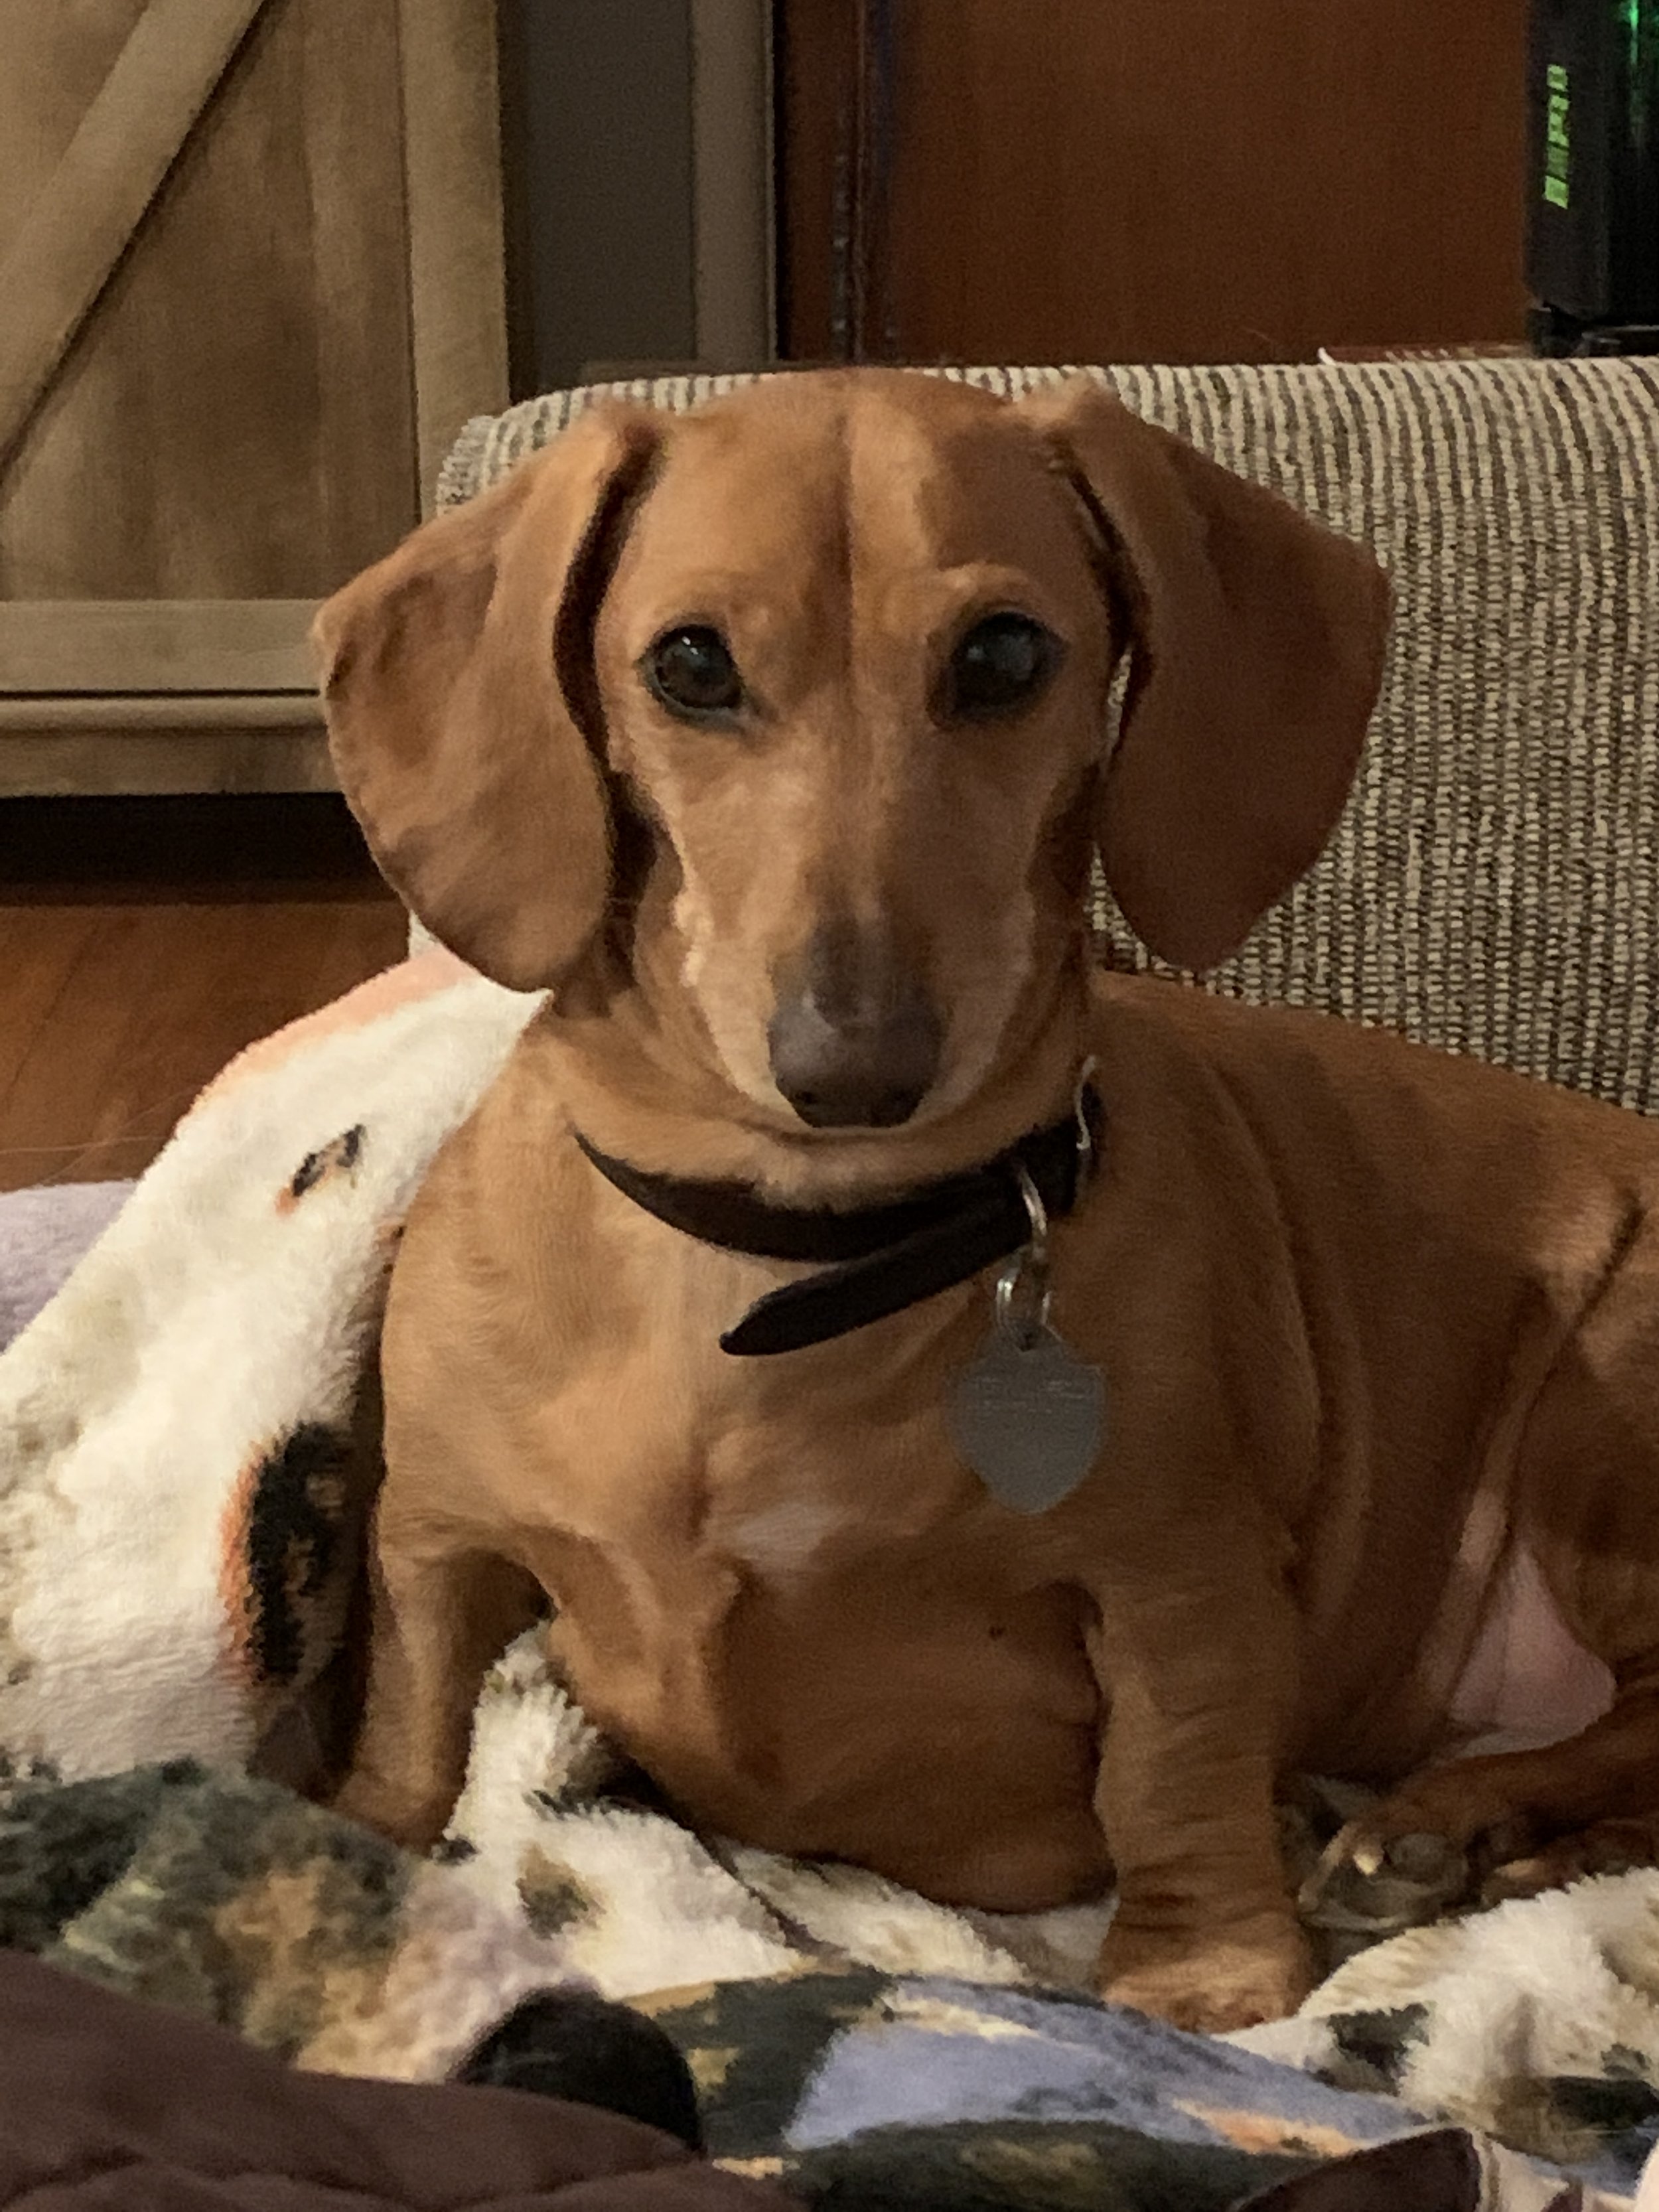
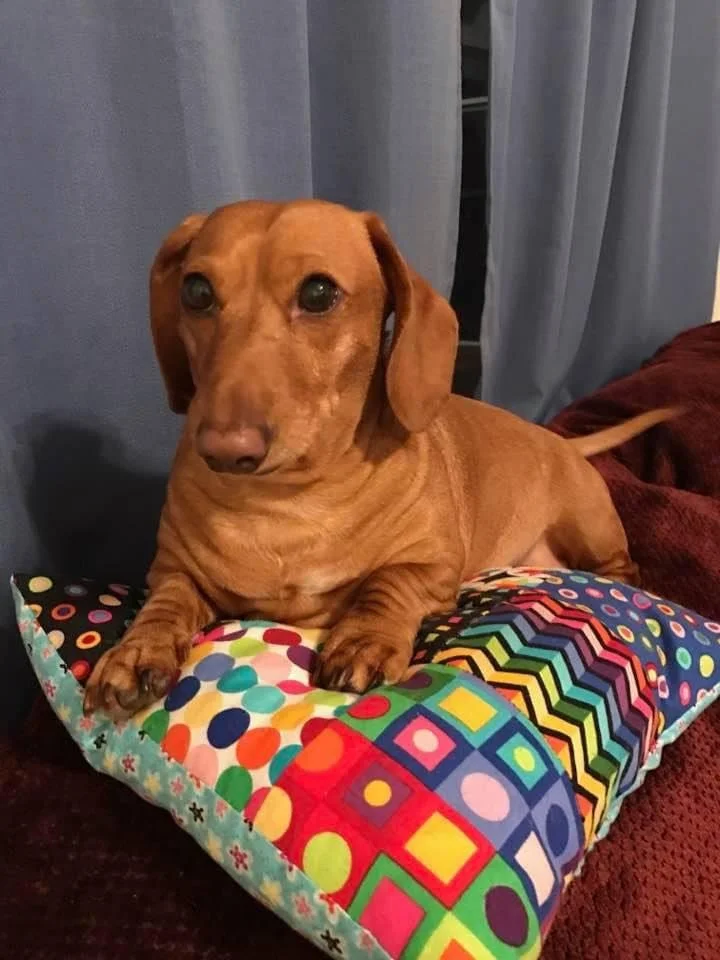
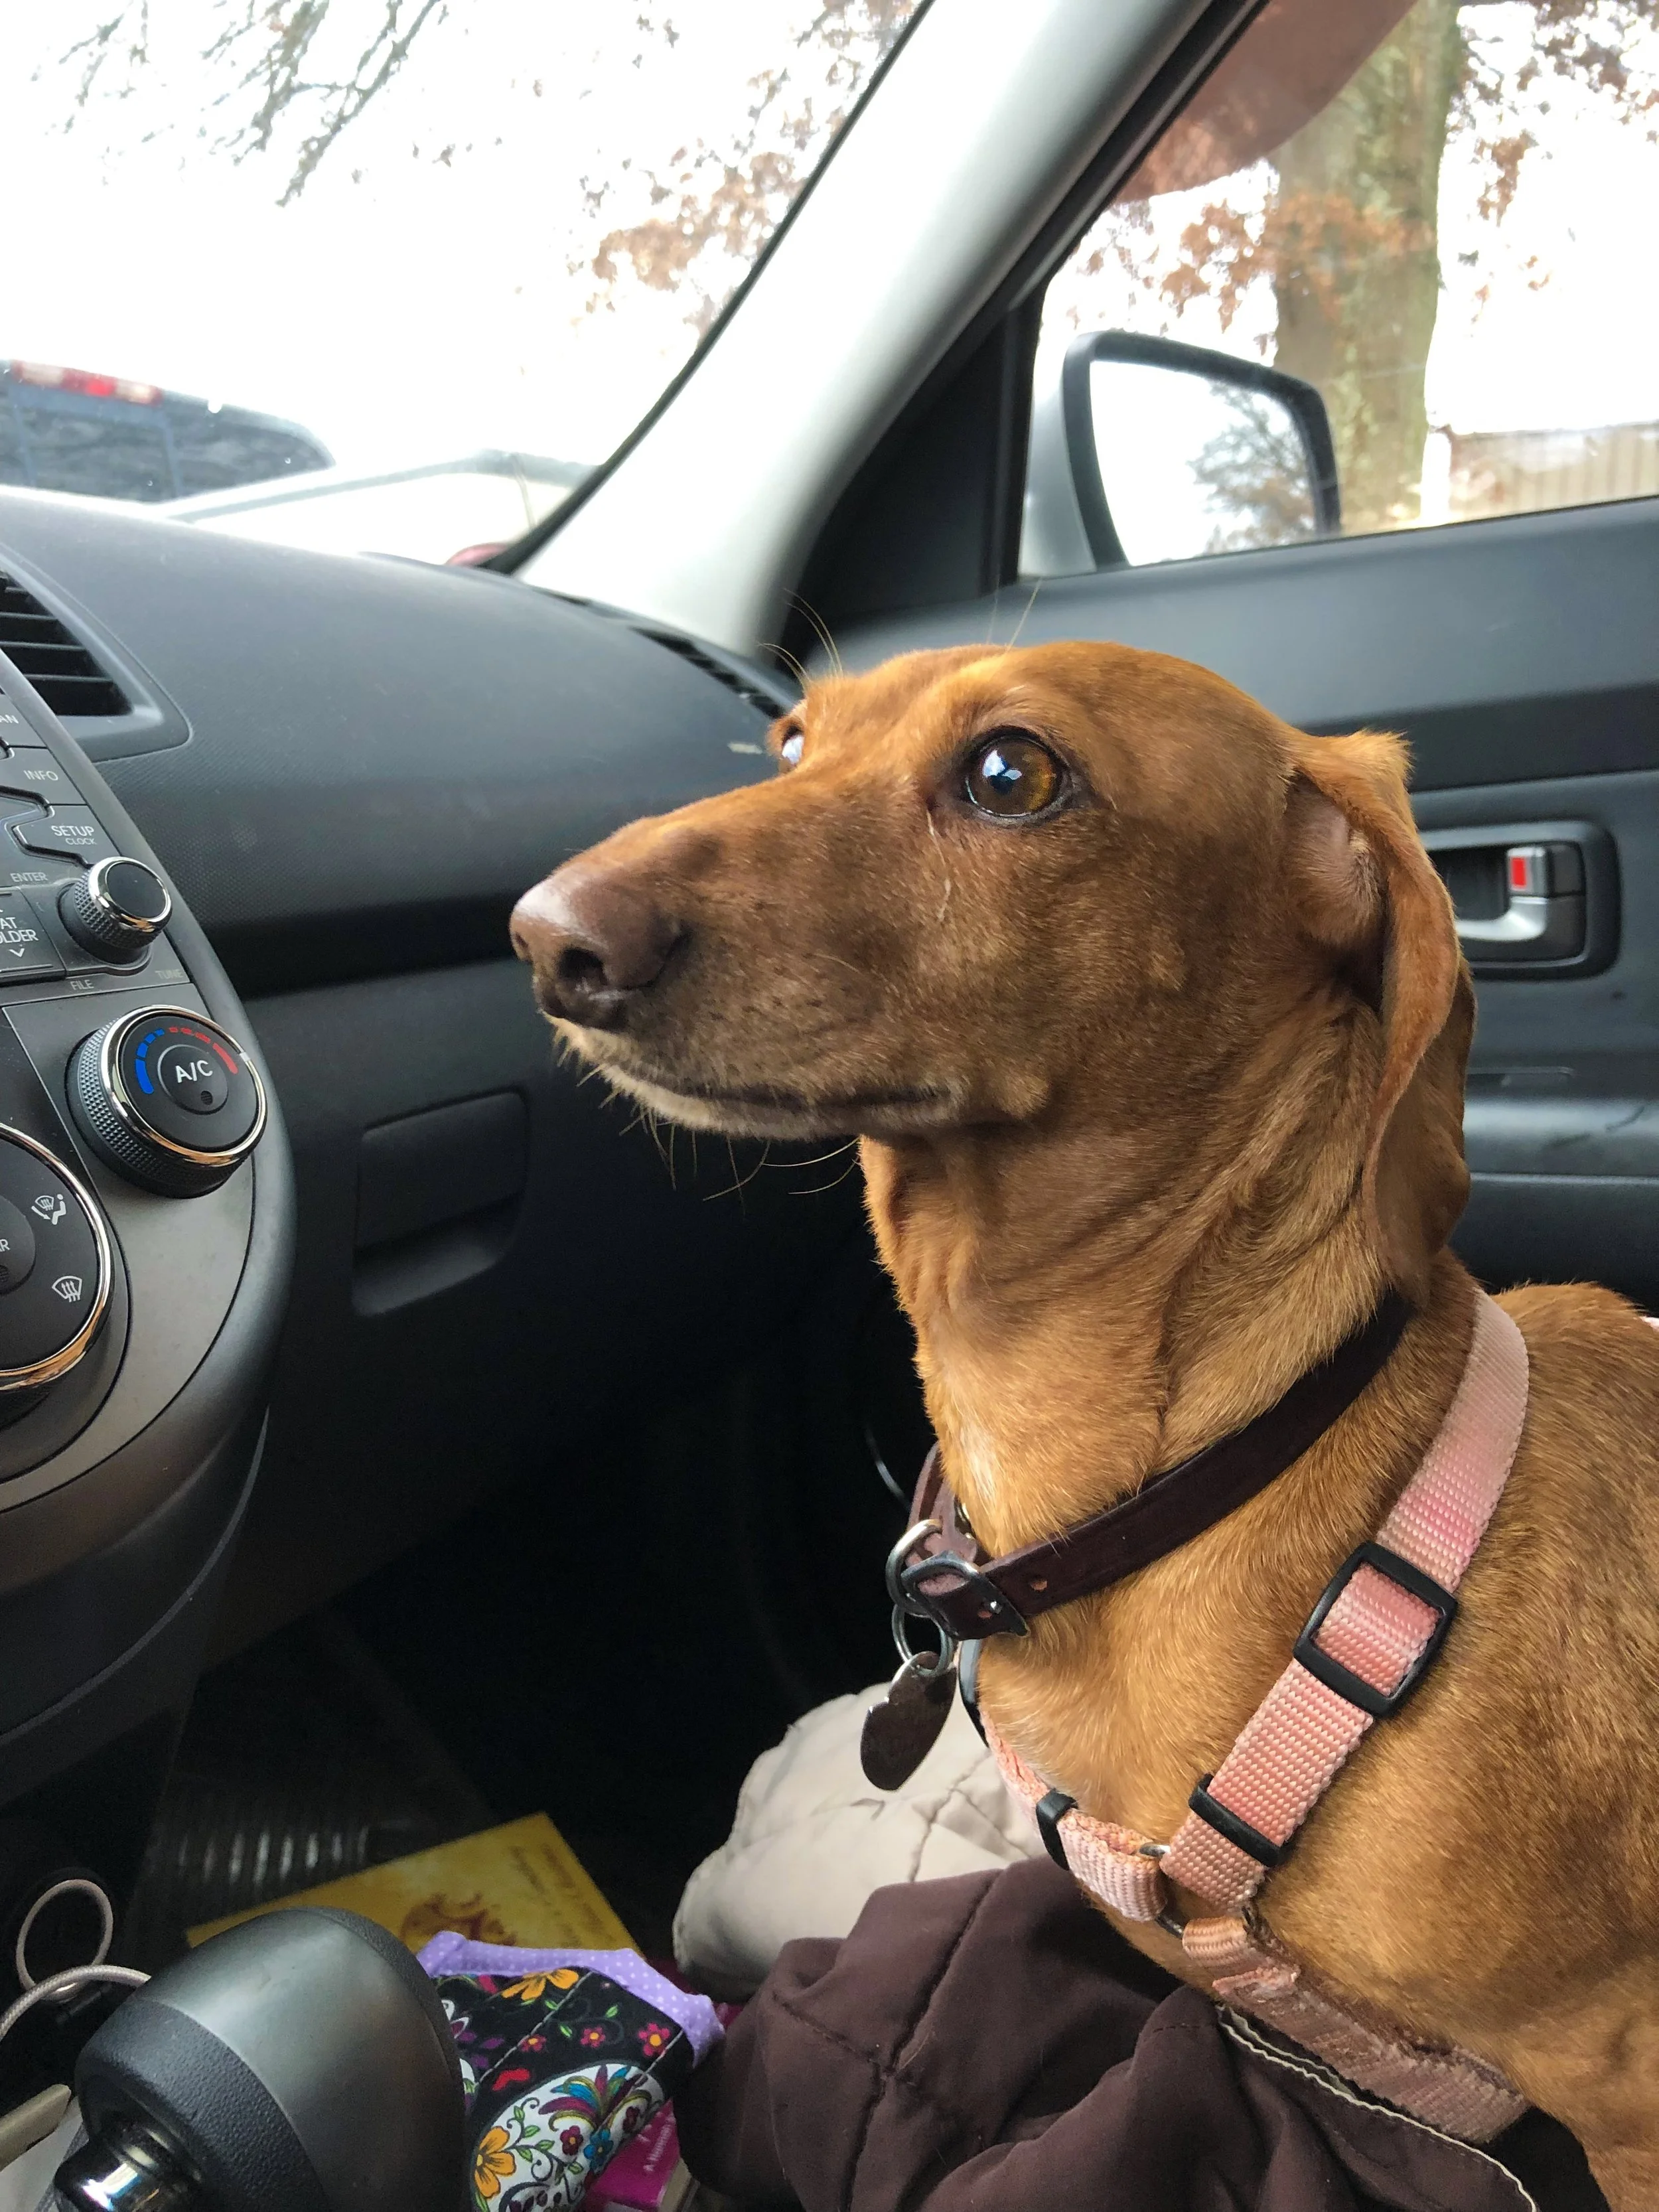
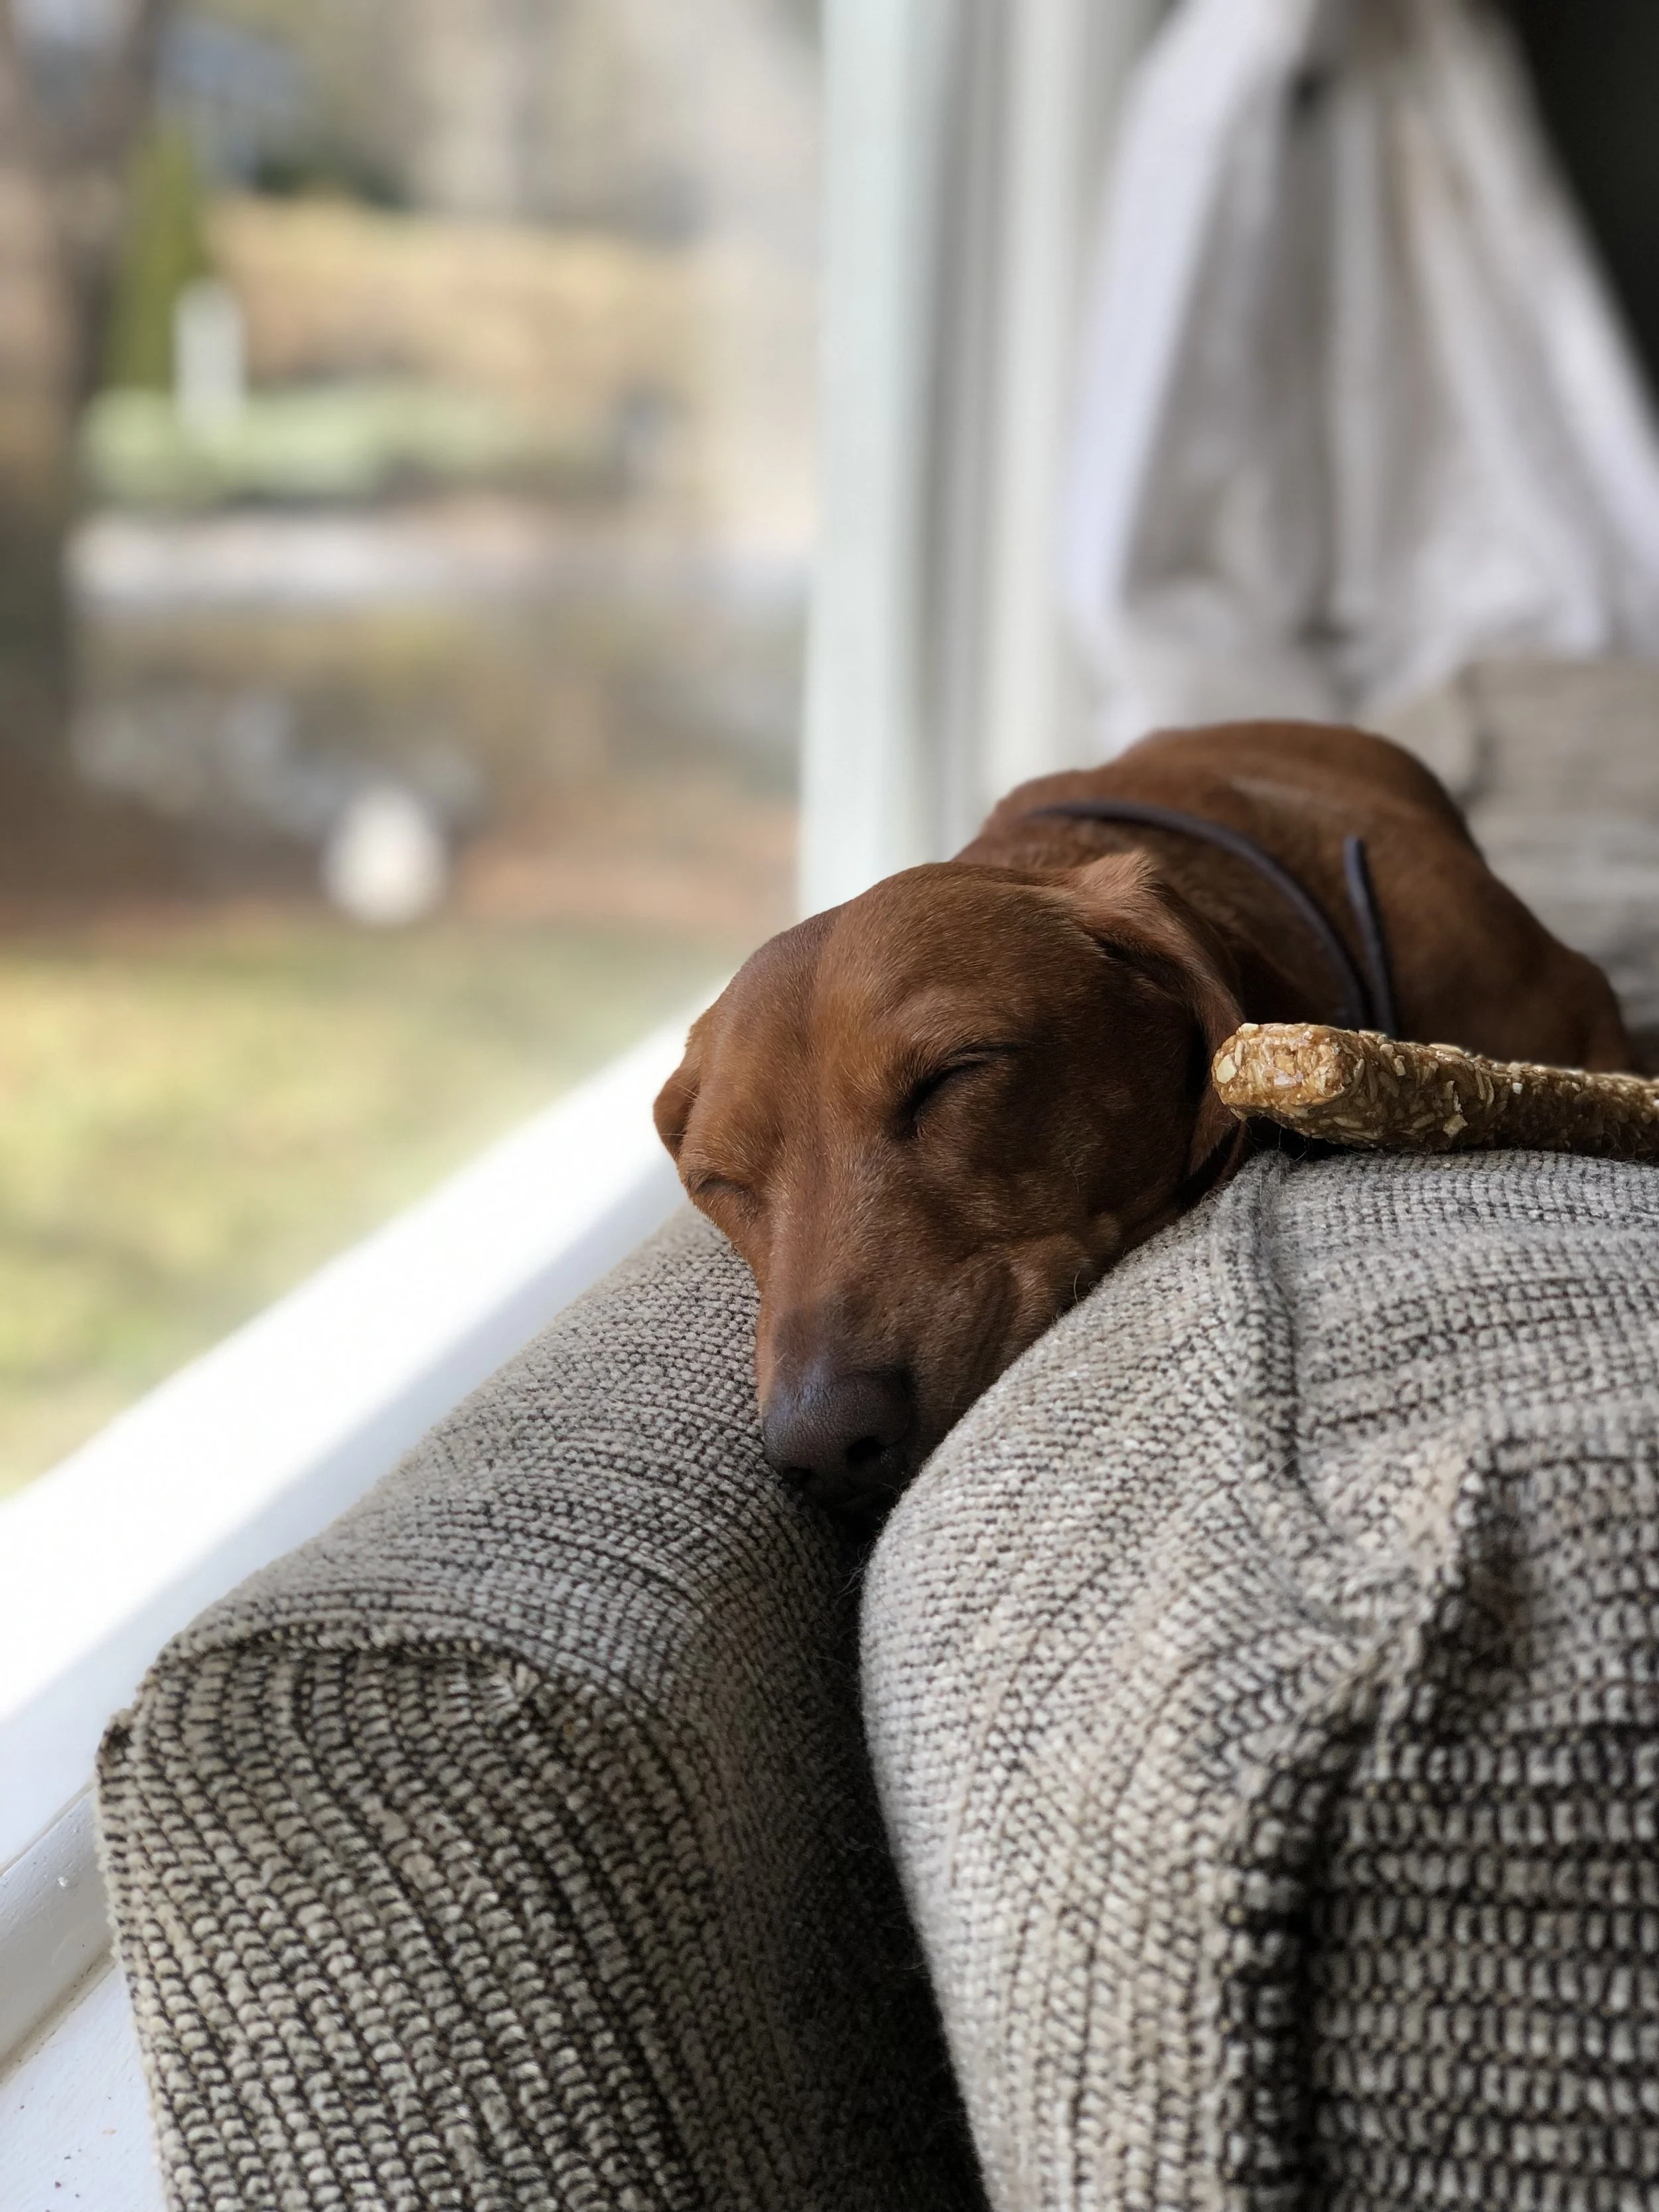
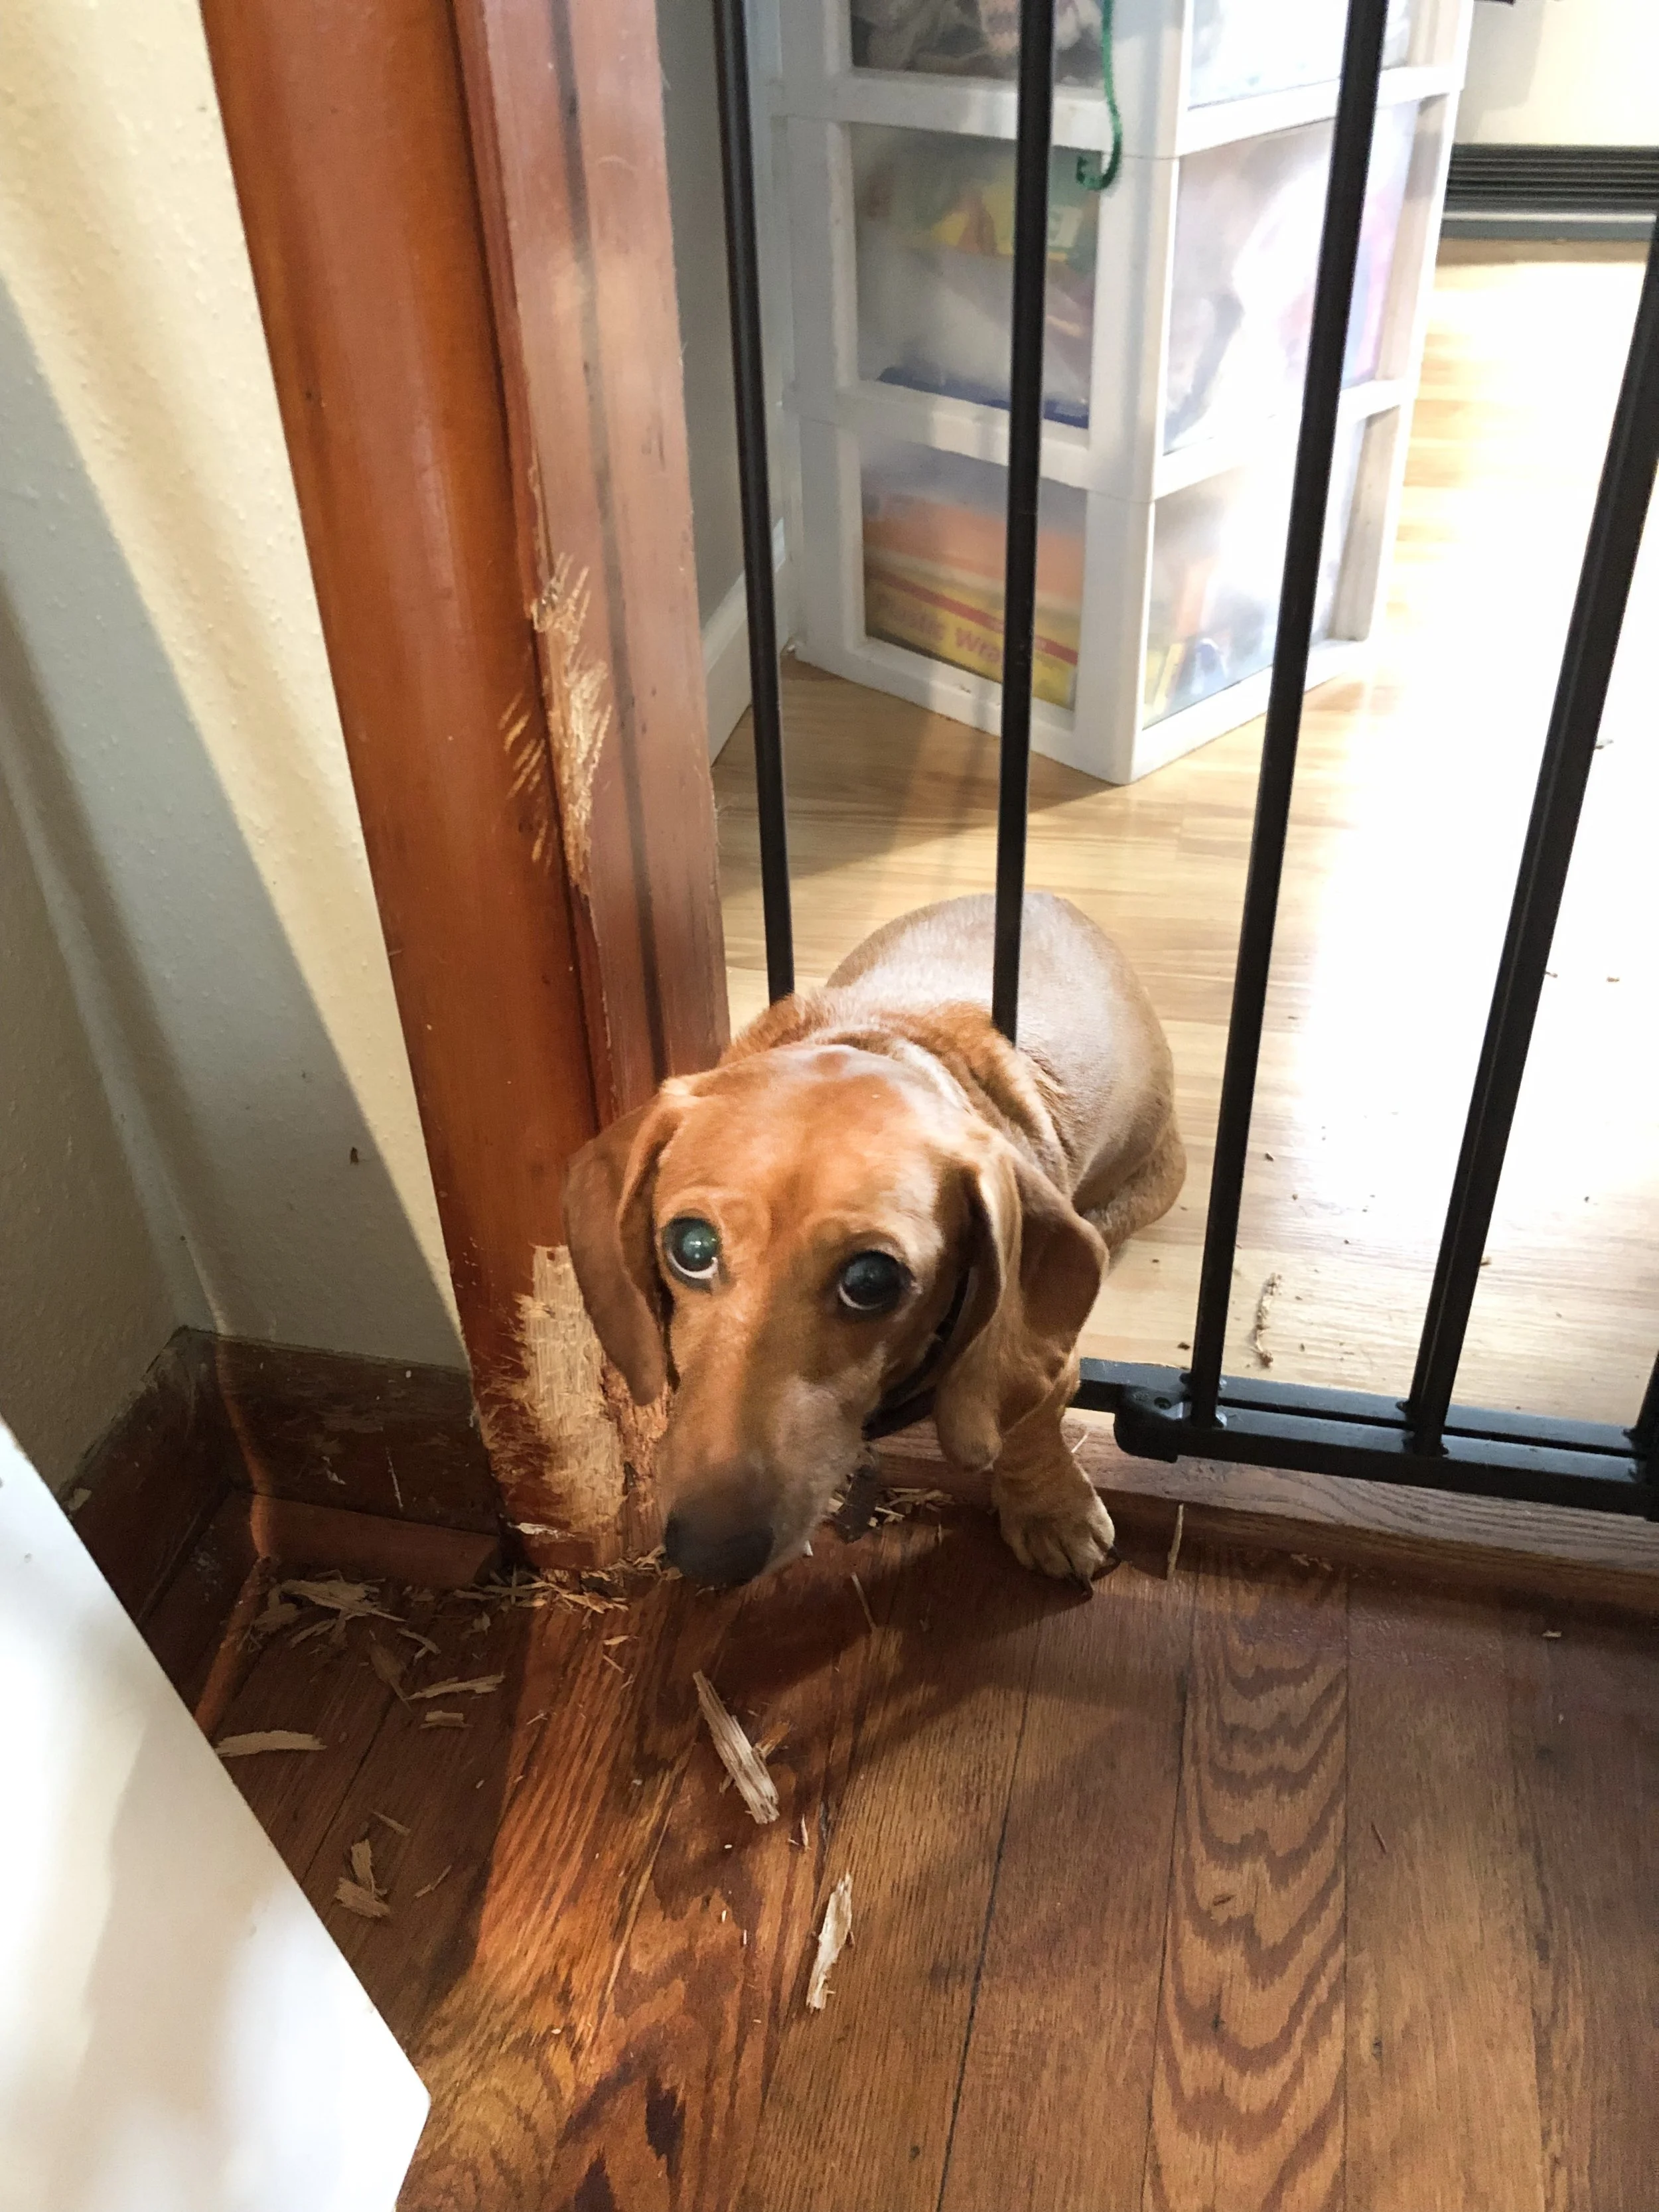
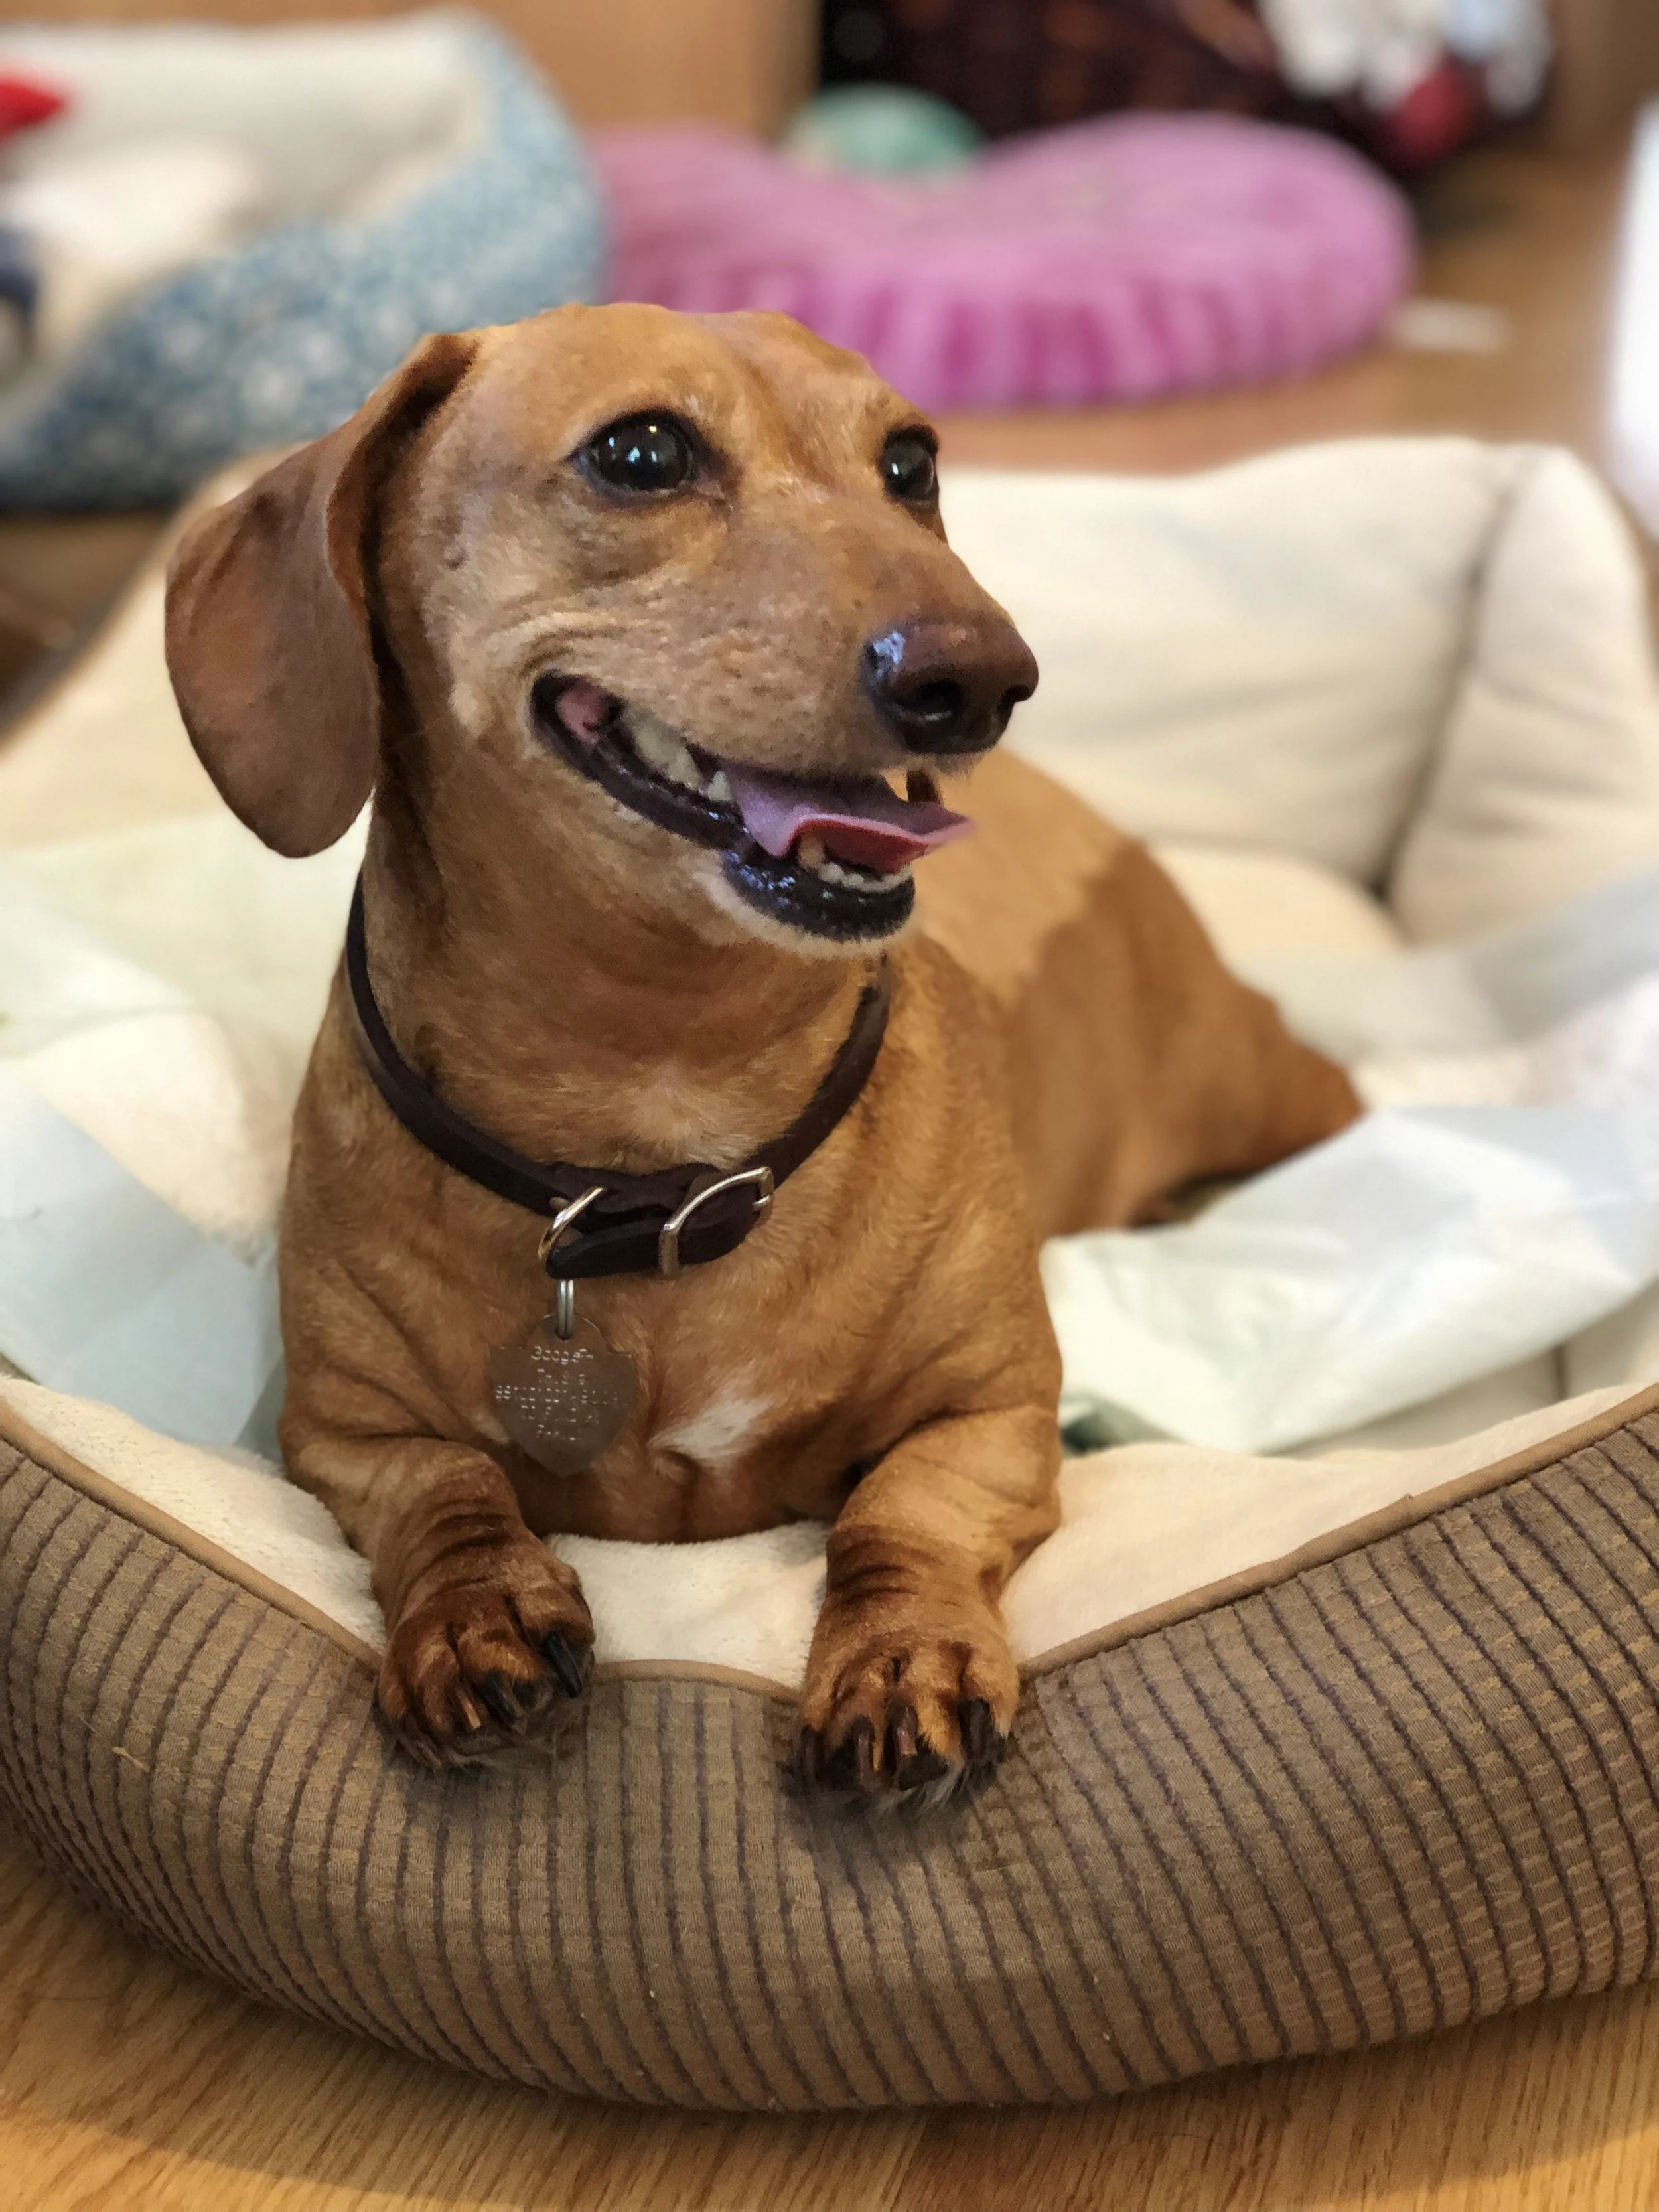
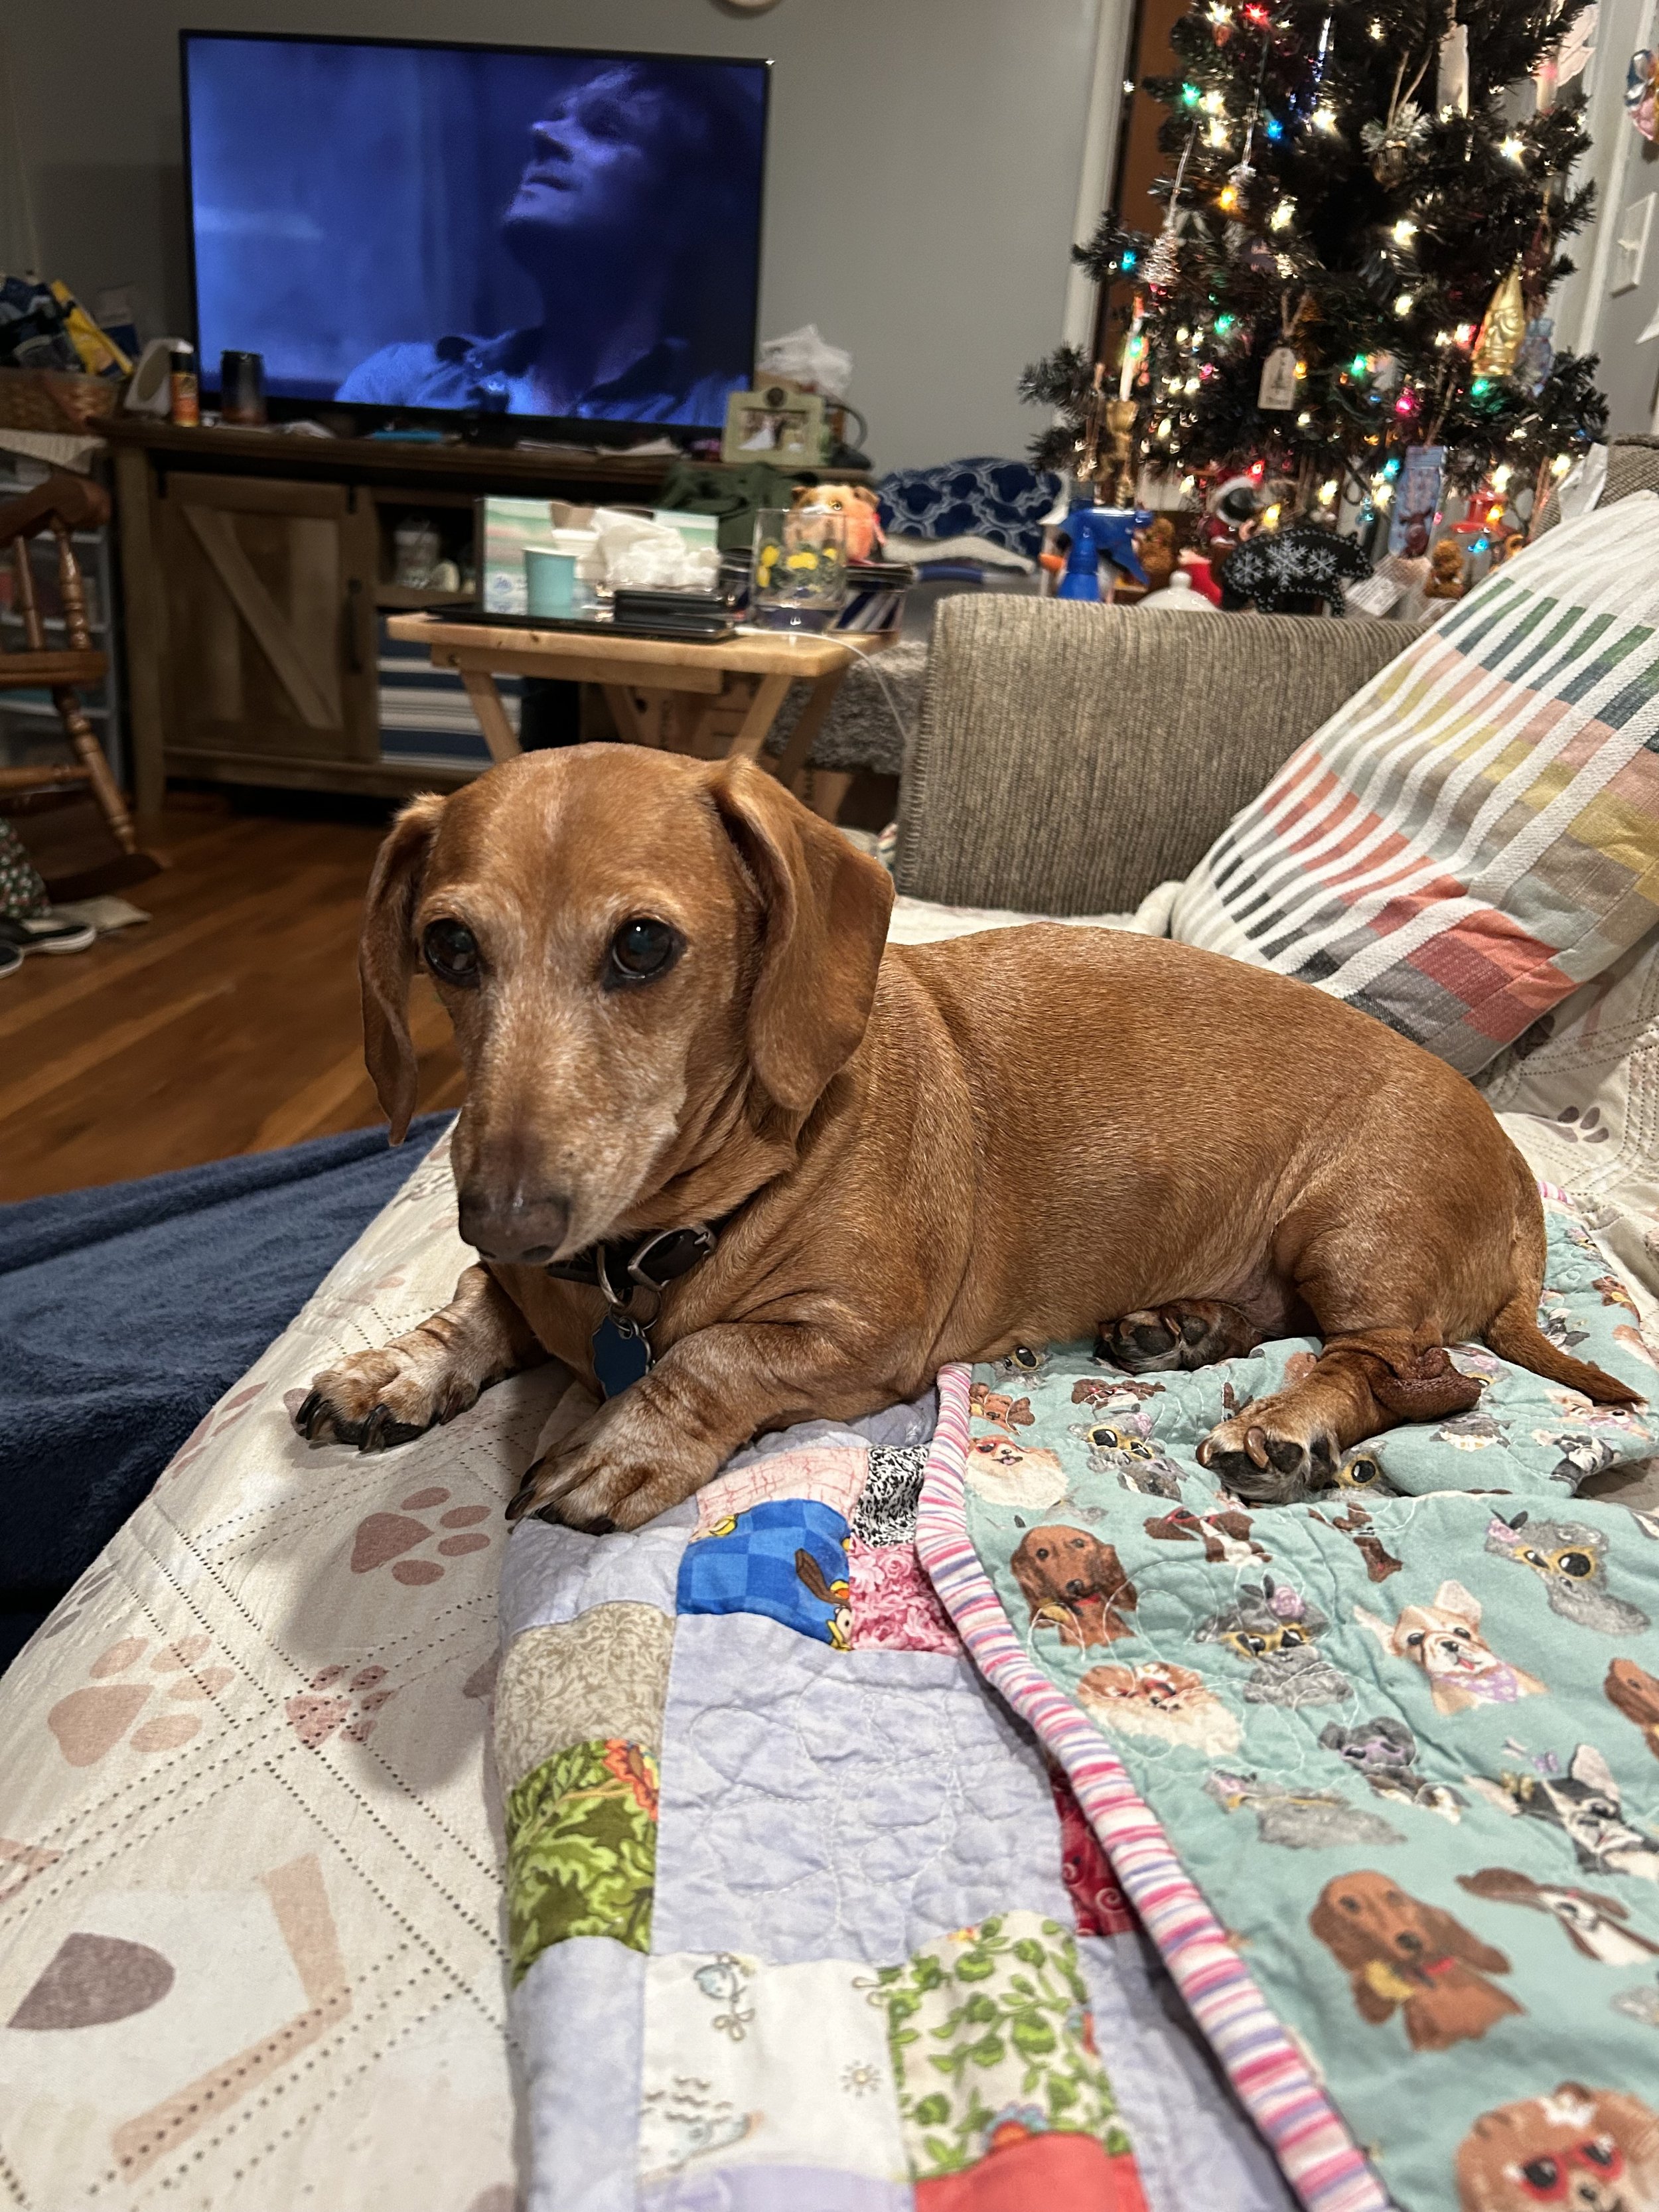
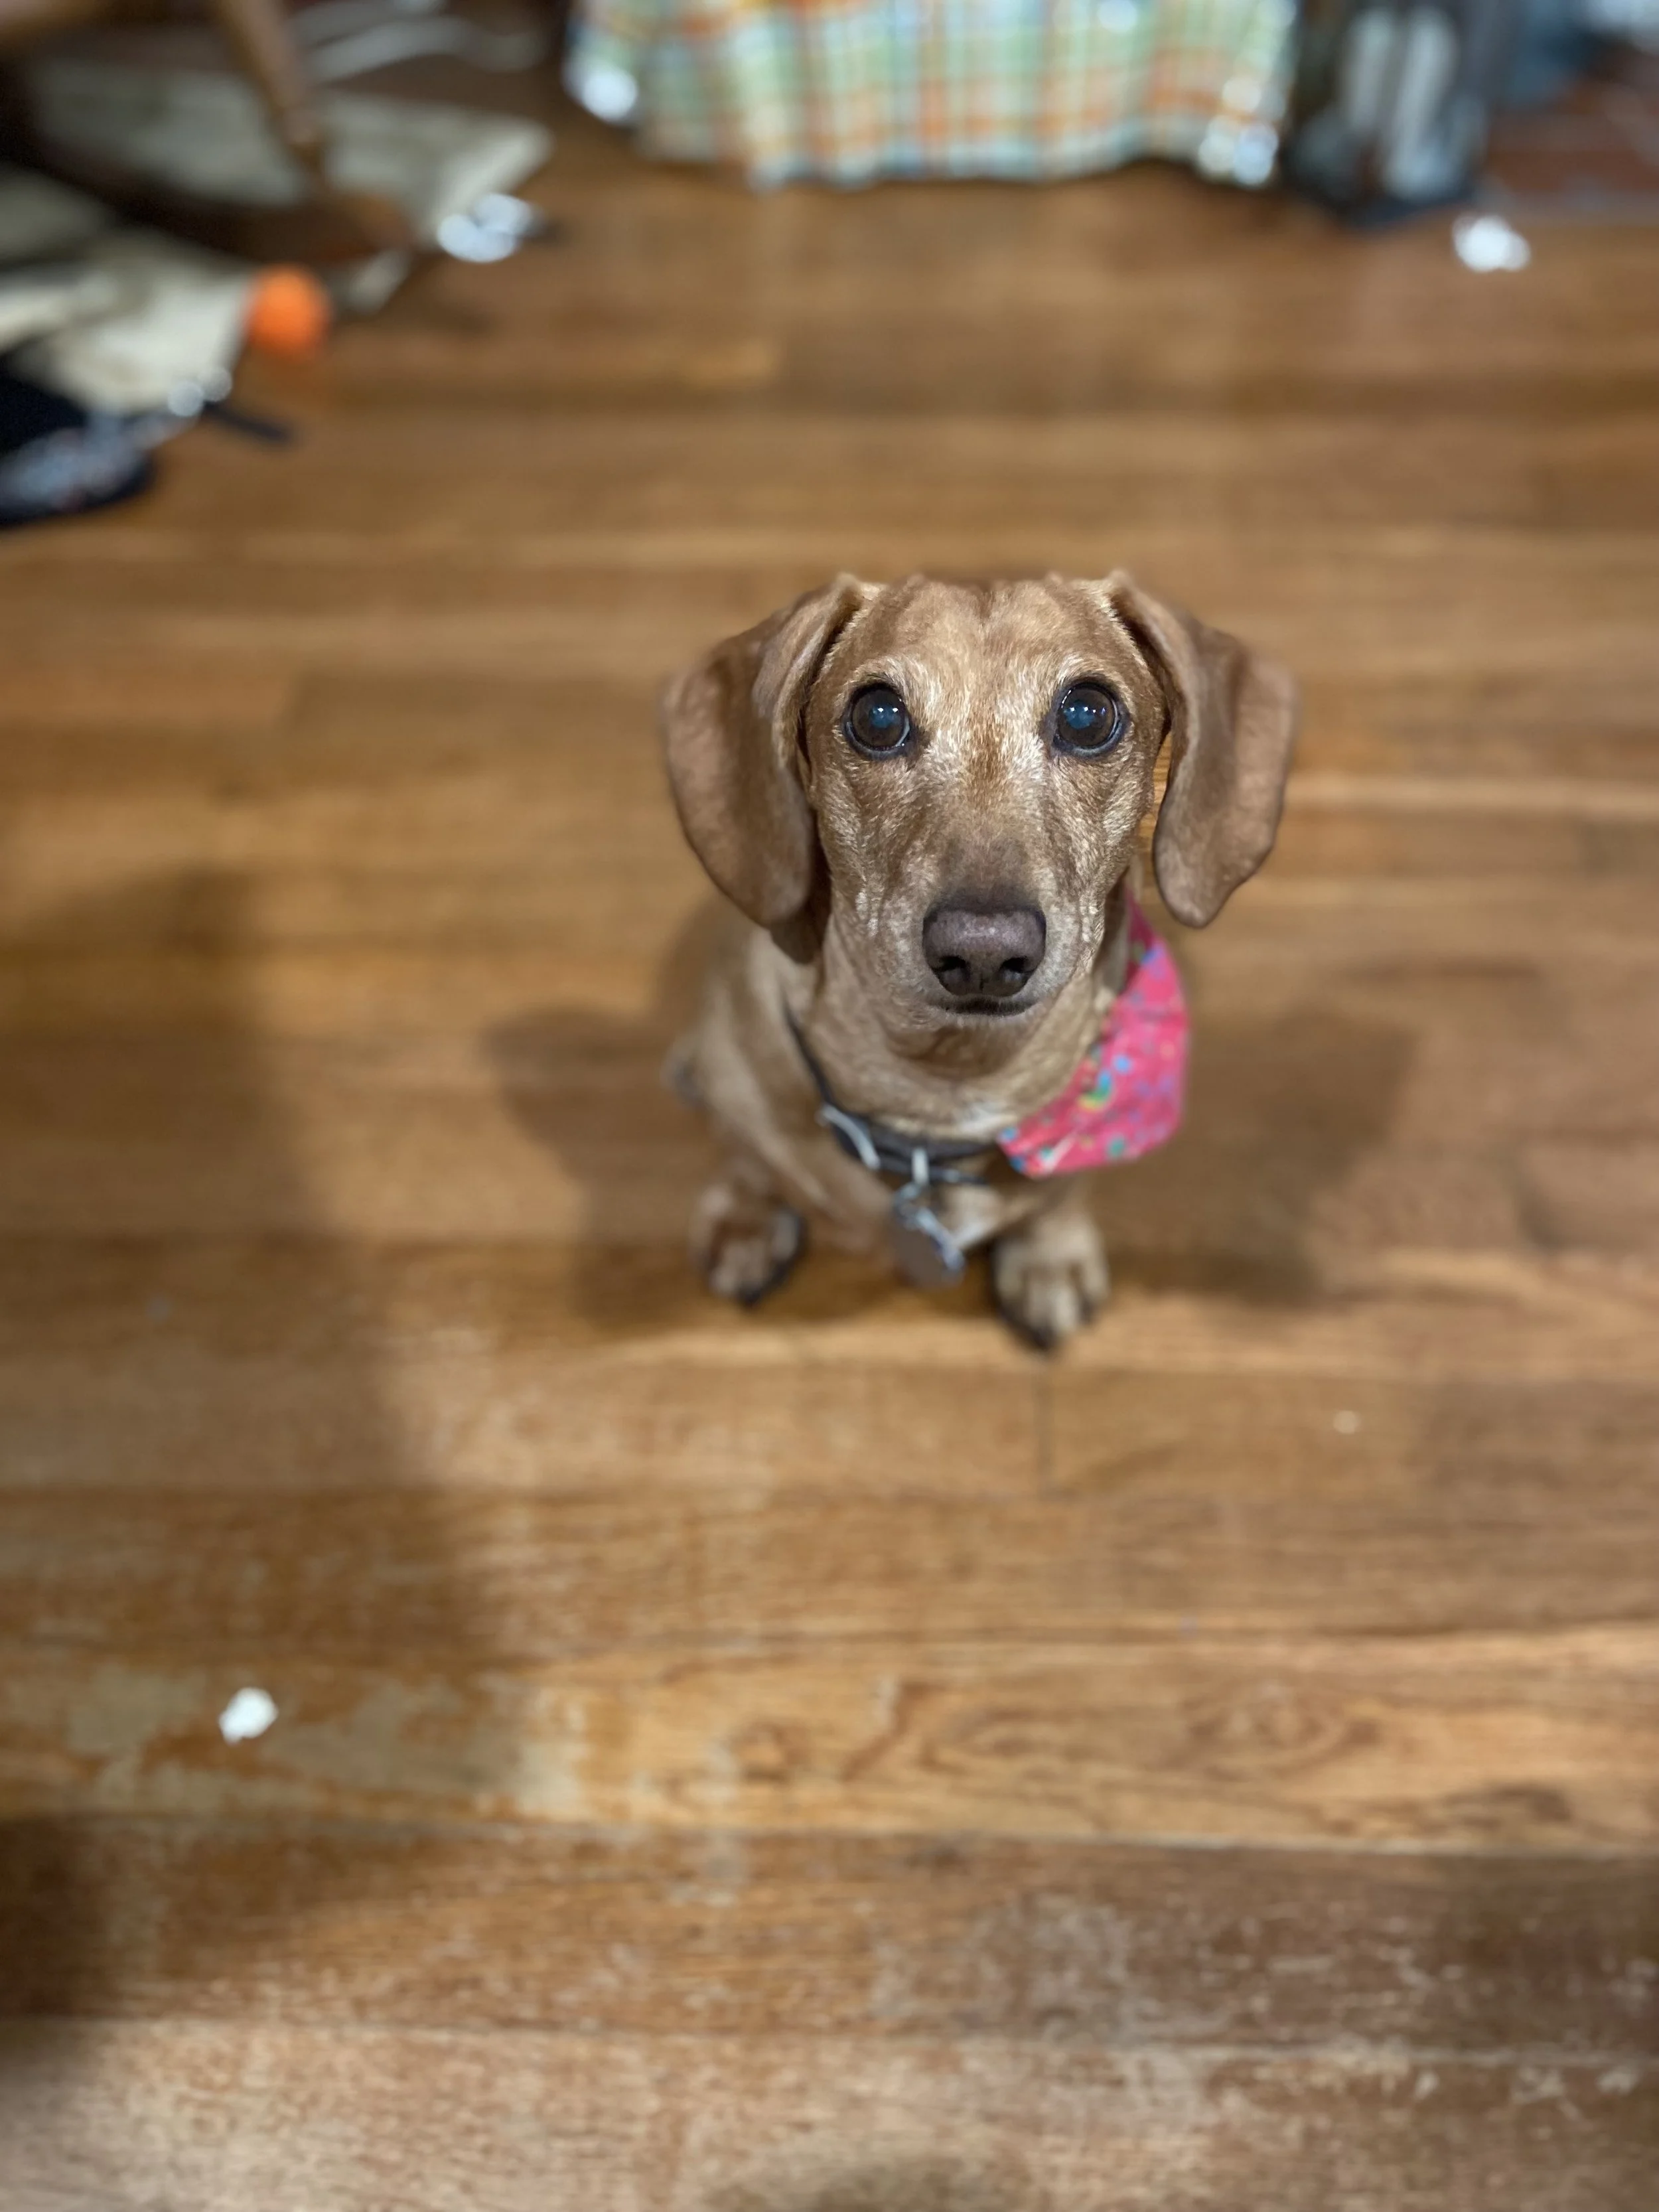
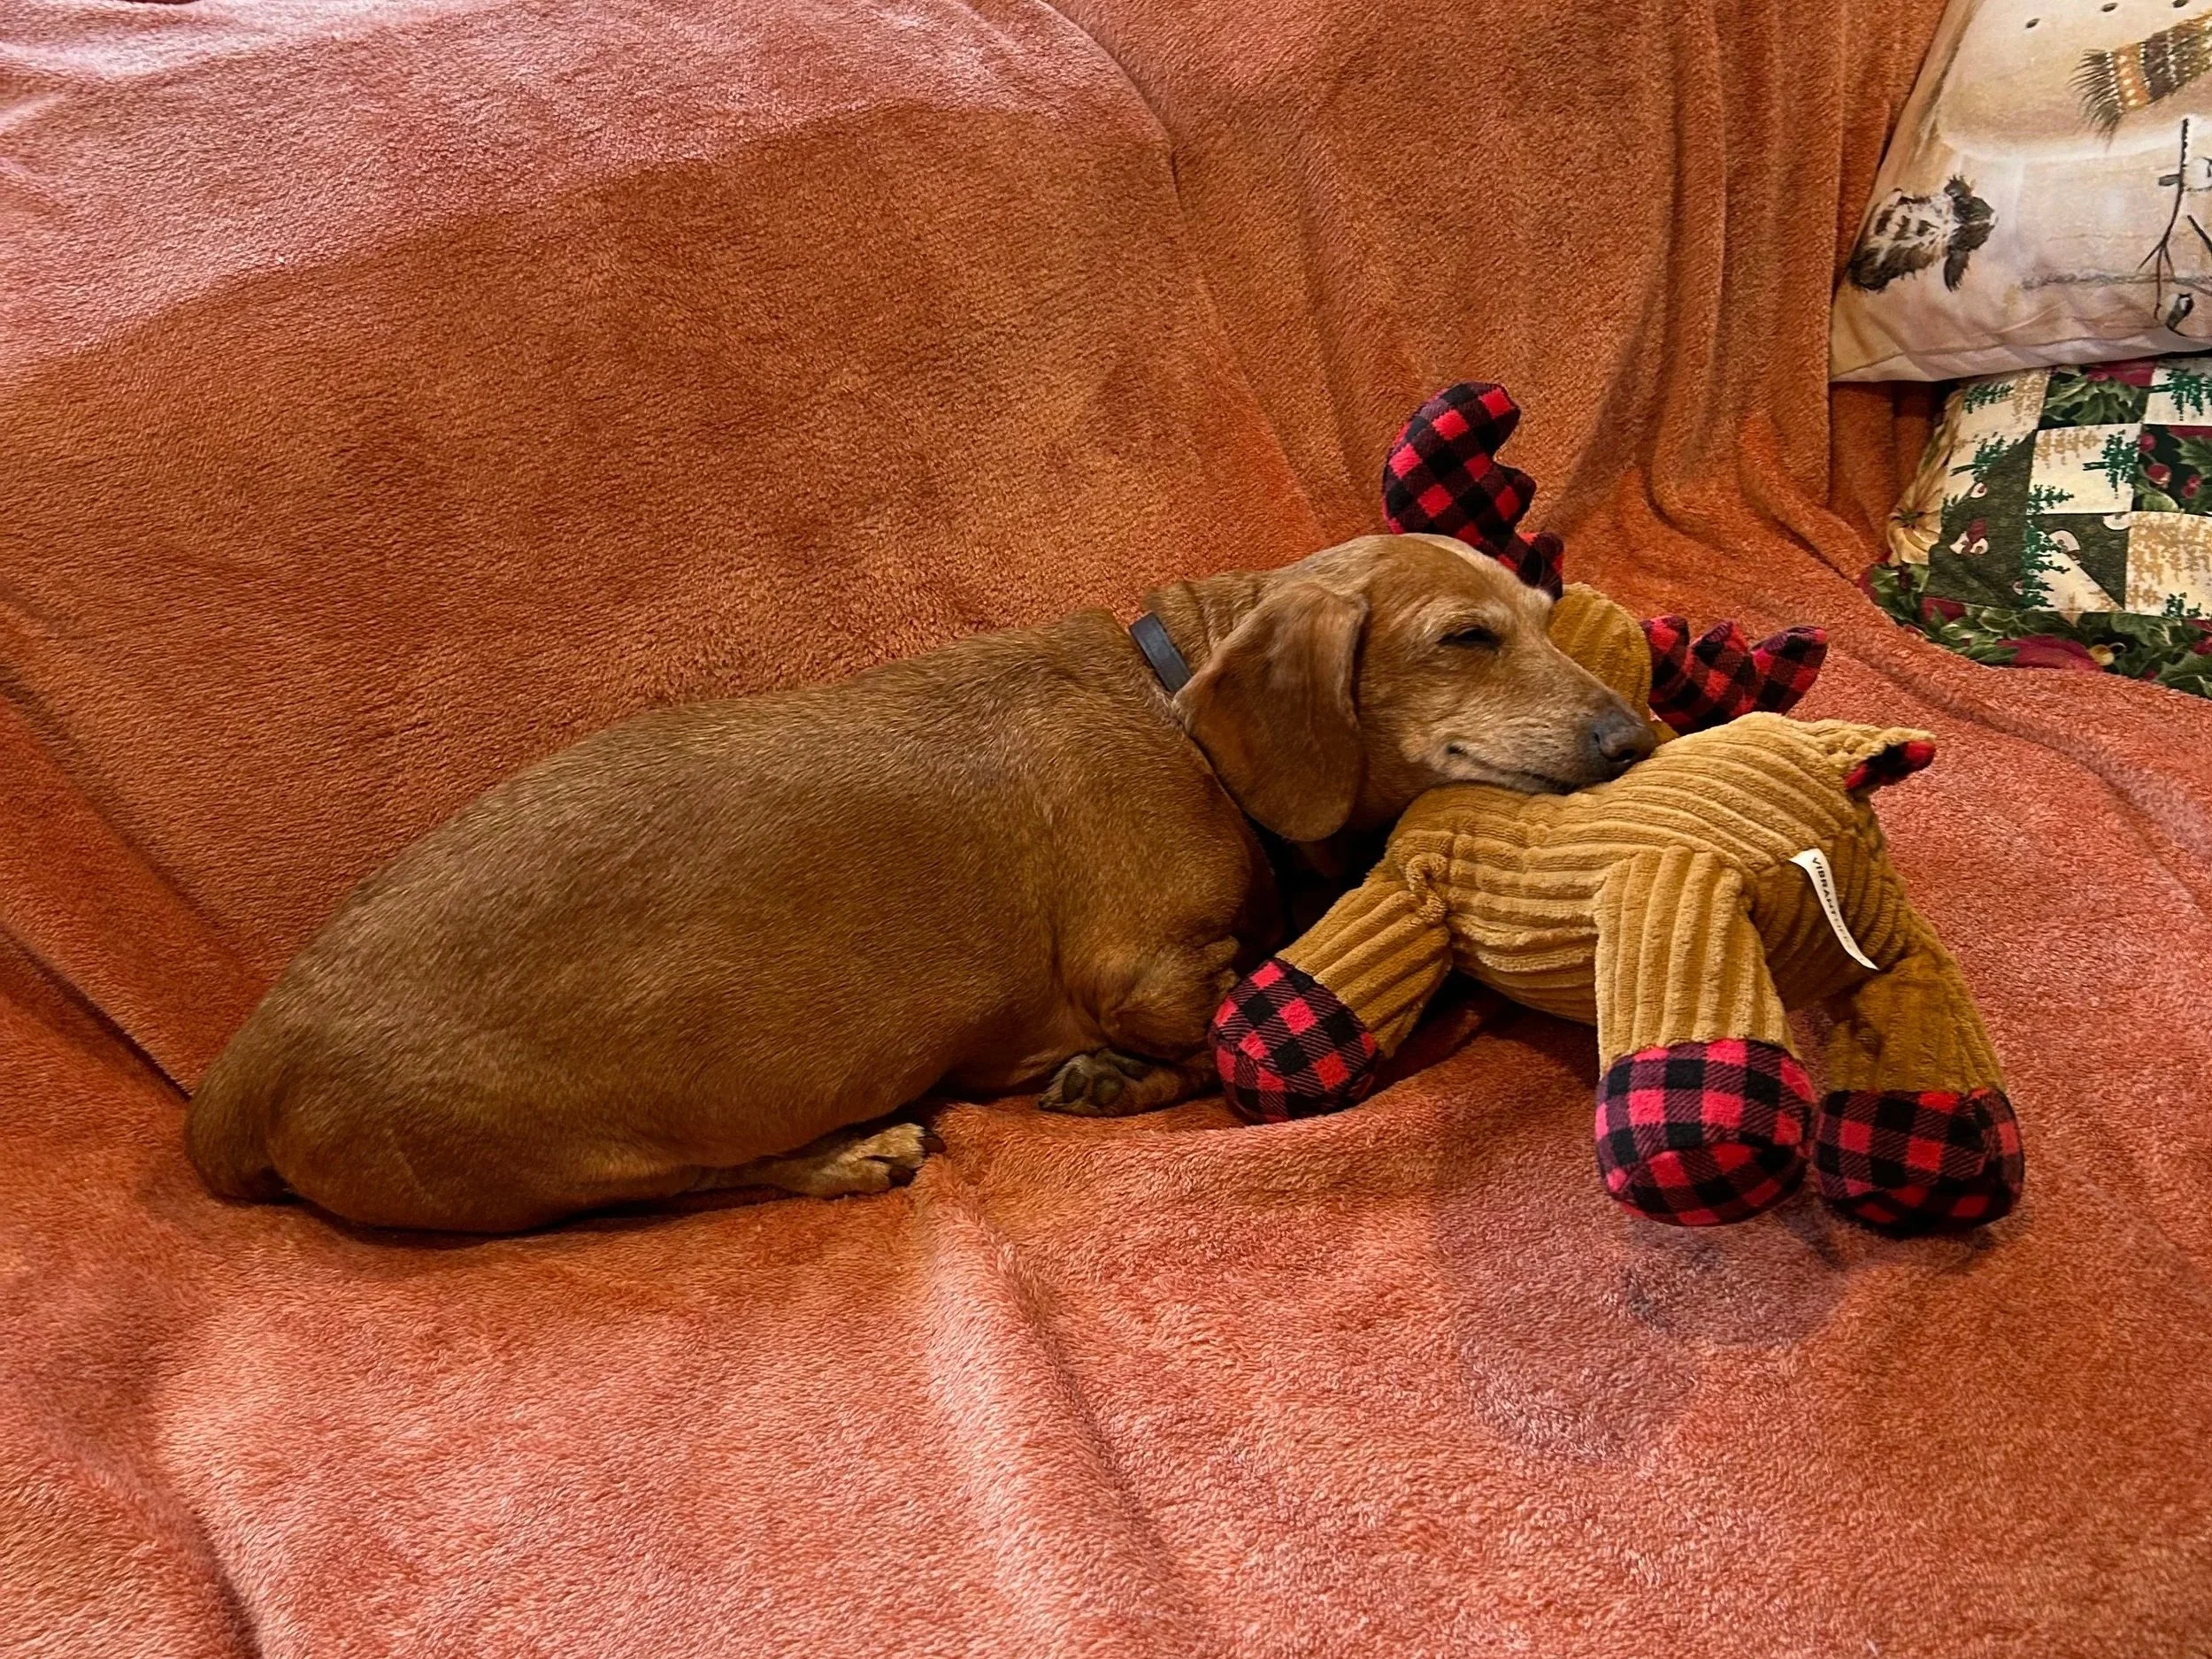

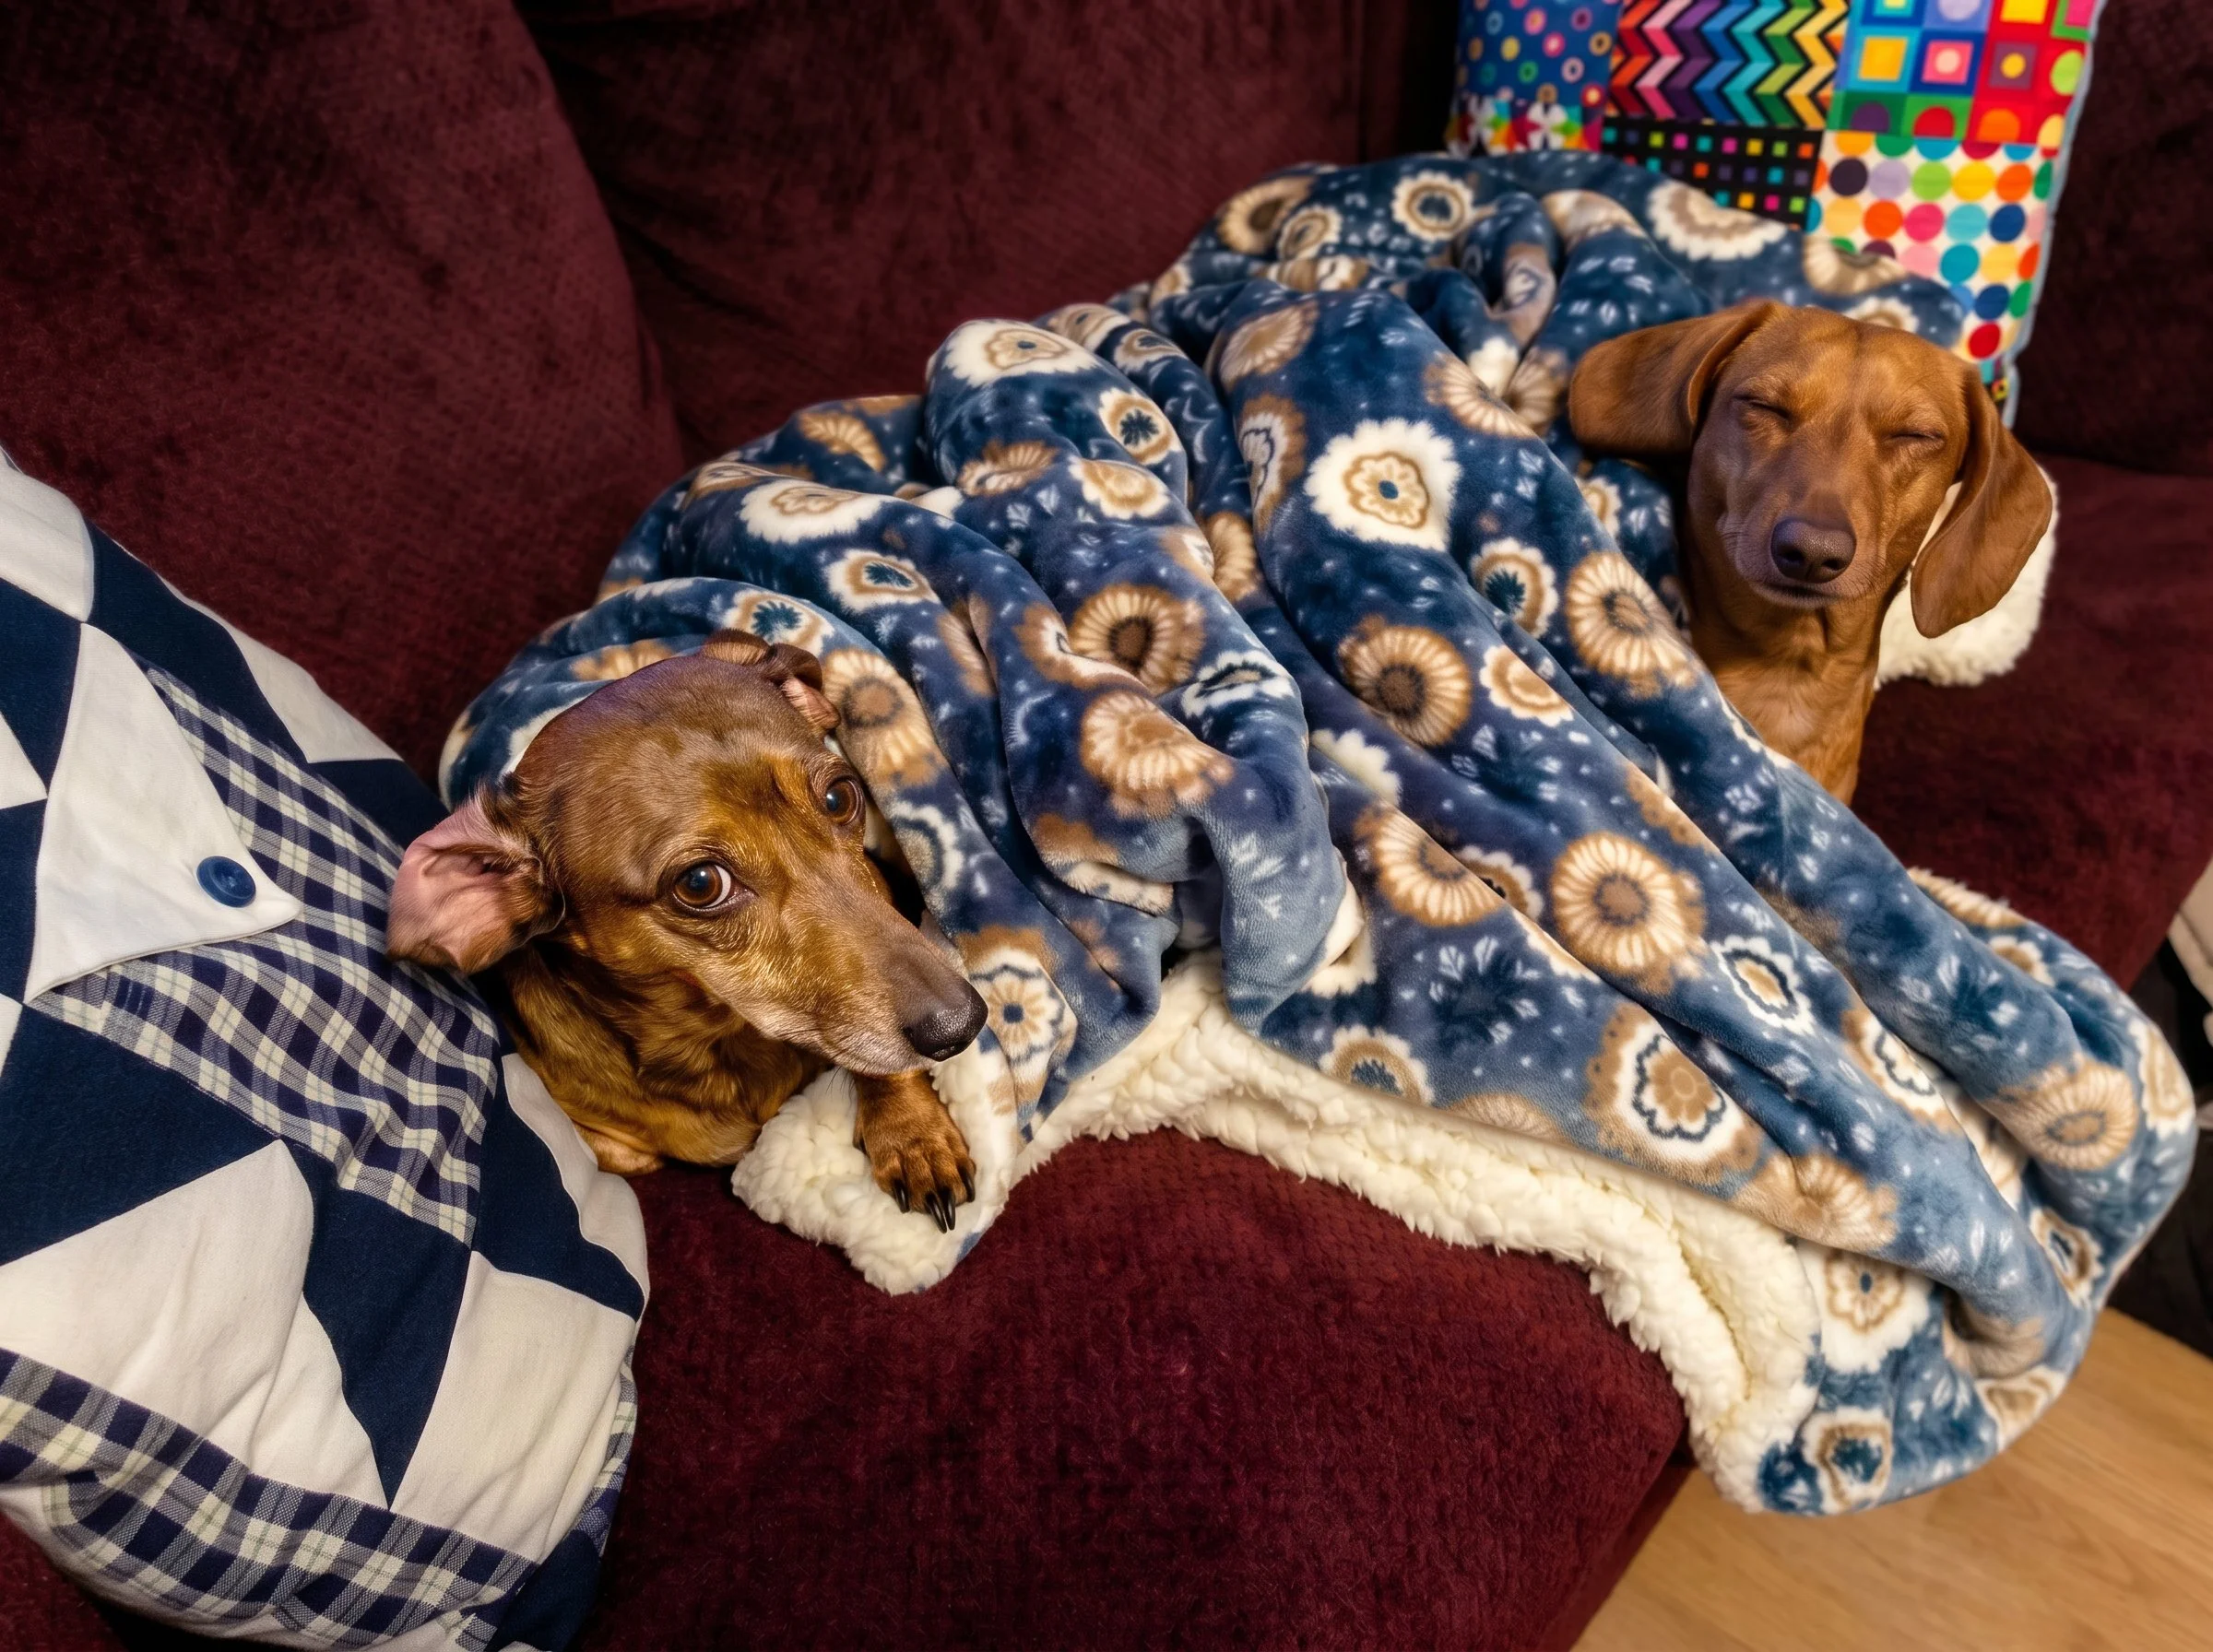
Esme and Rascal (left) crossed the rainbow bridge on October 6th, 2021.

Story Two: Minor Photo Restoration(s)....Why Not
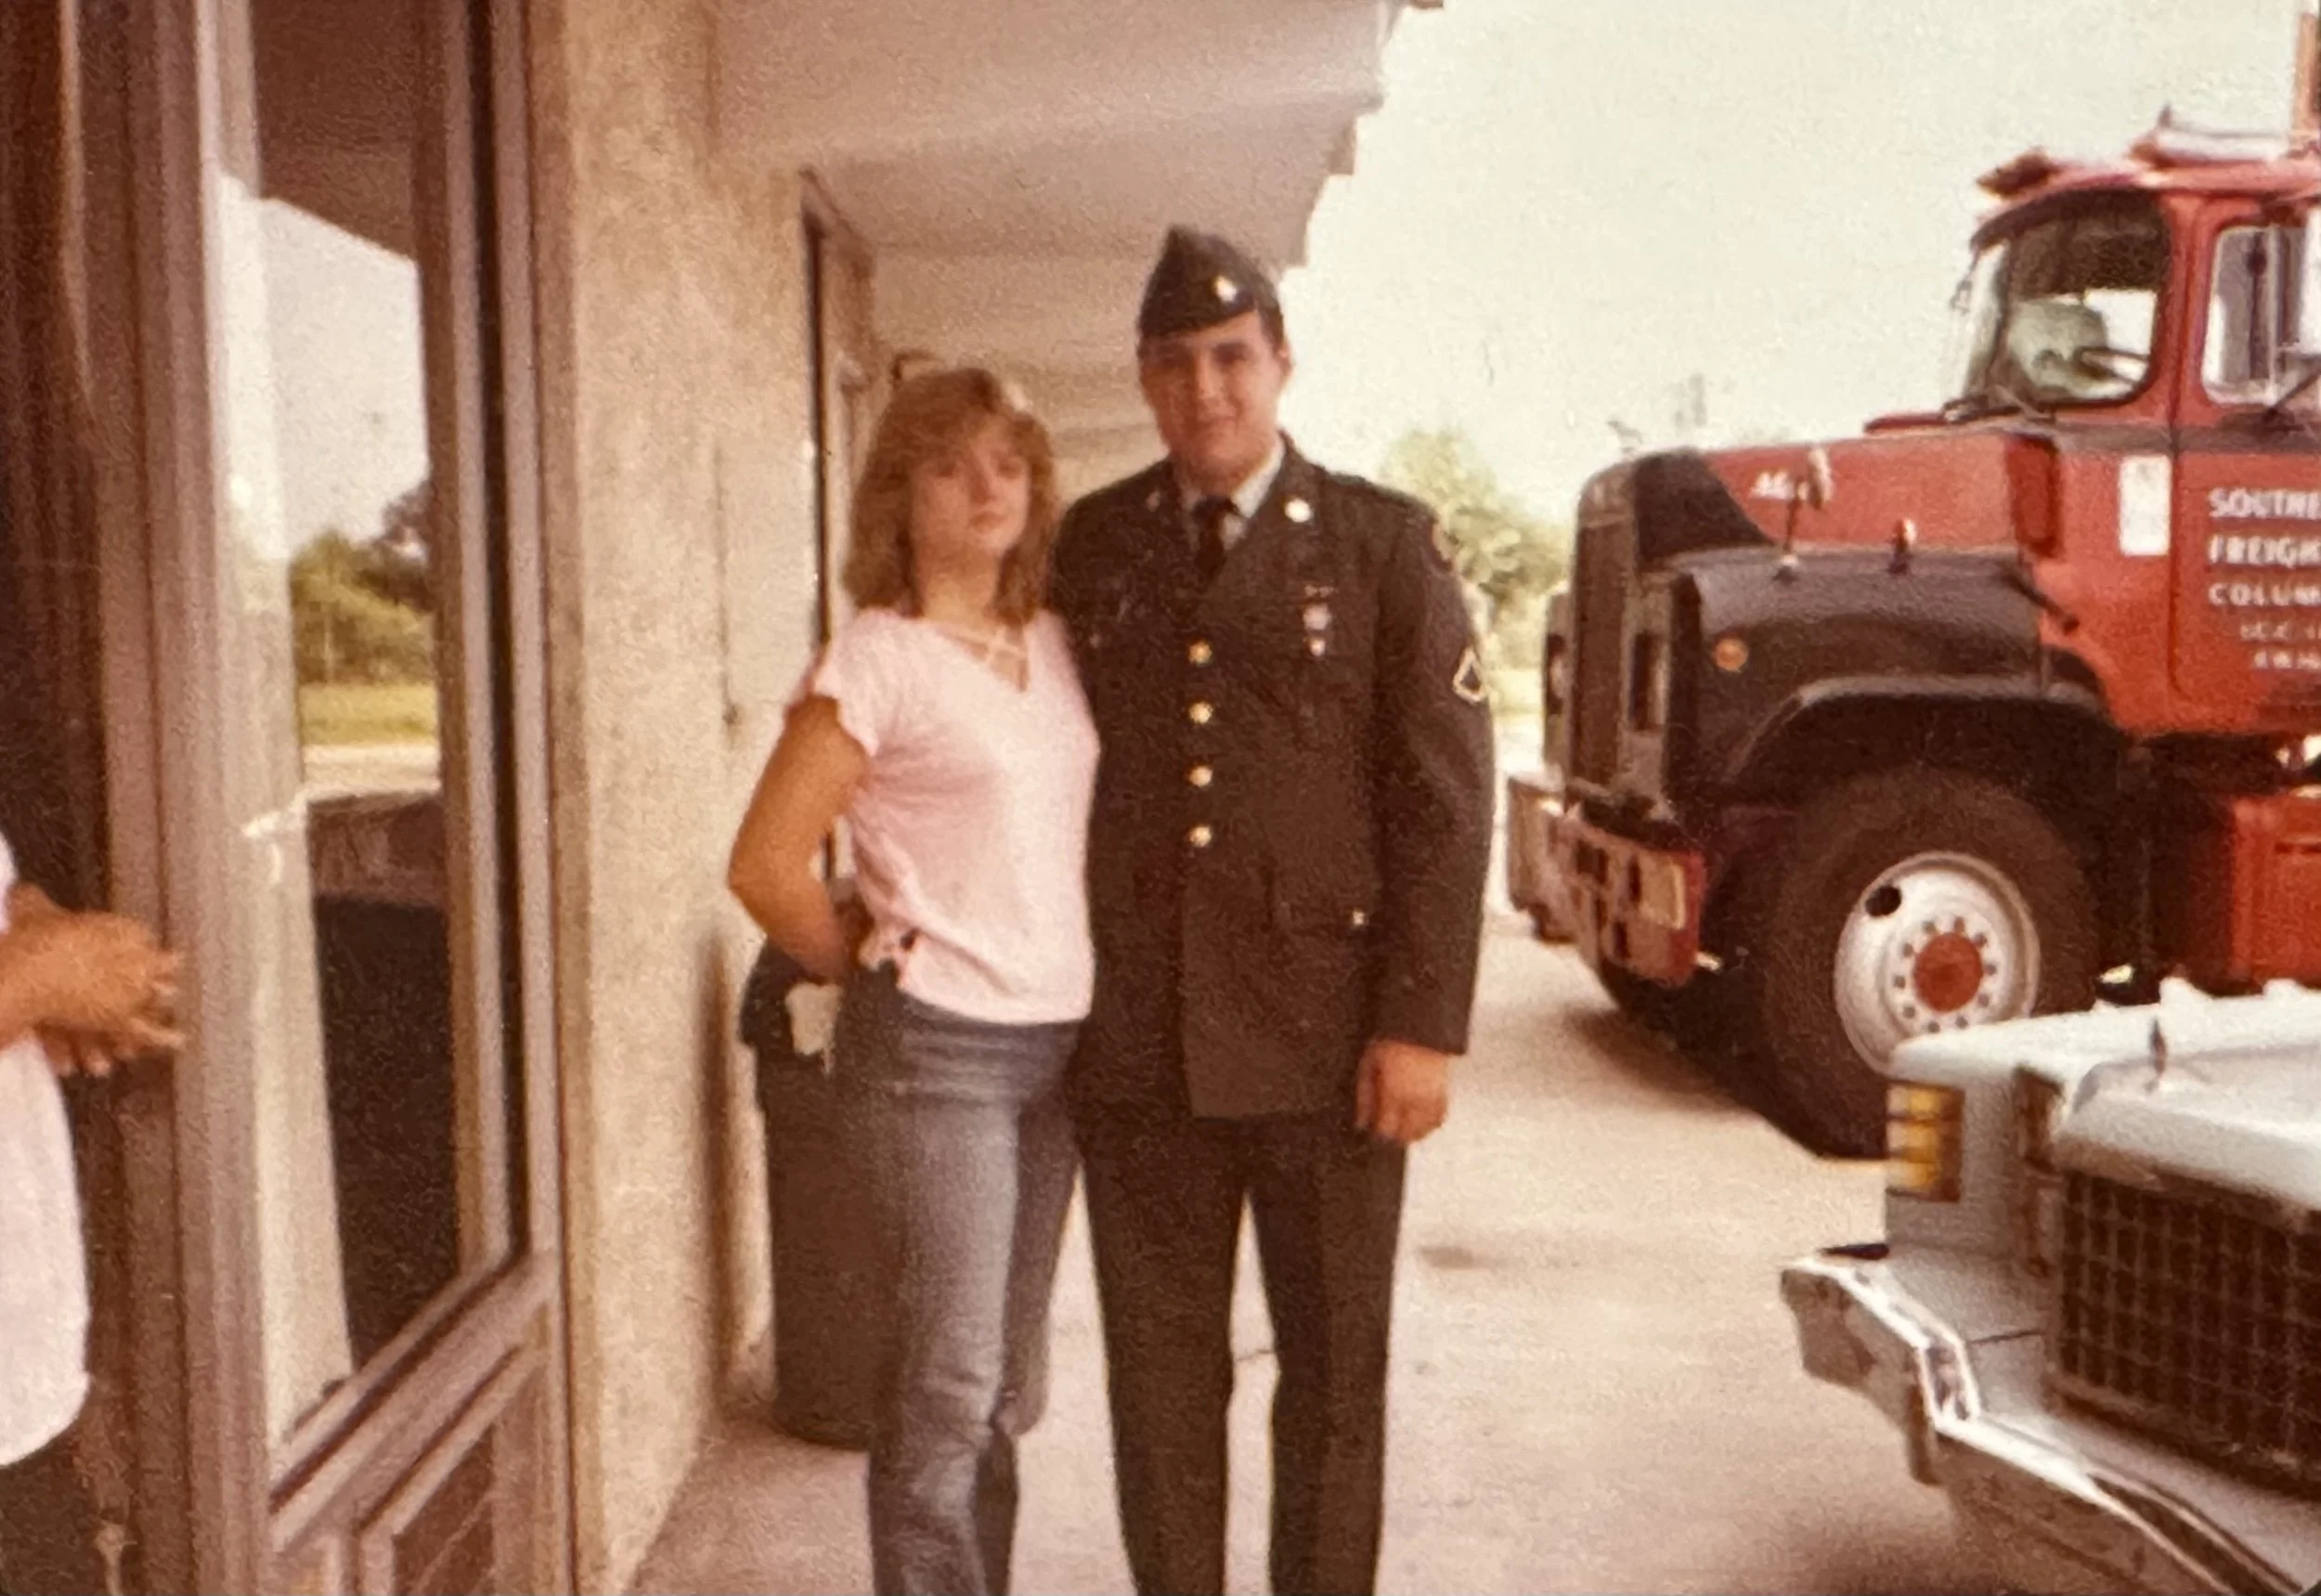
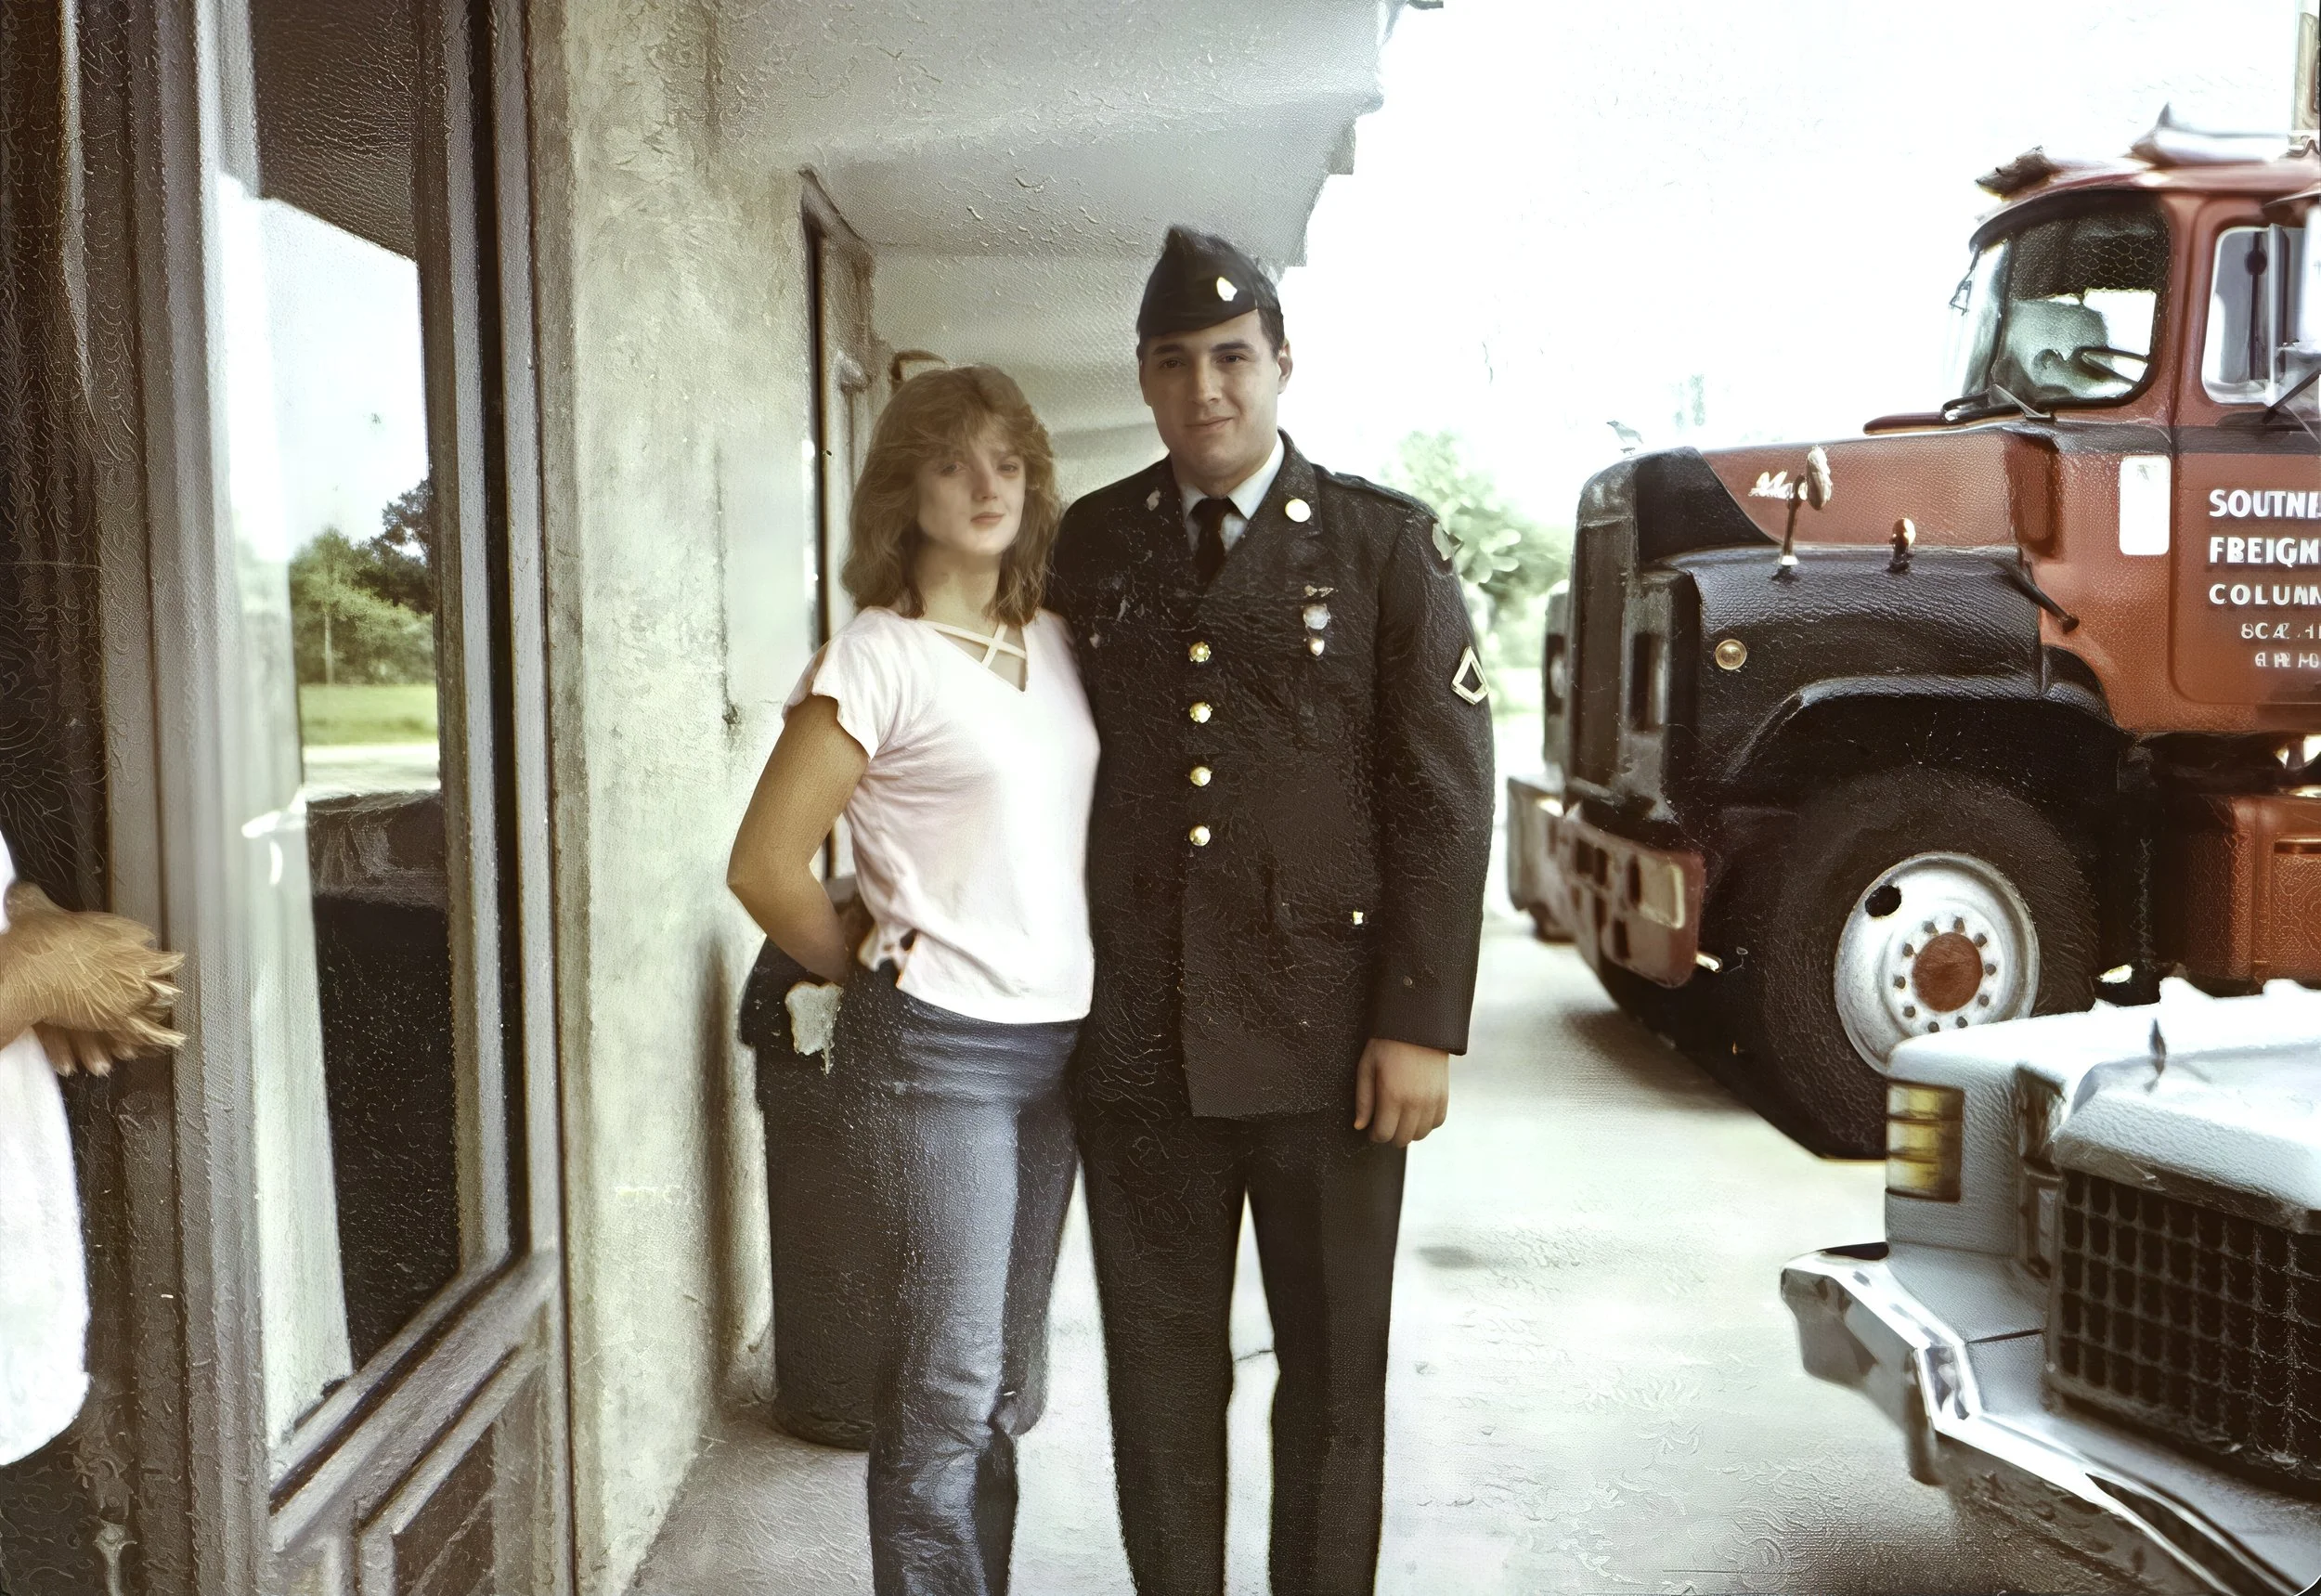
The original photo was 4x6, but the largest I could make the final print was 8x10. My in-laws didn’t mind and were happy to see their image restored.
Story Two:
My in-laws asked if I could bring out more detail and color in a dark snapshot. I used Topaz Gigapixel to sharpen the image before editing it in Adobe Lightroom Classic. For the final print, I used Photoshop’s High Pass filter and Liquify tool to add some punch and fix areas that Gigapixel AI had distorted.
The original photo was 4x6, but the largest I could make the final print was 8x10. My in-laws didn’t mind and were happy to see their image restored.
Below, the top image is the original from my in-laws, and the other is my final edit. I printed them using a Canon imagePROGRAF 1100 on Canon Pro Luster 260 GSM 8x10 paper and Moab Entrada Rag Bright 300 GSM 5x7 paper.

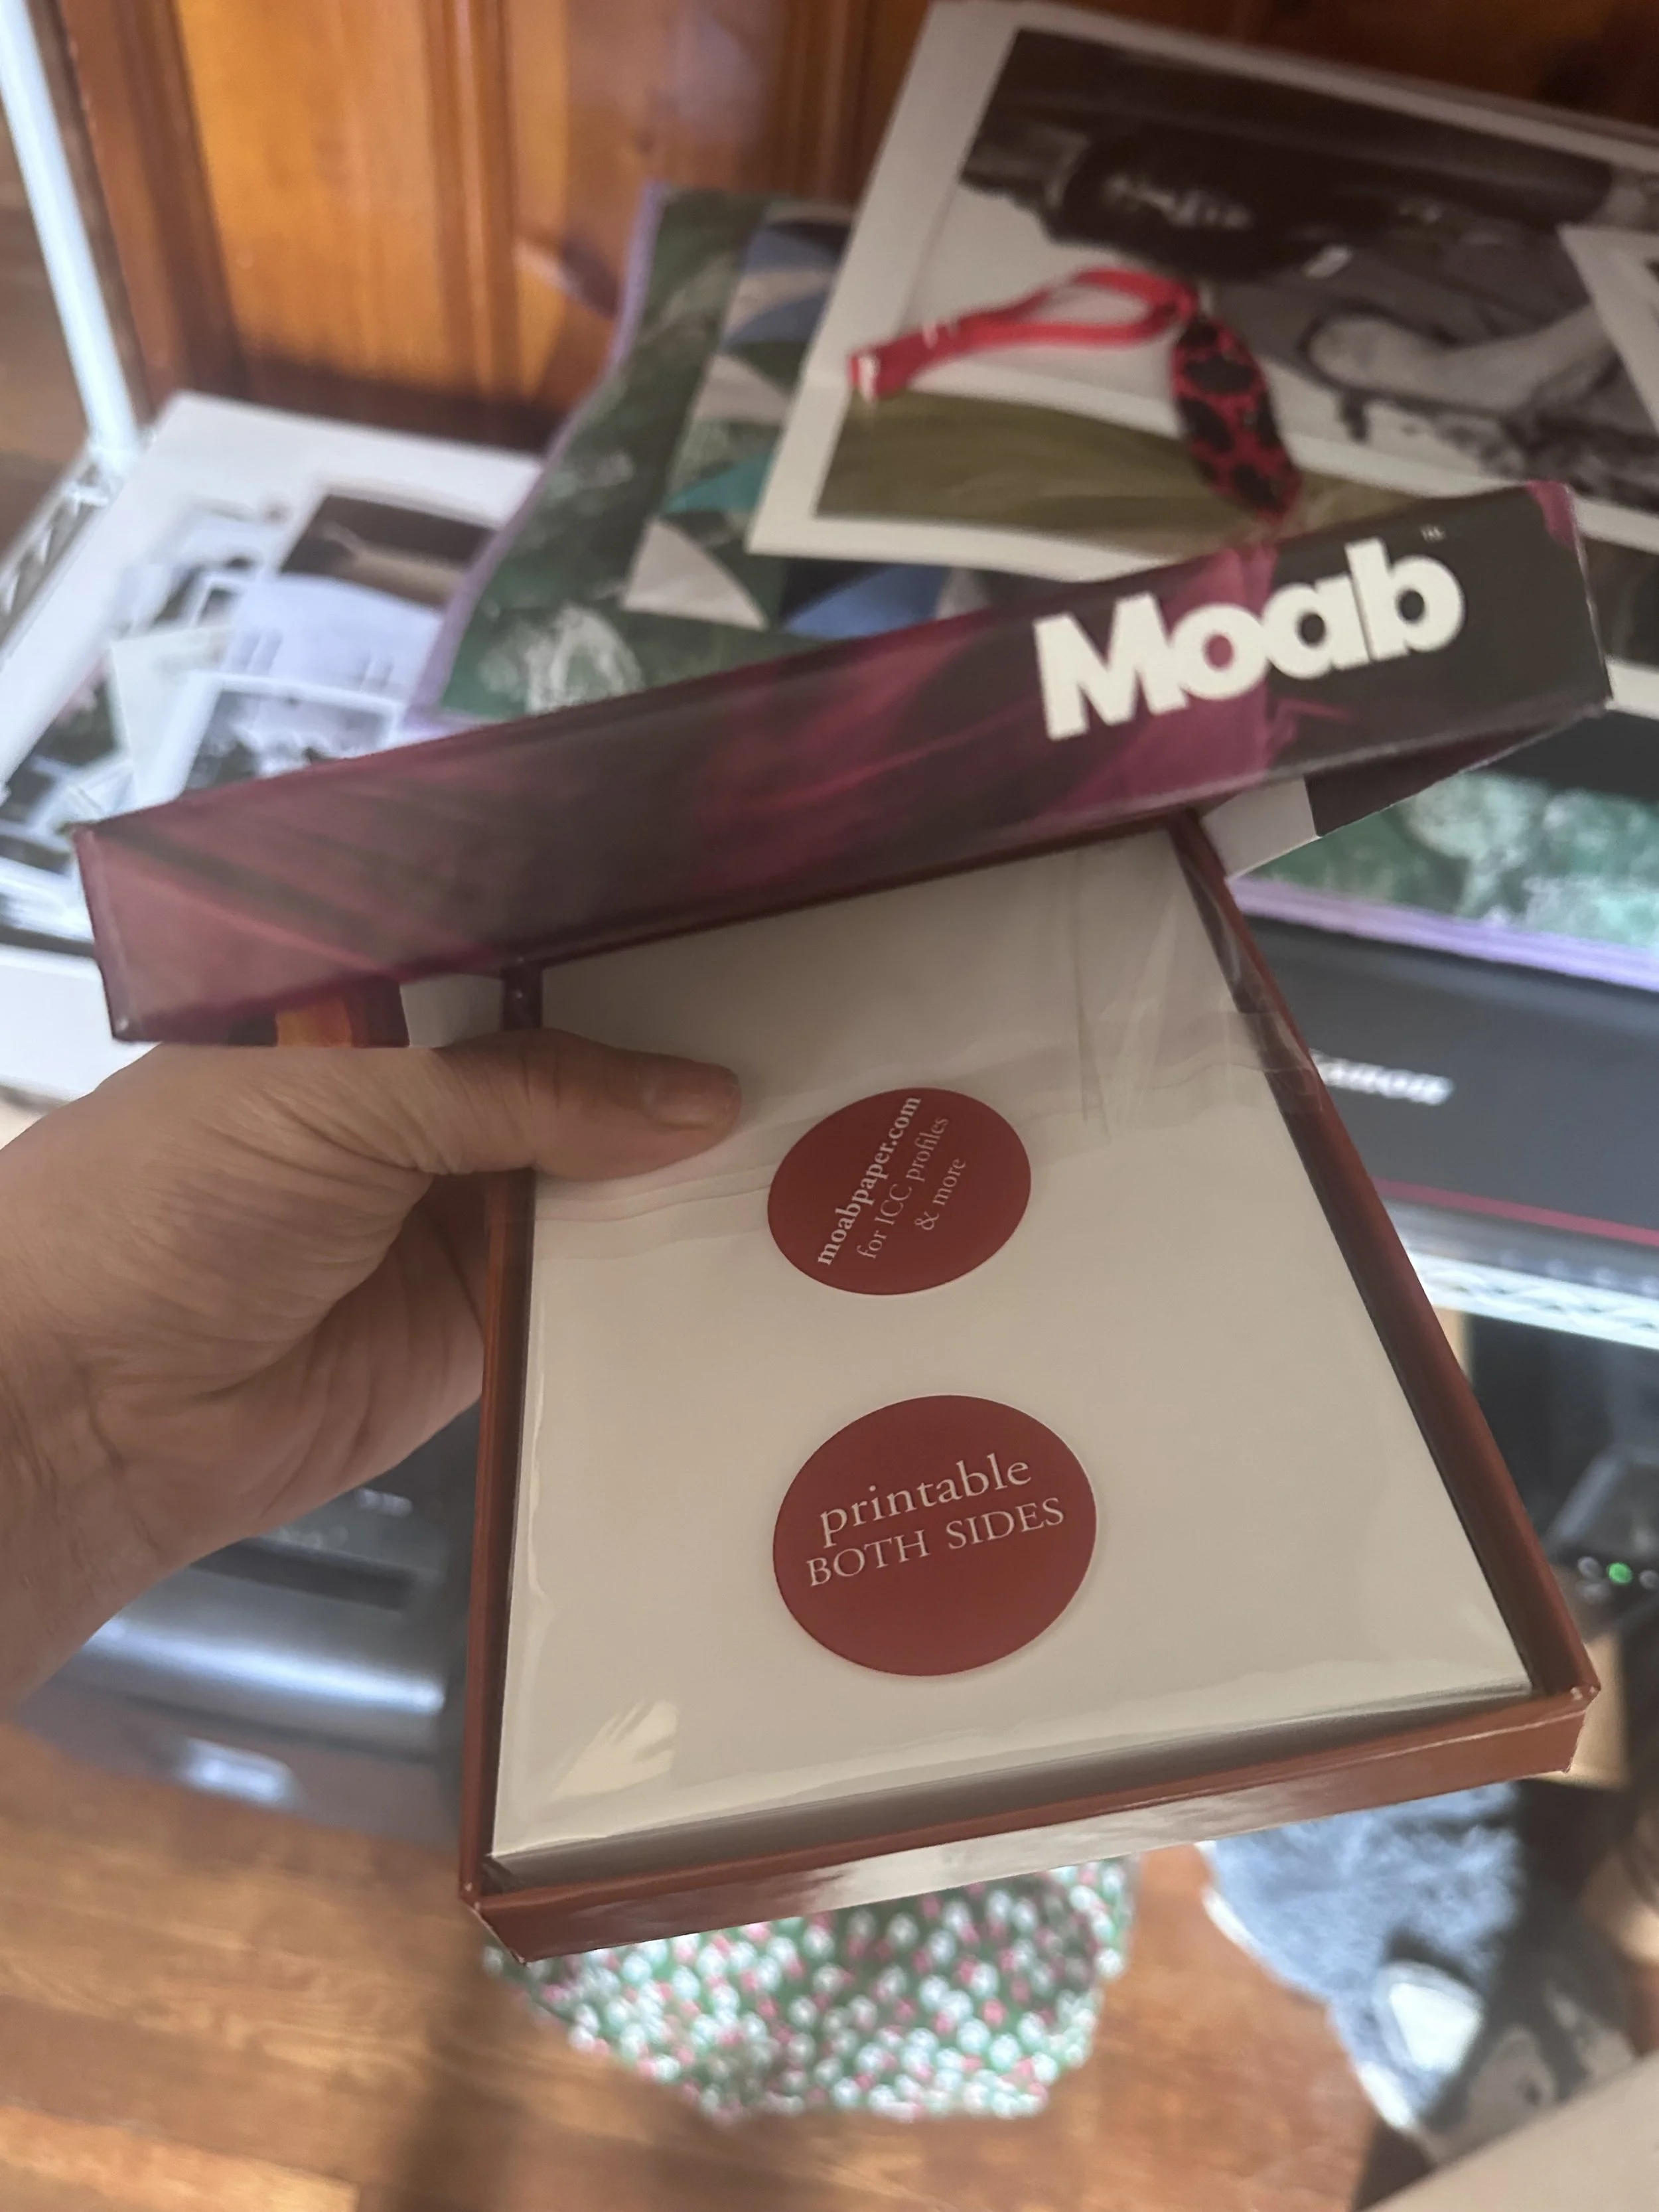
Moab Entrada Rag Bright 300gsm Paper
I've often been advised not to put all my eggs in one basket, which led me to explore another fine art paper option from Moab Paper. I reached this decision after searching for papers similar to my usual choice,
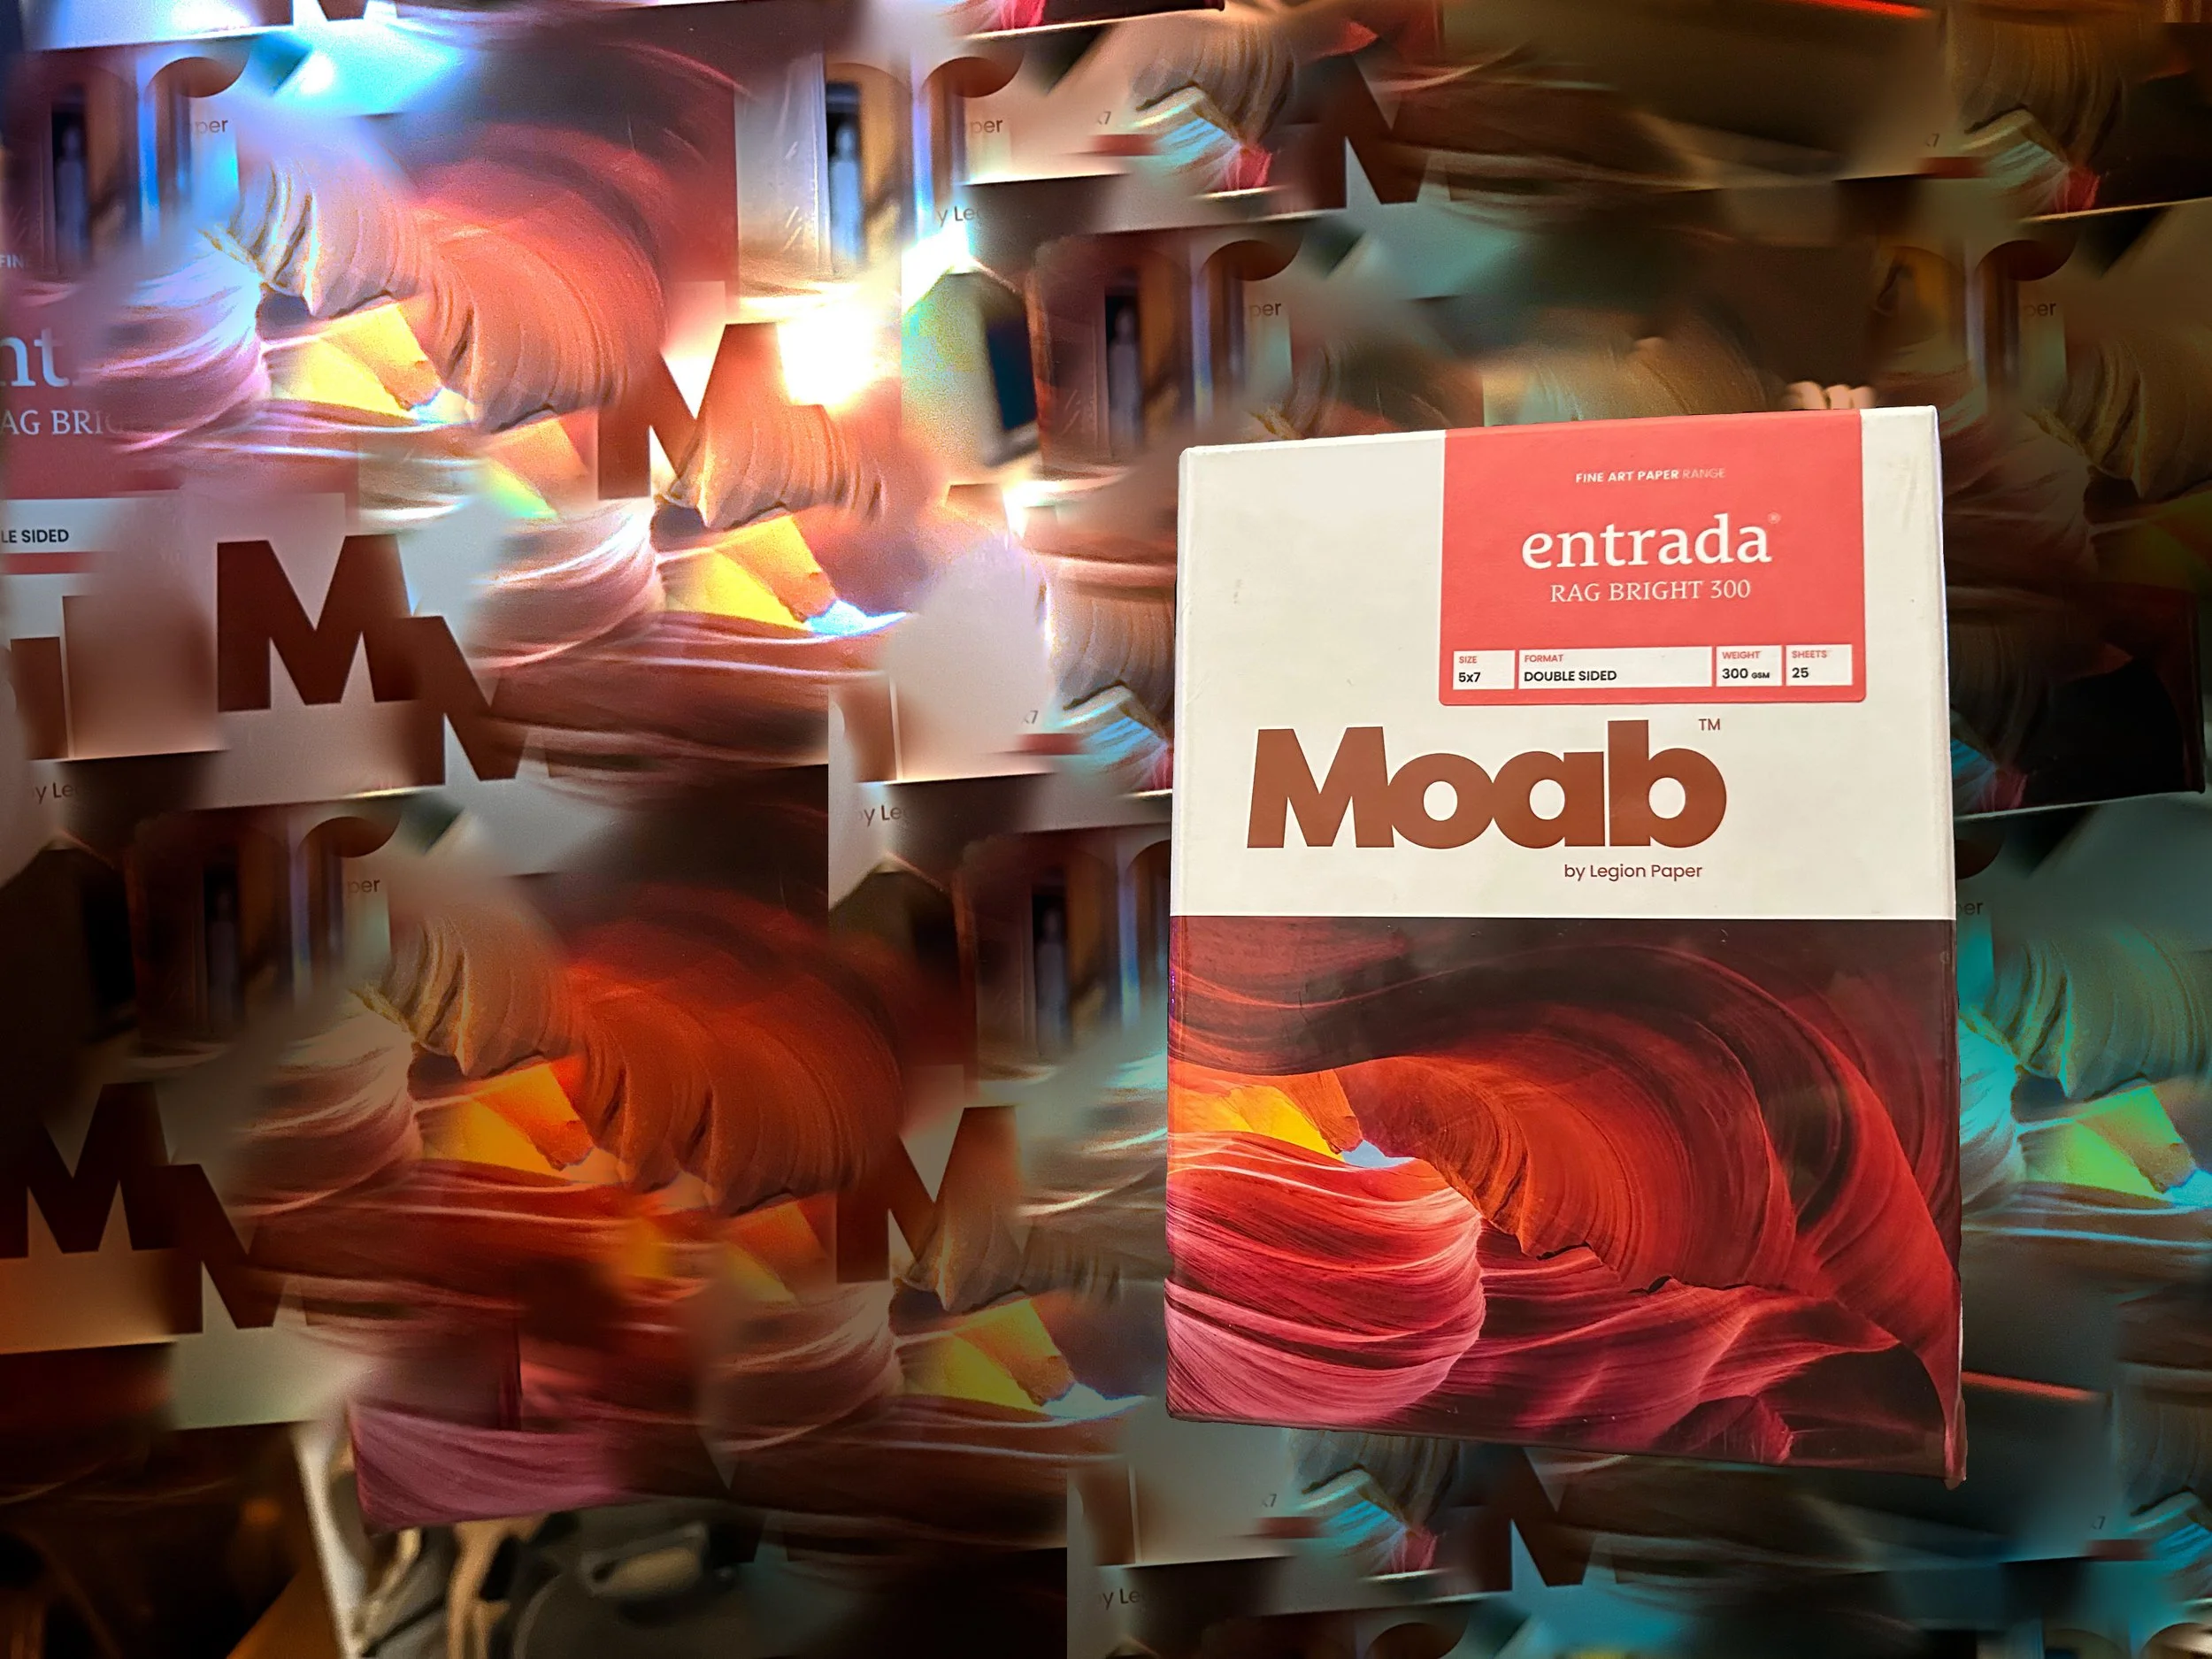
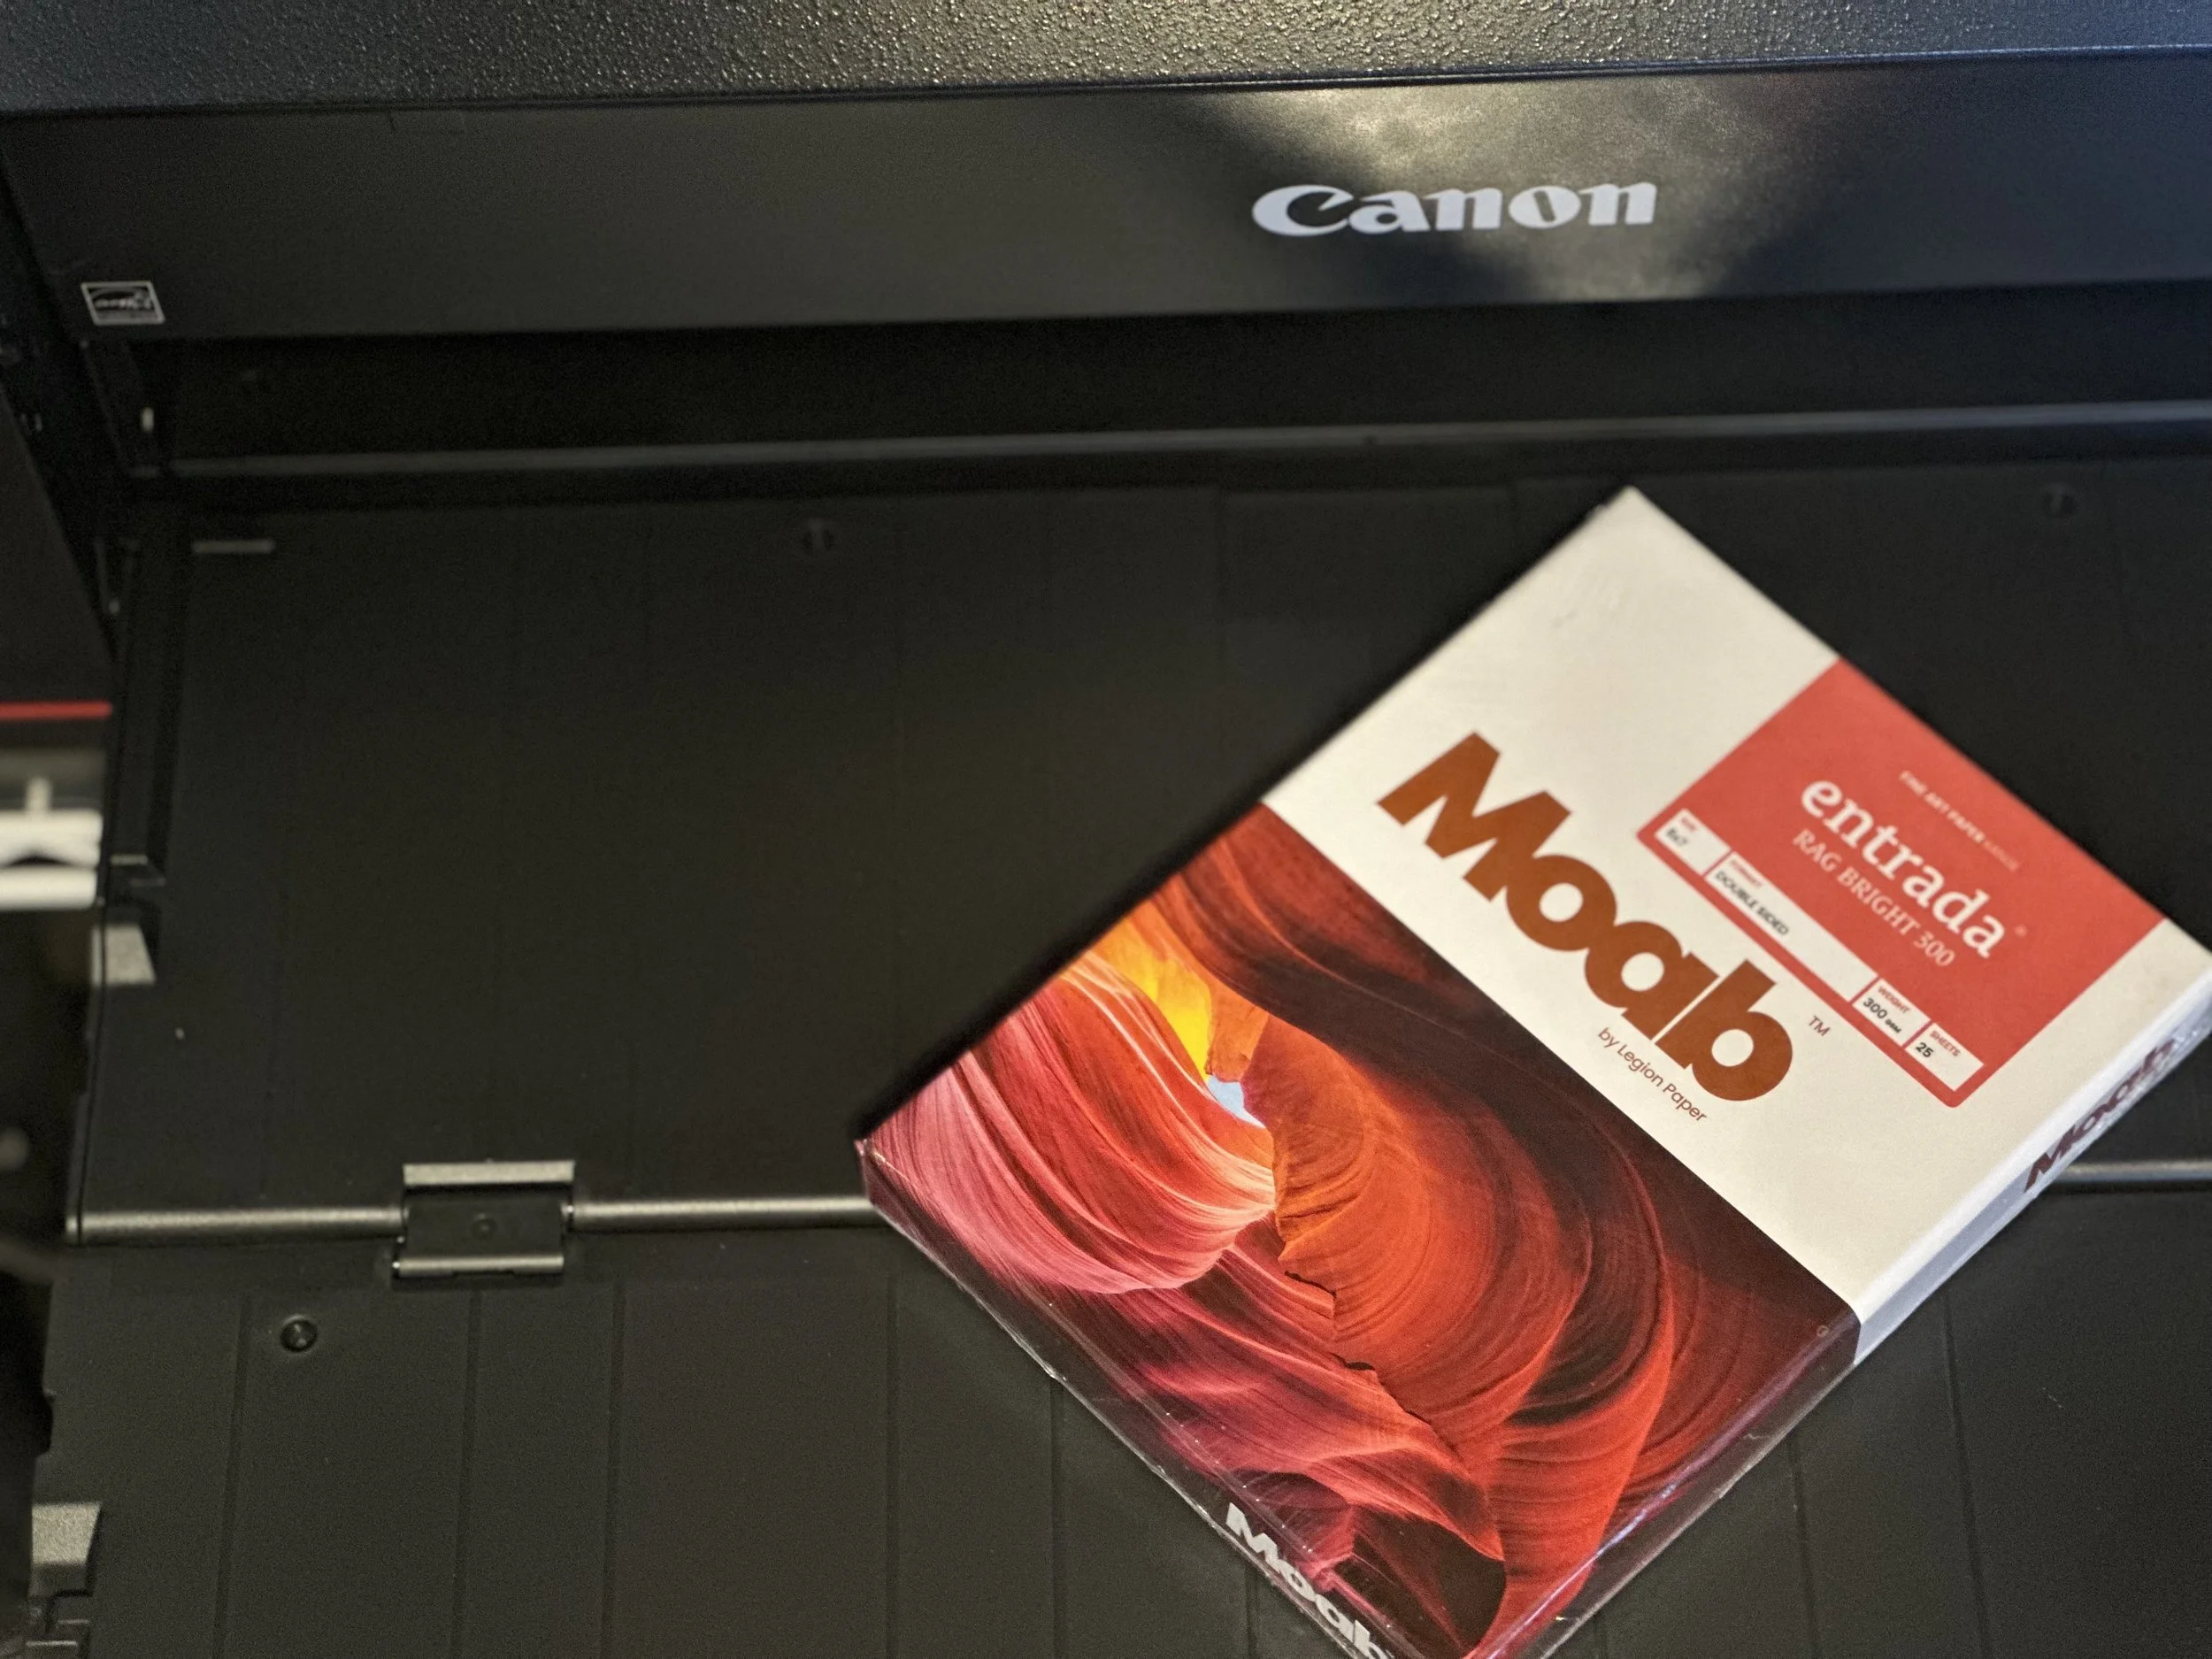
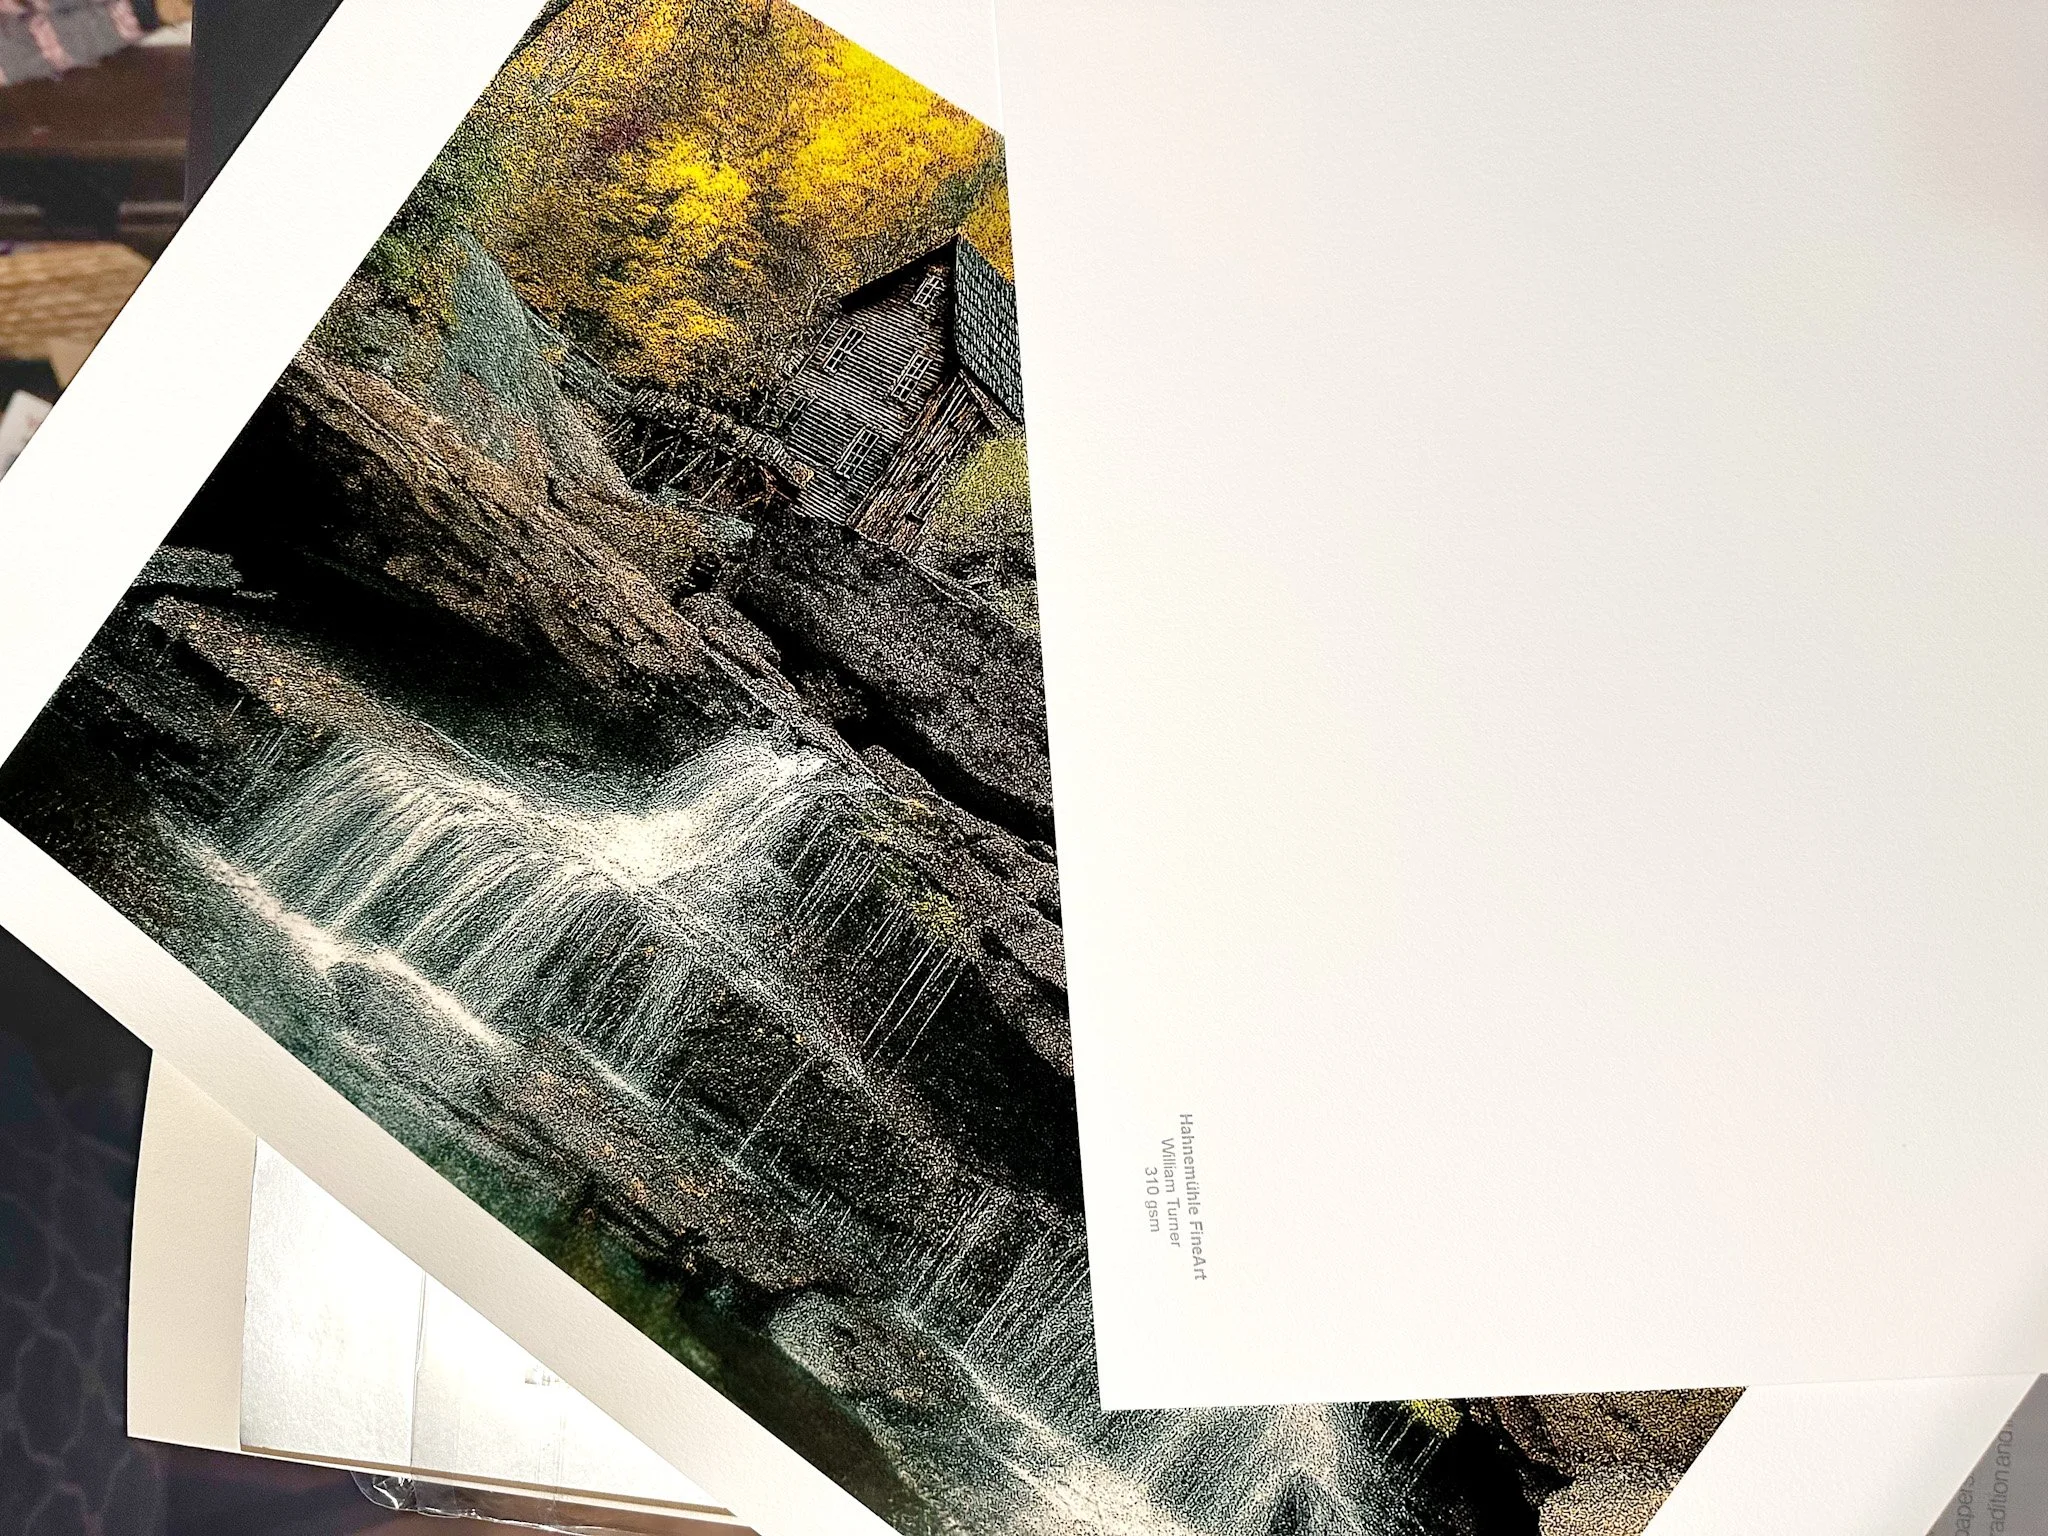
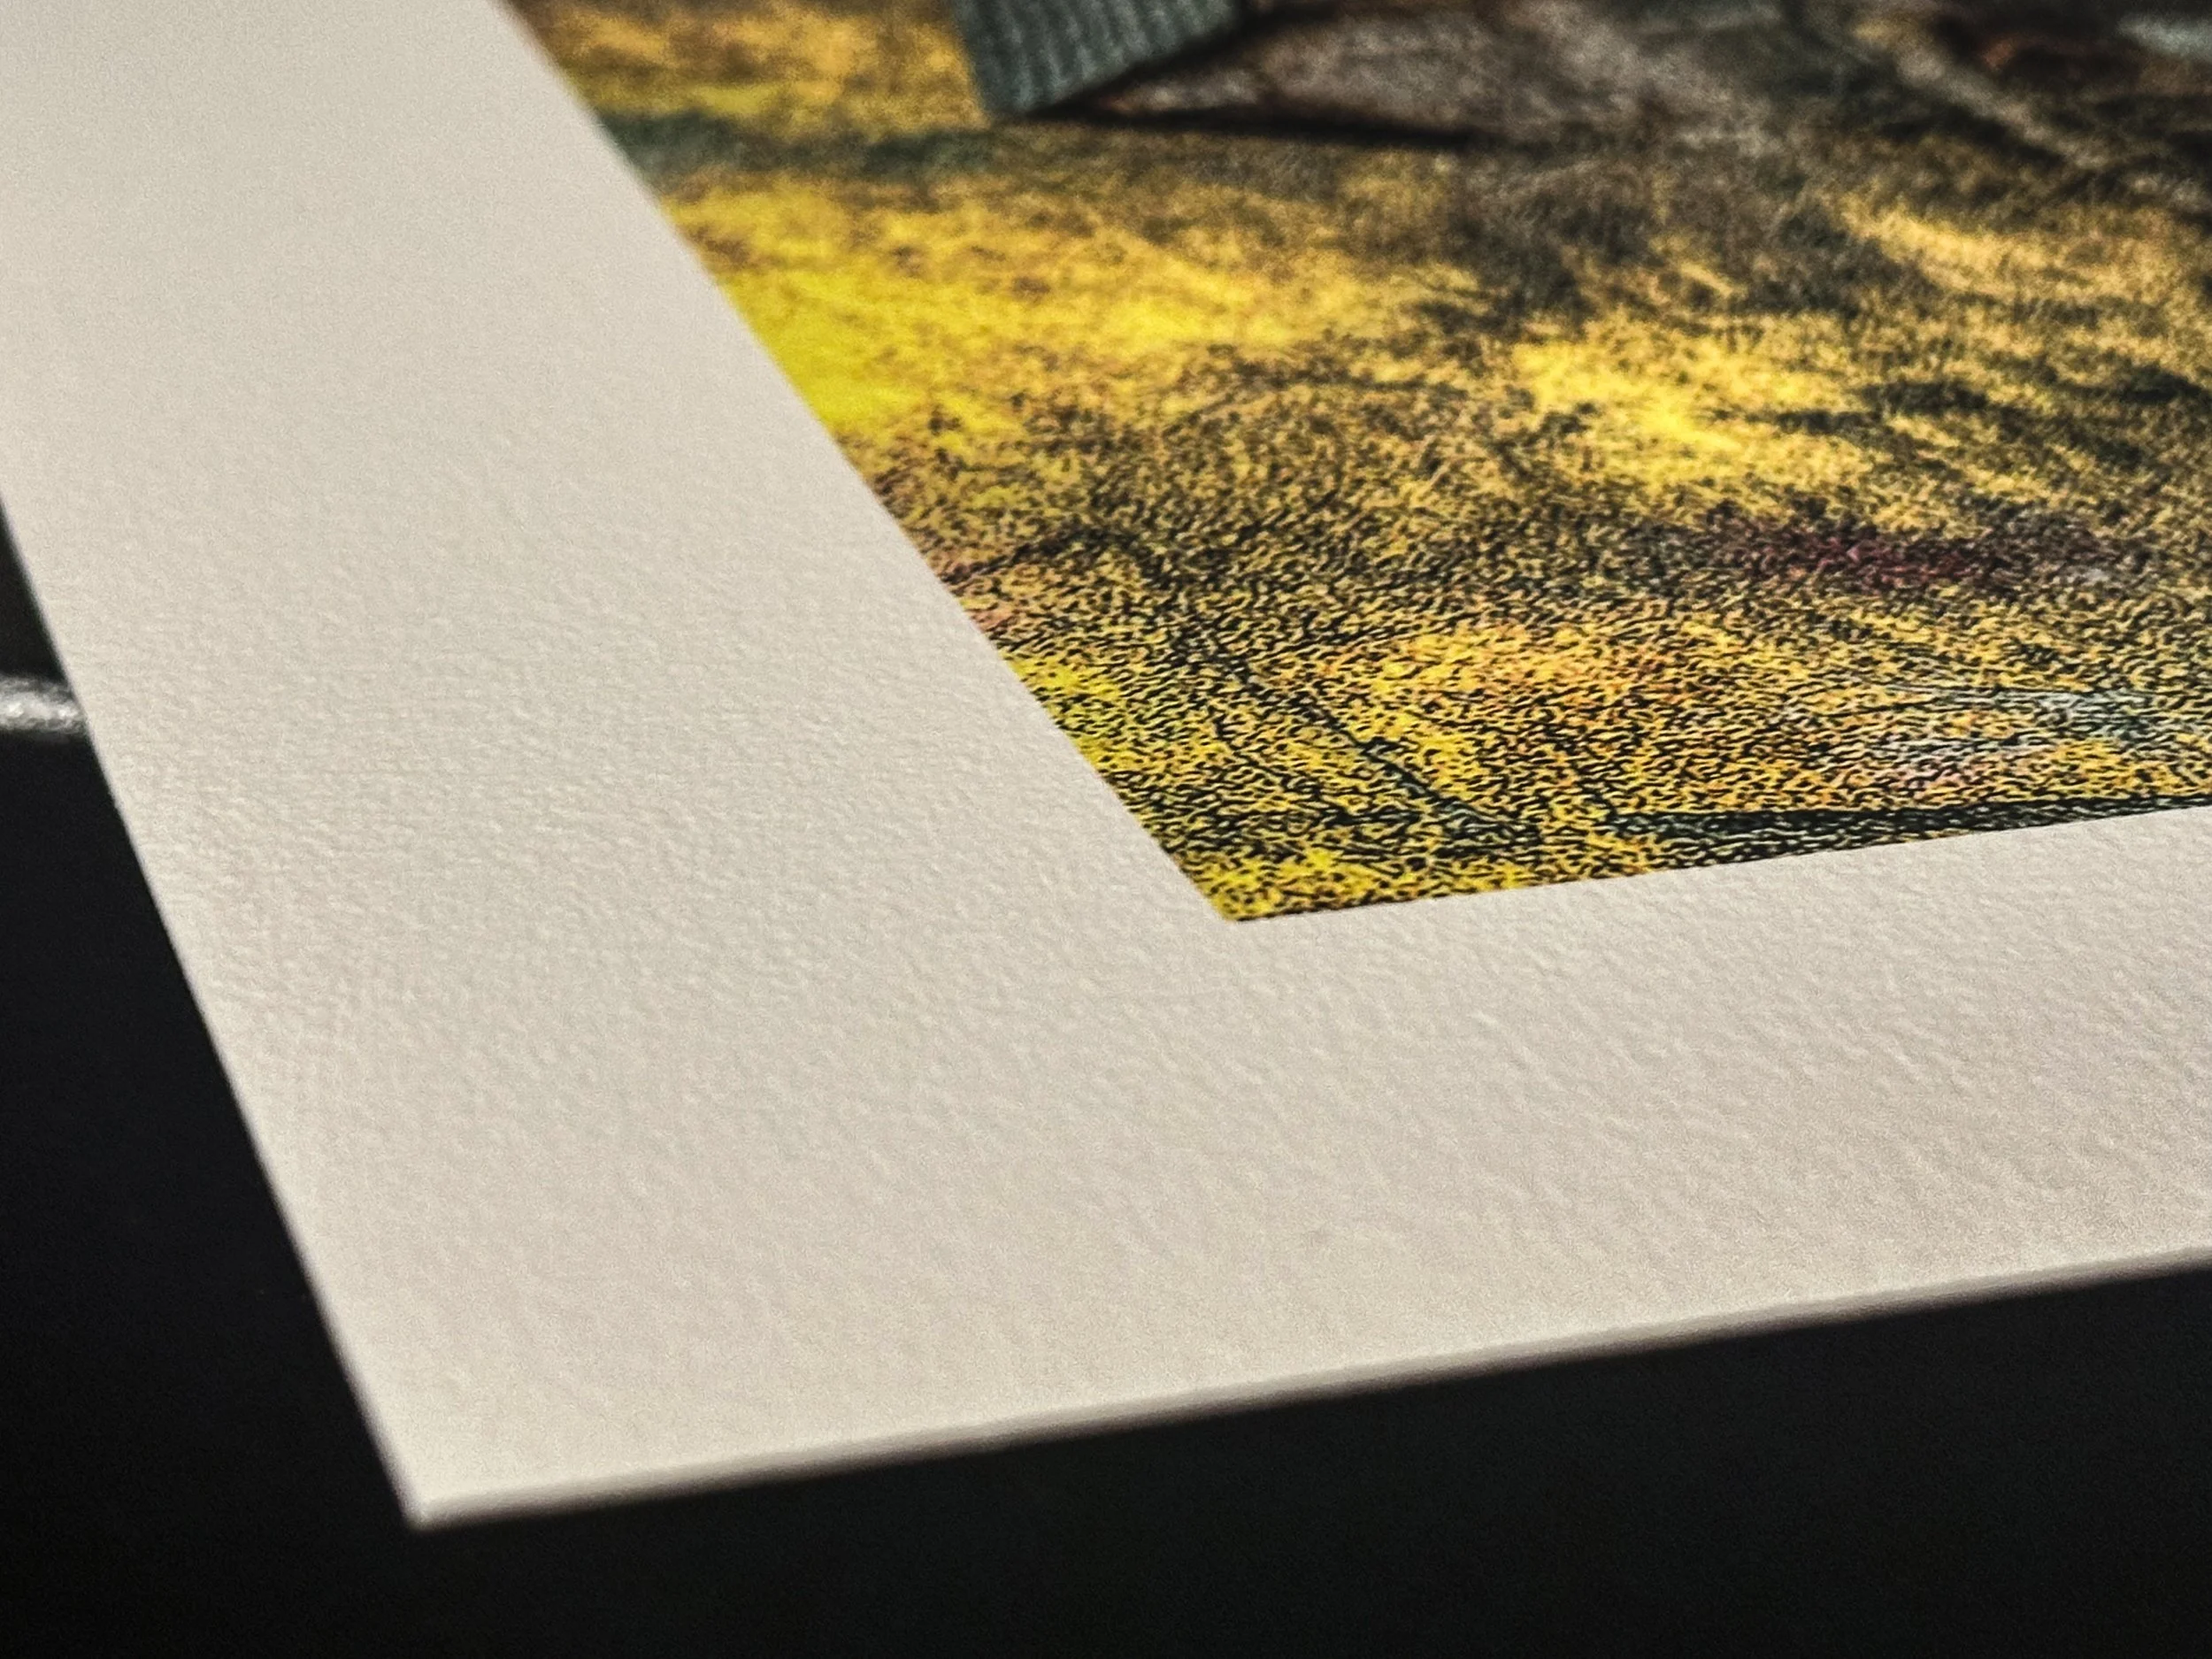
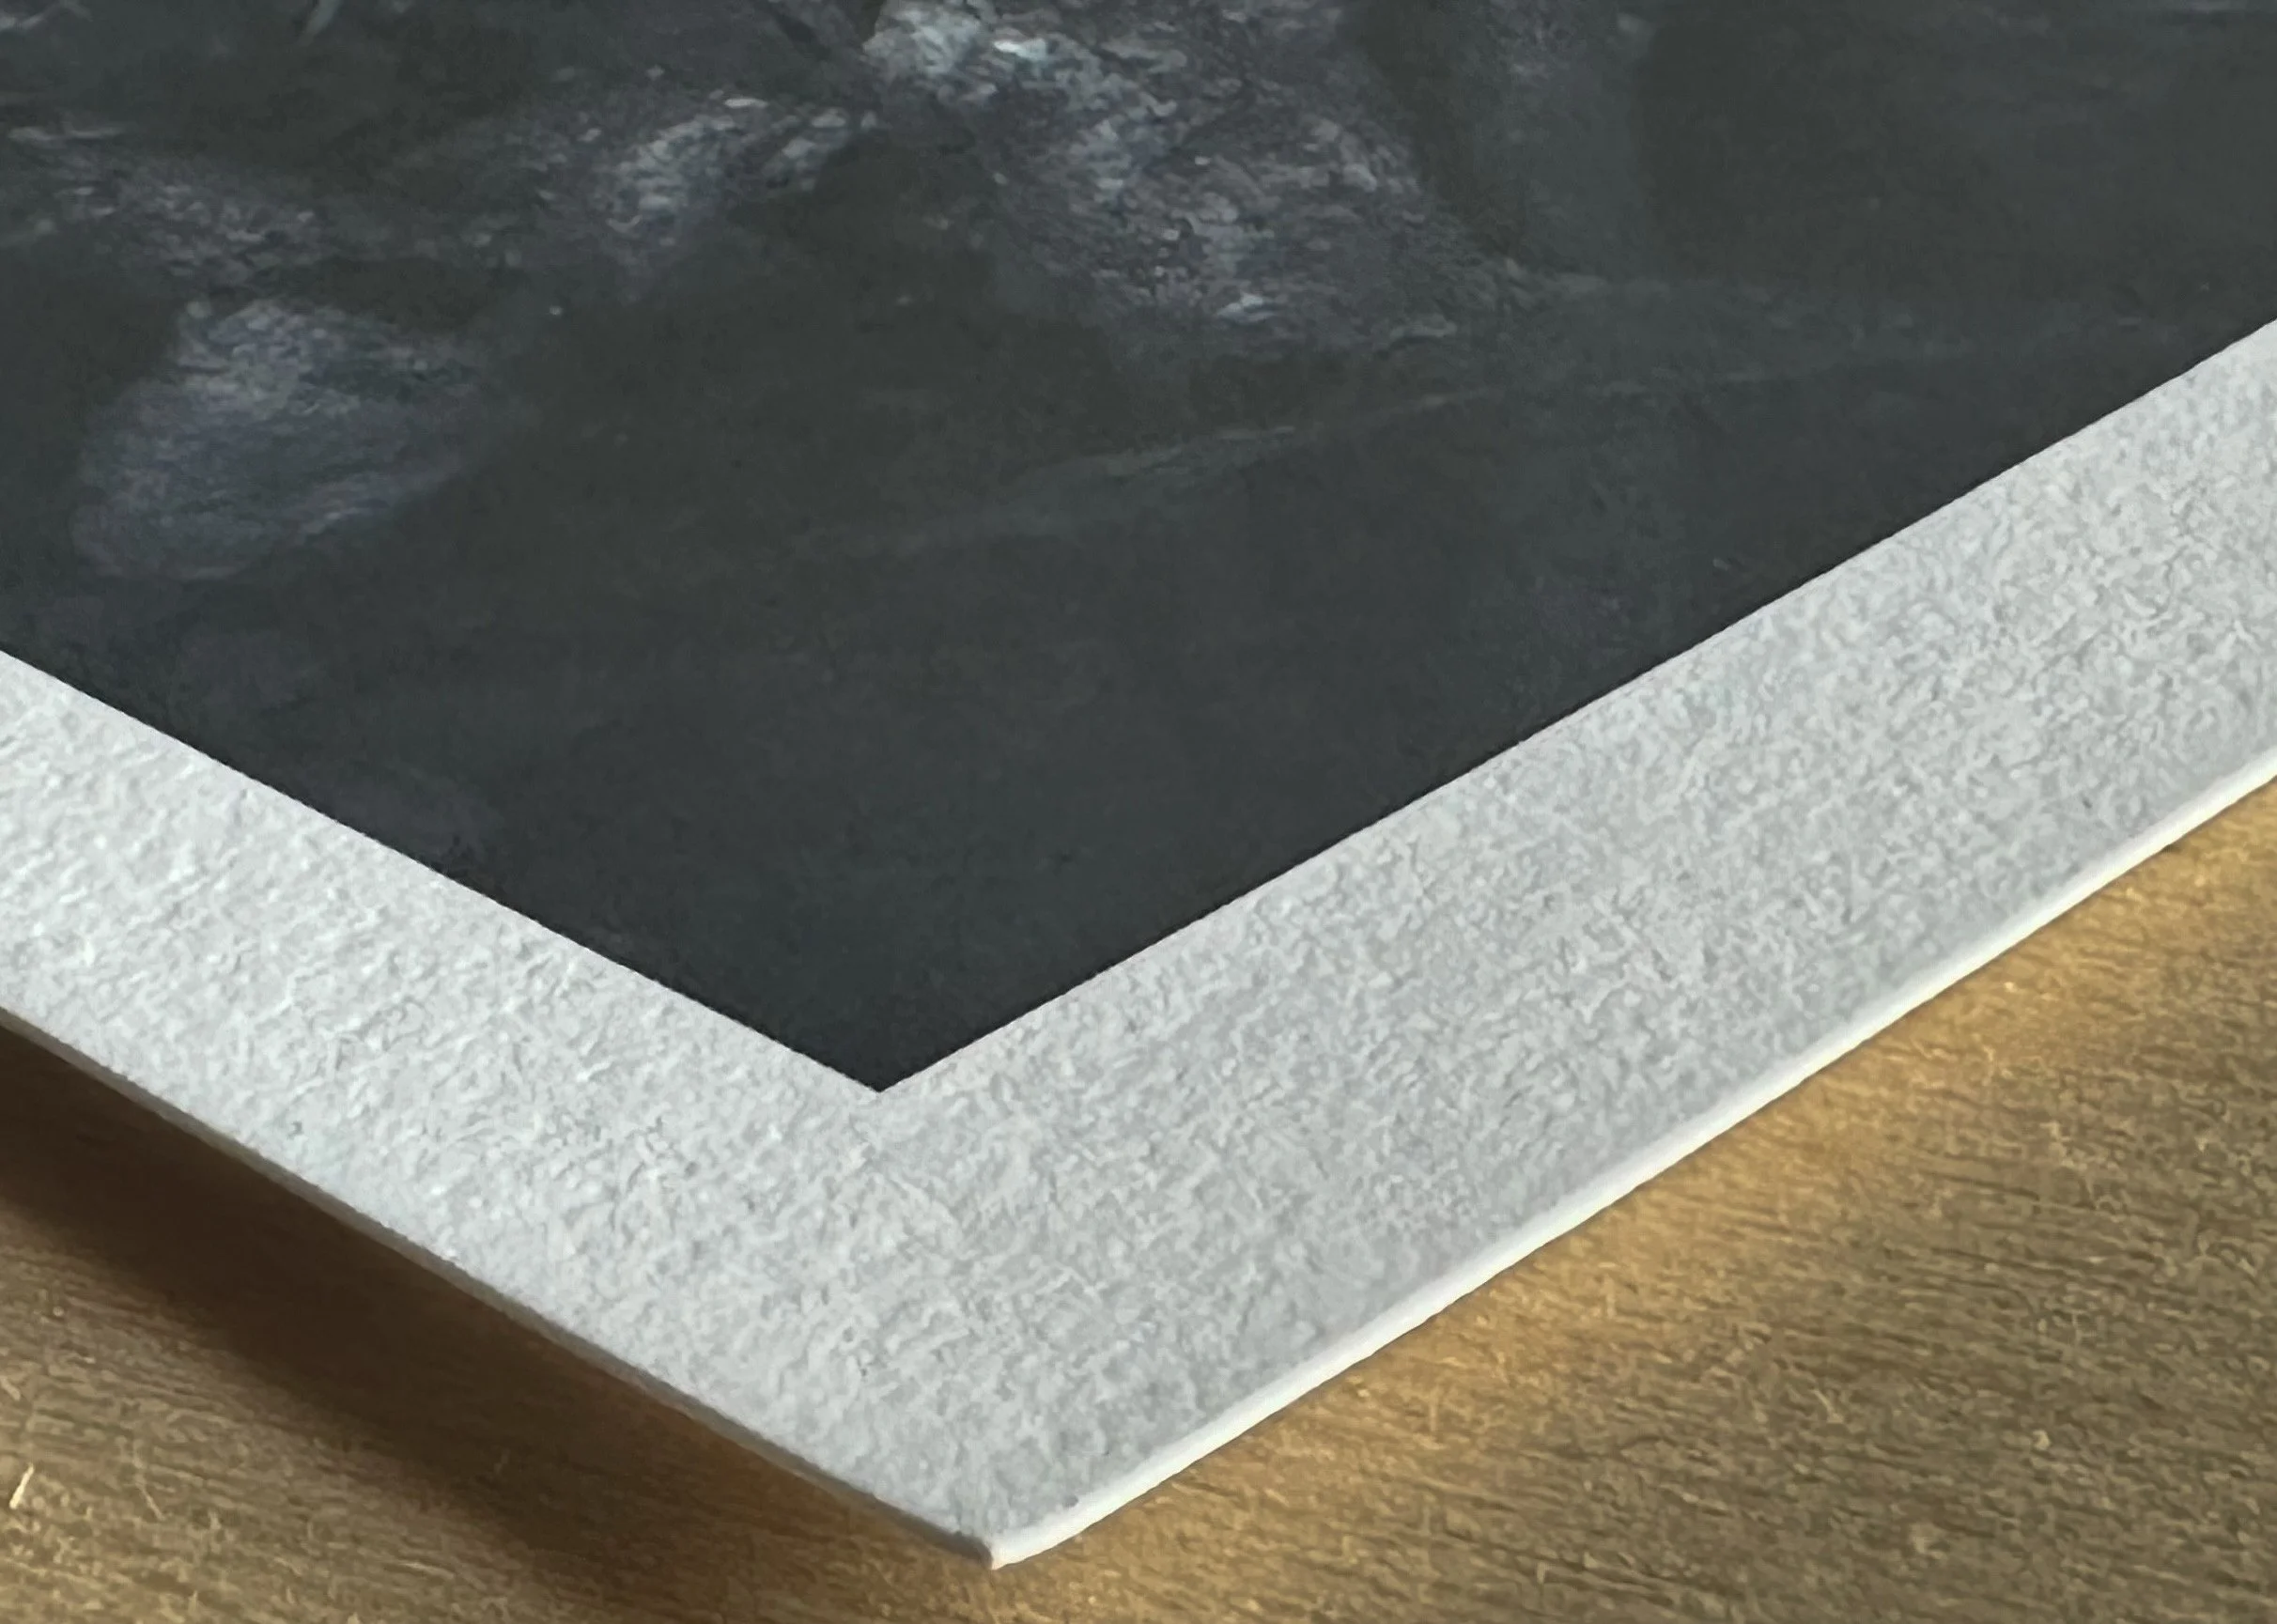
I've often been advised not to put all my eggs in one basket, which led me to explore another fine art paper option from Moab Paper. I reached this decision after searching for papers similar to my usual choice, Hahnemühle William Turner paper, and discovering Moab Entrada. Both papers share a similar texture, but in terms of feel, the Hahnemühle William Turner stands out as the clear winner.
The Hahnemühle has a weight of 310 GSM, while the Entrada weighs in at 300 GSM, which isn’t a significant difference. However, the surface of the Hahnemühle felt a bit coarser than the Moab Entrada, which is somewhat smoother but not as soft as a Baryta paper. It still retains a nice texture. In terms of detail and shadow reproduction, both papers excel, as they are made from 100% cotton and are both archival and acid-free.
Since this was my first time printing my own work, I felt my initial impressions might have been a bit overly optimistic. I decided to step back from the Moab Entrada and revisit it later with fresh eyes to truly appreciate the final product—not only for its applications in art and photography but also for its pricing. The Hahnemühle costs $6.30 per sheet, while the Moab Entrada is priced more affordably at $4.65 per sheet, providing some budget flexibility.
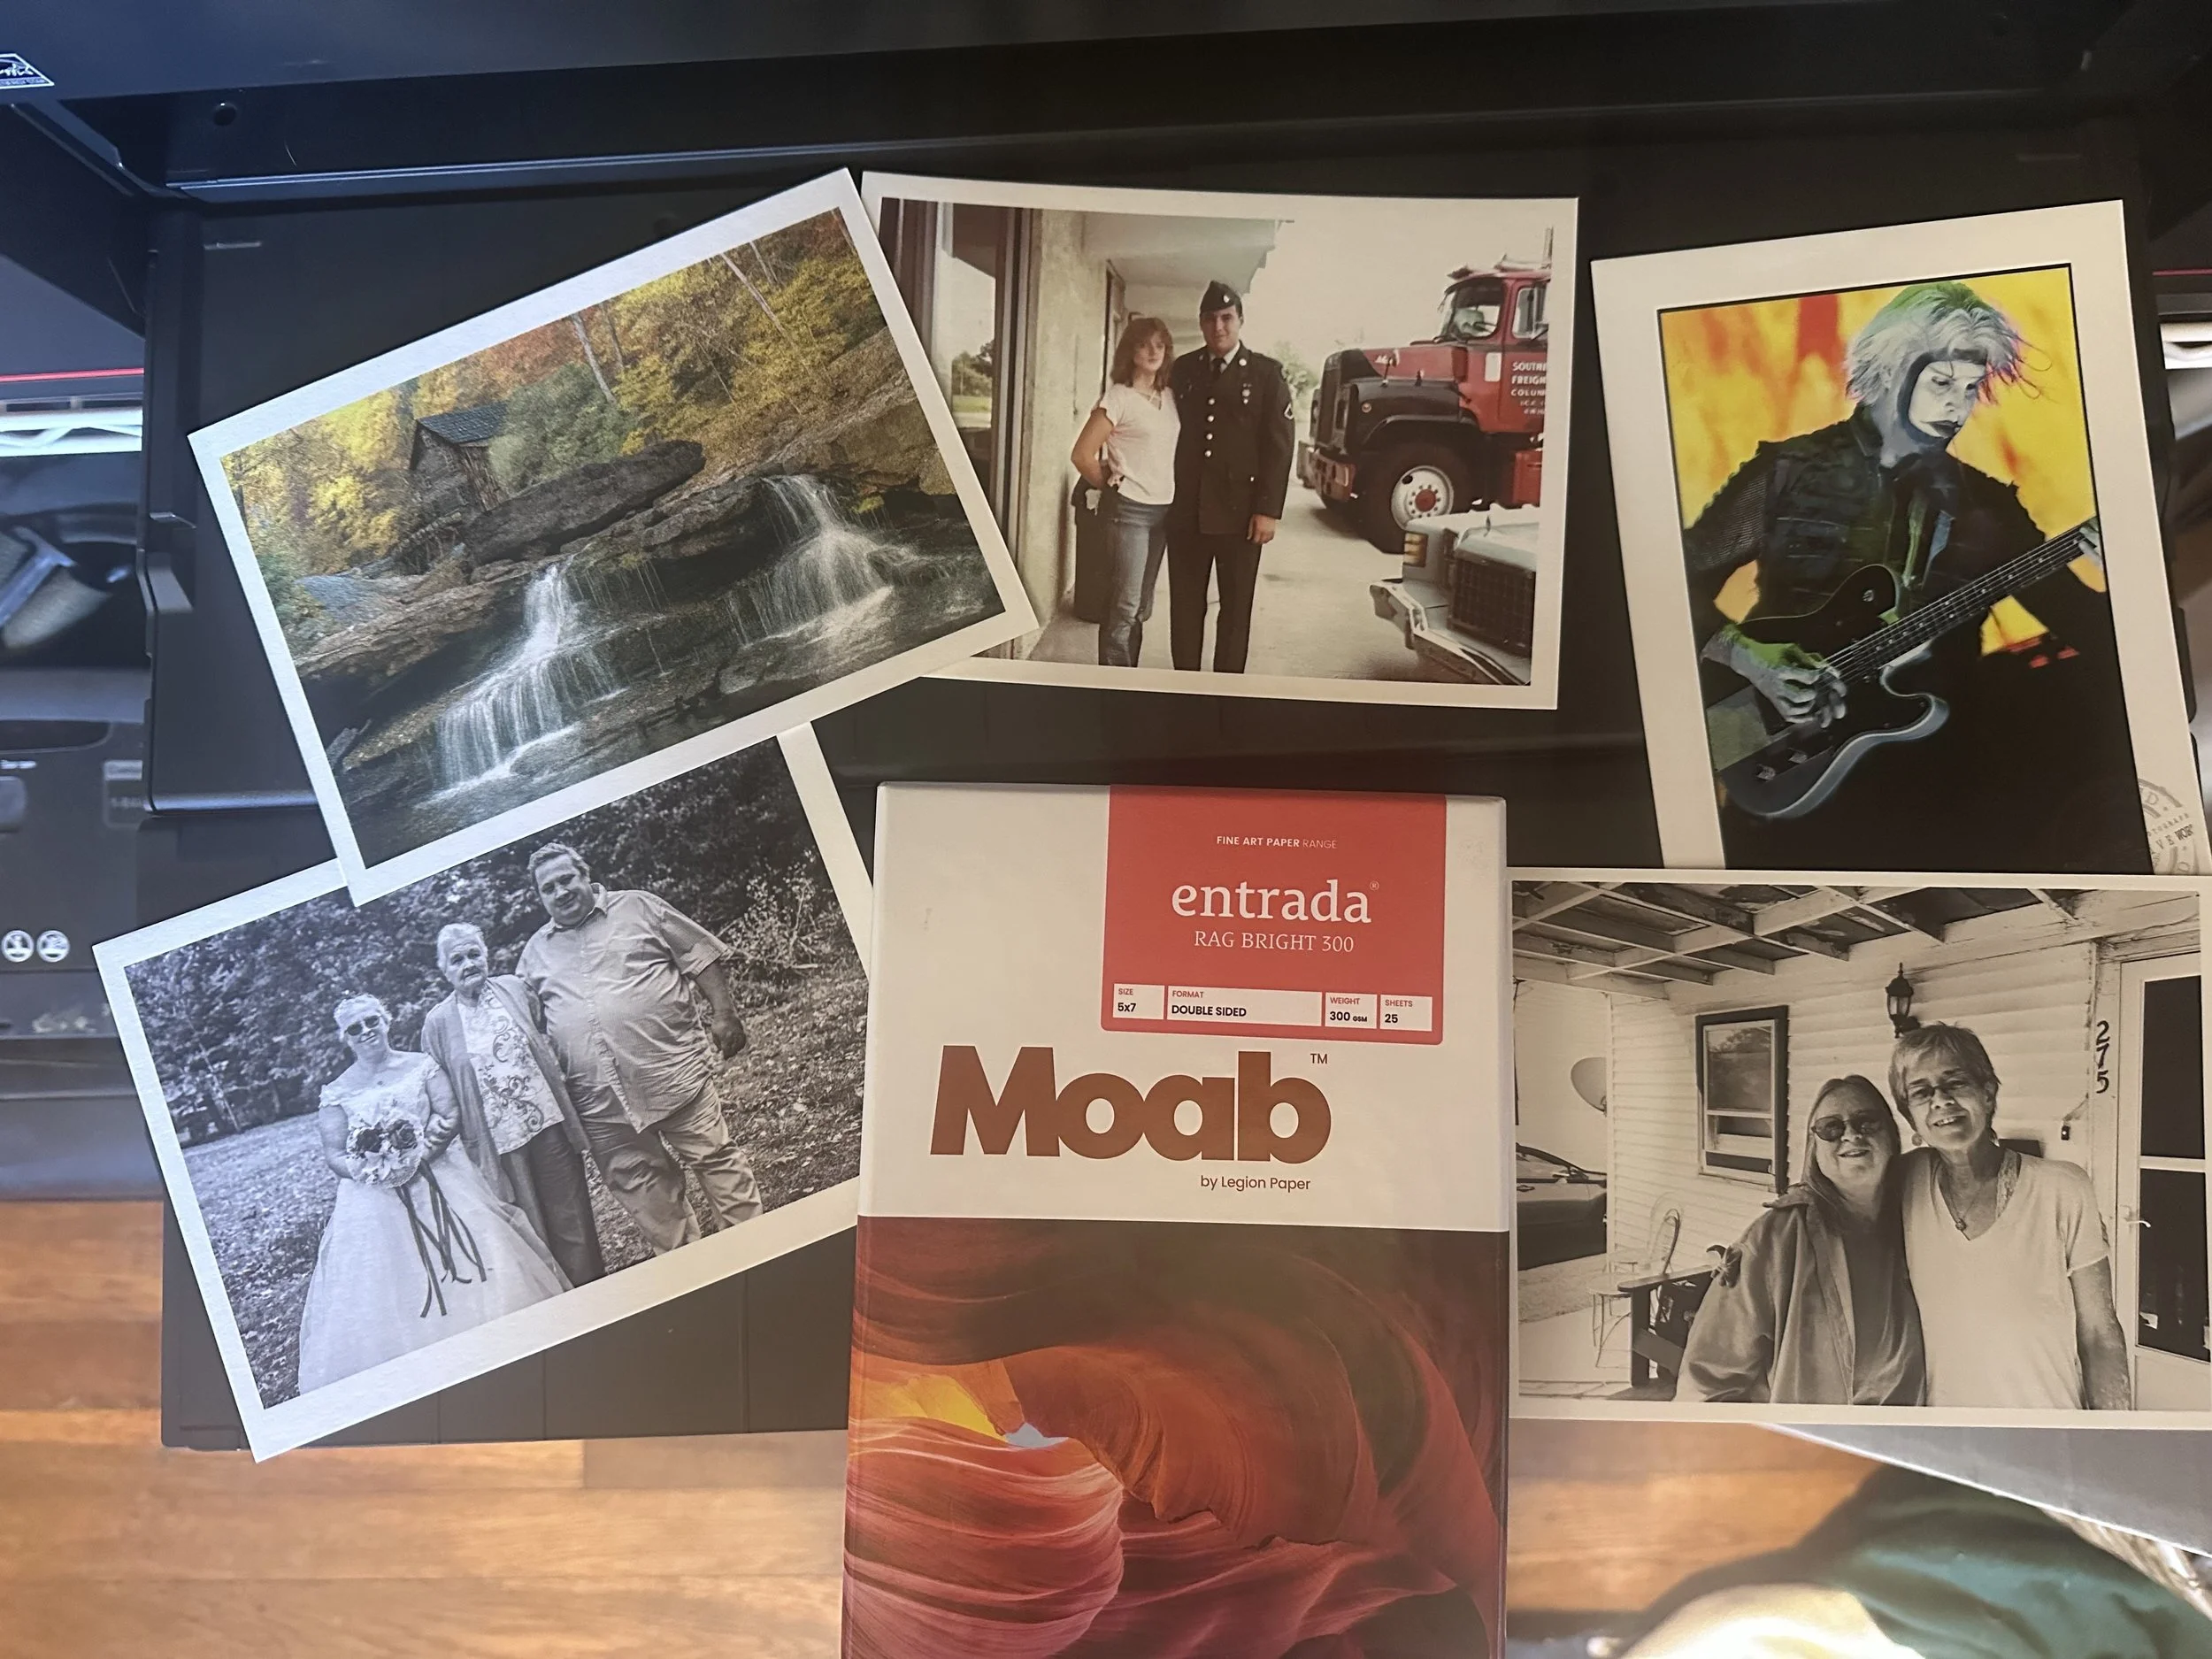
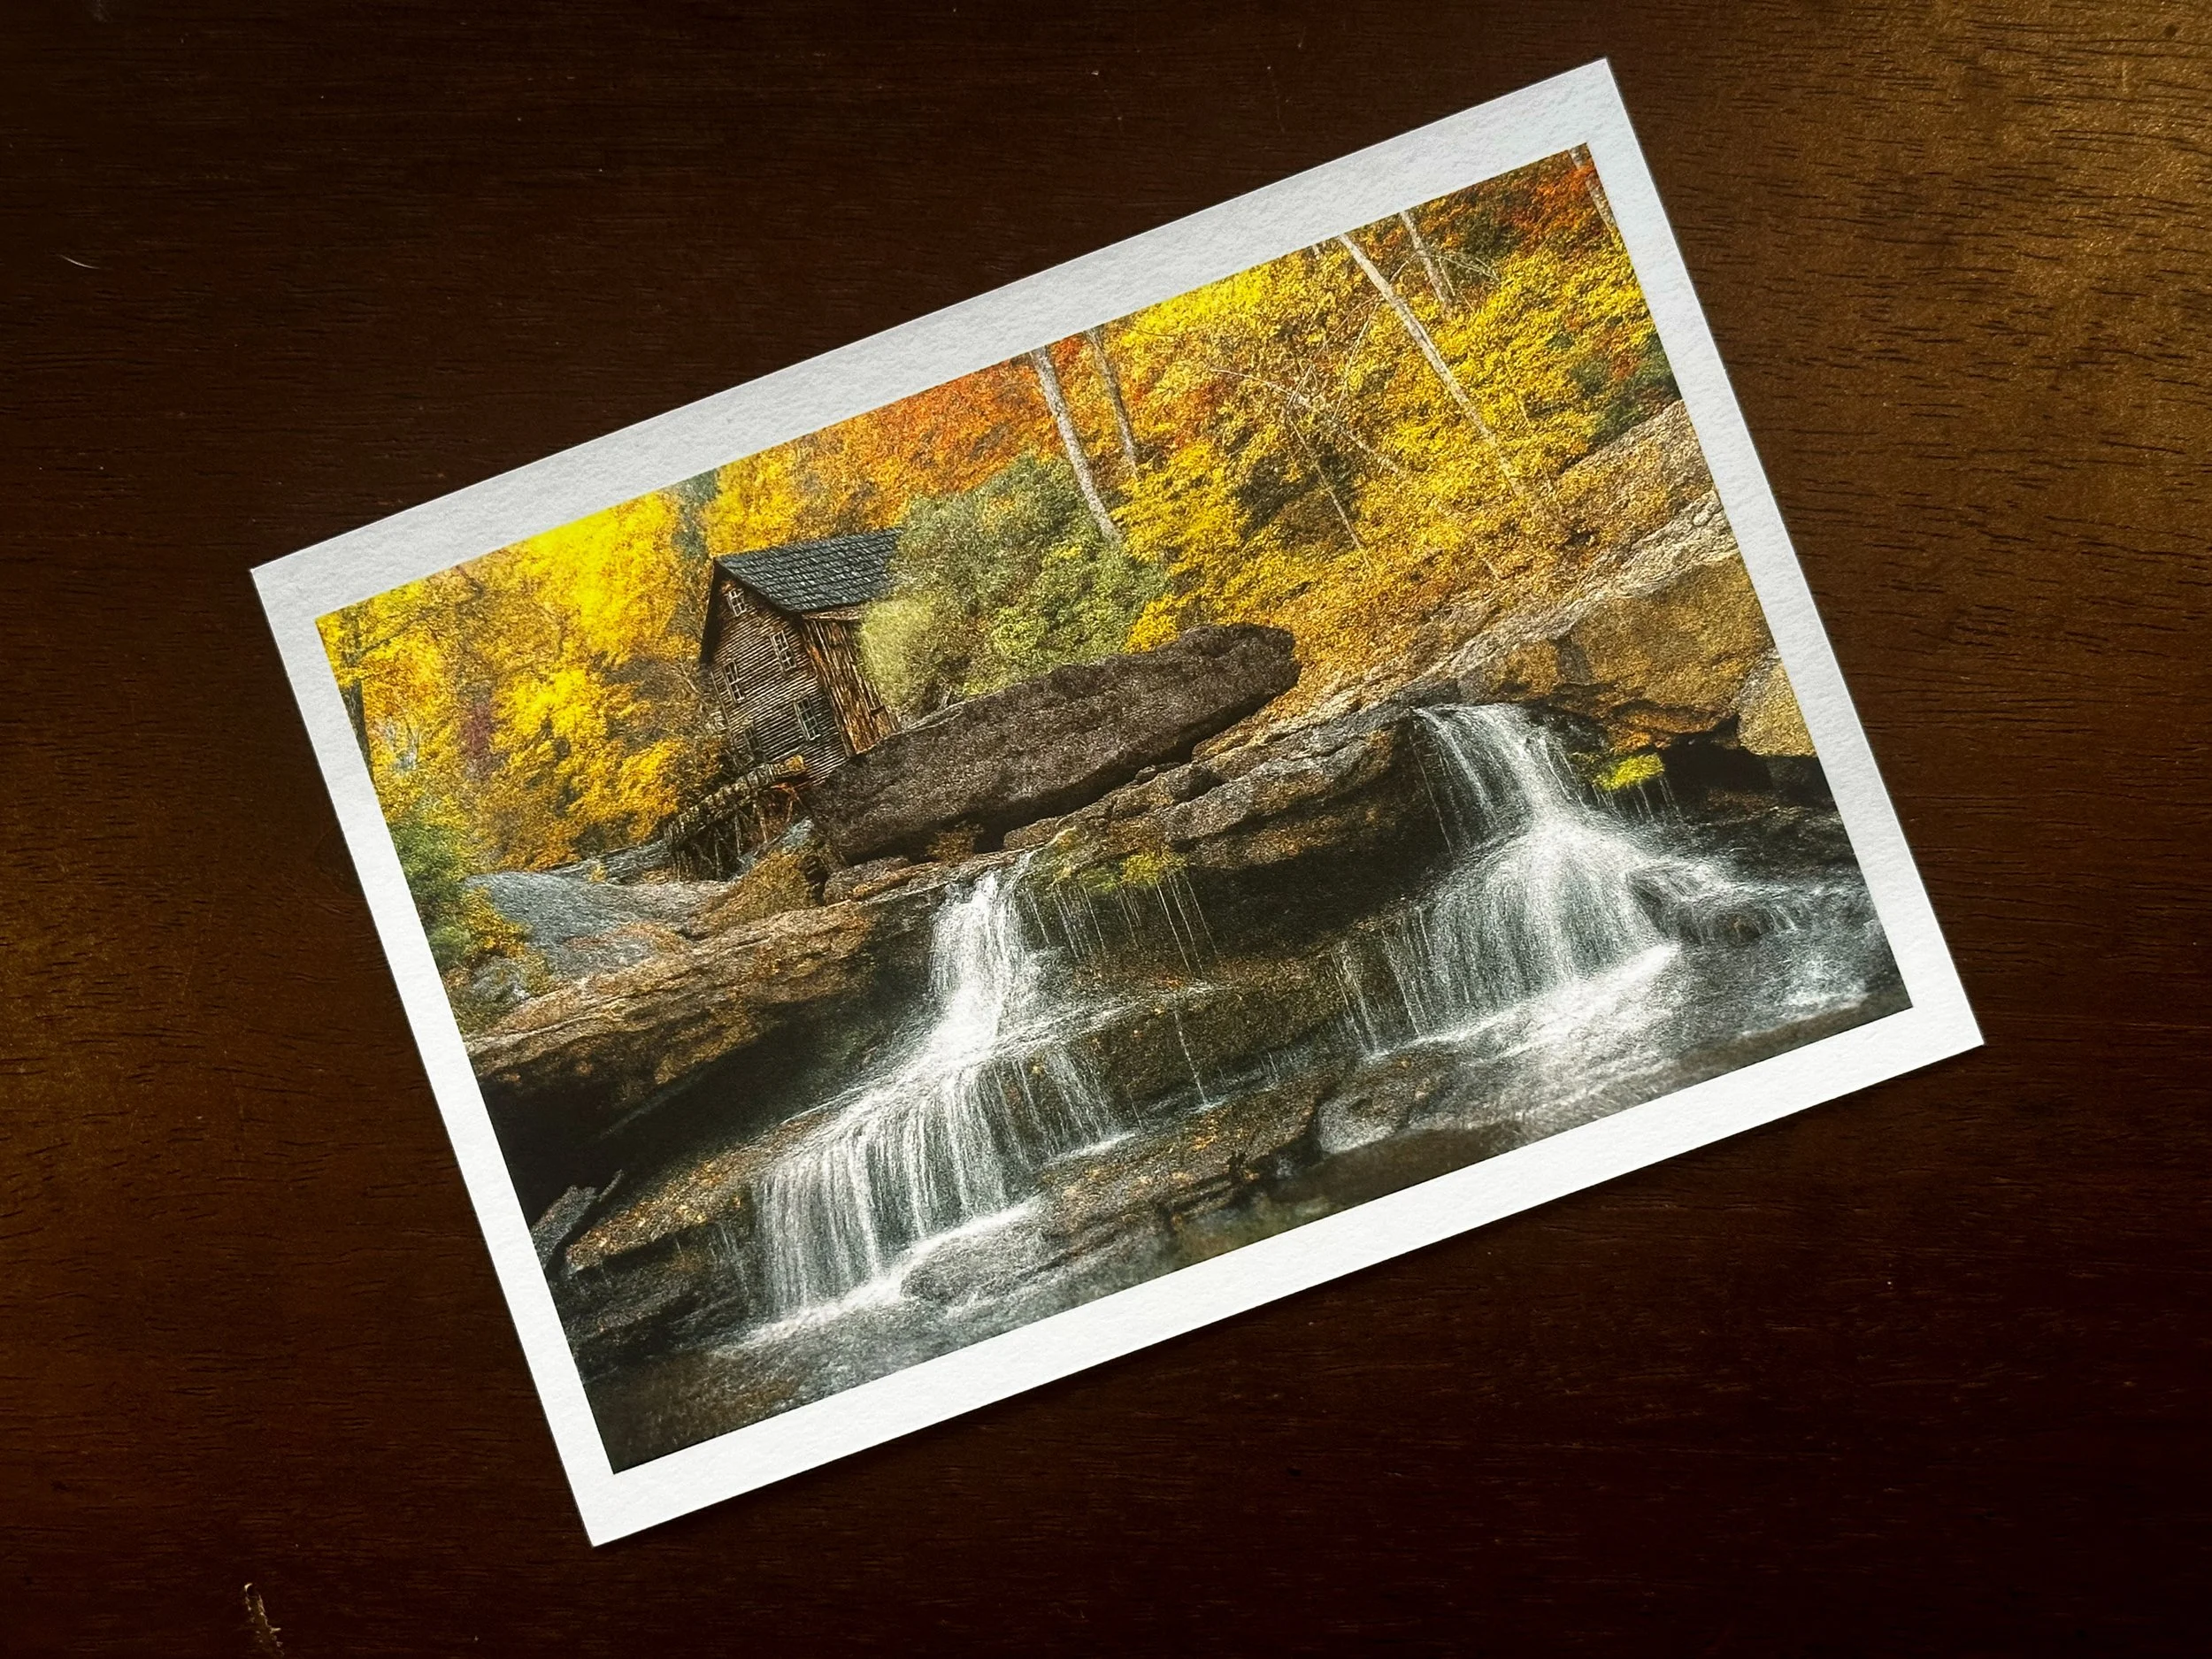
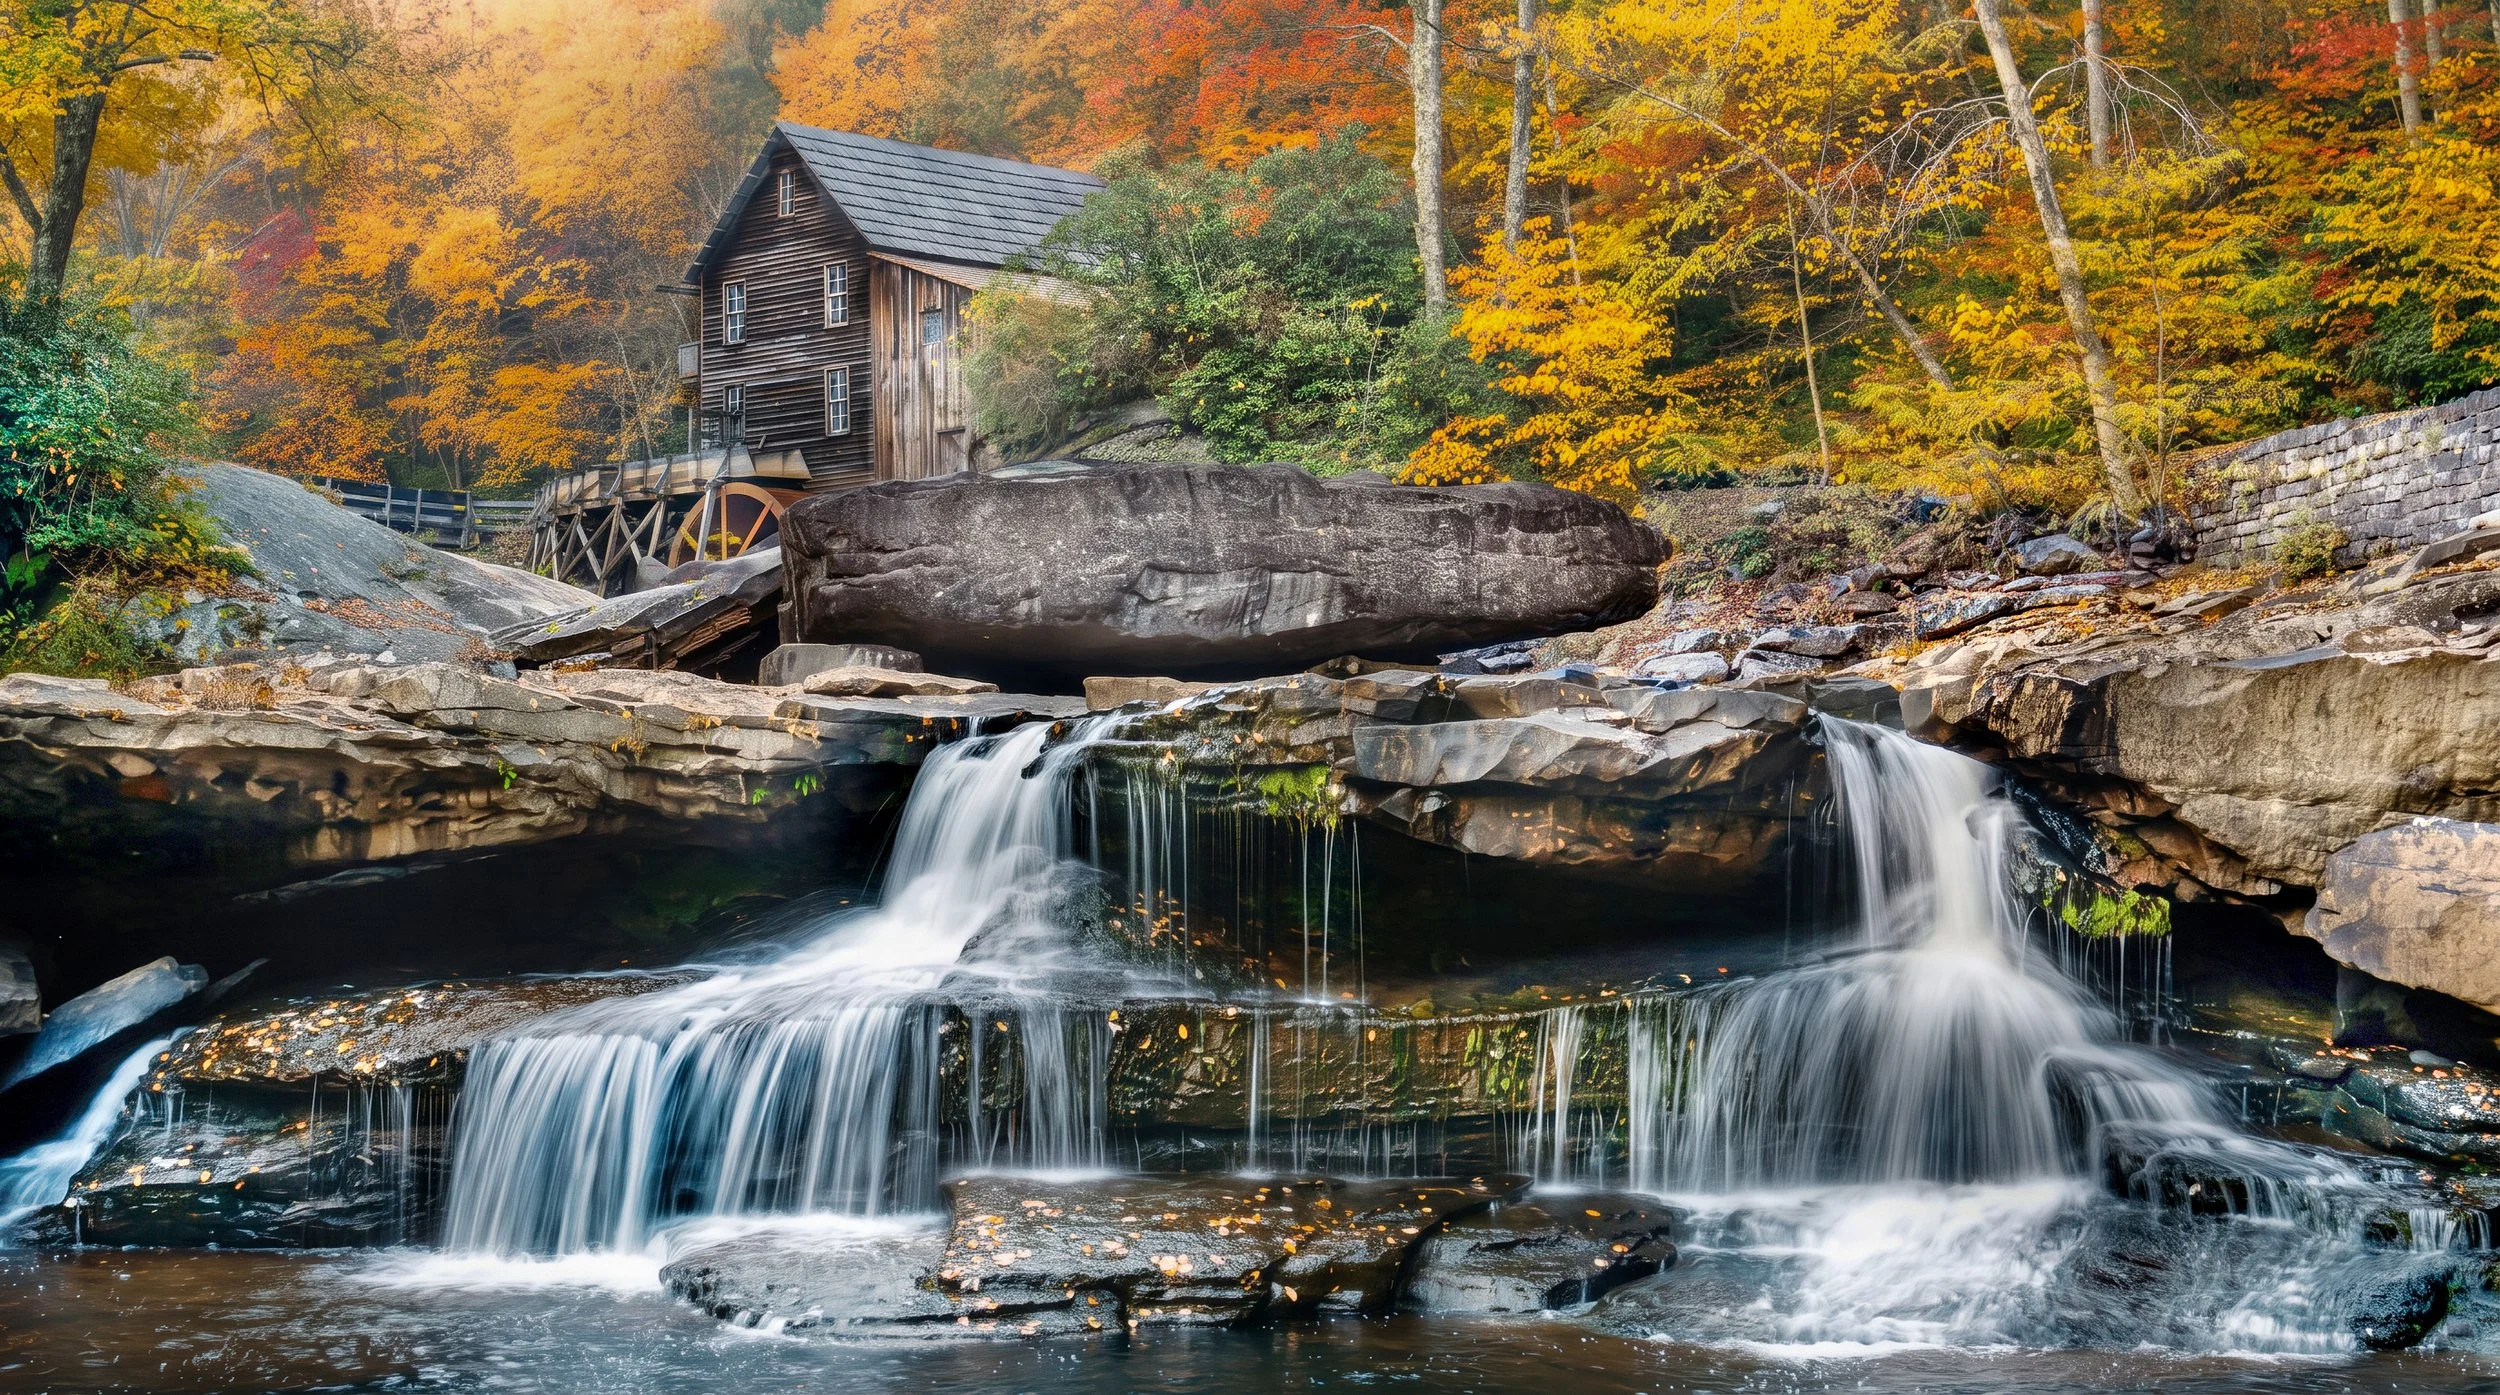
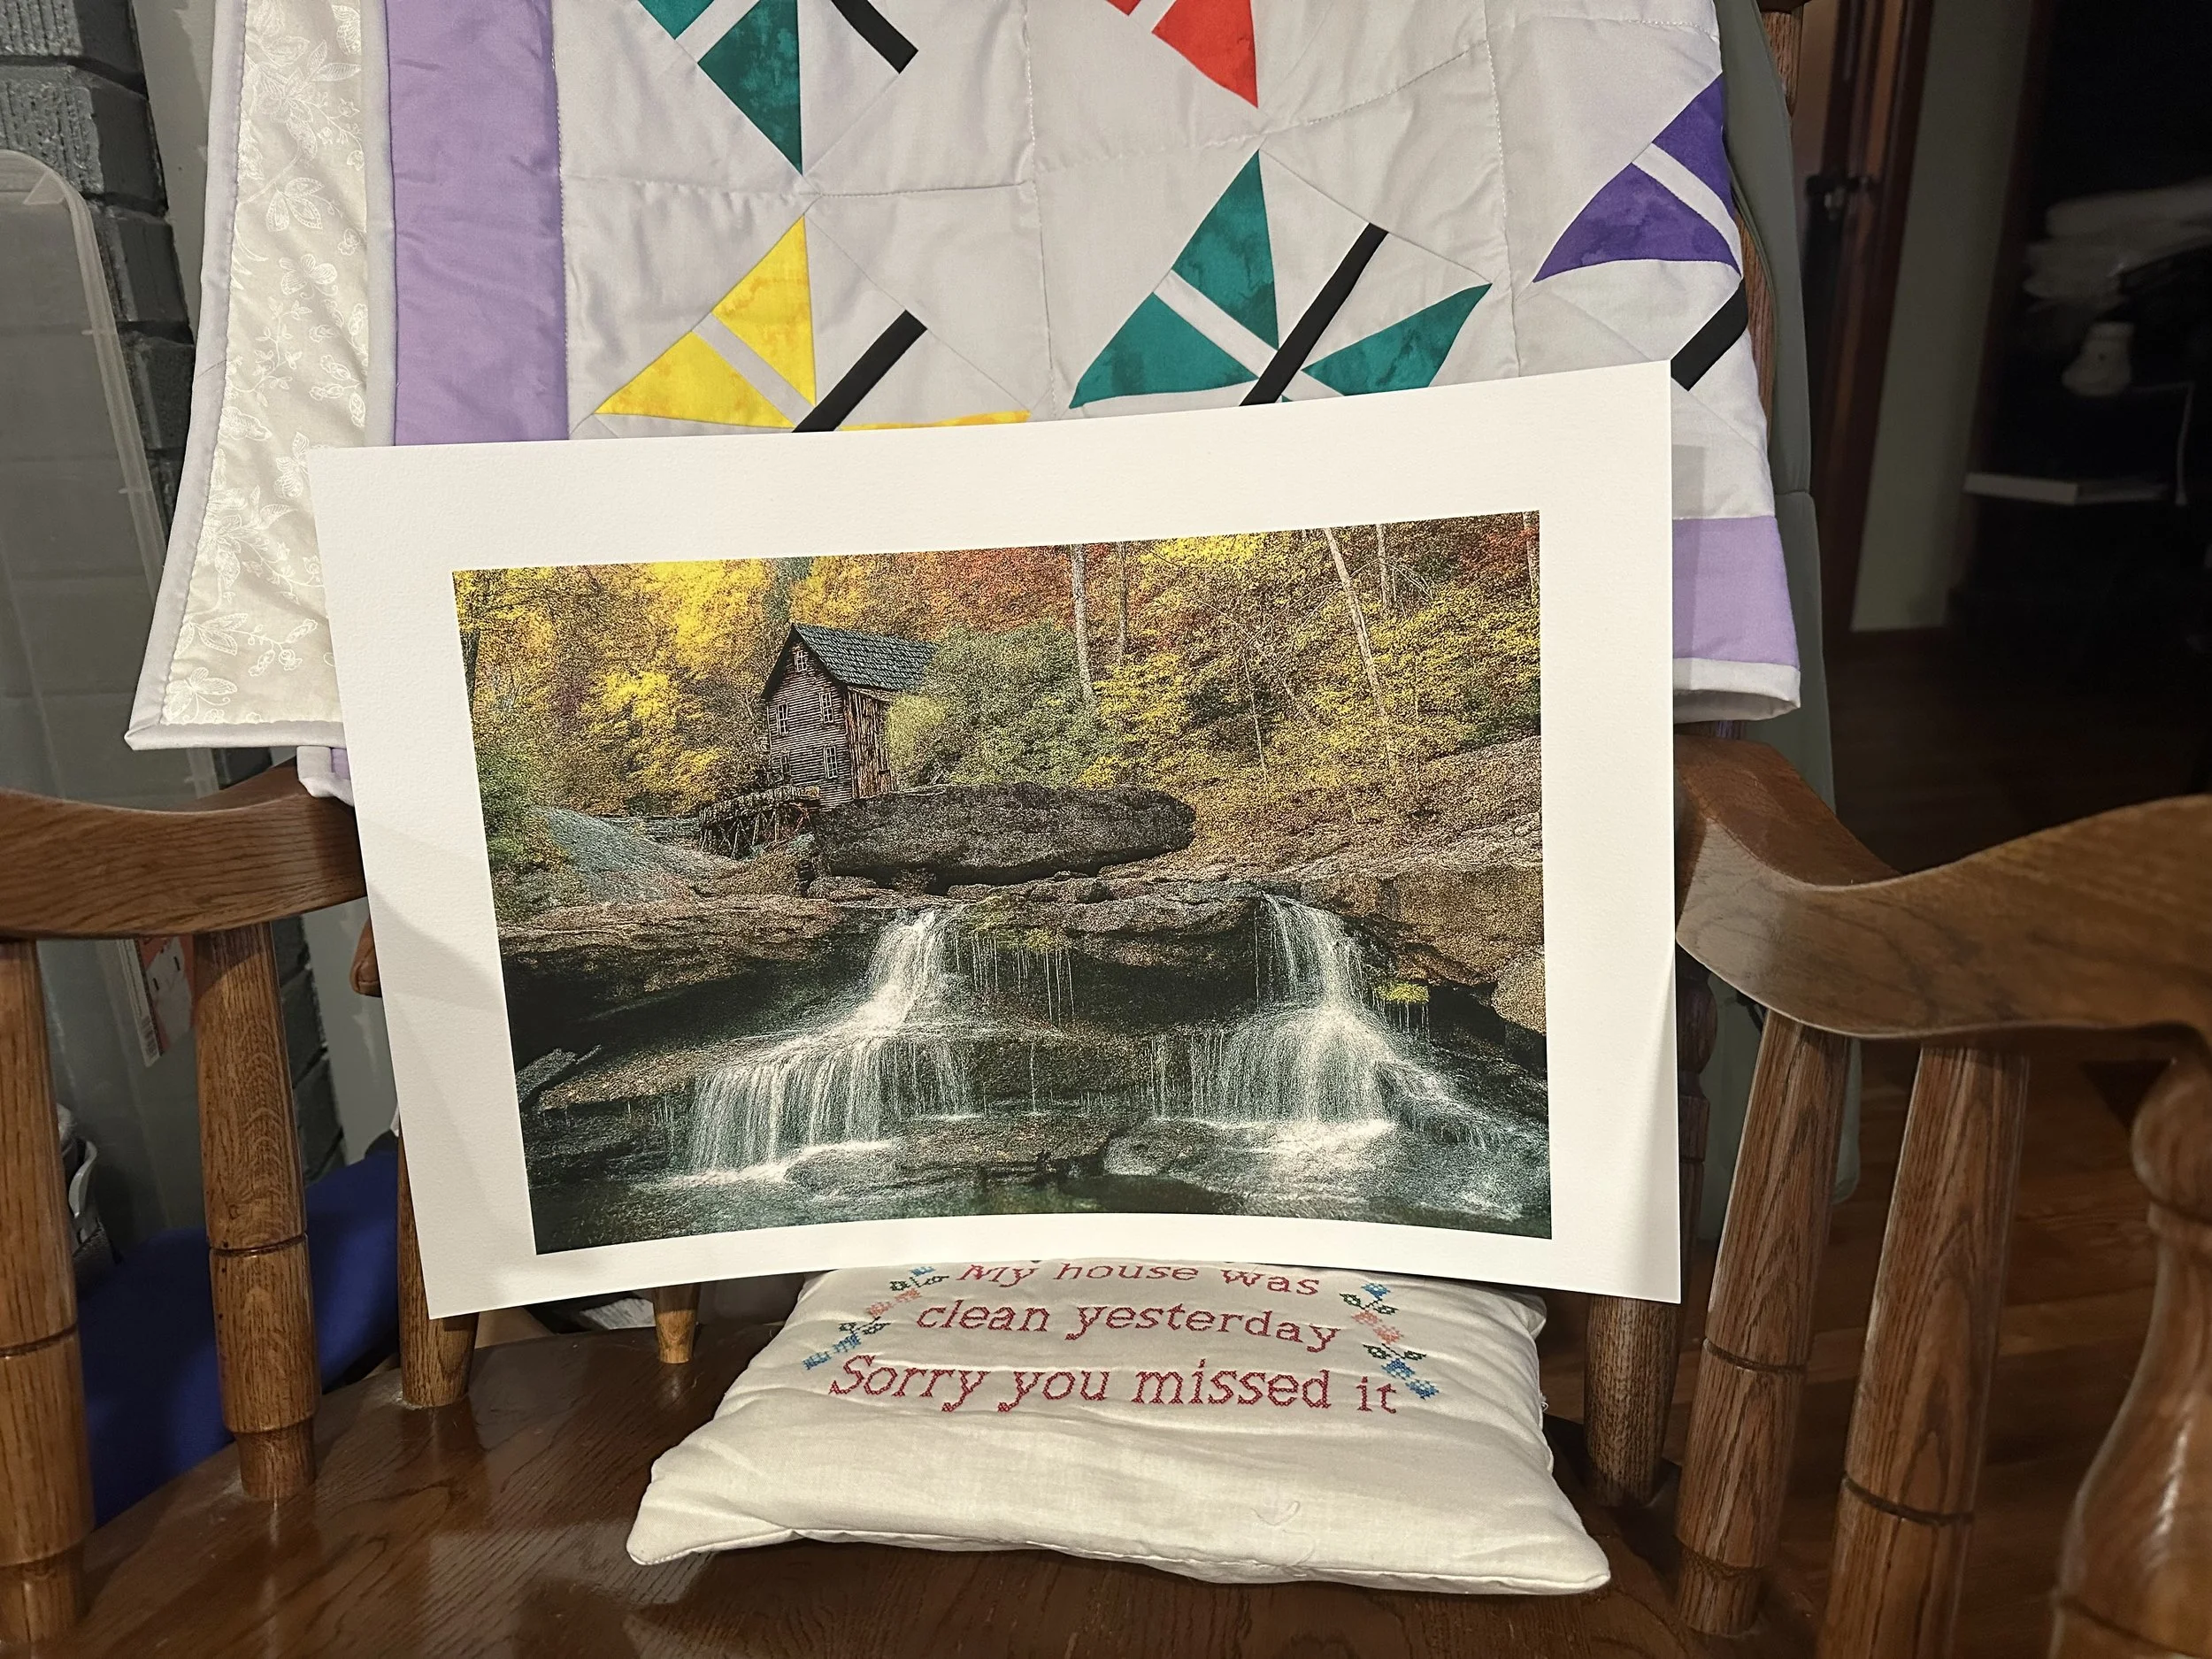
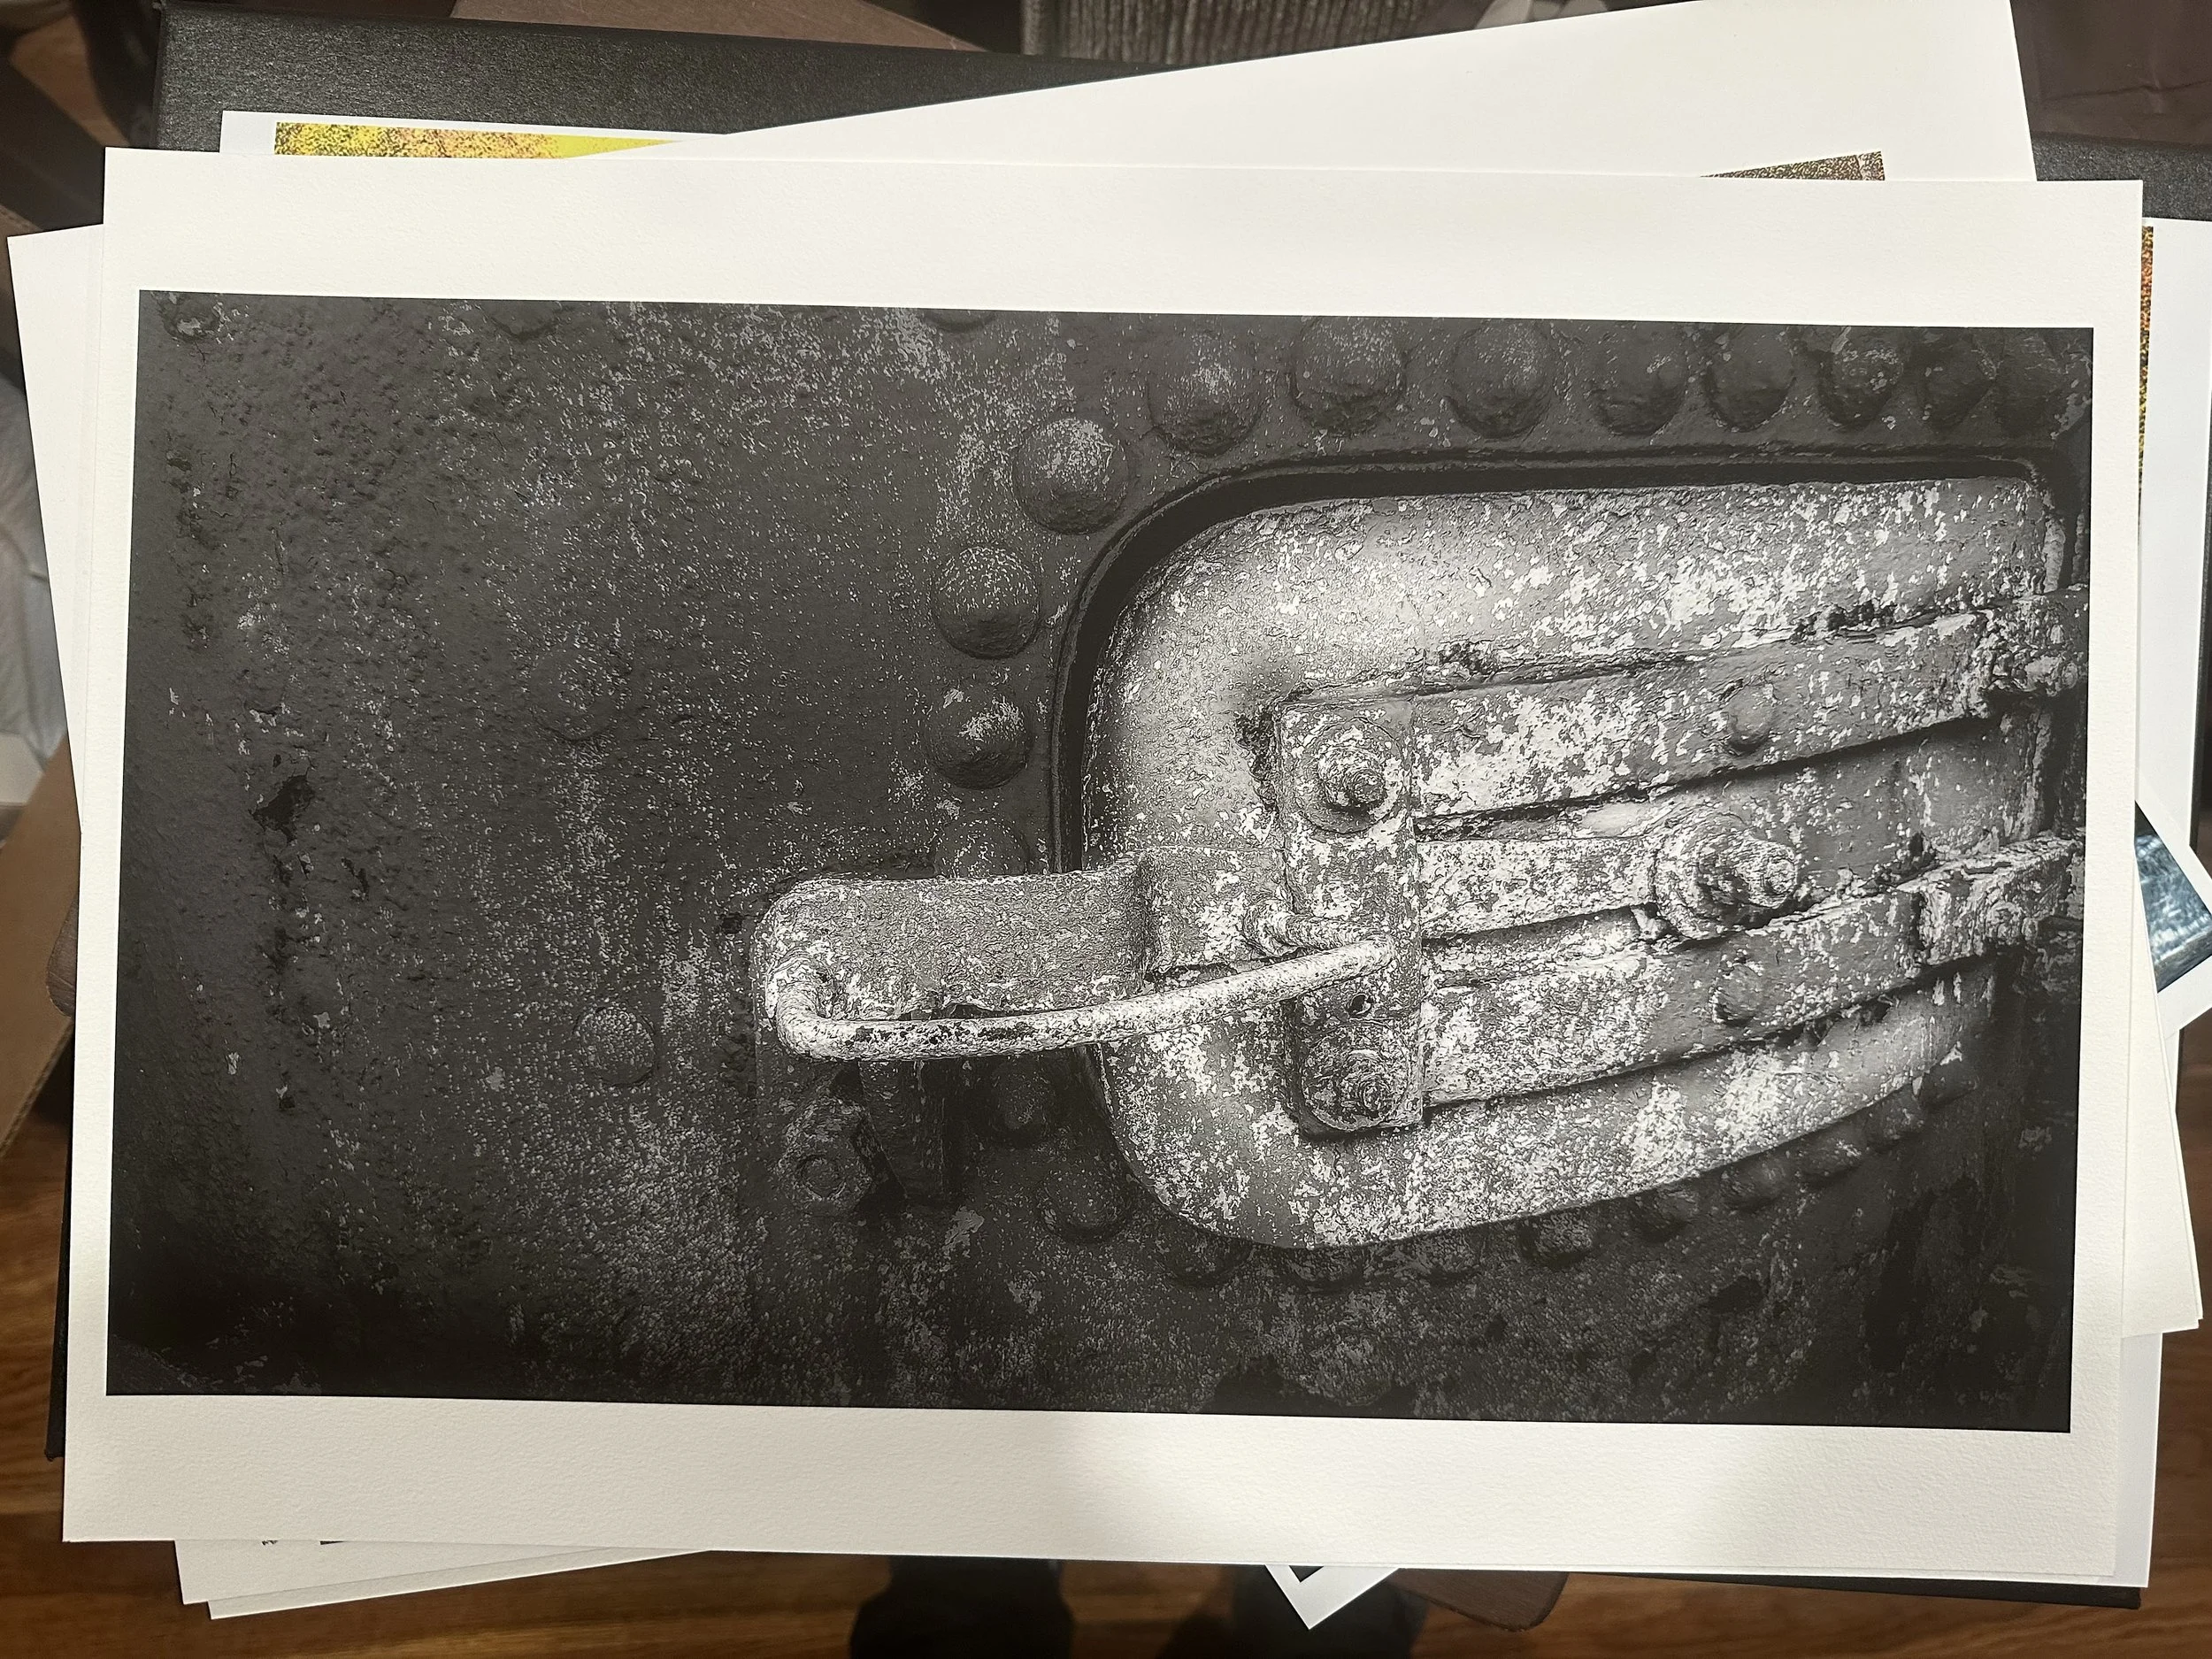
Below Left: 1. Babcock State Park, WV, 2. Restoration for my In-Laws, 3. John 5 (Rob Zombie), 4. Our Wedding Photo, My Wife-Her Mother, and Brother (photo by my good friend Sheena Pendley Design & Photography), 5. My Wife and Her Late Sister Mary (Kathy).

Hahnemühle Fine Art Paper: William Turner Paper and Museum Etching Paper Comparison
The two contenders for the paper I planned to use were both from a Hahnemühle sample pack I purchased from B&H Photo a few months earlier. While I won’t claim to know everything about fine art papers, I want to express how excited I was with the final results I achieved
In my last blog entry, I revisited an image I created over a decade ago. While I used Adobe Lightroom to finalize the image, I also utilized Topaz Gigapixel and Photoshop Generative AI to enhance the detail by tightening and sharpening the pixels. These tools helped me achieve a more painterly, detailed, and visually appealing final result.
The two contenders for the paper I planned to use were both from a Hahnemühle sample pack I purchased from B&H Photo a few months earlier. While I won’t claim to know everything about fine art papers, I want to express how excited I was with the final results I achieved using Hahnemühle Museum Etching paper and William Turner paper. Both are excellent fine art papers made from 100% cotton rag, with one key difference: their weight. The Museum Etching paper weighs in at 350 gsm, while the William Turner paper is 310 gsm.
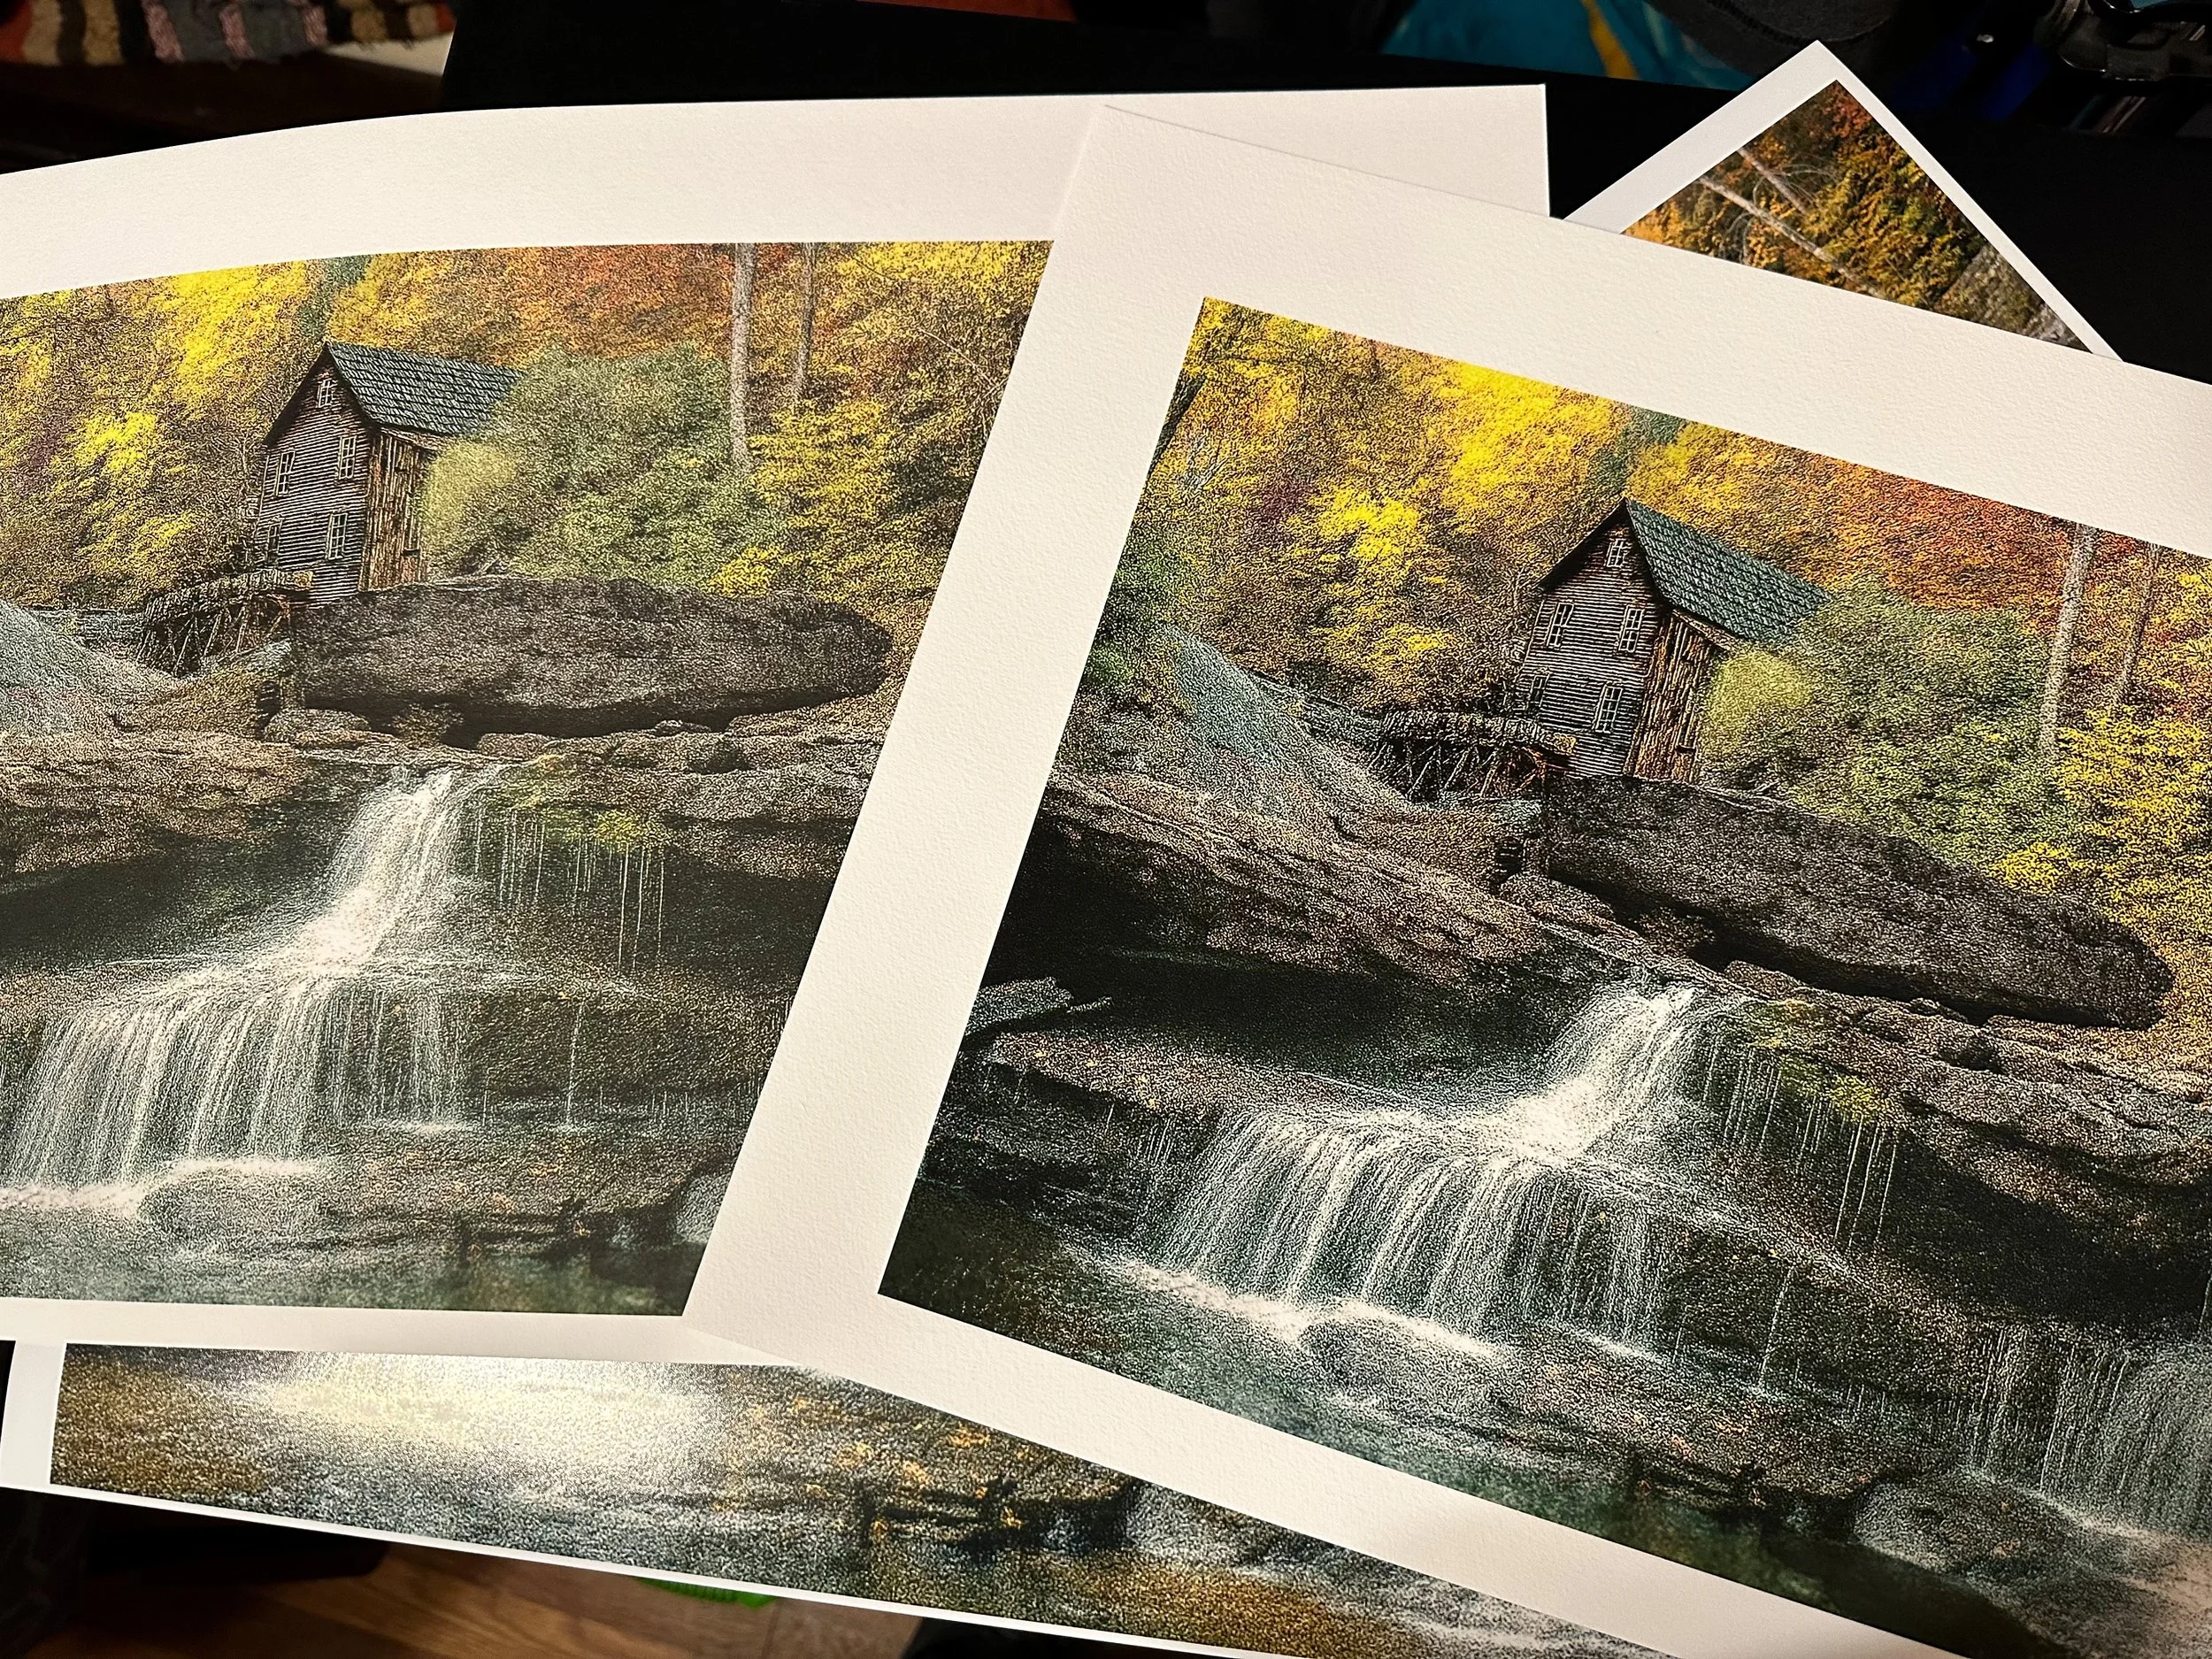
Below is the Museum Etching paper on the left and the William Turner paper on the right. After a thorough comparison, the William Turner paper had the appropriate contrast; it retained detail and depth in dark and shadowy areas and allowed the colors in the image to stand out more than in the Museum Etching paper, as shown in the pictures below. It emerged as the clear winner for me. I did a black-and-white to be sure of my final decision.

First Impressions: Hahnemühle Fine Art Papers
We have loaded new inks into our Canon Pro-1100 and replaced the maintenance cartridge. Now it's time to do some test prints.
First, I prepared the 2 images for print. These photos were taken with the LG G5 for the flower and the iPhone XS Max for the town image between 2016 and 2020. Their file sizes were between 1.4 and 2 megabytes. So to rid the images of any pixelation I used Topaz Gigapixel to enhance them for enlargements, which increased their sizes to about 30 and 45 megabytes. After that, I edited the images in Adobe Lightroom and Capture One.
I chose to test Hahnemühle fine art papers, focusing on their textured and Baryta stock. I picked Hahnemühle because it is one of the oldest paper companies, and its reputation among my peers influenced my decision. I bought four sample packs, each containing two sheets of each paper type. So far, I have tried three of the papers, and I'm impressed with the results. The first prints featured a flower on a steel table. I printed a large 17x22 image on Canon Pro Luster paper as my reference. The two 8.5x11 images were printed on Hahnemühle Fine Art Baryta gsm 300 with a satin finish. This paper is thicker than I am used to; it feels like cardstock. It held together well, especially in the blacks and shadows.
Next, I decided to try the Hahnemühle 13x19 papers, specifically choosing the matte fine art/textured option. The decision wasn’t straightforward, as each paper had a watercolor surface made of 100% cotton, which produced similar whiteness in the images, ranging from 87% to 88.5%. The difference was not significant. I narrowed my choices down to the William Turner and the Museum Etching paper, ultimately selecting the Museum Etching paper for this round. I have to admit that when I first held my image printed on this paper, I felt somewhat withdrawn. The colors appeared muted, and the blacks seemed muddy. I had to come to terms with the fact that this was my first experience seeing my work on a paper that wasn’t a luster finish, and I am still learning how to print my images at home. After a couple of days of observing my image from a distance and up close, using my loupe to carefully examine different parts, I began to appreciate what this paper had to offer. In the end, it won me over.
Now that I had tested the Hahnemühle Baryta and the Museum Etching paper, it was time to test one that was close to the Canon Pro Luster paper, but not a luster paper, if that even makes sense. I printed my target image on the Canon paper, as I did with the flower image. Then I looked at what the next sample pack had to offer; there were 2 types of the matte fiber papers, a glossy, a luster, and lastly a pearl surface. I went with the Hahnemühle Pearl, and let me say, it knocked me out. I found something special in this paper. I was drawn to the overall look of the image, with its bright whites and exceptional shadow retention. This was going to be my go-to fine art paper for this surface. The only thing I would want to test and compare is Red River's Arctic White paper.
Self-printing has been an incredibly rewarding experience for me since I started printing my images at home since April. I'm eager to experiment with several more sample papers from Hahnemühle, and I can't wait to share the outstanding results.
Here’s a link to the Hahnemuhle sample packs that B&H Photo offers.
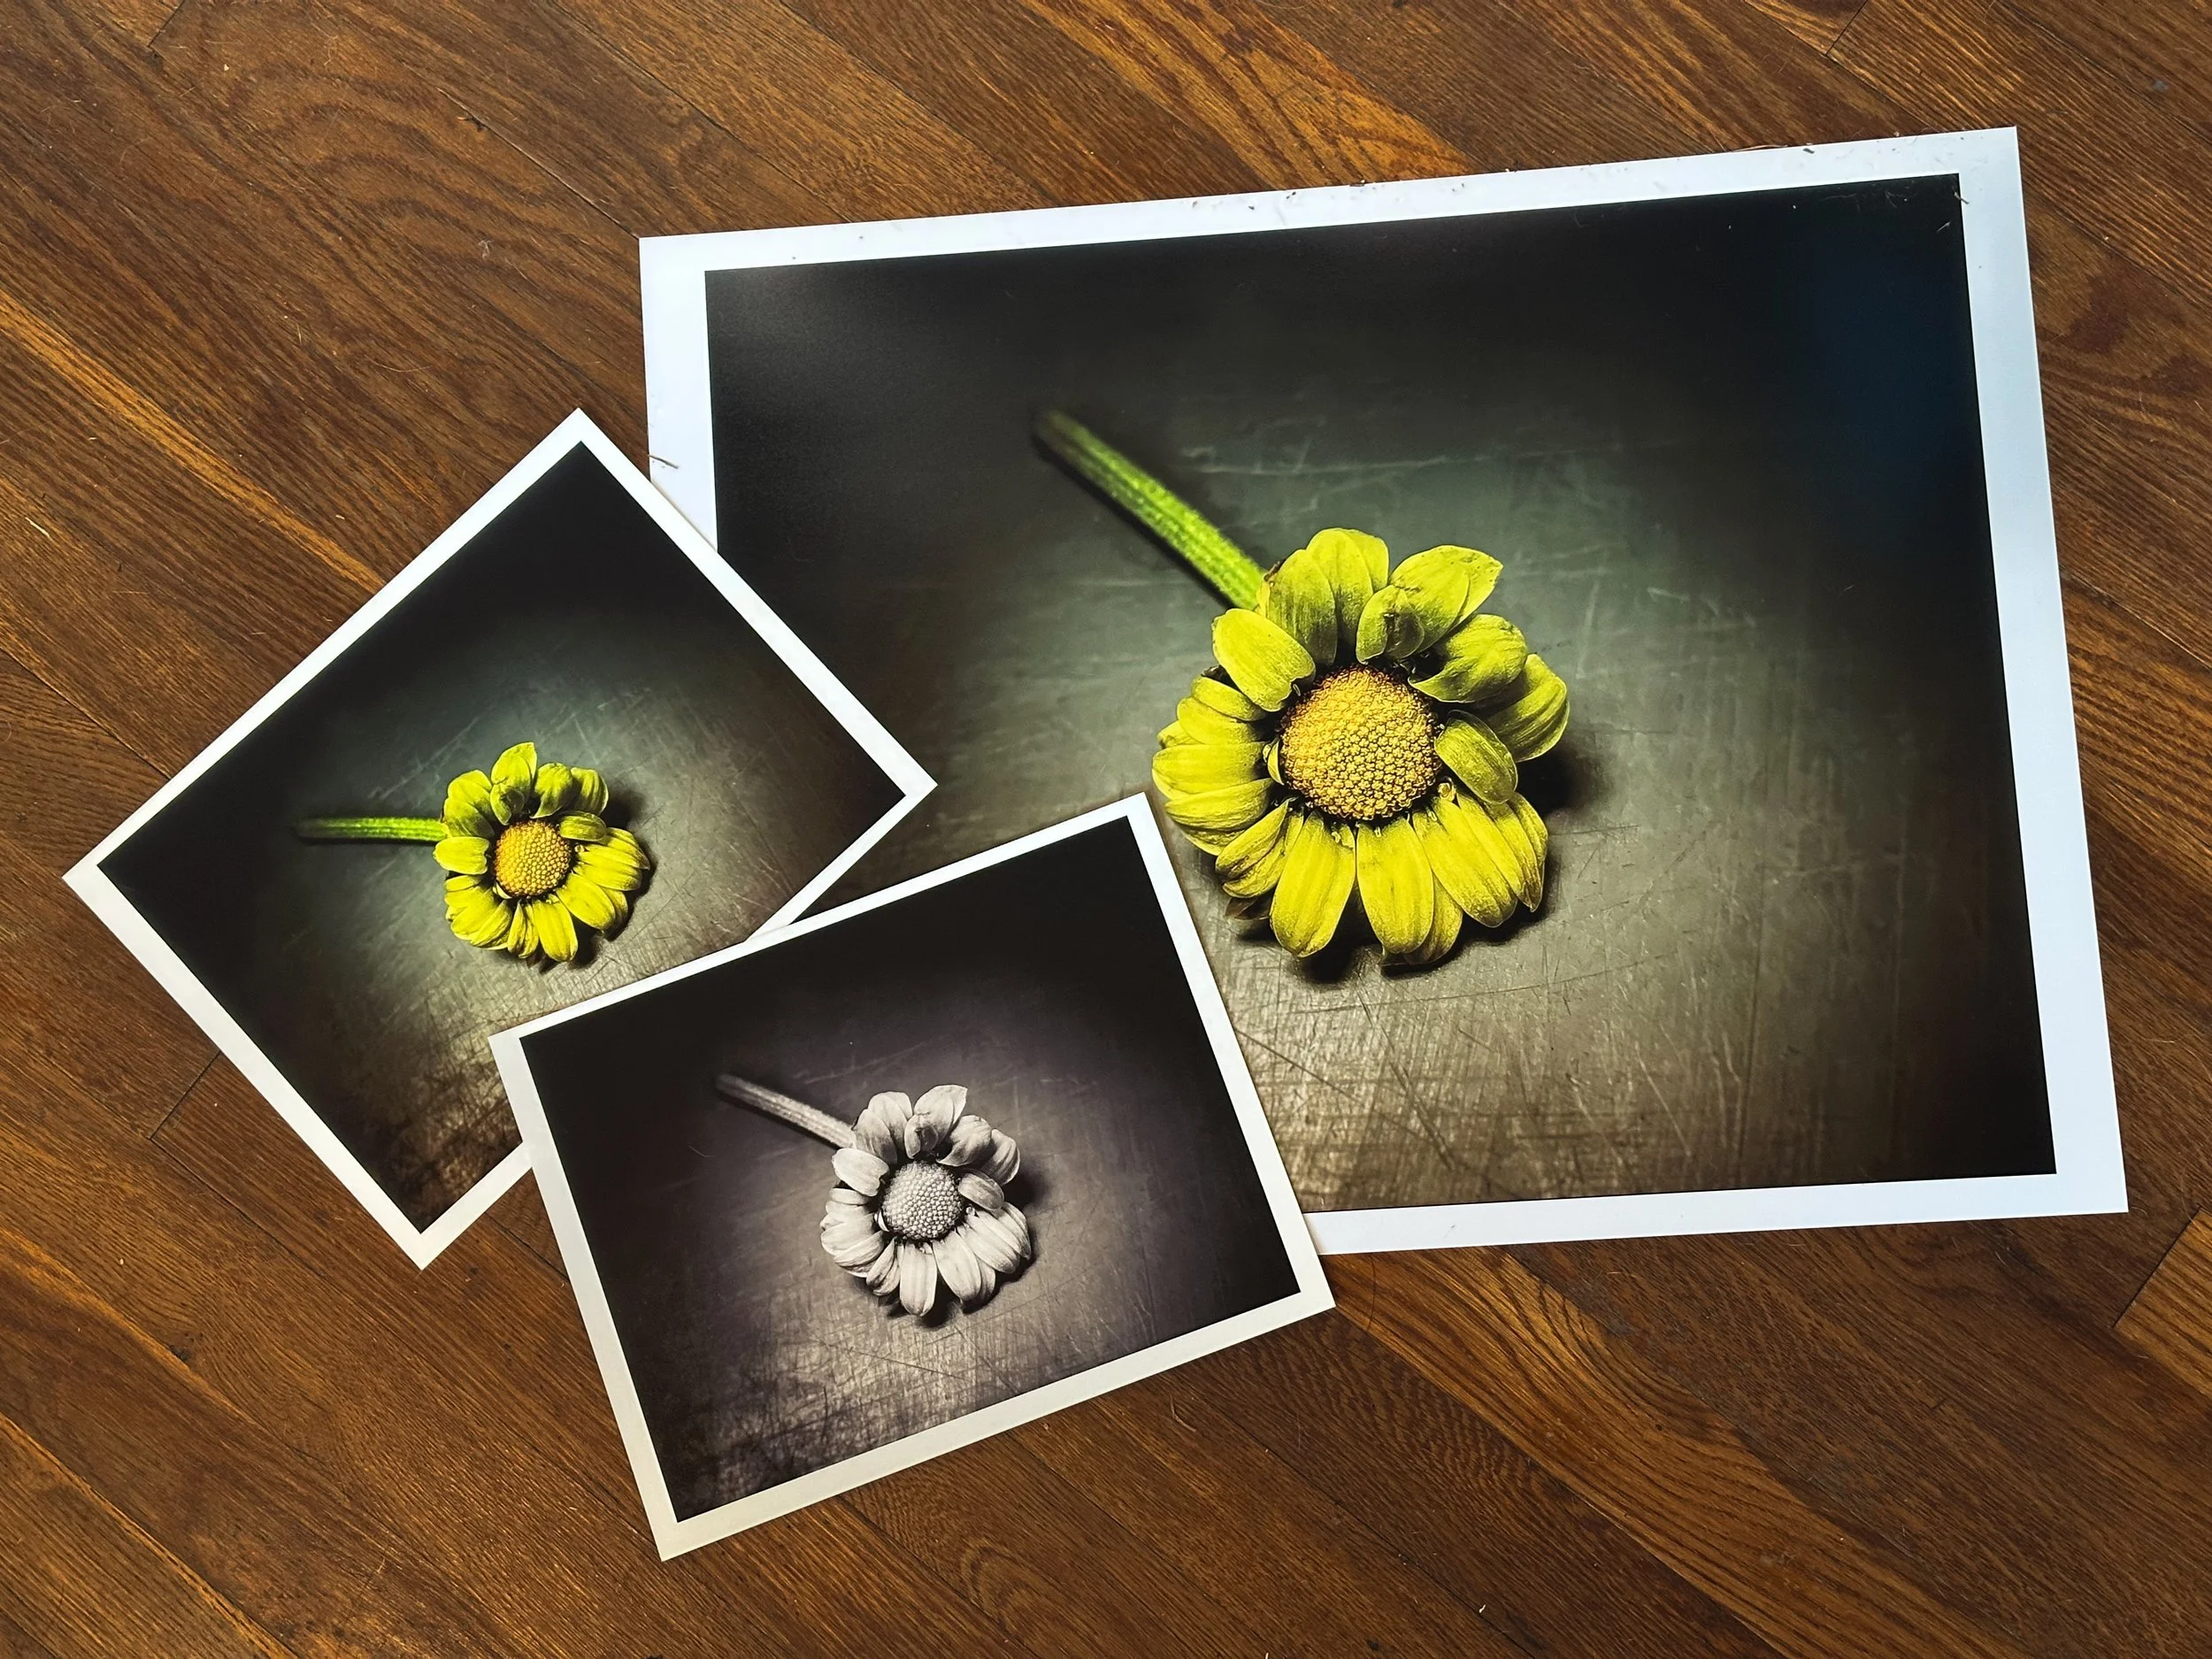
Above (L-R) (8.5×11) Hahnmühle Fine Art Baryta Satin 300 gsm , (17×22) Canon Pro Luster 260 gsm
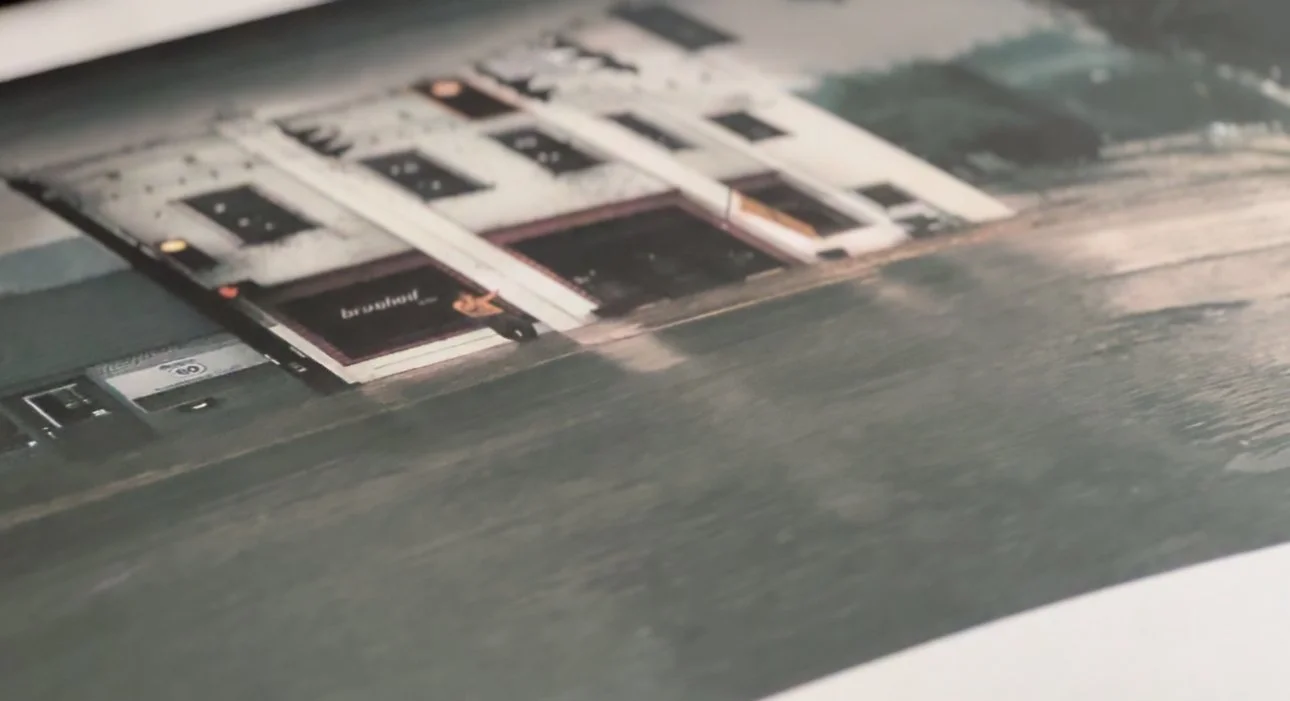
Below (L-R) Hahnmühle Museum Etching 350 gsm, Hahnemühle Pearl 310 gsm , Canon Pro Luster 260 gsm
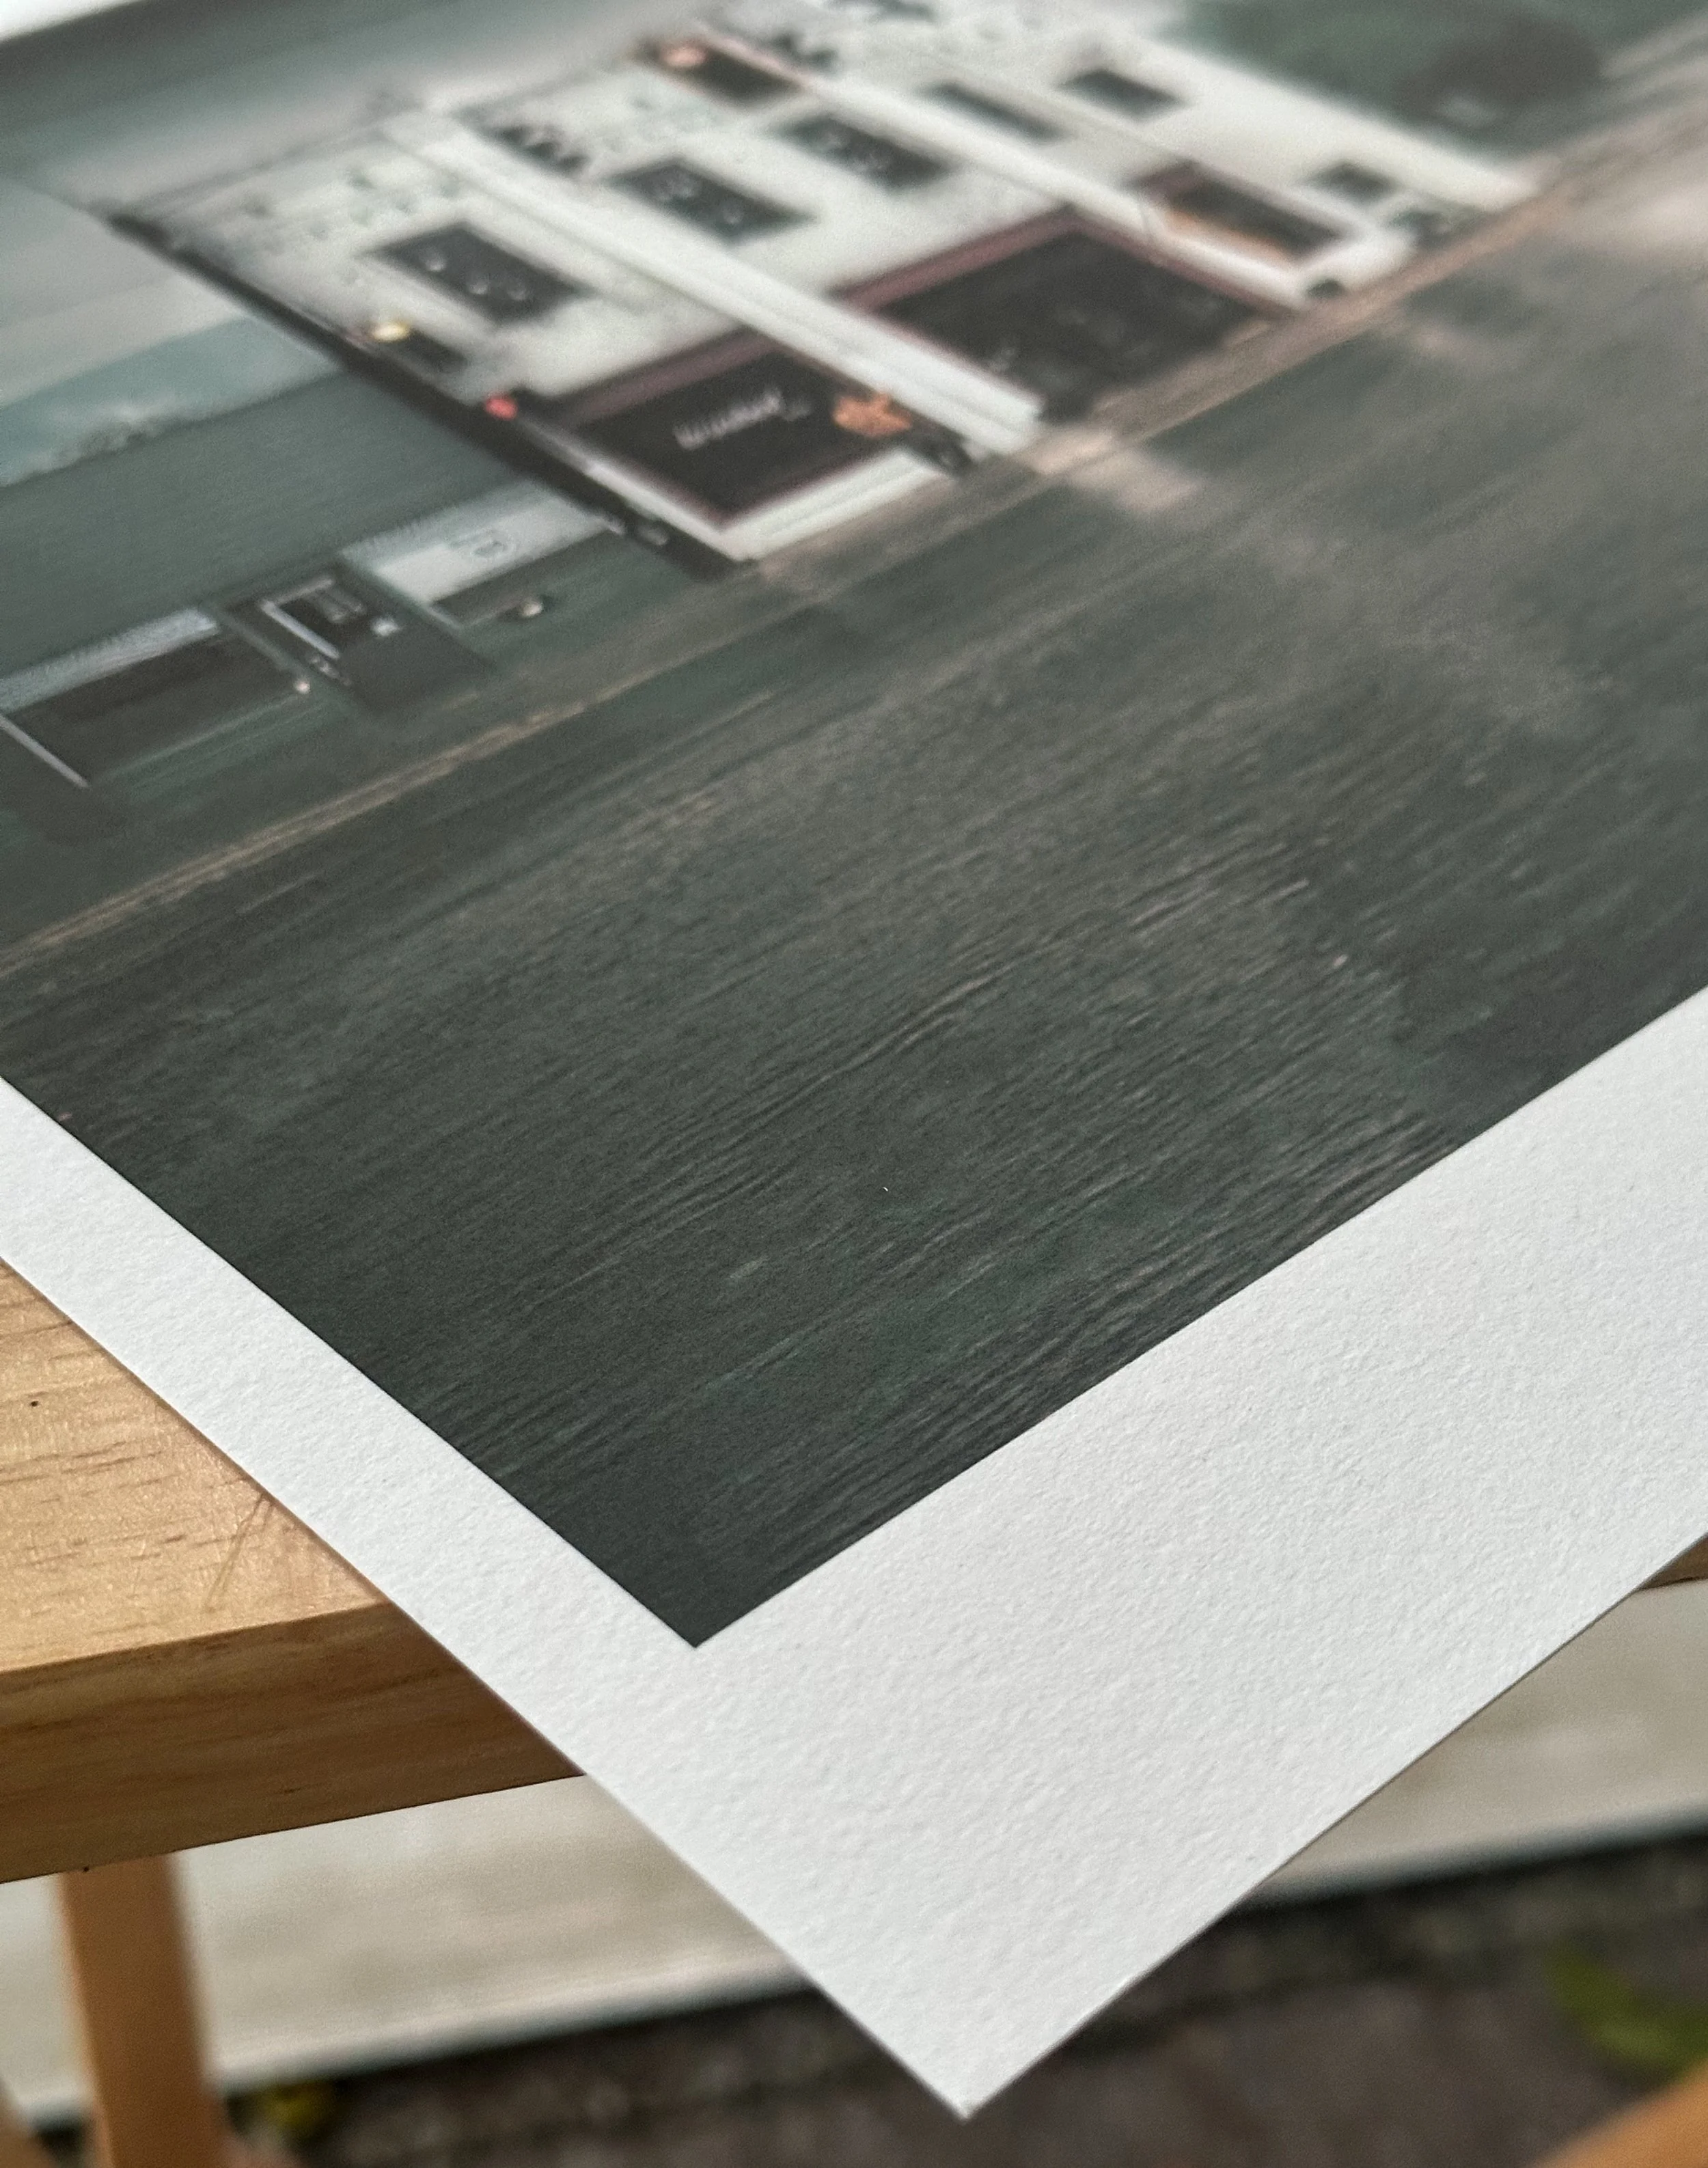
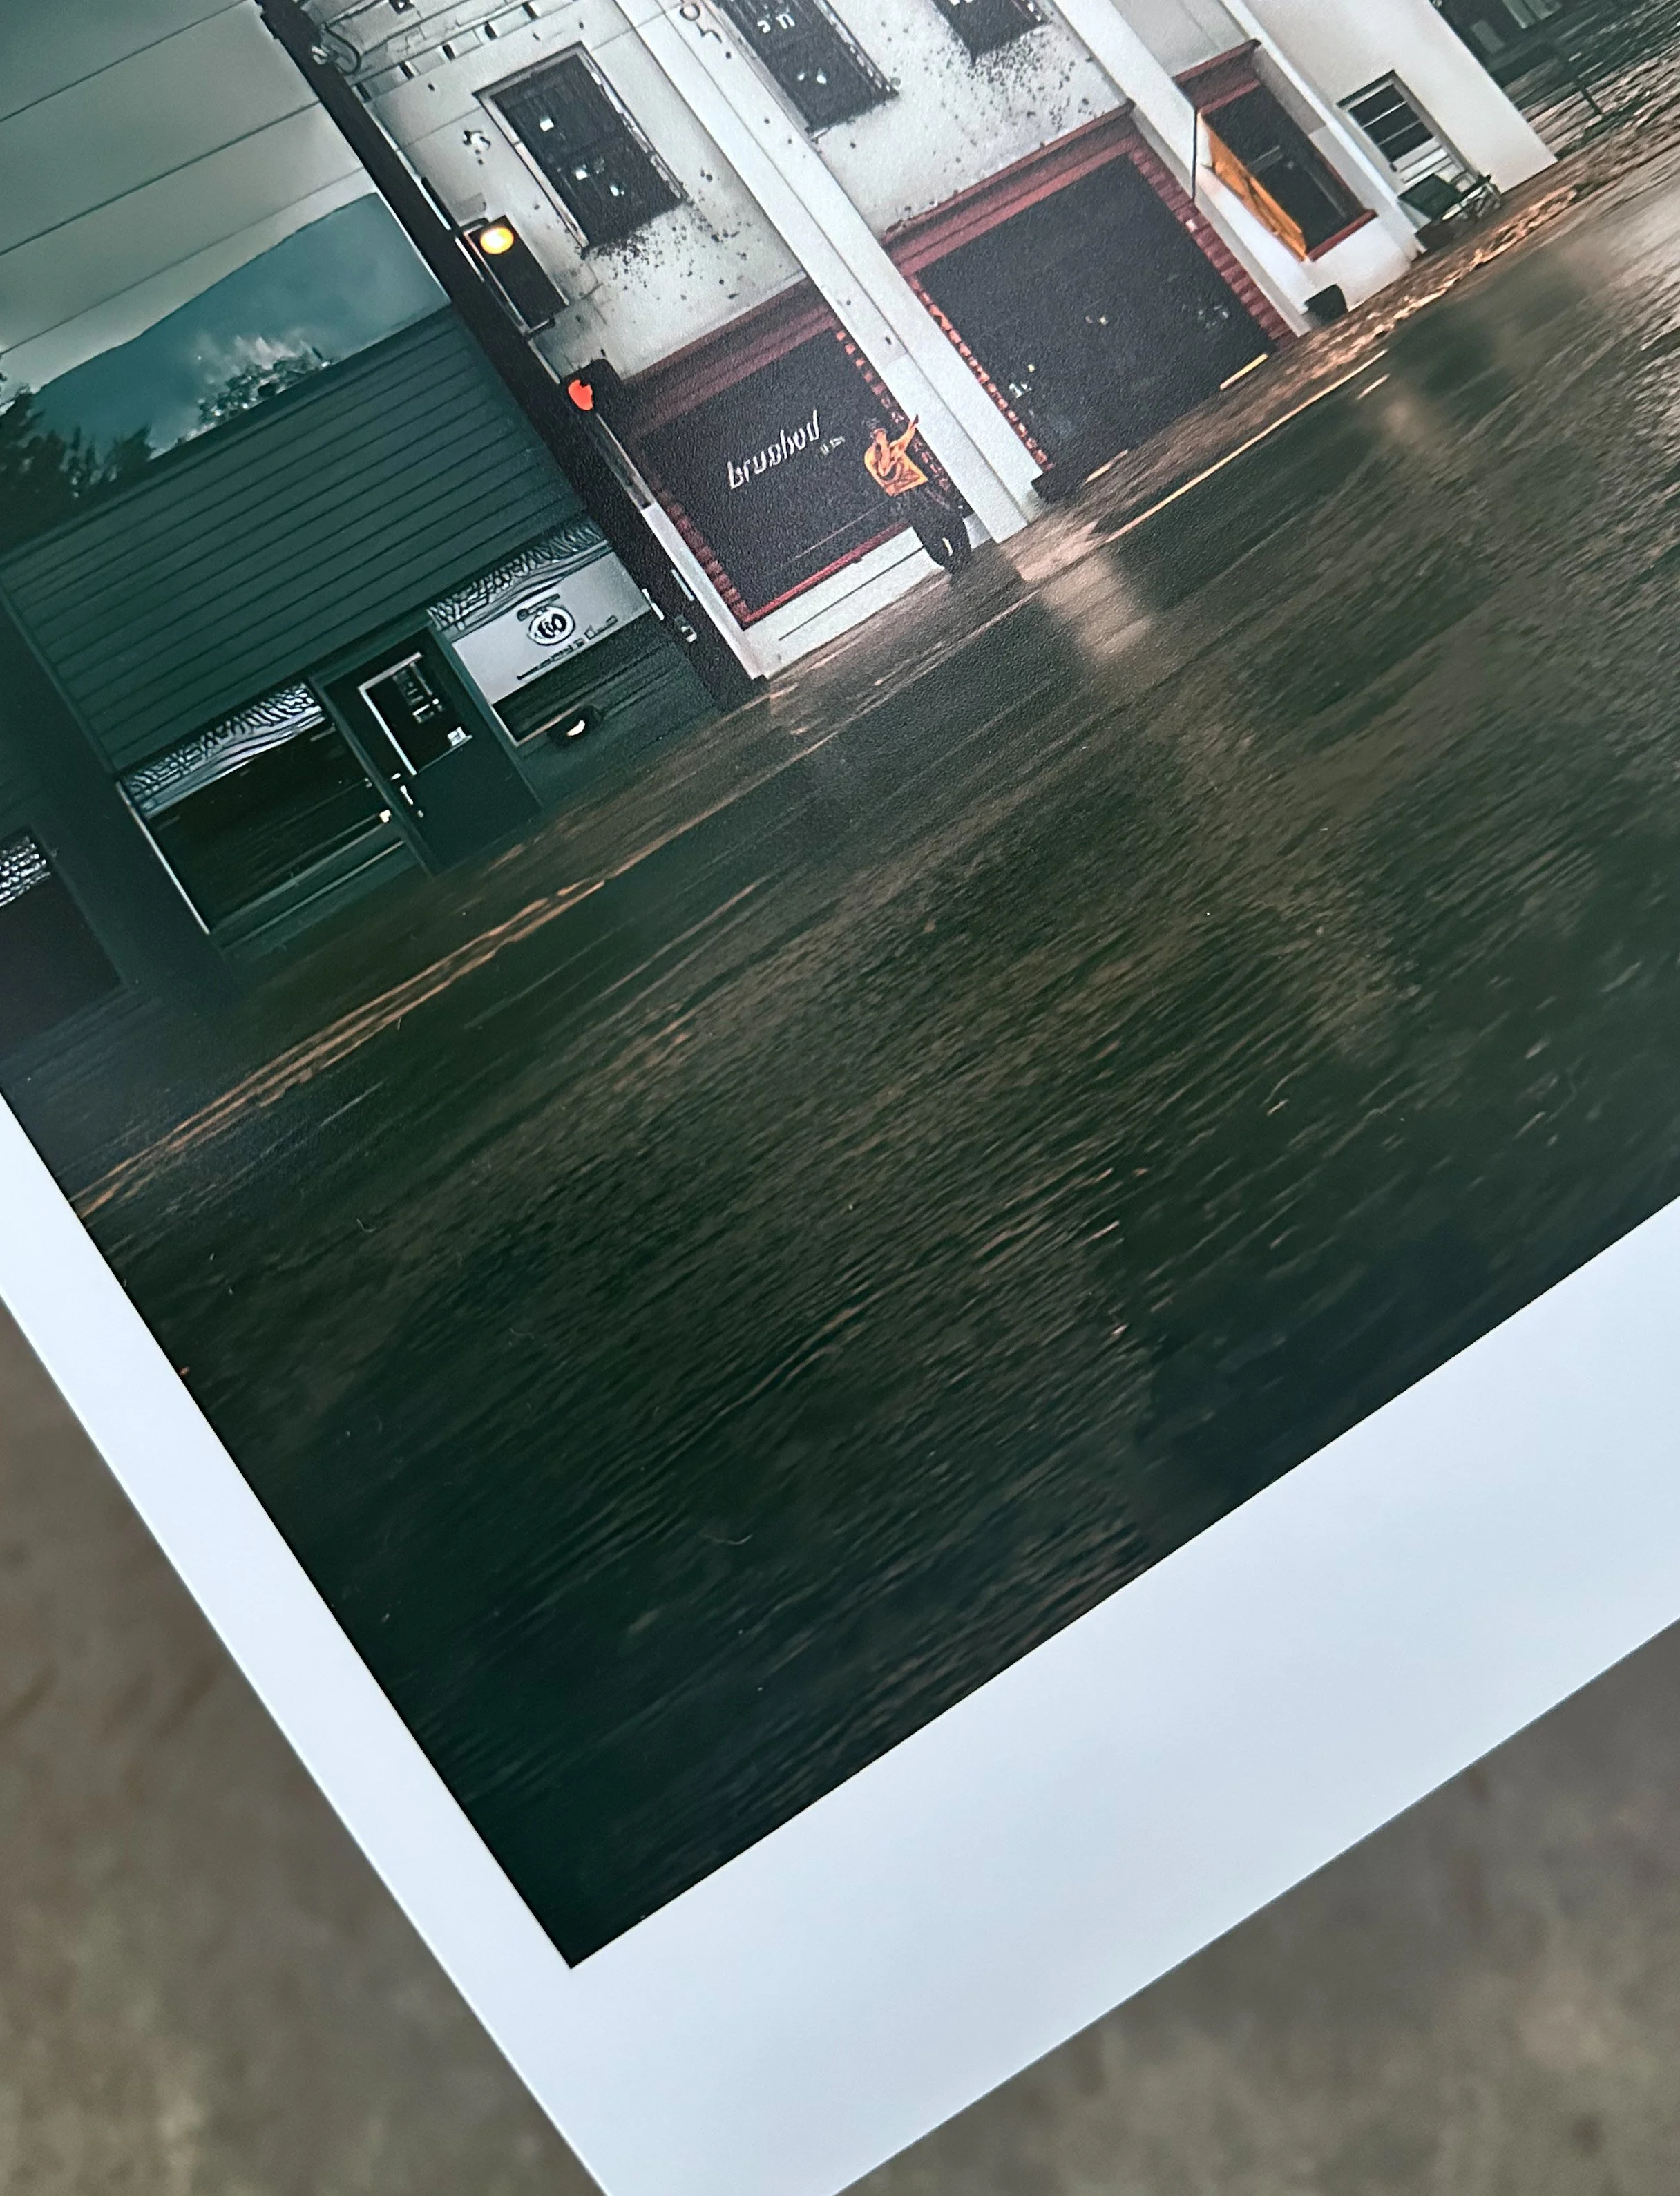
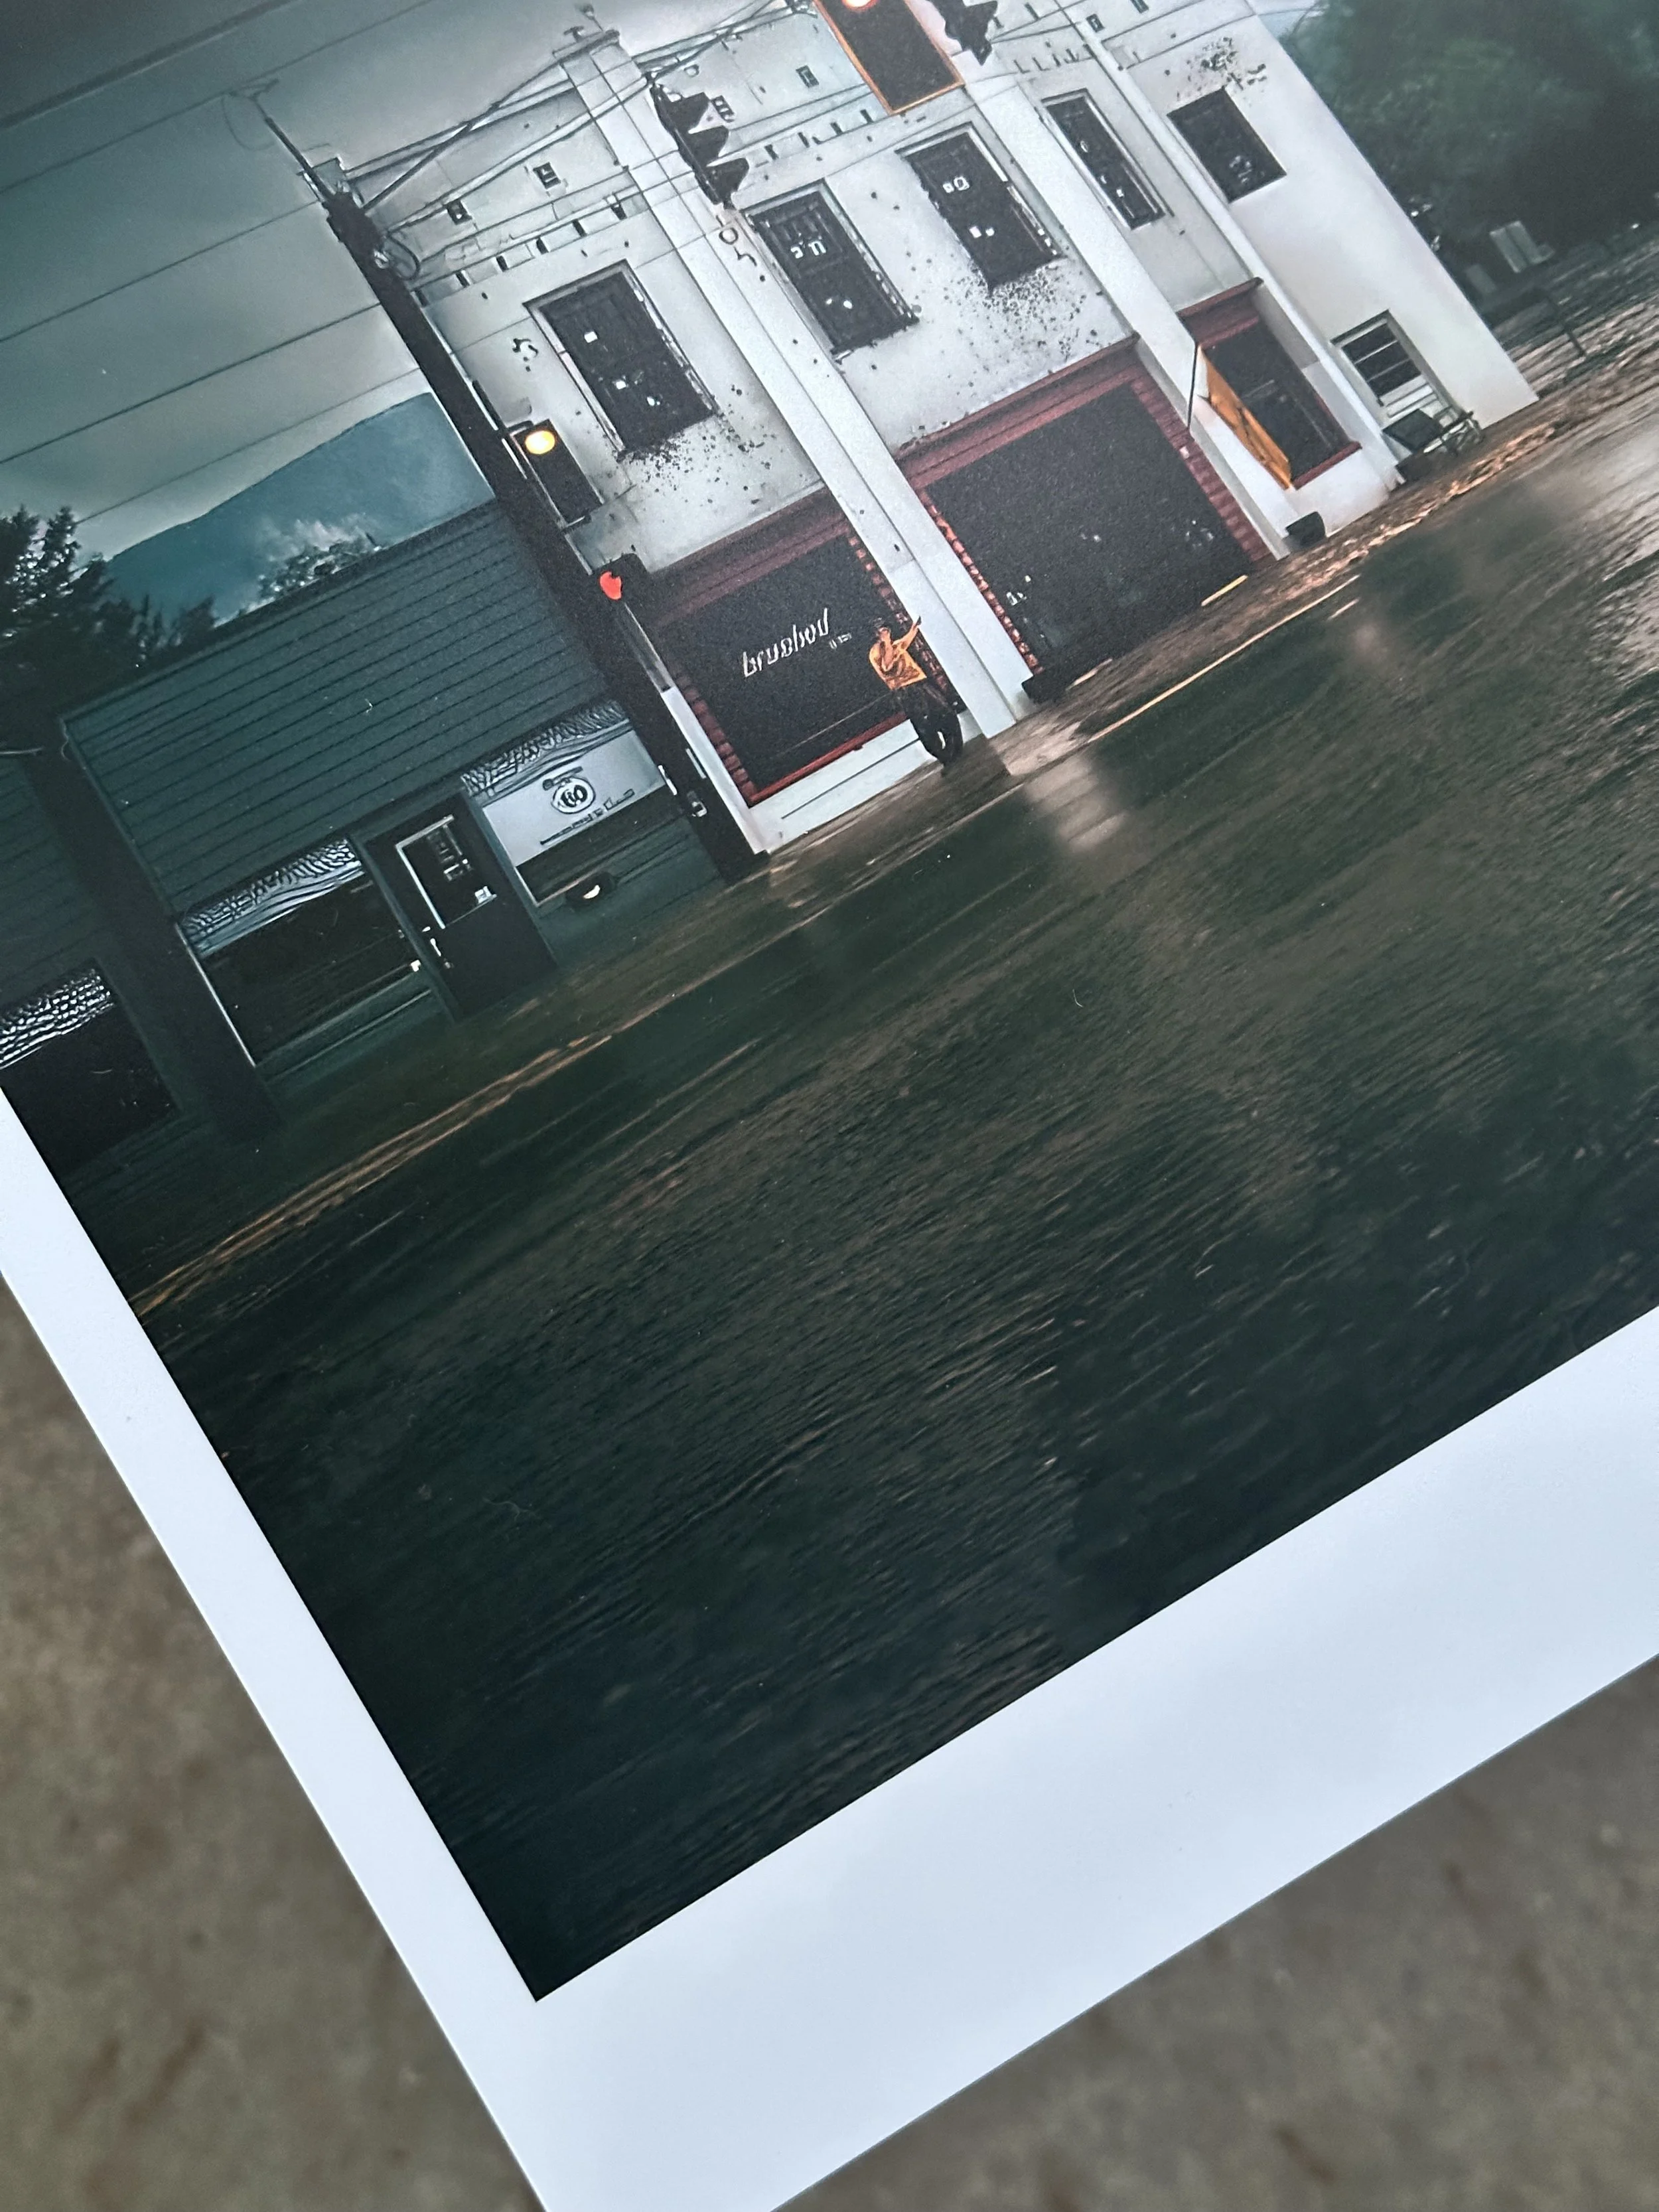

Left: Hahnemühle Museum Etching Paper 350 gsm Right: Hahnemühle Pearl 310 gsm

Places: The Great Smoky Mountains: Walden Creek to Cherokee
From our cabin in Walden creek to Cherokee, North Carolina, we drove the 33 miles of scenic road to places such as the Sugarland’s, Chimney Top and the highest peak in the Smokey mountains, Kuwohi formally known as Clingmans dome,
From our cabin in Walden Creek to Cherokee, North Carolina, we drove 33 miles of scenic road to places like Sugarland's, Chimney Tops, and the highest peak in the Smoky Mountains, Kuwohi, formerly known as Clingmans Dome. The U.S. Board of Geographic Names restored the Cherokee name Kuwohi on Wednesday, September 18, 2024, and voted to change the name of the highest point in Great Smoky Mountains National Park from Clingmans Dome to Kuwohi, a Cherokee name for the mountain. The tower at the top of Kuwohi is at 6,643 feet elevation, making it the highest point in the park.


The balcony view from our cabin in Walden Creek is breathtaking. This photograph was taken with a Nikon D800 and a Nikon 20-35mm f/2.8 lens. I combined five carefully selected images out of 20, which varied in exposure, then stacked them in Lightroom with minor edits in Camera Raw. The result highlights the serene landscape around the cabin.

I spotted this curious Coyote in Cade's Cove, and I believe it was actively searching for a handout, as it stuck around for quite some time, showing little hesitation in my presence. Shot this image with a Sony 7RII with a Sony G master 135mm f1.8.


From the top left to the right, the photos were taken in Cades Cove. My wife captured a doe right beside our car with her iPhone 14; it almost reached the passenger window. Meanwhile, I snapped a shot of a Tom by the roadside. The most astonishing encounter was with a Bull Elk near the Oconaluftee Visitor Center, close to Cherokee, North Carolina. The mating season in September probably explains why we heard a Bull Elk's calls near our cabin early in the morning. I managed to capture this incredible moment with my iPhone 14 Pro Max.