
First Impressions: Hahnemühle Fine Art Papers
We have loaded new inks into our Canon Pro-1100 and replaced the maintenance cartridge. Now it's time to do some test prints.
First, I prepared the 2 images for print. These photos were taken with the LG G5 for the flower and the iPhone XS Max for the town image between 2016 and 2020. Their file sizes were between 1.4 and 2 megabytes. So to rid the images of any pixelation I used Topaz Gigapixel to enhance them for enlargements, which increased their sizes to about 30 and 45 megabytes. After that, I edited the images in Adobe Lightroom and Capture One.
I chose to test Hahnemühle fine art papers, focusing on their textured and Baryta stock. I picked Hahnemühle because it is one of the oldest paper companies, and its reputation among my peers influenced my decision. I bought four sample packs, each containing two sheets of each paper type. So far, I have tried three of the papers, and I'm impressed with the results. The first prints featured a flower on a steel table. I printed a large 17x22 image on Canon Pro Luster paper as my reference. The two 8.5x11 images were printed on Hahnemühle Fine Art Baryta gsm 300 with a satin finish. This paper is thicker than I am used to; it feels like cardstock. It held together well, especially in the blacks and shadows.
Next, I decided to try the Hahnemühle 13x19 papers, specifically choosing the matte fine art/textured option. The decision wasn’t straightforward, as each paper had a watercolor surface made of 100% cotton, which produced similar whiteness in the images, ranging from 87% to 88.5%. The difference was not significant. I narrowed my choices down to the William Turner and the Museum Etching paper, ultimately selecting the Museum Etching paper for this round. I have to admit that when I first held my image printed on this paper, I felt somewhat withdrawn. The colors appeared muted, and the blacks seemed muddy. I had to come to terms with the fact that this was my first experience seeing my work on a paper that wasn’t a luster finish, and I am still learning how to print my images at home. After a couple of days of observing my image from a distance and up close, using my loupe to carefully examine different parts, I began to appreciate what this paper had to offer. In the end, it won me over.
Now that I had tested the Hahnemühle Baryta and the Museum Etching paper, it was time to test one that was close to the Canon Pro Luster paper, but not a luster paper, if that even makes sense. I printed my target image on the Canon paper, as I did with the flower image. Then I looked at what the next sample pack had to offer; there were 2 types of the matte fiber papers, a glossy, a luster, and lastly a pearl surface. I went with the Hahnemühle Pearl, and let me say, it knocked me out. I found something special in this paper. I was drawn to the overall look of the image, with its bright whites and exceptional shadow retention. This was going to be my go-to fine art paper for this surface. The only thing I would want to test and compare is Red River's Arctic White paper.
Self-printing has been an incredibly rewarding experience for me since I started printing my images at home since April. I'm eager to experiment with several more sample papers from Hahnemühle, and I can't wait to share the outstanding results.
Here’s a link to the Hahnemuhle sample packs that B&H Photo offers.
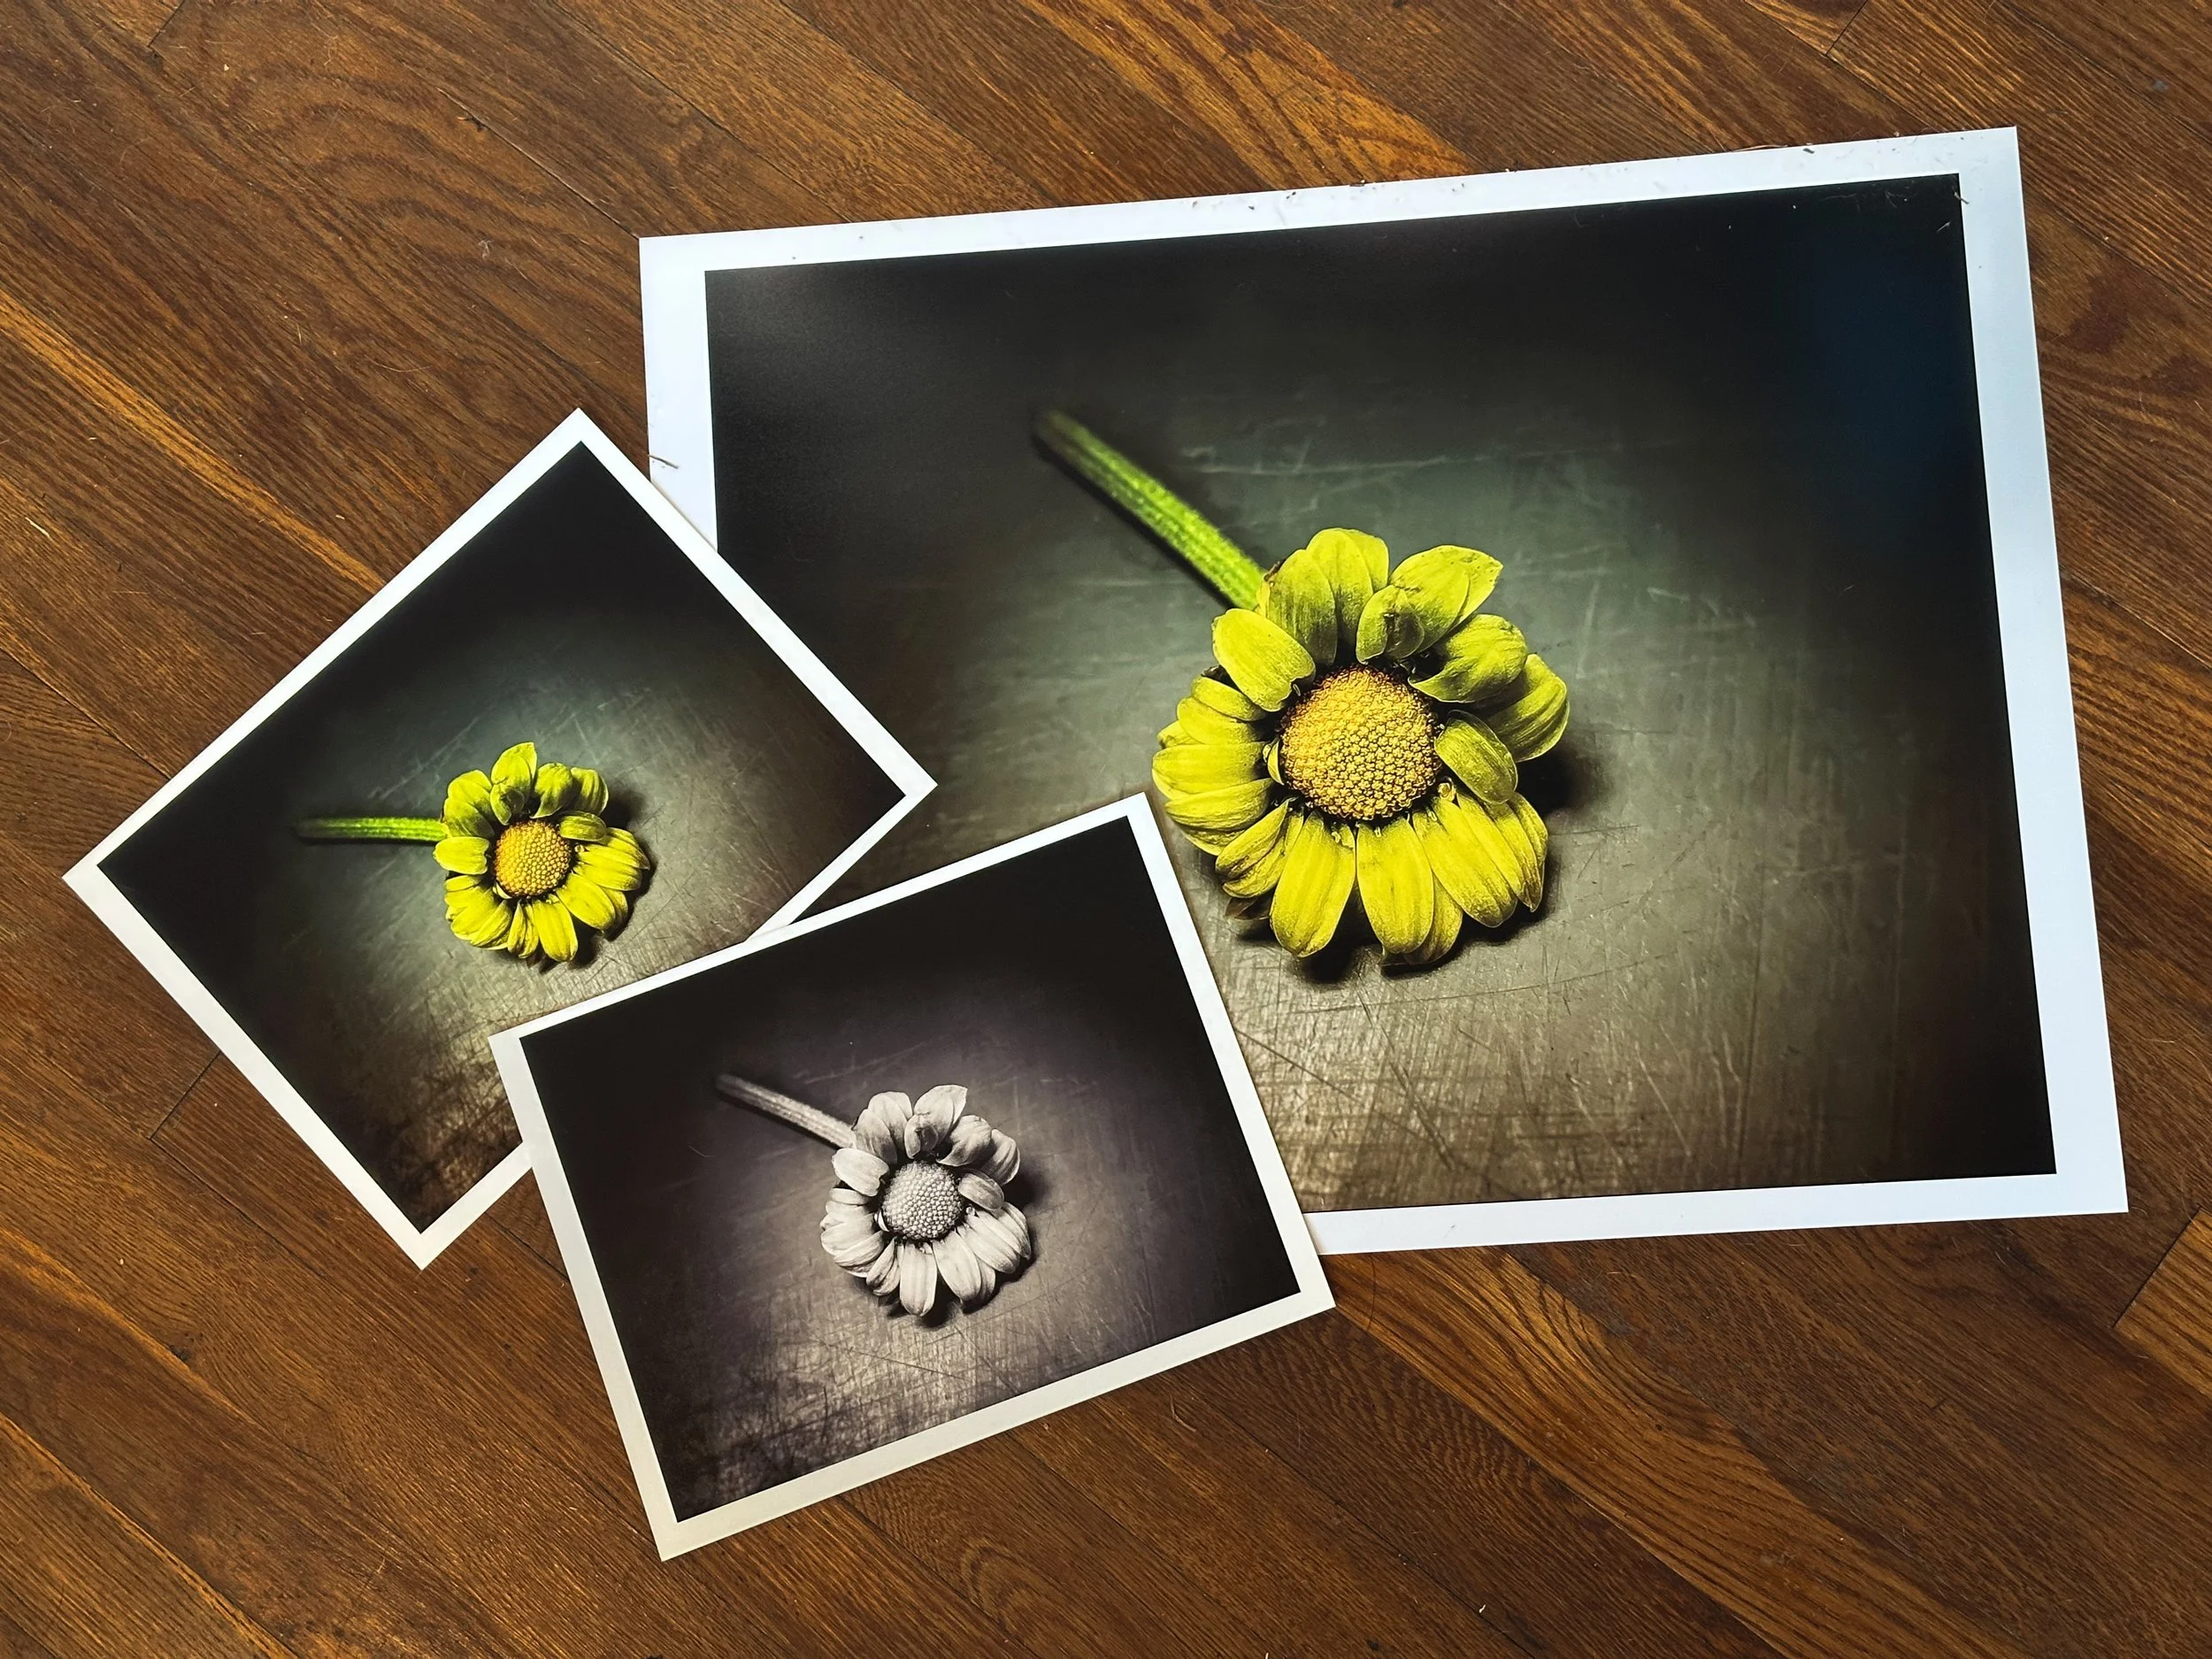
Above (L-R) (8.5×11) Hahnmühle Fine Art Baryta Satin 300 gsm , (17×22) Canon Pro Luster 260 gsm
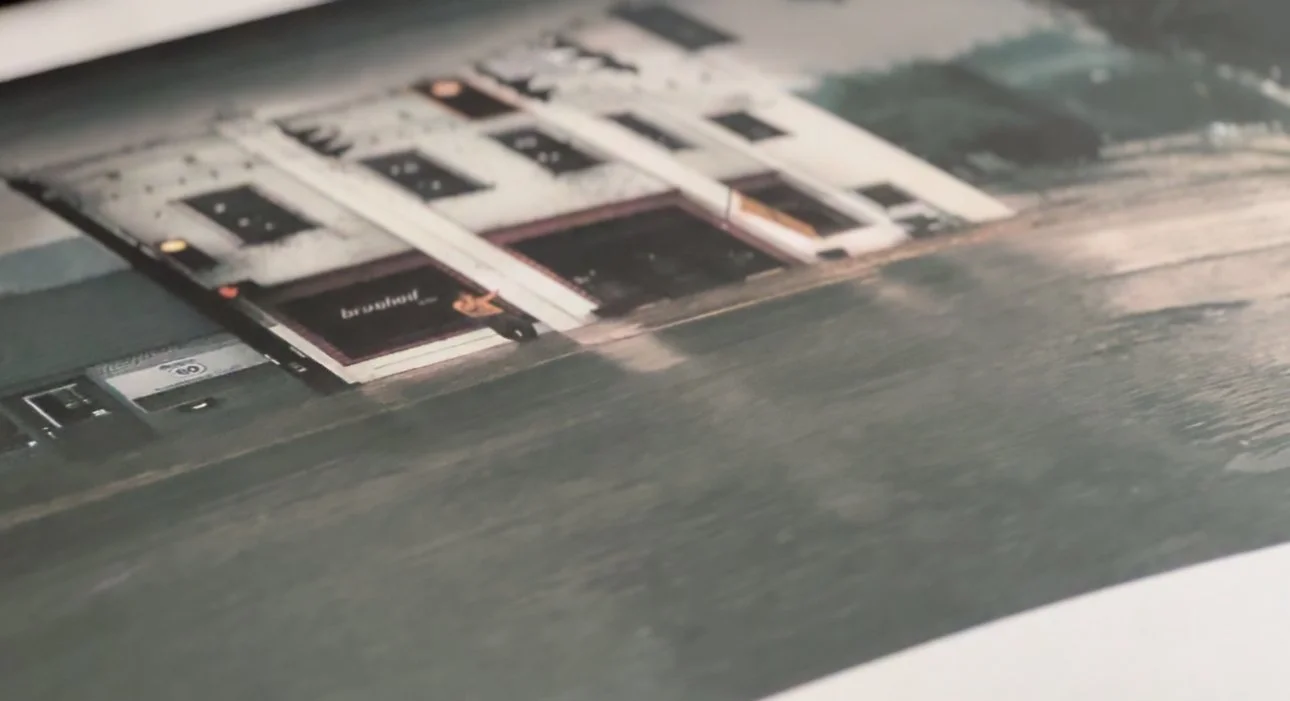
Below (L-R) Hahnmühle Museum Etching 350 gsm, Hahnemühle Pearl 310 gsm , Canon Pro Luster 260 gsm
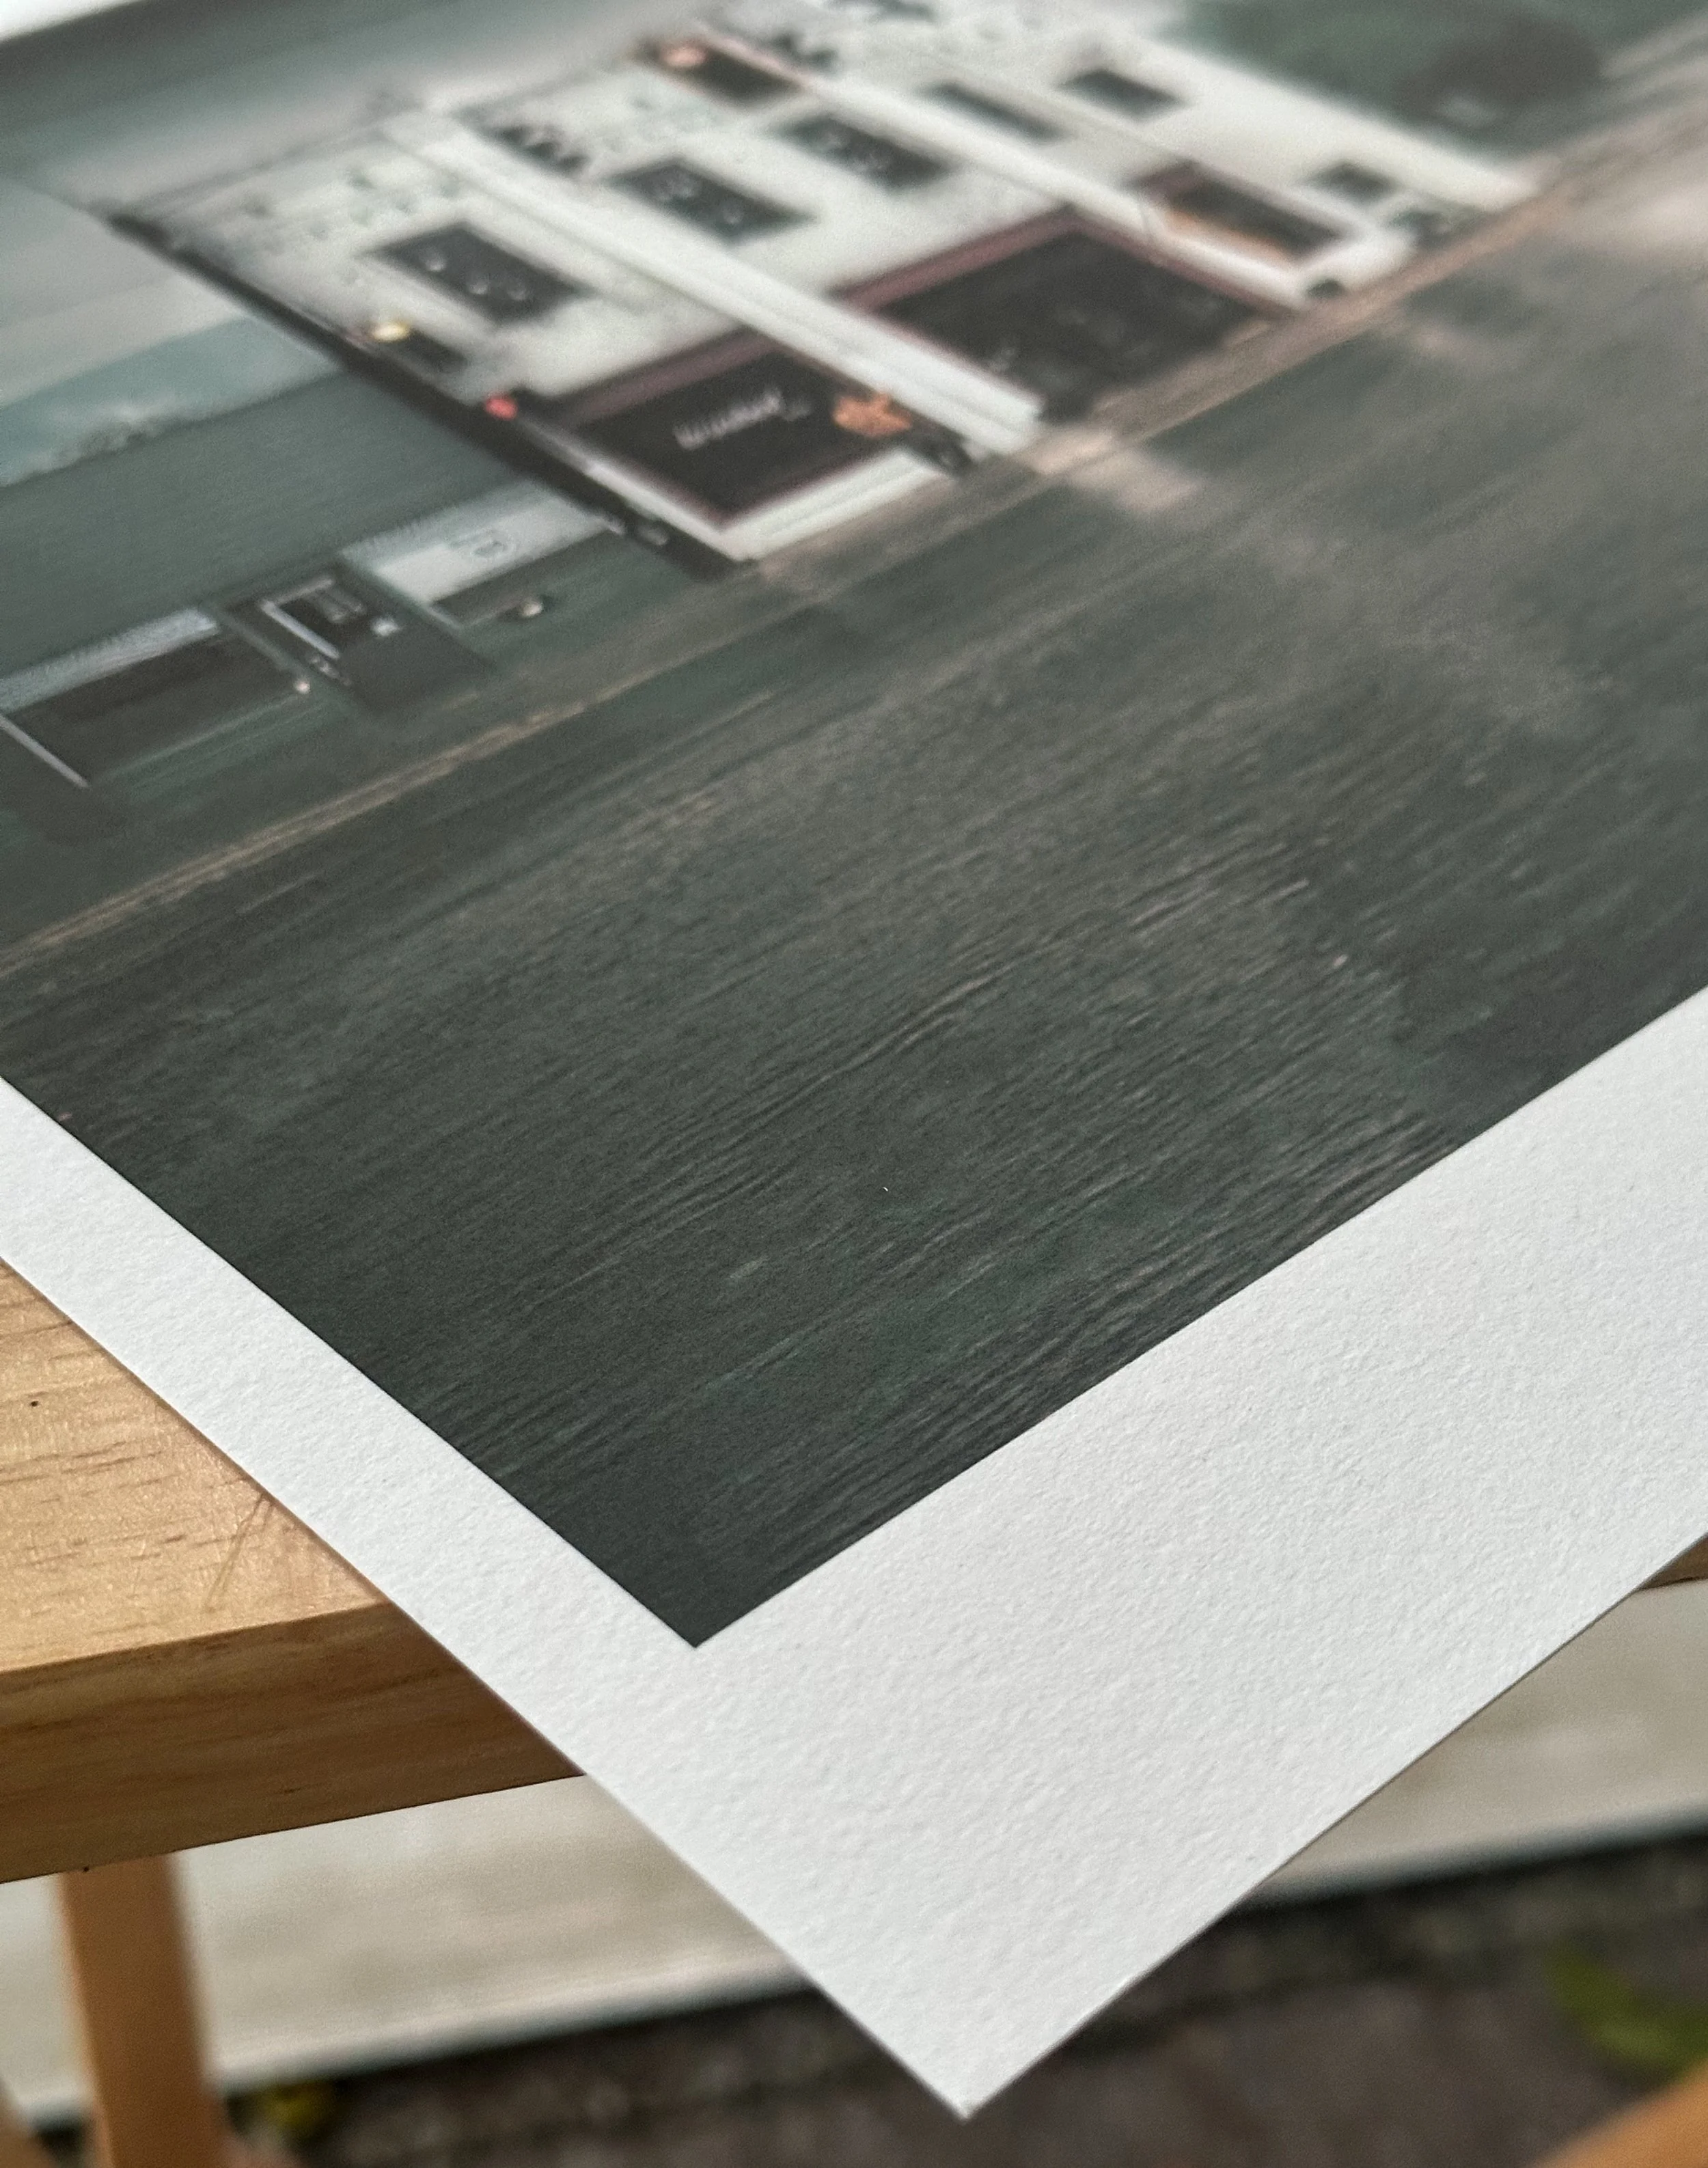
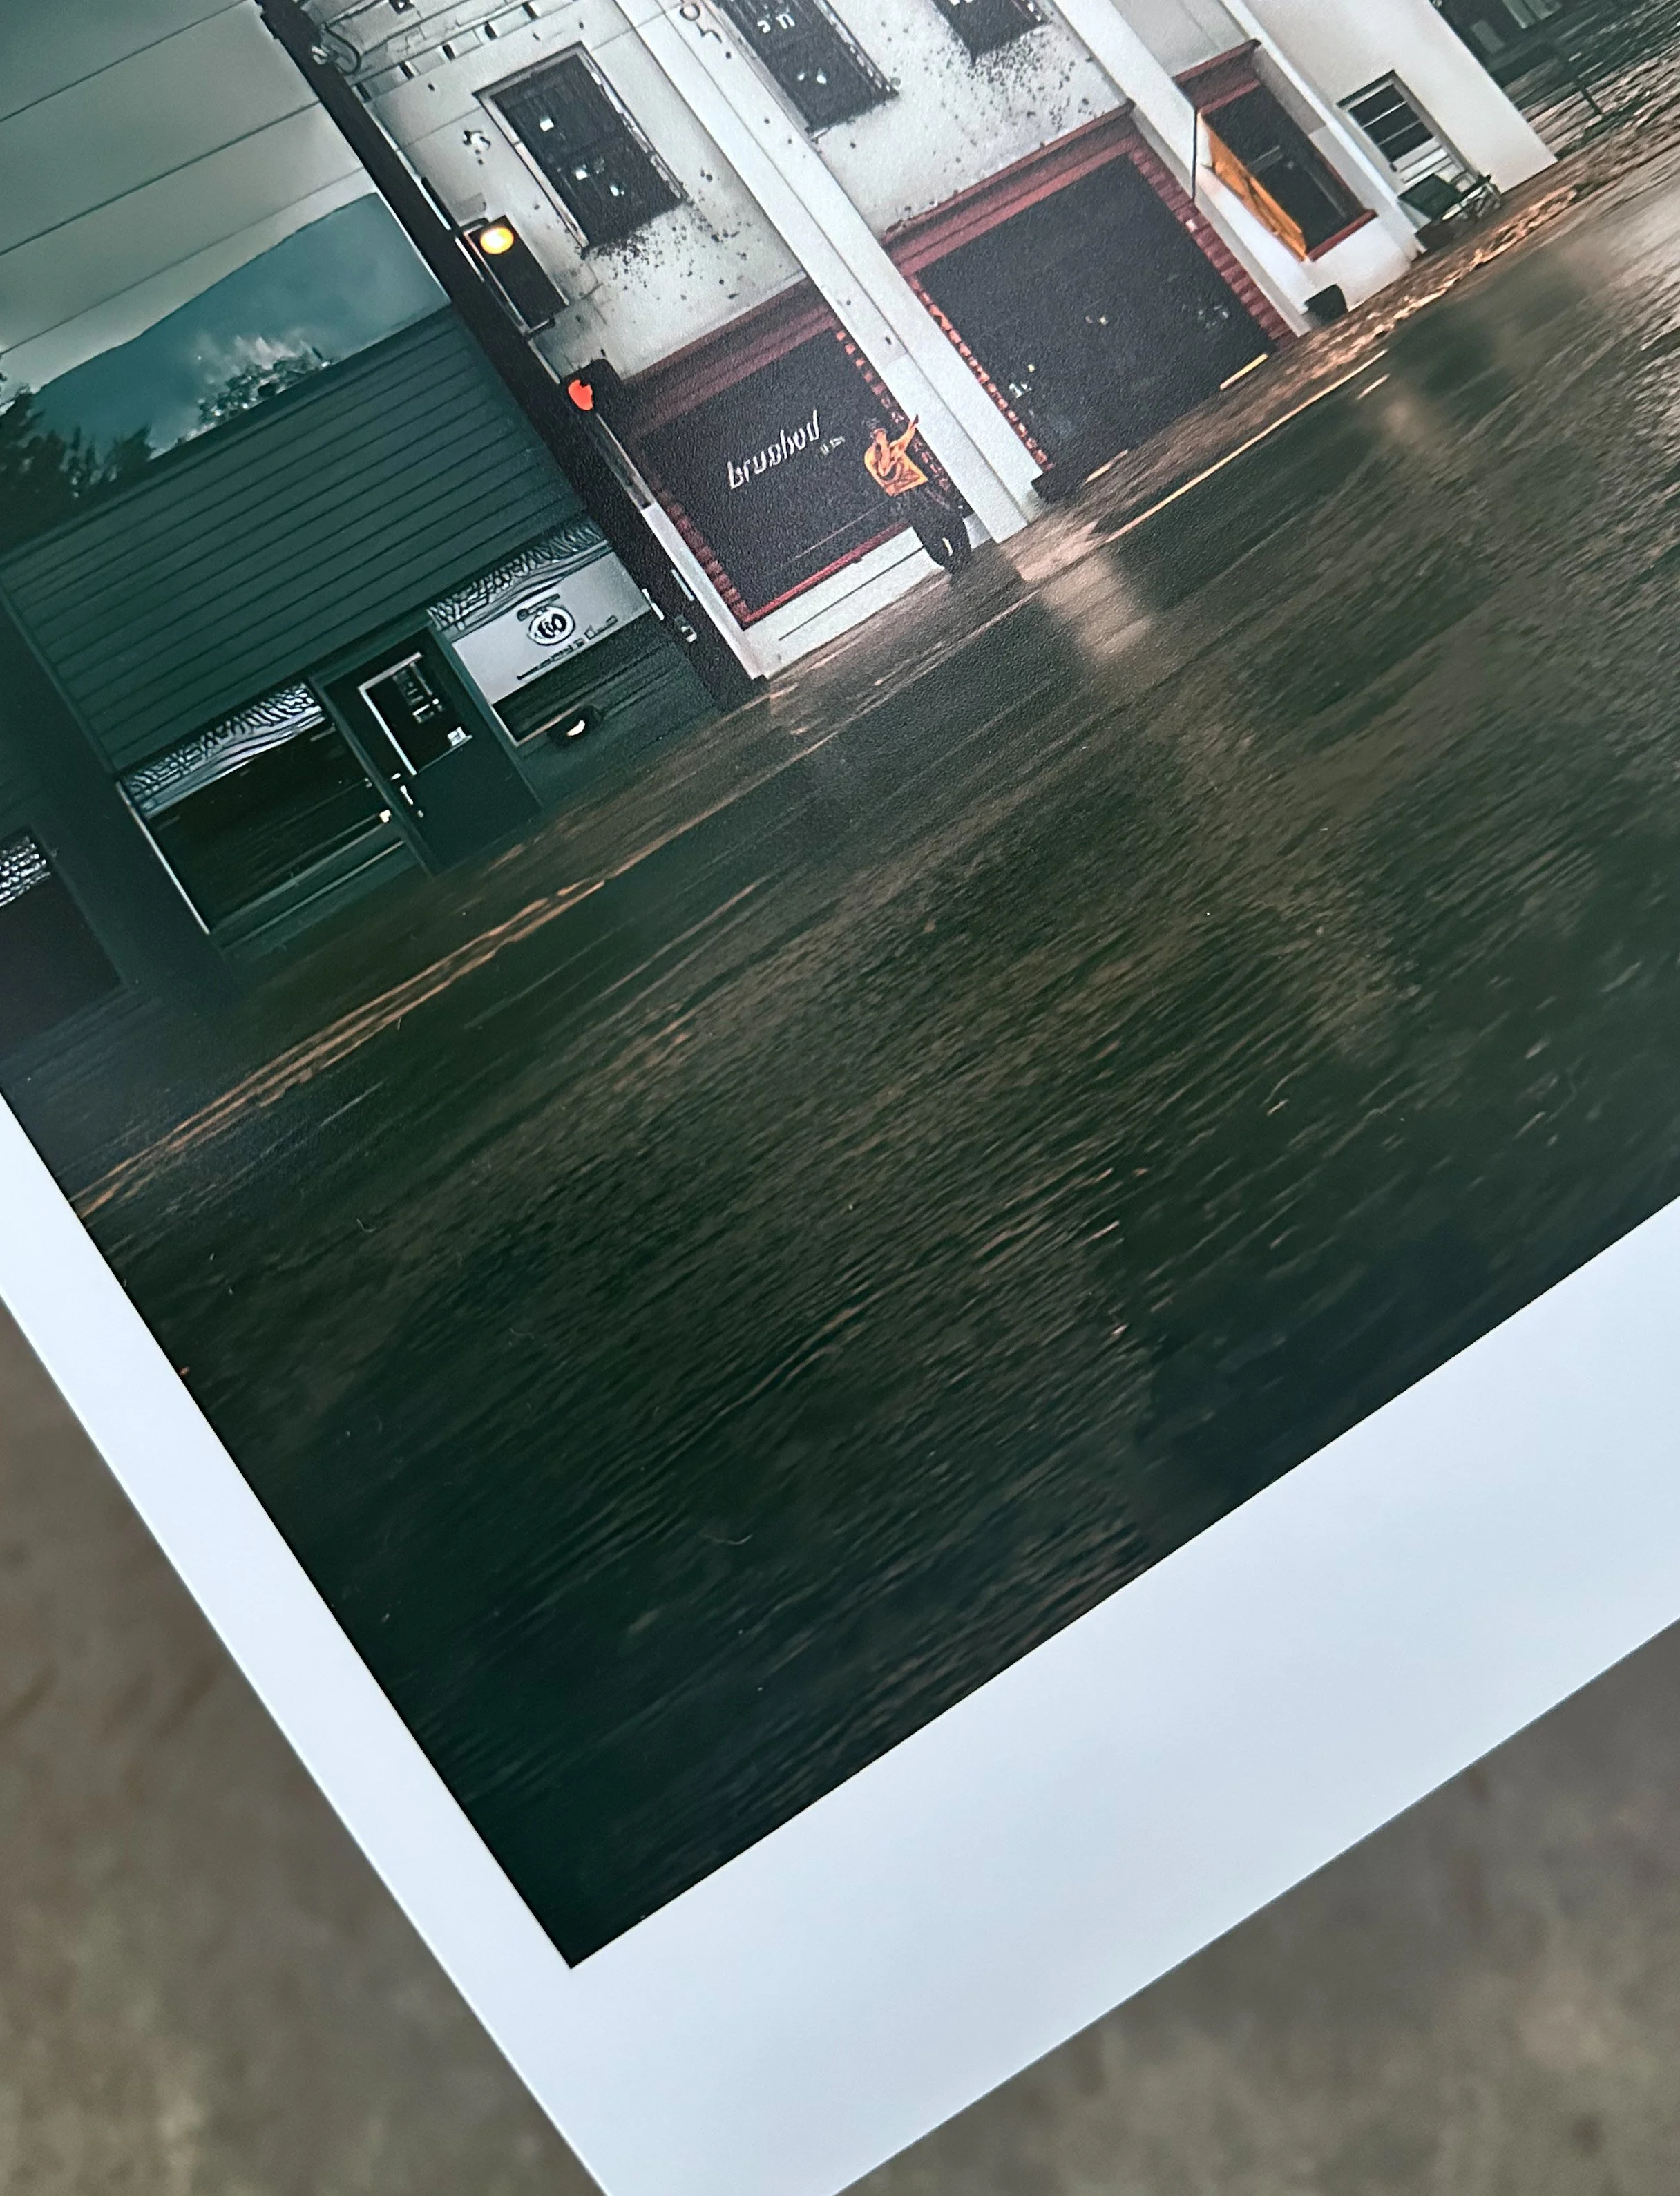
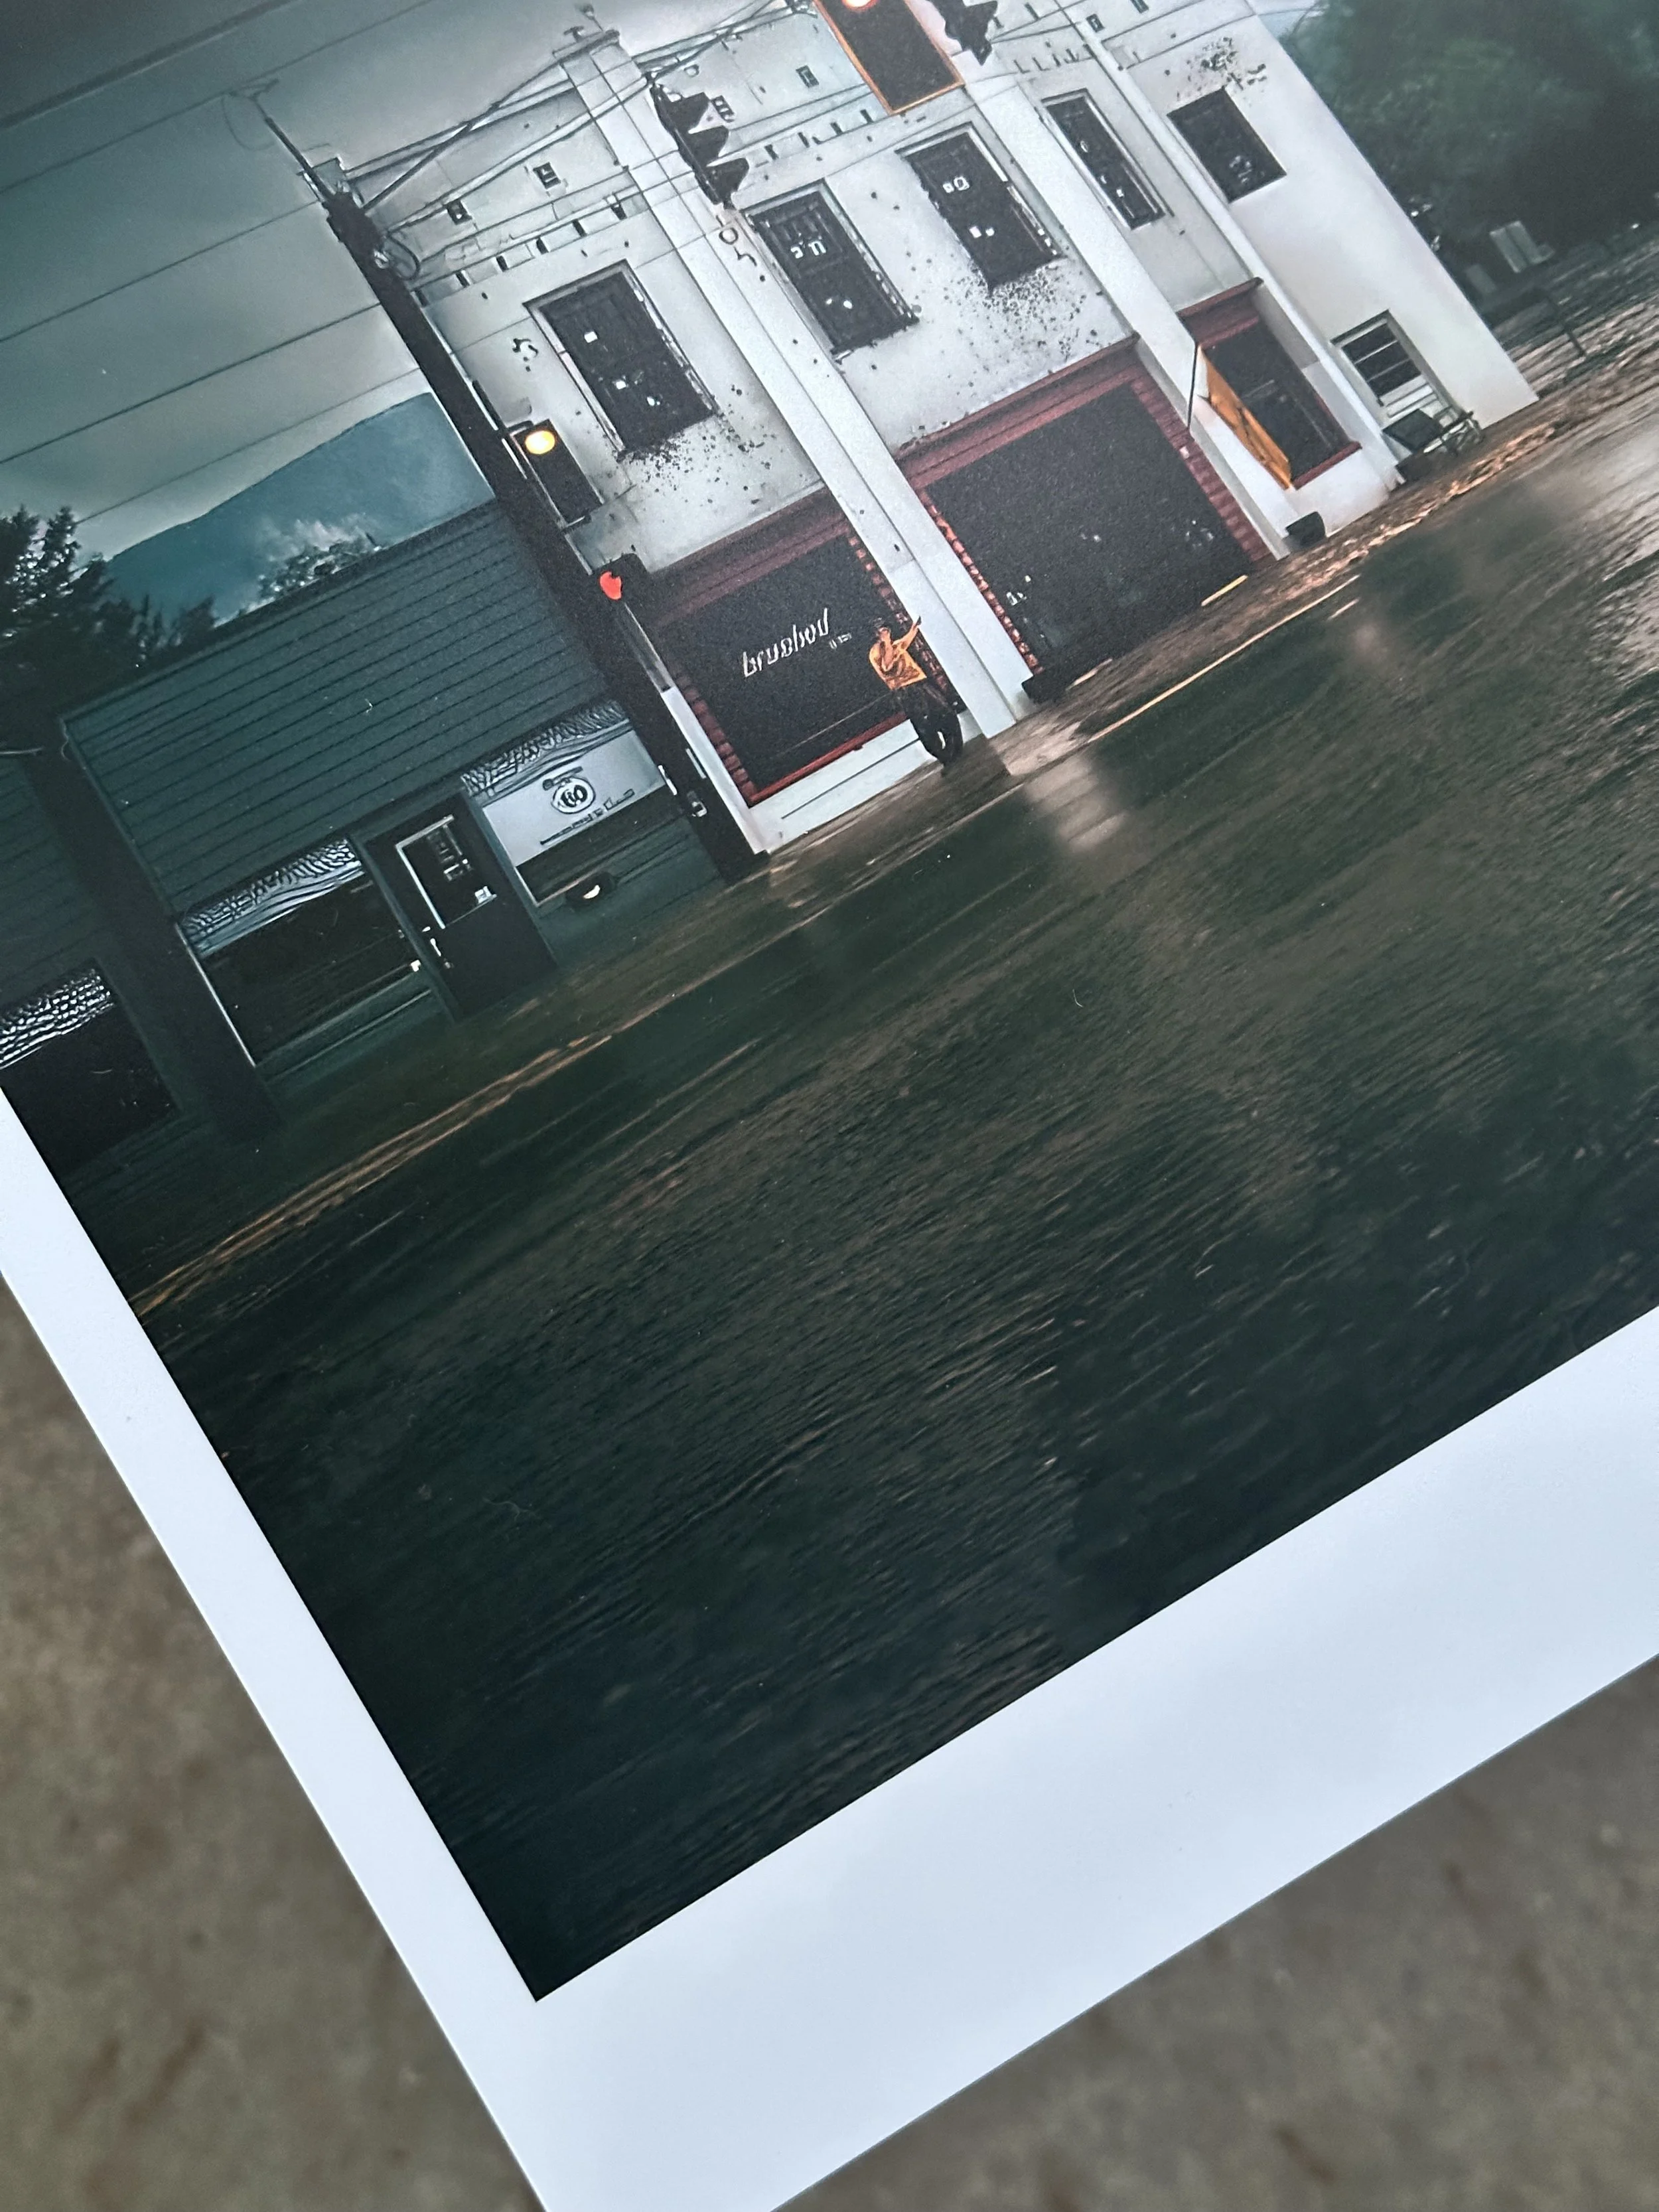

Left: Hahnemühle Museum Etching Paper 350 gsm Right: Hahnemühle Pearl 310 gsm

Places: The Great Smoky Mountains: Walden Creek to Cherokee
From our cabin in Walden creek to Cherokee, North Carolina, we drove the 33 miles of scenic road to places such as the Sugarland’s, Chimney Top and the highest peak in the Smokey mountains, Kuwohi formally known as Clingmans dome,
From our cabin in Walden Creek to Cherokee, North Carolina, we drove 33 miles of scenic road to places like Sugarland's, Chimney Tops, and the highest peak in the Smoky Mountains, Kuwohi, formerly known as Clingmans Dome. The U.S. Board of Geographic Names restored the Cherokee name Kuwohi on Wednesday, September 18, 2024, and voted to change the name of the highest point in Great Smoky Mountains National Park from Clingmans Dome to Kuwohi, a Cherokee name for the mountain. The tower at the top of Kuwohi is at 6,643 feet elevation, making it the highest point in the park.


The balcony view from our cabin in Walden Creek is breathtaking. This photograph was taken with a Nikon D800 and a Nikon 20-35mm f/2.8 lens. I combined five carefully selected images out of 20, which varied in exposure, then stacked them in Lightroom with minor edits in Camera Raw. The result highlights the serene landscape around the cabin.

I spotted this curious Coyote in Cade's Cove, and I believe it was actively searching for a handout, as it stuck around for quite some time, showing little hesitation in my presence. Shot this image with a Sony 7RII with a Sony G master 135mm f1.8.


From the top left to the right, the photos were taken in Cades Cove. My wife captured a doe right beside our car with her iPhone 14; it almost reached the passenger window. Meanwhile, I snapped a shot of a Tom by the roadside. The most astonishing encounter was with a Bull Elk near the Oconaluftee Visitor Center, close to Cherokee, North Carolina. The mating season in September probably explains why we heard a Bull Elk's calls near our cabin early in the morning. I managed to capture this incredible moment with my iPhone 14 Pro Max.