Part 2: Canon imageprograf Pro-1100

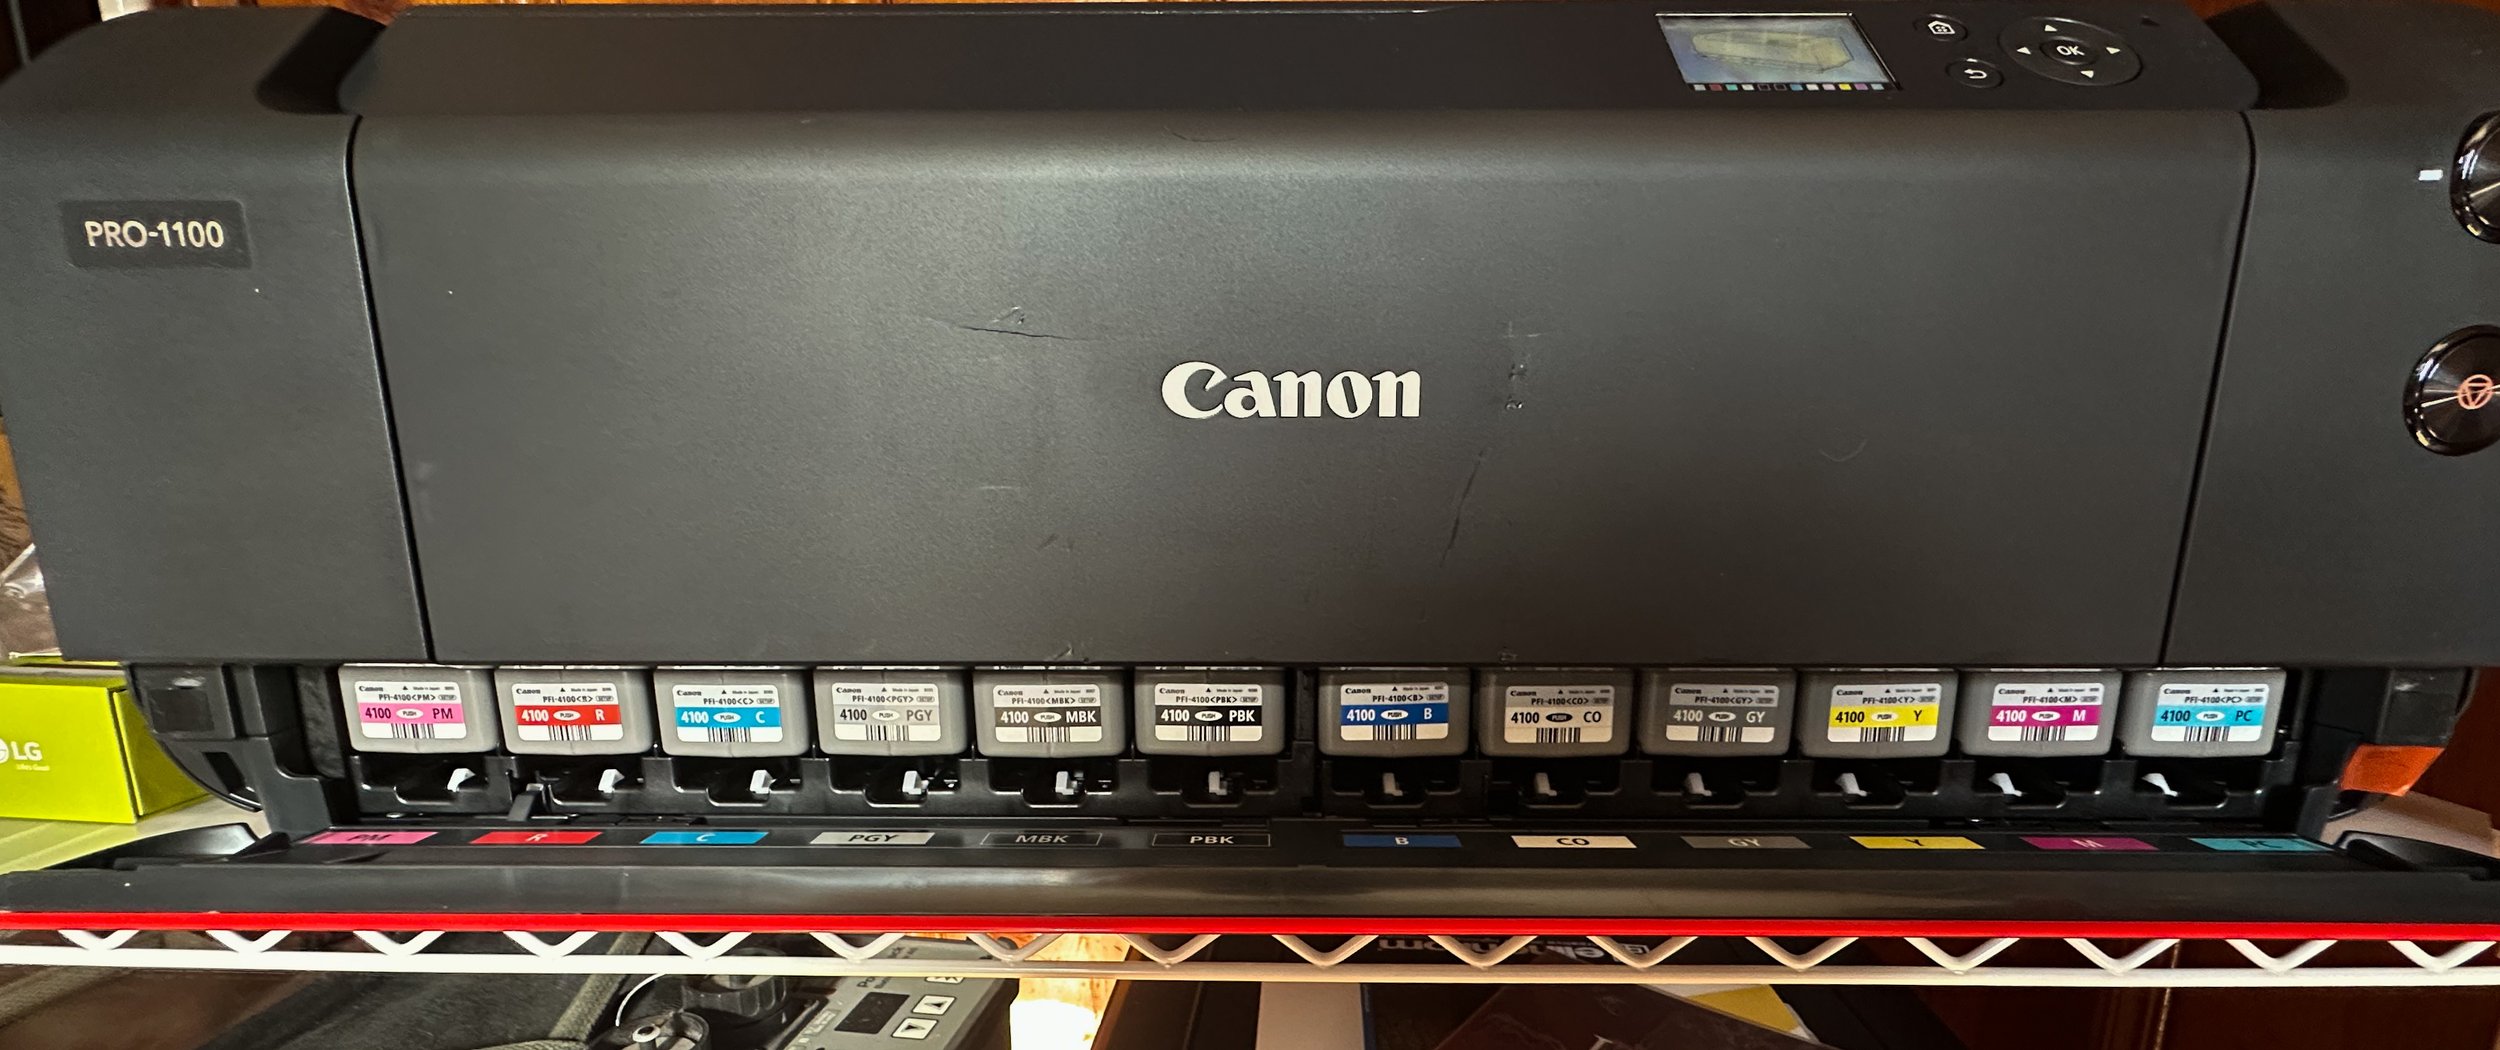
Now that the printer was still securely stored in the box, I found myself needing to order something with the appropriate width and depth that would allow it to sit on top of it comfortably. Although several options I explored online were aesthetically pleasing and well-designed, they didn’t seem practical for the specific purpose I had in mind. After deliberating, it took another two weeks to order and receive the shelving unit successfully. Upon its arrival, I was genuinely delighted and relieved, as I was also able to neatly organize a lot of my gear on it, which made everything feel much more organized. One amusing aspect I stumbled upon was some of the videos I had seen of others who were taking their printers out of the box; they removed the bag that the printer was packed in and just lifted it out. However, I found the easiest way for me was to carefully use the sturdy handles of the bag to lift it out smoothly. Trust me, I only lifted it by the handles a few inches before moving it to the shelves, as I had my trust issues with such delicate equipment.
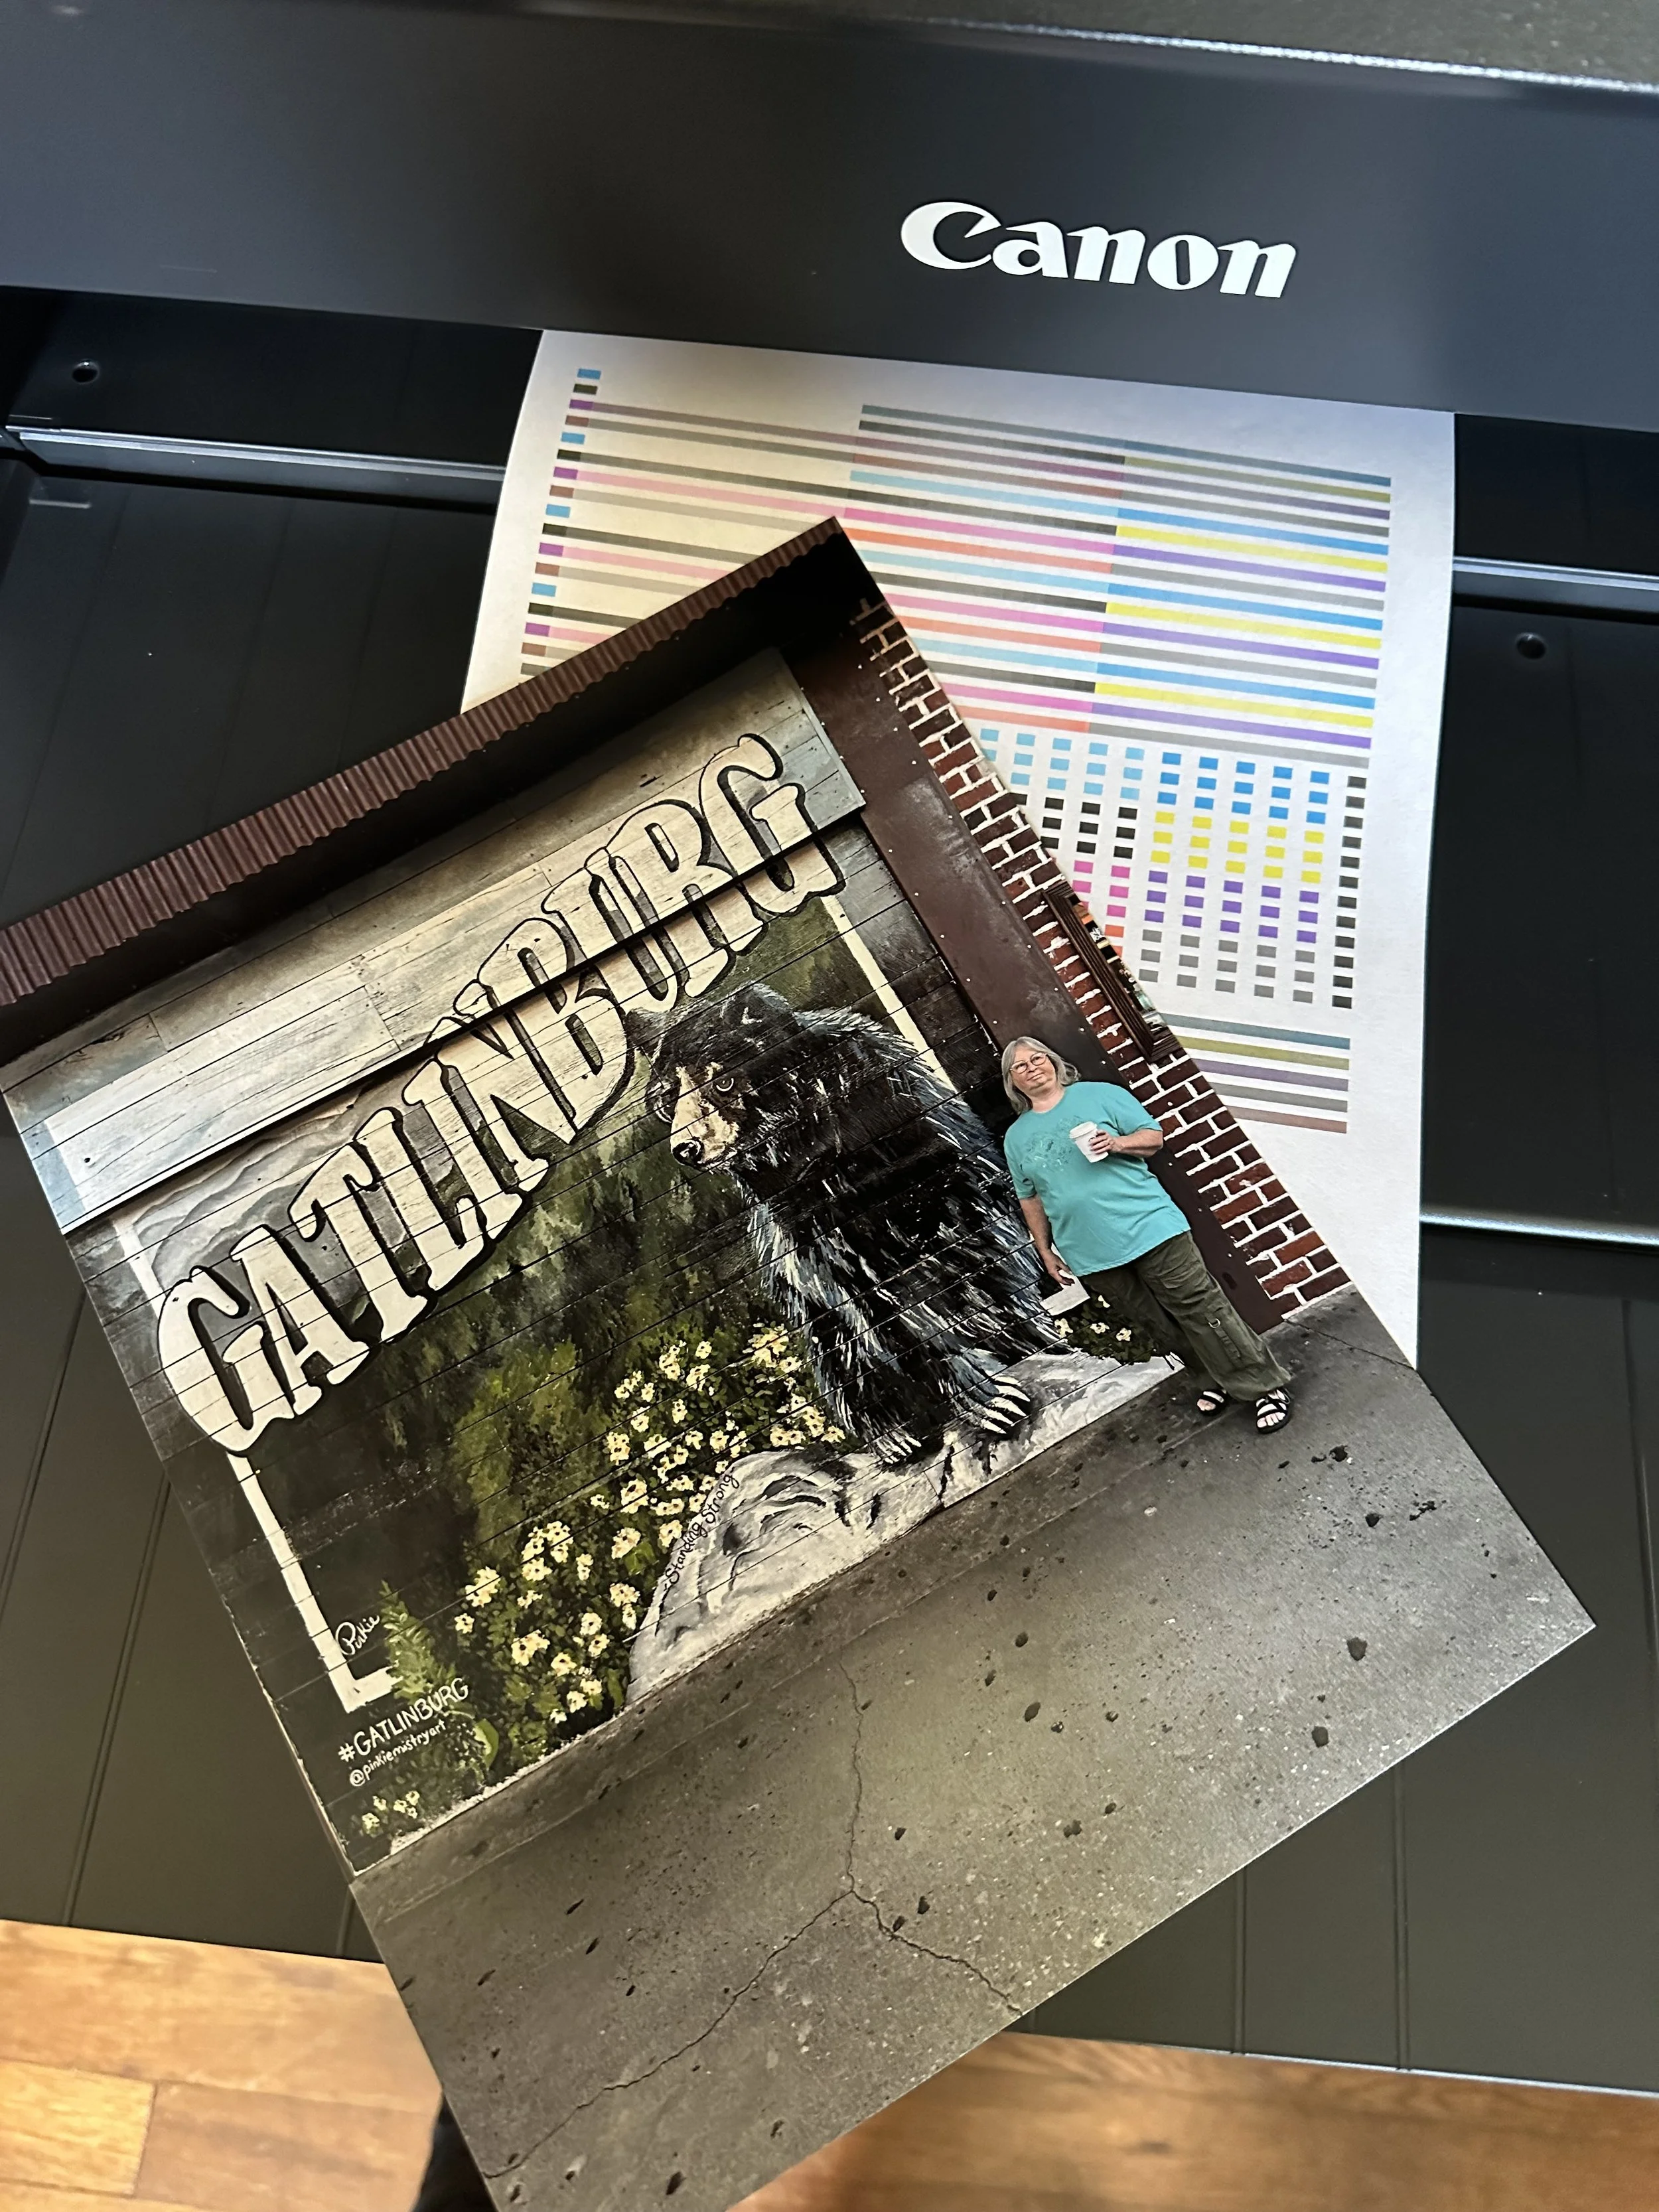
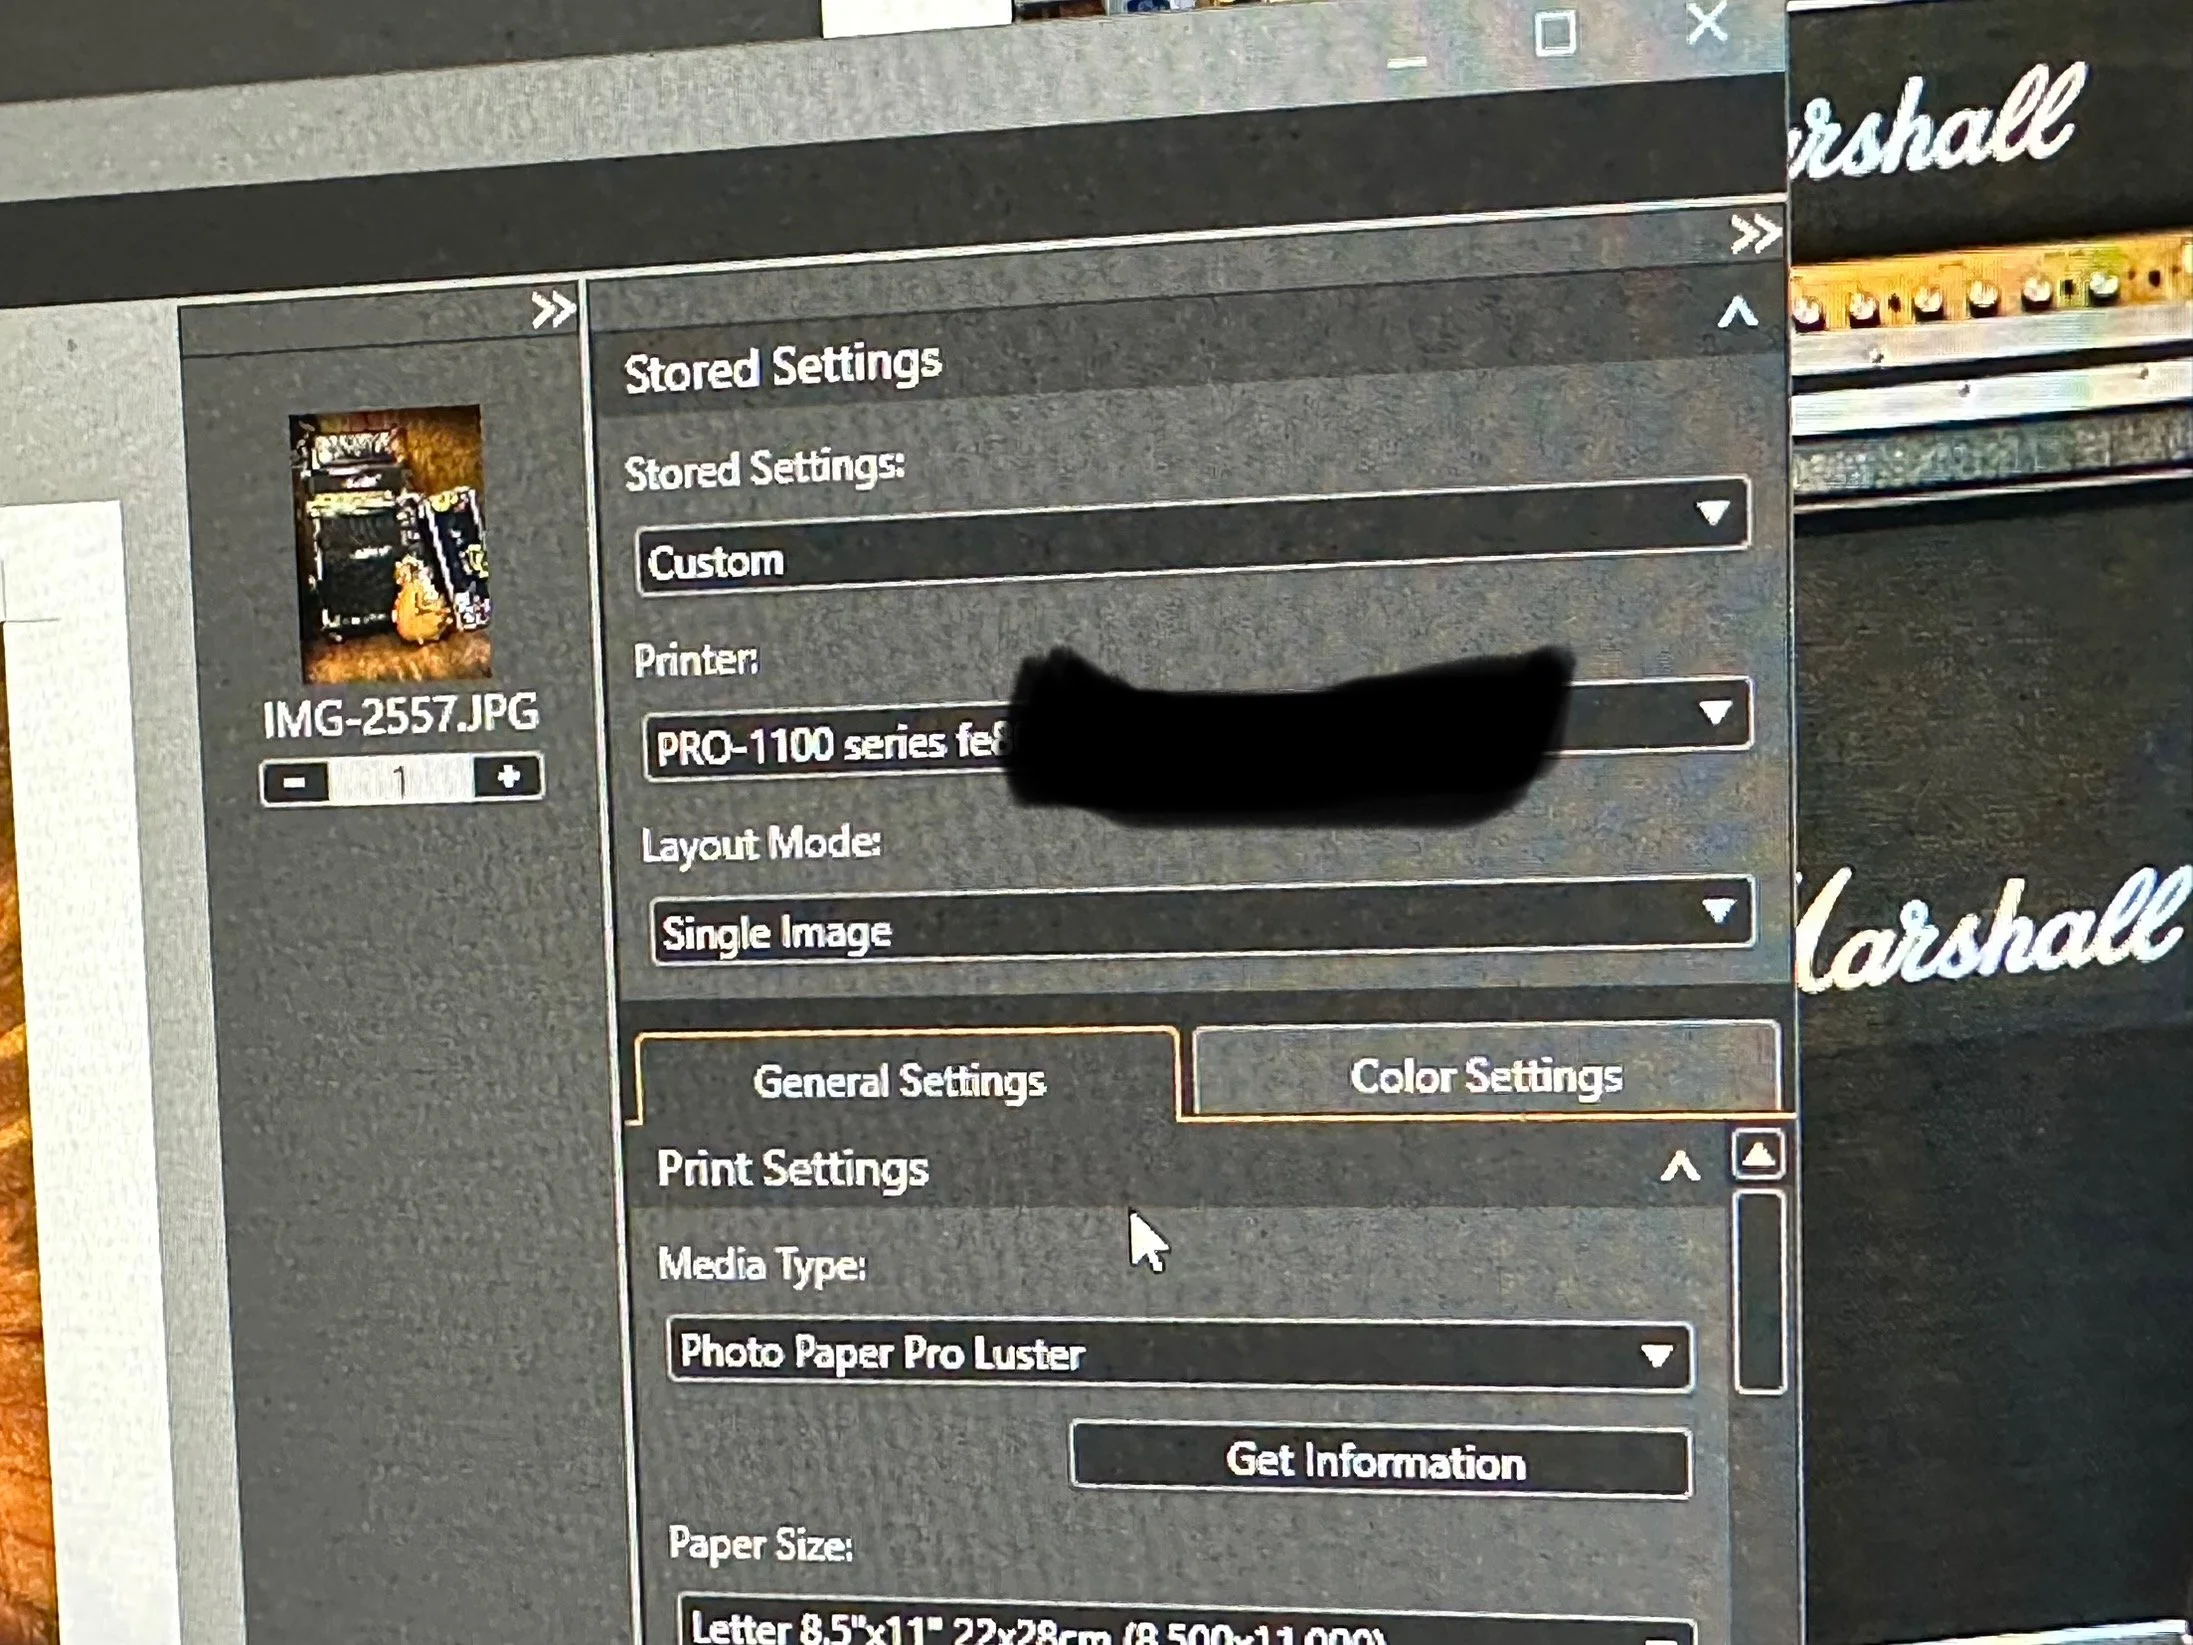
Setup and test prints (uncalibrated).


Calibrating my monitors, Troubleshooting the Wifi connection & more printing
The two YouTubers who significantly influenced my decision to start printing were Keith Cooper and JToolman Rodriguiz. They each provide a mountain of valuable information on their respective channels that covers printers, printing techniques, and calibration processes thoroughly. I will leave a link to their channels at the bottom of this page for anyone interested in exploring their content further.
Now, whenever the subject of calibrating my monitors comes up in conversation, I have always approached traditional color calibration as a task that my eyes can manage effectively without relying on the conventional methods and tools offered by companies like Datacolor or Calibrite. However, I must admit, I was ever so wrong in that assumption. It truly was an eye-opening experience seeing how off I was in my past edits.


Initial setup and print jobs were intended to be conducted wirelessly. Late in April, a strong thunderstorm rolled through our area, and as a result, we lost power. I didn’t think much of it at the time; after all, we’ve experienced power outages before, and I was confident that it would be restored shortly. Eventually, power was restored, and we were able to enjoy our gadgets once again, thanks to our internet service provider, Optimum. However, I soon realized that everything had returned to normal except for one significant issue: it was the first time I encountered a problem with the printer connection since setting up the Wi-Fi connection.
We were paying for the high-speed connection, as it was their best package available, and I expected nothing but optimal performance. I was trying to print using Canon’s Professional Print and Layout tool, which clearly indicated that the printer was recognizing the assigned IP address. However, to my surprise, I discovered through the printer’s utility program, “Canon Wi-Fi Connection Assistant,” that the printer was receiving only between 54-56% signal strength via Wi-Fi. It was no wonder I was unable to complete my print jobs; the link quality of Optimum’s signal was simply unacceptable. Seeking a solution, I found relief in a Facebook group called JToolman, where the members provided helpful advice. Following their recommendations, I connected the printer through a USB connection, and I was relieved to find that I was back in business once again.


Helpful Links
Part 1: Canon Imageprograf Pro-1100 — Brian Cade Photography: Collective Works
Shop Canon Pro imagePROGRAF PRO-1100 | Canon U.S.A, Inc.
Facebook page: Jtoolman Photo Printing Techie
YouTube Channel: Jose Rodriguez Photo Printing Techie
YouTube: Keith Cooper